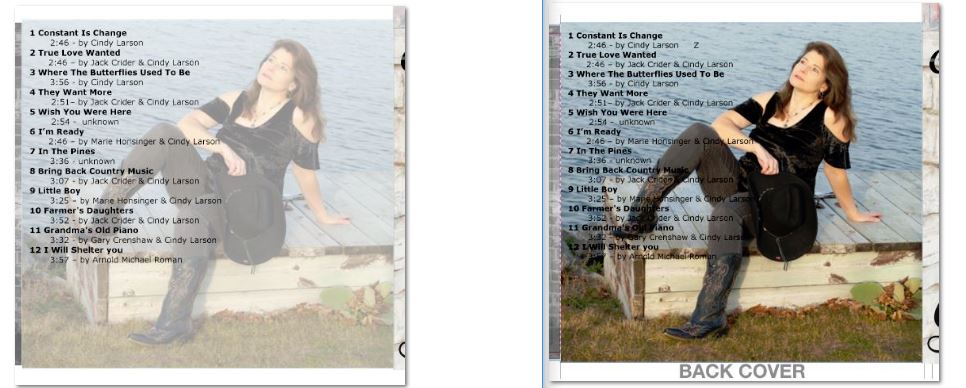
Check out this 2 snipping tool file I made of 2 versions of my CD back
cover. The one on the right, it's hard to read the text especially
where the black boots and dark areas are. The one on the left, I used
opacity on the pic to fade the pic into the background, so the text is
more readable.
I wonder how hard it would be to have a combination of the 2. In other
words reduced opacity on the left where the text is and full opacity
on the right where the picture is and a middle transition blending
between the 2?
I thought also it would be nice to move the pic to the right so you
see more of the girl and on the left where it's only ocean and land to
maybe stretch the pic to make up for the blank space I'd get on the
right if I moved the pic over. I used the entire pic to fill this back
panel, no cropping.
What you need is a layer mask for the background layer. see https://docs.gimp.org/en/gimp-layer-mask-add.html
Add a white layer mask Layer -> Mask -> Add Layer mask. Anything marked white in the mask is opaque, anything black is transparent, shades of grey various transparency.
The points to note are in the layer dialogue, an active layer has a white border, inactive a black border
see: https://i.imgur.com/DyMjc1C.jpg
Click in the layer mask to make it active.
Draw across the canvas a FG/BG gradient. FG can be a dark grey BG is white.
The shape (linear/circular..),start & end point, offset and direction of the gradient tool all matter and make a difference.
If you do not like the result, fill with white and start again. Because of the transparency, put a white layer underneath.
see: https://i.imgur.com/zOamDfl.jpg
Why use a layer mask? It is non-destructive.
Save your work as a Gimp xcf file, keeps all layers, masks, guides etc. When finished export to your required format, png, jpeg, tiff.
Alternative for your image, change the text colour to white.


