Tutorial: Create a colored zig zag pattern!

Download GIMP workspace (.xcfbz2) (249 KB)
-
1
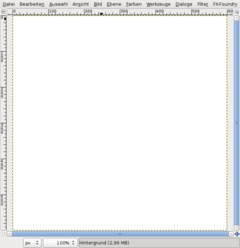
Create a new document: 600×600px. White background.
-
2
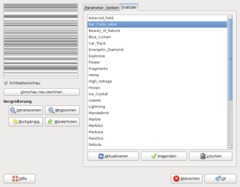
Go to Filter / Render / Fractal explorer.
Switch to the “Fractals” tab, choose the second one – its called “Bar code label”. Double click it, then press OK and the pattern will be rendered.
-
3
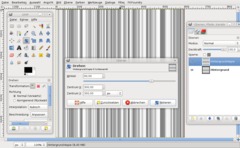
Duplicate the background layer once (the hotkey combination for this is CTRL+SHIFT+D). On the copy use the Rotate tool. Click the layer on the canvas and set 90°. Press OK
-
4
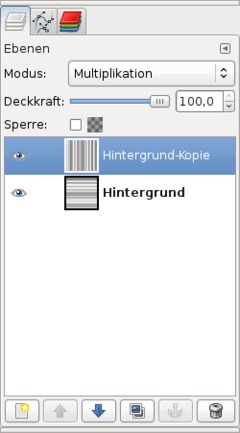
Set the layer mode (this is a drop down menu found atop the most top layer in the layers dialog) to “Multiply”.
-
5
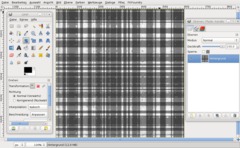
Press CTRL+M or go to Image / Flatten image. This combines the current view of all layers to be on one single layer.
After that go to Filter / Artistic / Oilify. Remain the settings on 8/8. Just click OK to apply the filter.
-
6
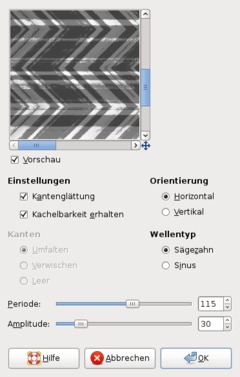
Next go to Filter / Distort / Ripple. Take the values from screenshot please:
-
7
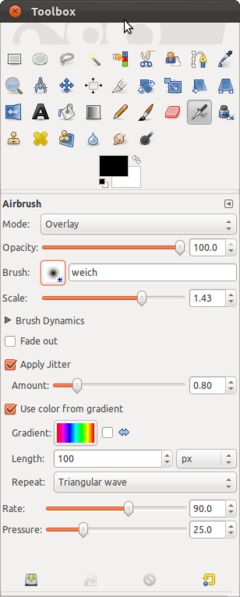
The pattern itself is done by now! Not it’s time for some color ;). There are various ways to get the color in. I.e. you can just use Colors / Color Balance or you can make it super colored using this technqiue:
Choose the Airbrush tool (hotkey = A). Create a new very smooth, also big brush (go to Windows / (Dockable) Dialogs / Brushes and click “New”). After you created it choose it from the brushes drop down menu in the airbrush options. In the screenshot my brush is named “weich”. Use the options from the screenshot please:
-
8
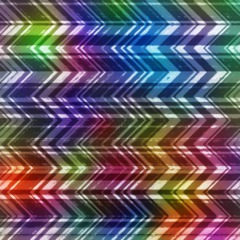
After that paint with the airbrush straight through the image. The more you move over the same area the more intense the color will be.
Just experiment a bit with it ;)
-
9
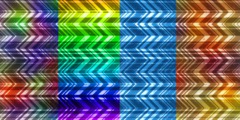
Some different color settings:


Comments
Post your own comments, questions or hints here. The author and other users will see your posting and can reply to it.
Of course, you can also ask in the chat.
Subscription management
Please log in to manage your subscriptions.
User rating
This topic (Create a colored zig zag pattern!) has been rated 5.0/5.0.
New comments are disabled because of spam.