


Tutorial: Create an oscilloscope/frequencies display
 is licensed under a Create Commons Attribution-Non Commercial 3.0 Unported license.")

Motivation
Probably you all know these cool displays of sound editing programs. In this short tutorial I'll create such an oscilloscope display. The tutorial is mainly interesting because of its 2 combined techniques that allow you to create pretty varied and individual images.
Tutorial details
- Category: Simple effects
- Time to reproduce: ≈10.0 minutes

- Tested with GIMP 2.7
-
1
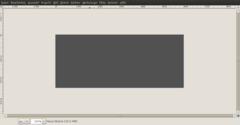
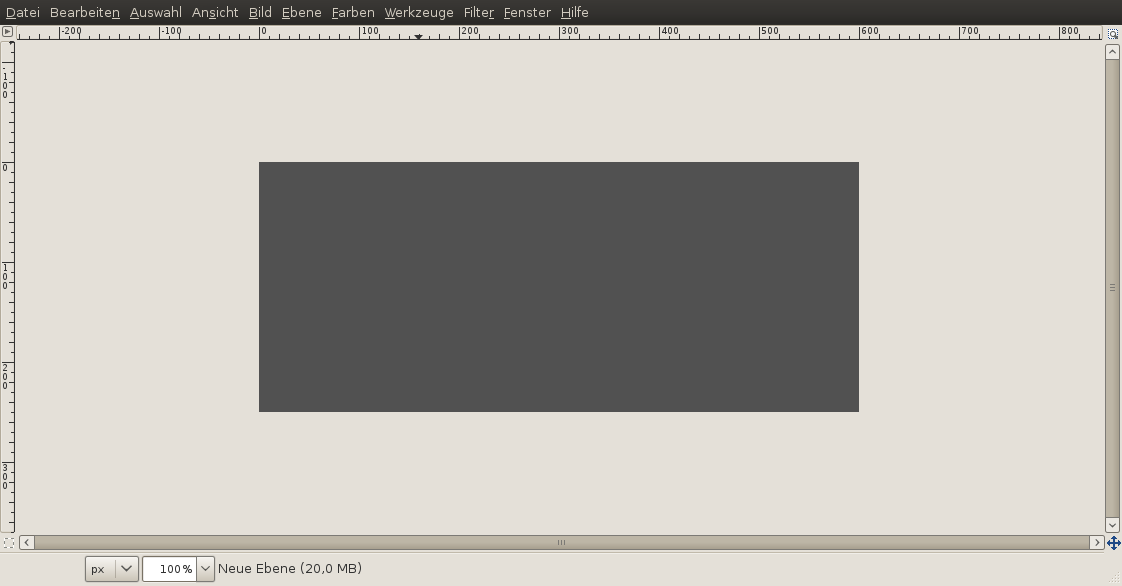
Create a new image: 600×250px.
Fill the background-layer with a dark gray: #515151.
-
2
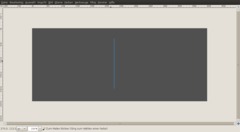
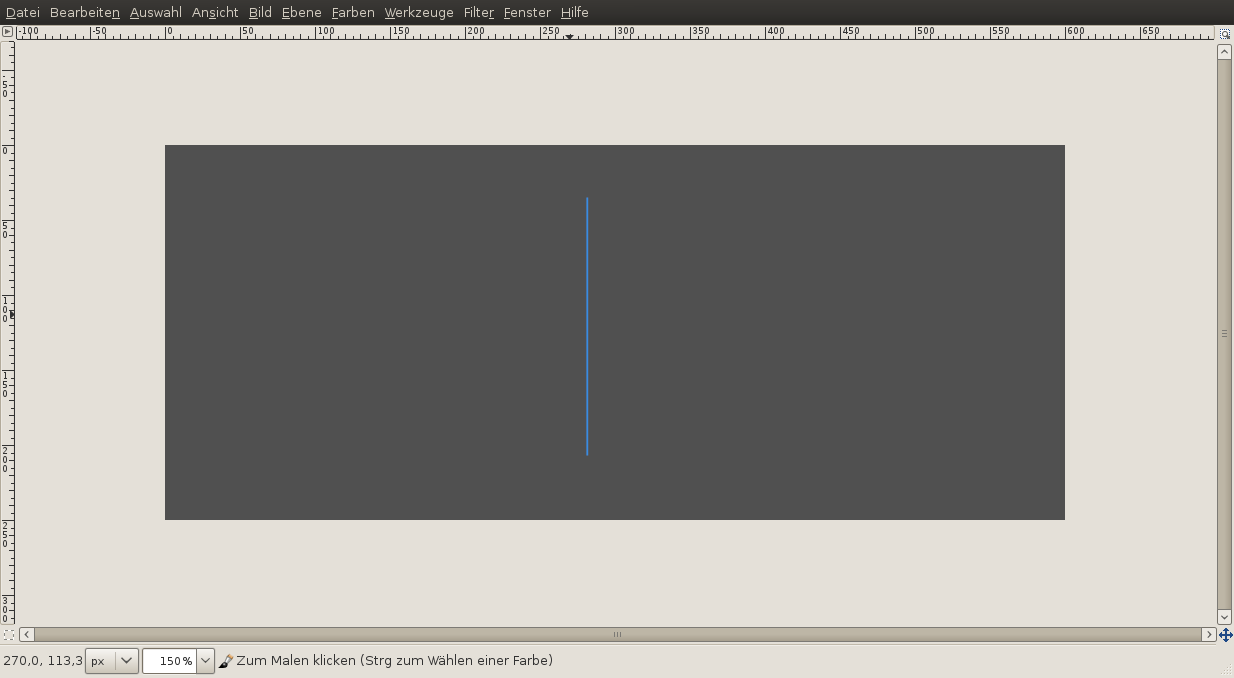
Now set the Foreground-Color to #aacaff.
- Create a new, transparent layer.
- Choose the rectangle selection tool: Then create a 1px wide but pretty long selection. Fill the selection with the FG-Color by using EDIT / FILL FG COLOR
- Press CTRL+C to copy that thin line
- Deselect all using SELECTION / NONE -
3
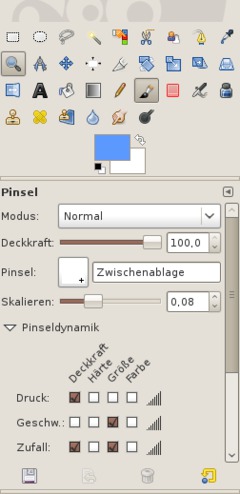
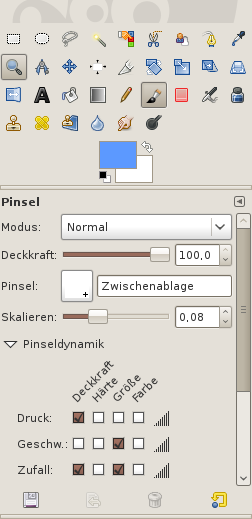
Very practical in GIMP: You can use copied parts (in the clip board) as a brush to paint with it. With that technique in mind you can create very nice effects and also pretty fast! The painted parts are mostly black although so you have to colorize them afterwards.
In the screenshot it is called “Zwischenablage” which is the german word for clipboard.
This copied part is displayed as the first brush of certain paint-tools such as the paint brush-tool. That copied part is named “Clipboard”.
-
4
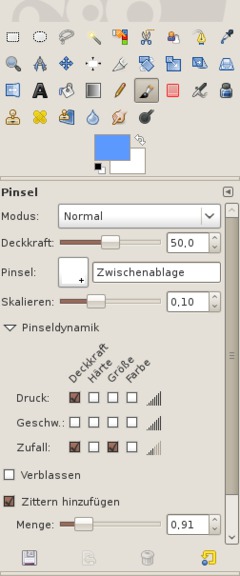
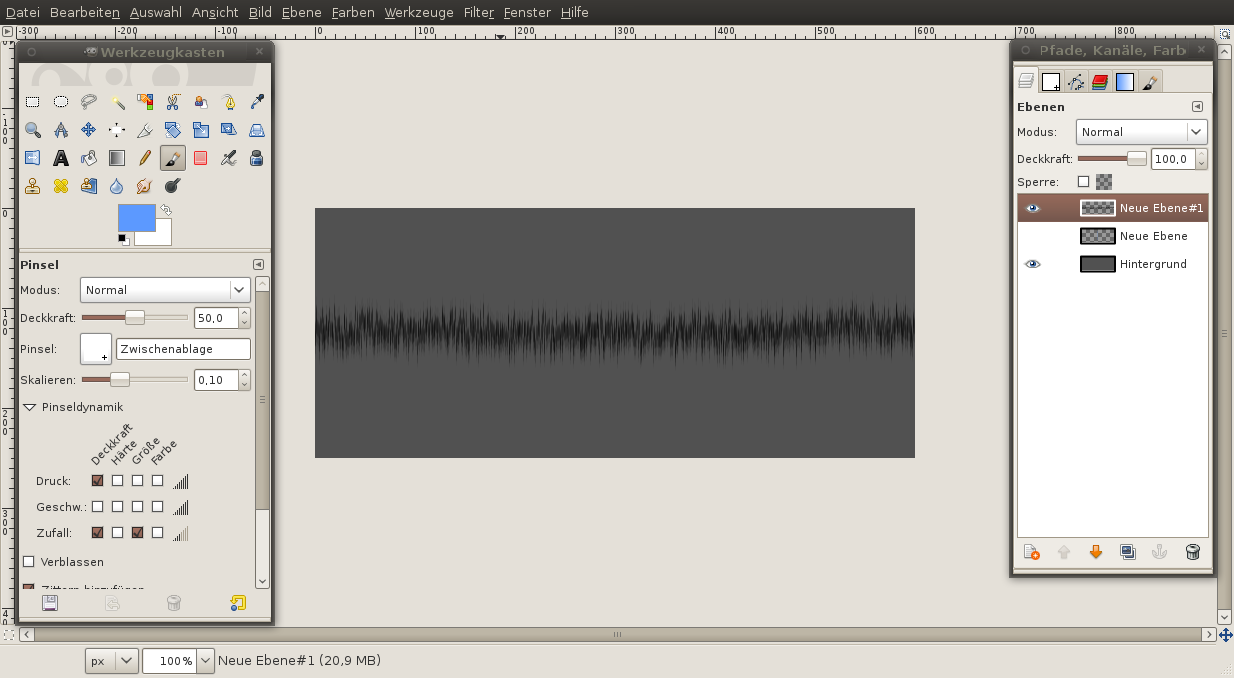
We’re going to combine the technique with the very cool brush dynamics (available in GIMP since version 2.6).
Choose the options in the brush-tool preferences:
Opacity: 50%.
Brush: Clipboard
Scale: 0.1
Brush dynamics (see image): set Pressure/Opacity, Random/Opacity, Random/SizeApply jitter: 0.9
-
5
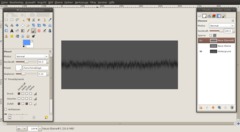
- Create a new transparent layer
- Now paint horizontally from left to right -
6
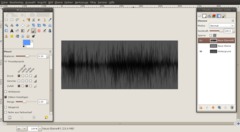
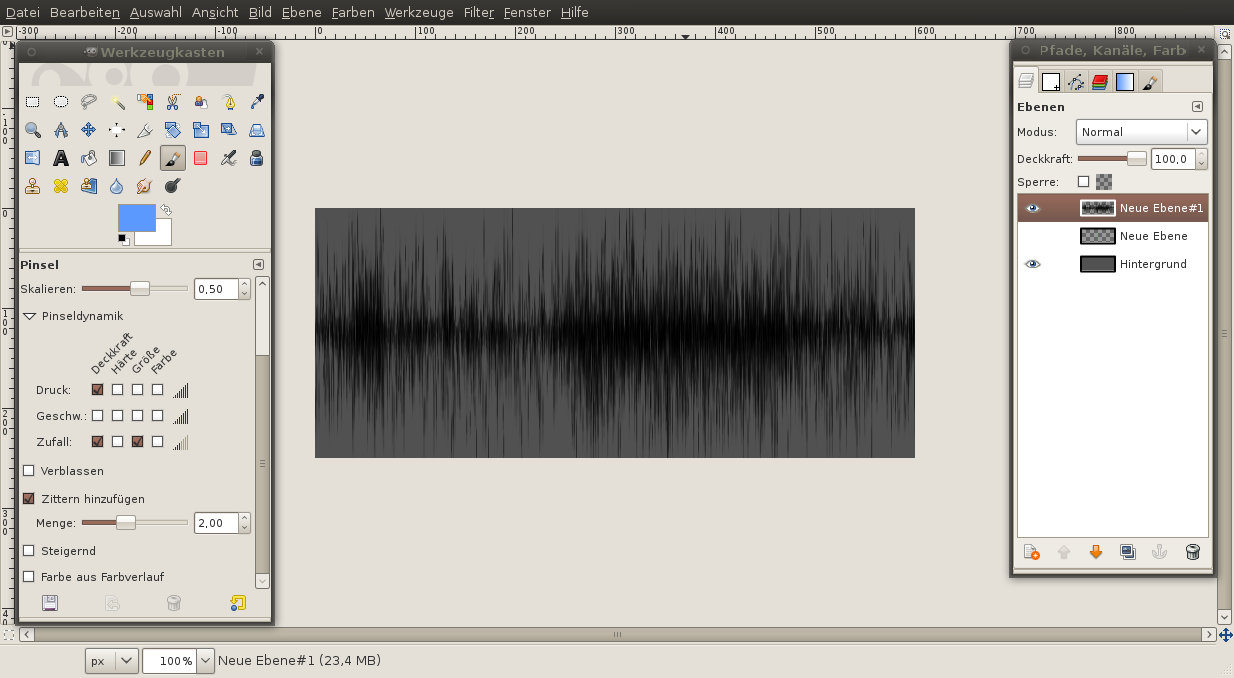
Now set the jitter-value to 2.5 and set the brush scale to 0.5
Again paint from left to right, but now stop sometimes and leave some parts unpainted and free. Also overpaint some parts (these bolder parts represent the loud tones ;))
-
7
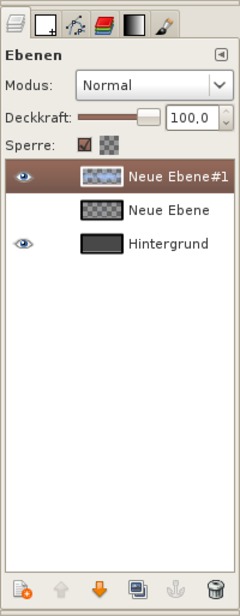
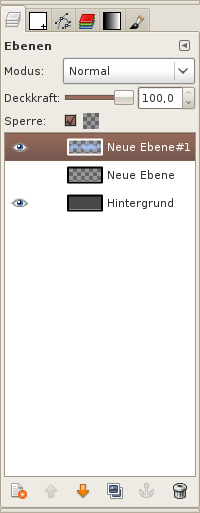
Now lock the transparency of the layer. Do this by activating the lock-option in the layers dialog above the layers.
In the screenshot its called “Sperre” which is the german word for “lock”.
Then press CTRL+, (comma) to fill the frequencies with the blue FG color we set in step 2.
-
8
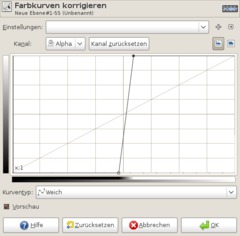
If you don’t want such fine detail but more harder frequency lines you can change this by using the curves.
- Decativate the transparency lock again.
- Colors / Curves: Channel: Alpha. Then → Set the curve shown below.The more you pull the curve to the right side the thinner the frequency spectrum becomes.
-
9
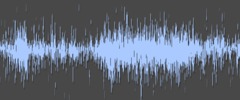
Have fun experimenting with the frequencies (and above all with the techniques shown ;))
Tip: Real oscillosope displays don’t have these small free/unconnected parts as shown in my picture. Just remove them using the eraser-tool or you pull the curve in step 8 a little more to the right.


Comments
Post your own comments, questions or hints here. The author and other users will see your posting and can reply to it.
Of course, you can also ask in the chat.
Subscription management
Please log in to manage your subscriptions.
New comments are disabled because of spam.