


Tutorial: Glow FX extreme
 is licensed under a Create Commons Attribution-Non Commercial 3.0 Unported license.")

Download GIMP workspace (.xcfbz2) (1.07 MB)
Motivation
I guess this tutorial will mostly be enjoyed by graphics enthusiasts ;) We're going to create a special glowing lines effect with saturated colors and good dynamic!
Tutorial details
- Category: Special FX
- Time to reproduce: ≈35.0 minutes

- Tested with GIMP 2.7
-
1
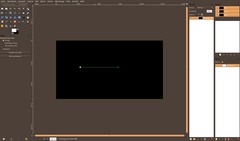
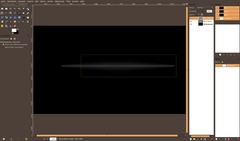
Create a new image: 1280×700px – use black as background color.
We’re first making the basics for a single glowing line.
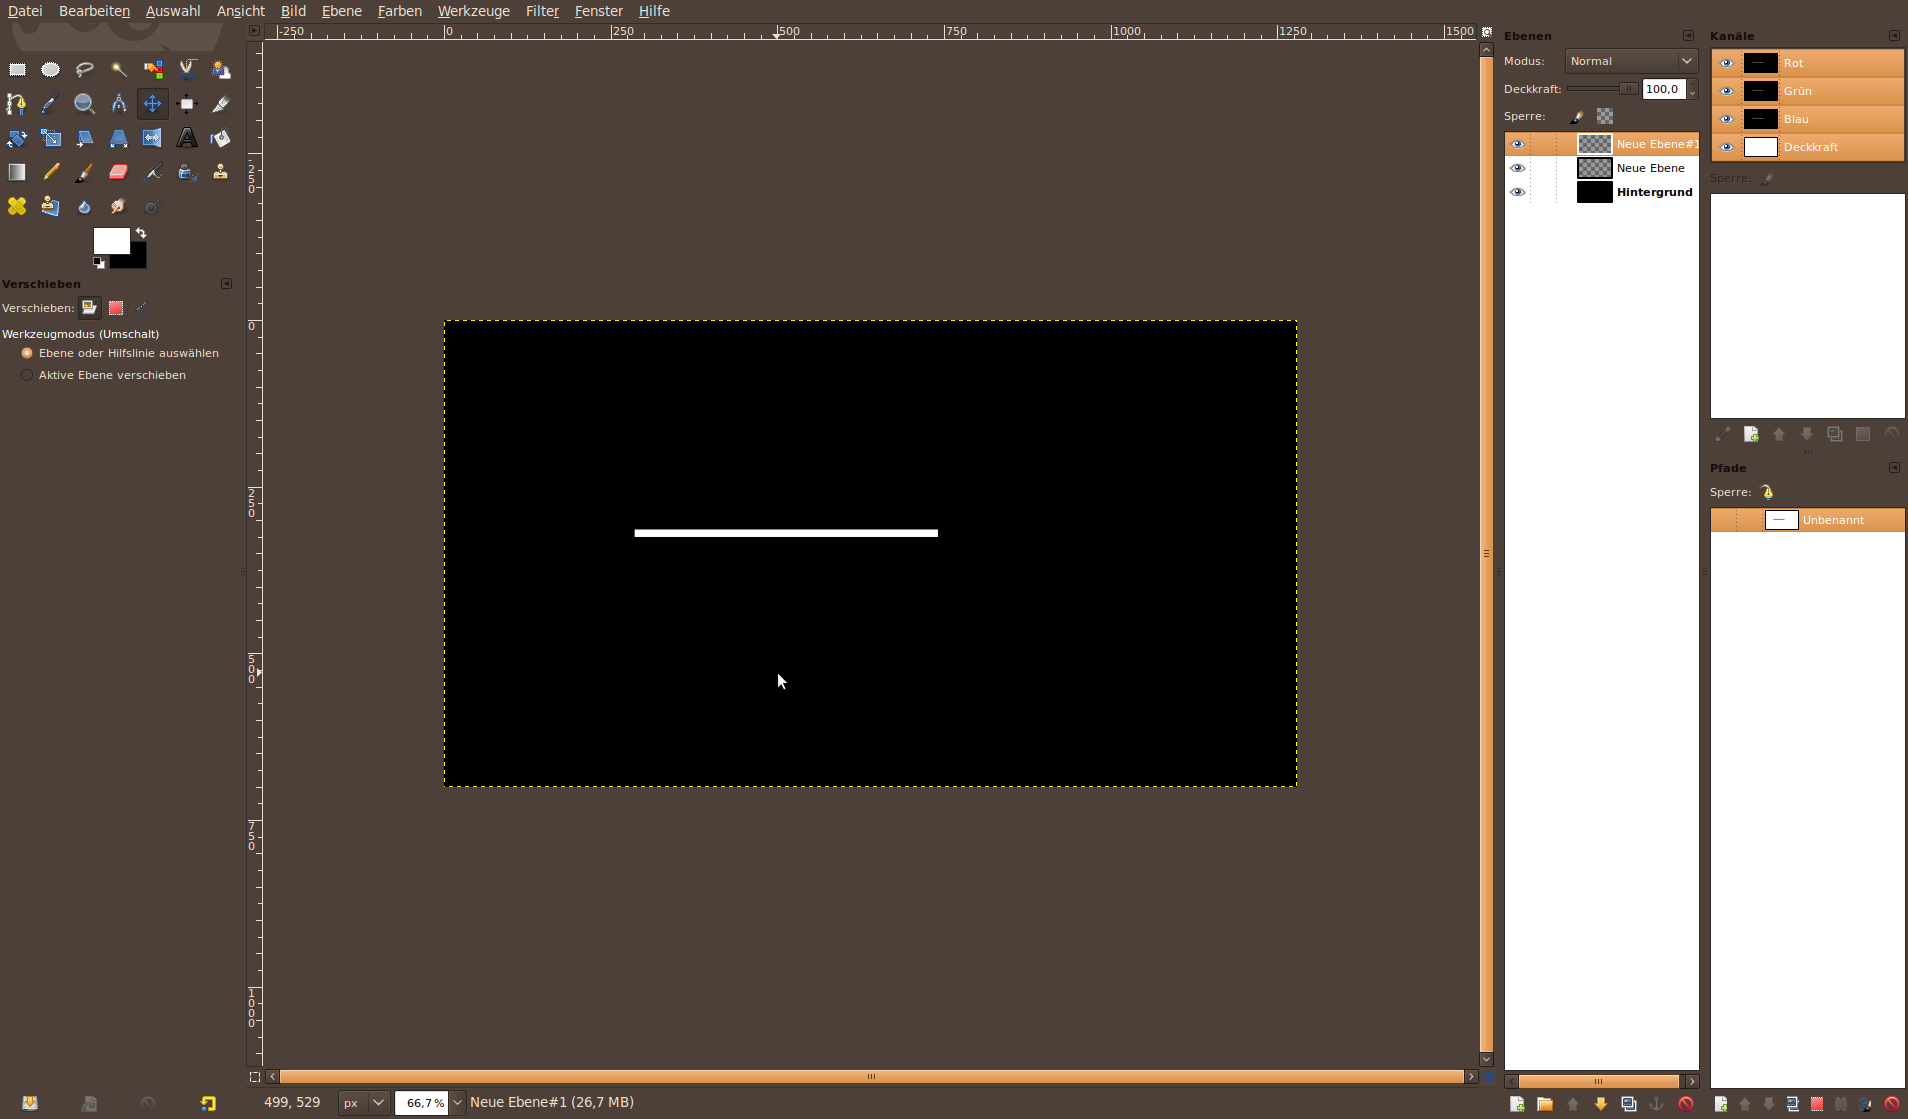
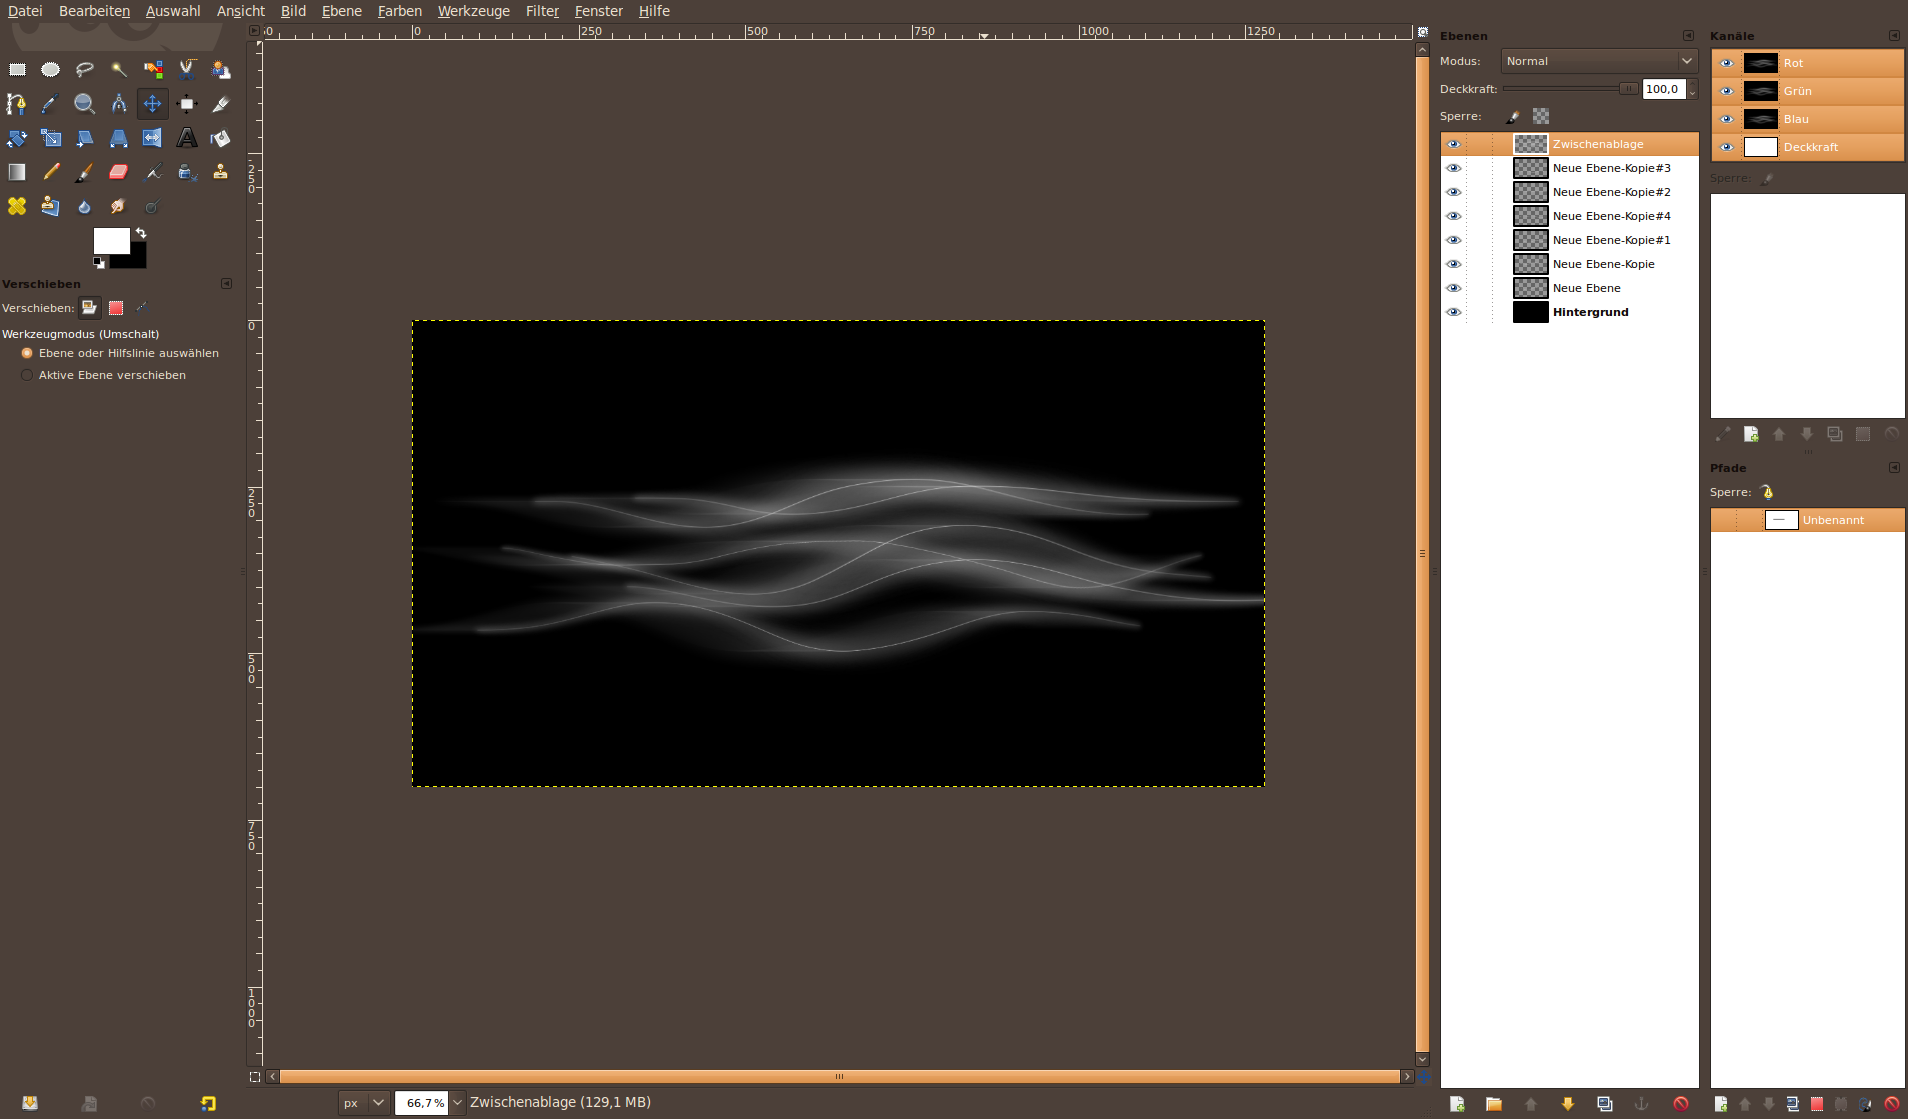
- New transparent layer. Only work on this layer. Click it in the layers dialogue to make it active.
- User the Paths tool, create an exact horizontal line. The lenght is no too important. Most important thing is that the line is even as seen on the picture below. -
2
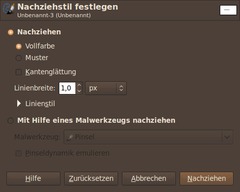
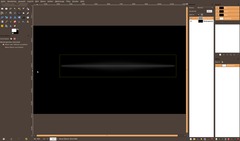
- Switch to a white as foreground color.
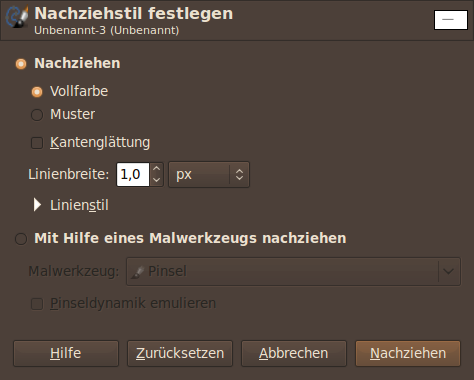
- In the tool properties click “Stroke path”. Deactivate the “Antialiasing” option and set the witdh to 1px. Click OK/STROKE.
- Let the path remain active. [Tip: If the path has disappeared already, click the Paths dialoge and double click on the path to activate the path again] -
3

- Create a new transparent layer.
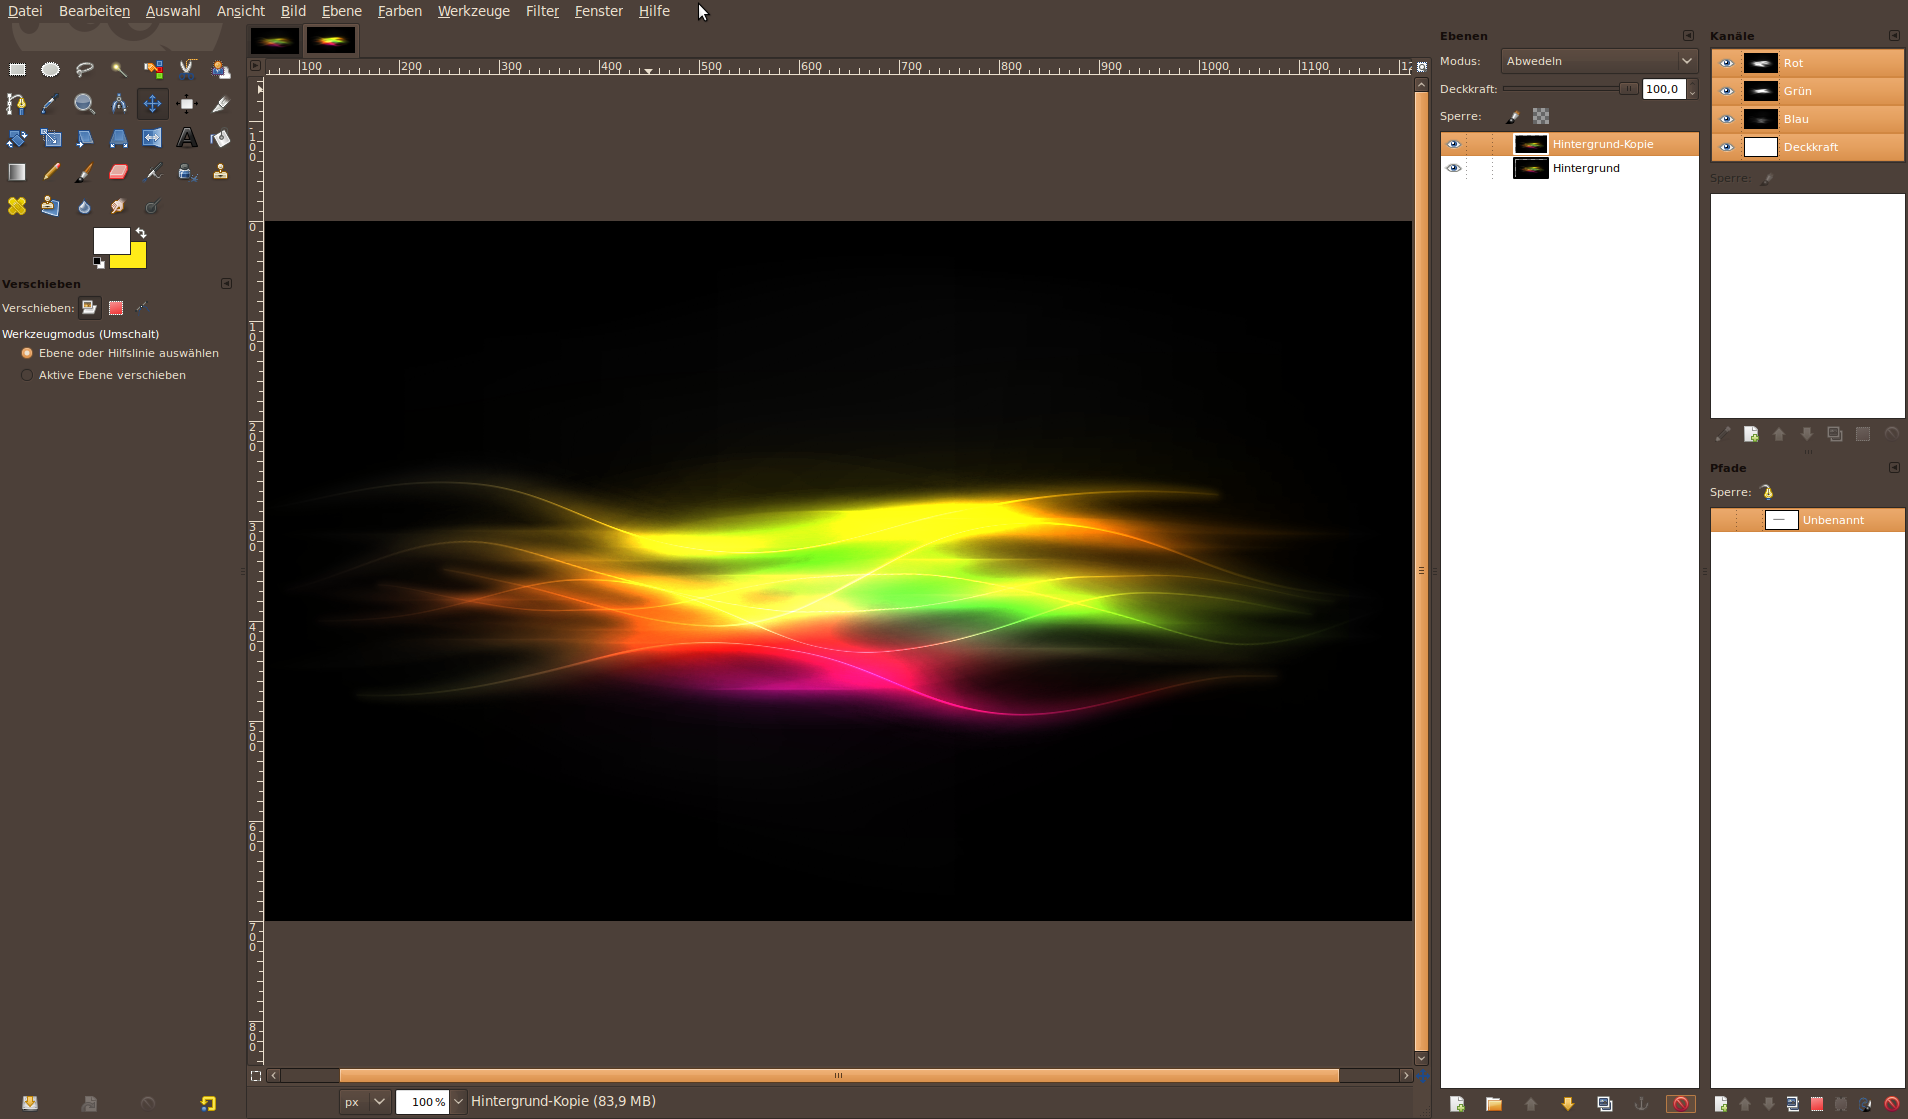
- Stroke the path again. Use 11px width now. -
4
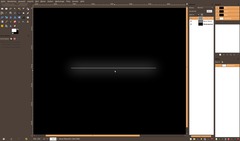
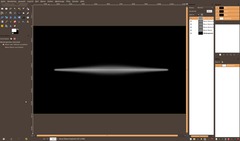
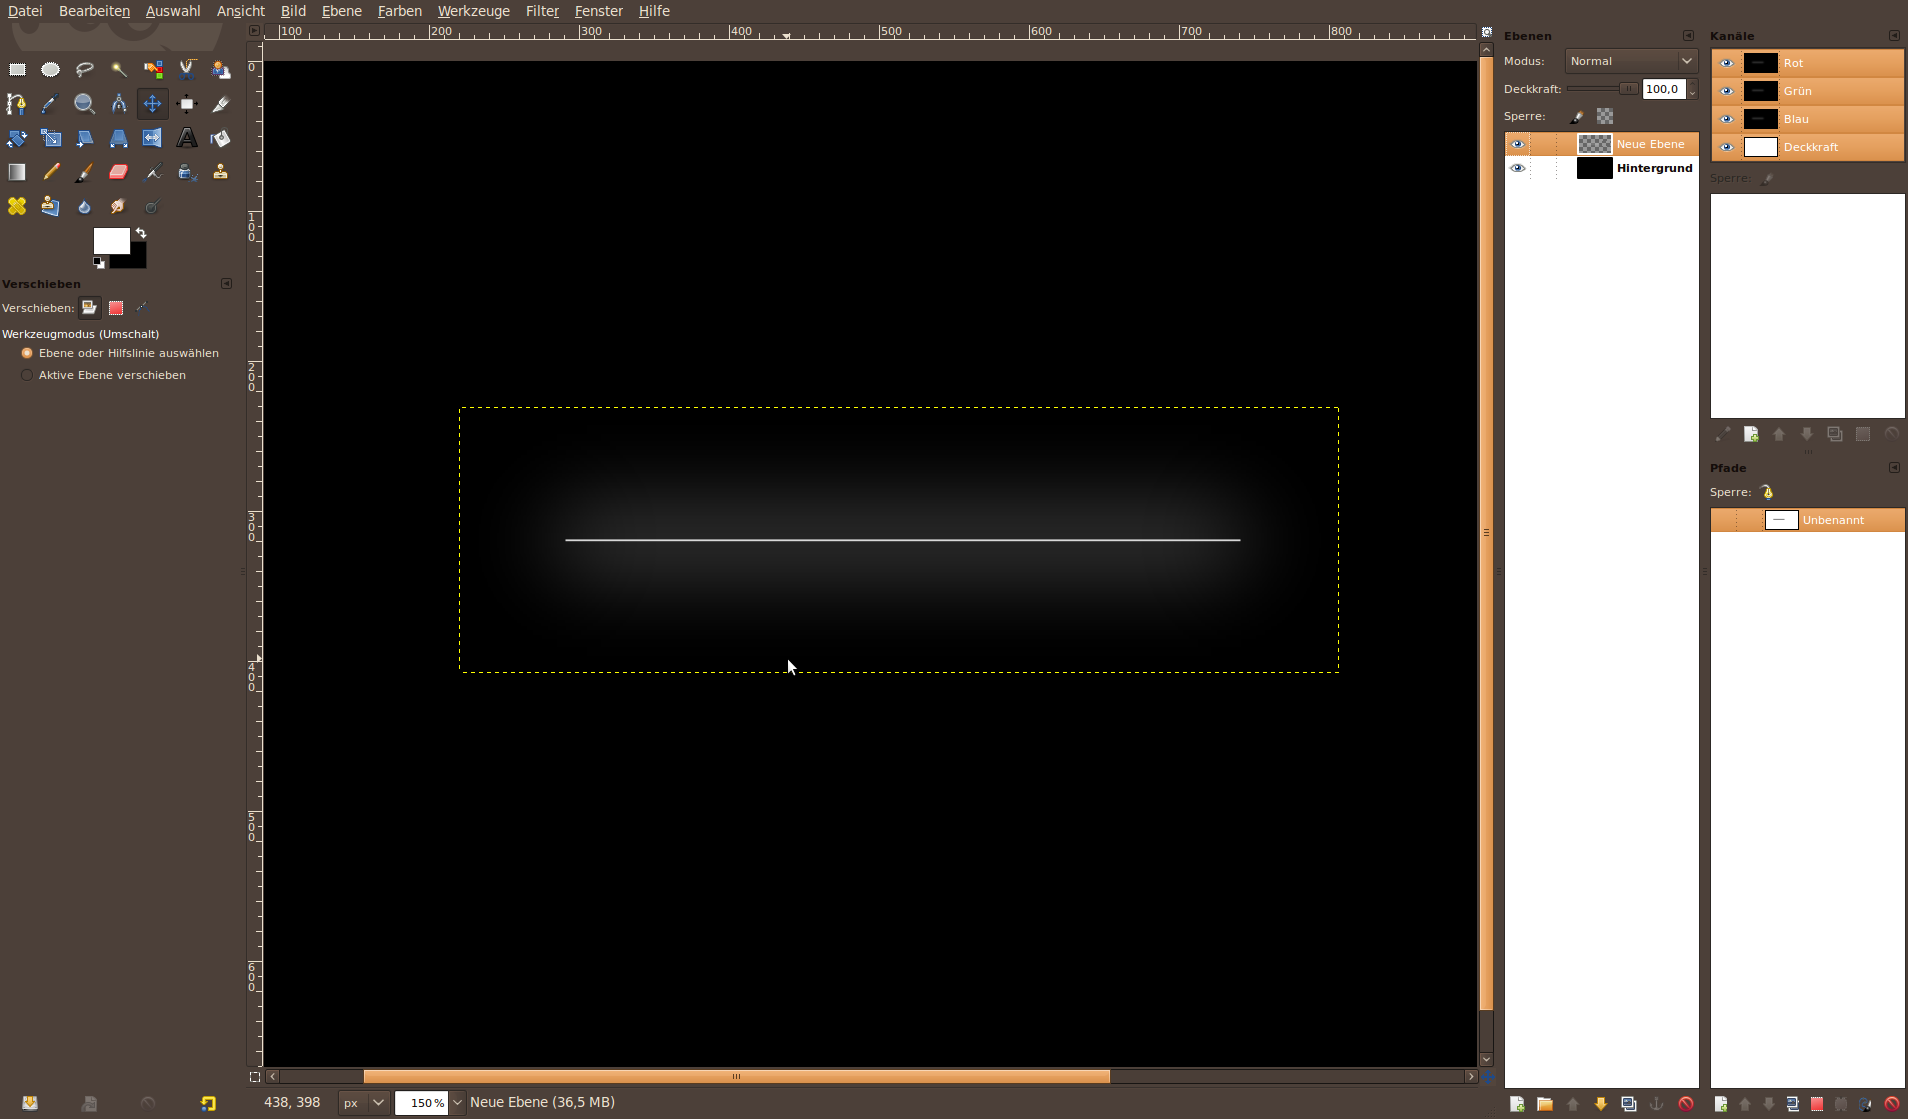
- Press M to select the Move tool. The path will disapprear.
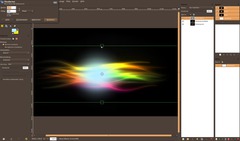
- Filter / Blur / Gaussian Blur: 100px; -
5

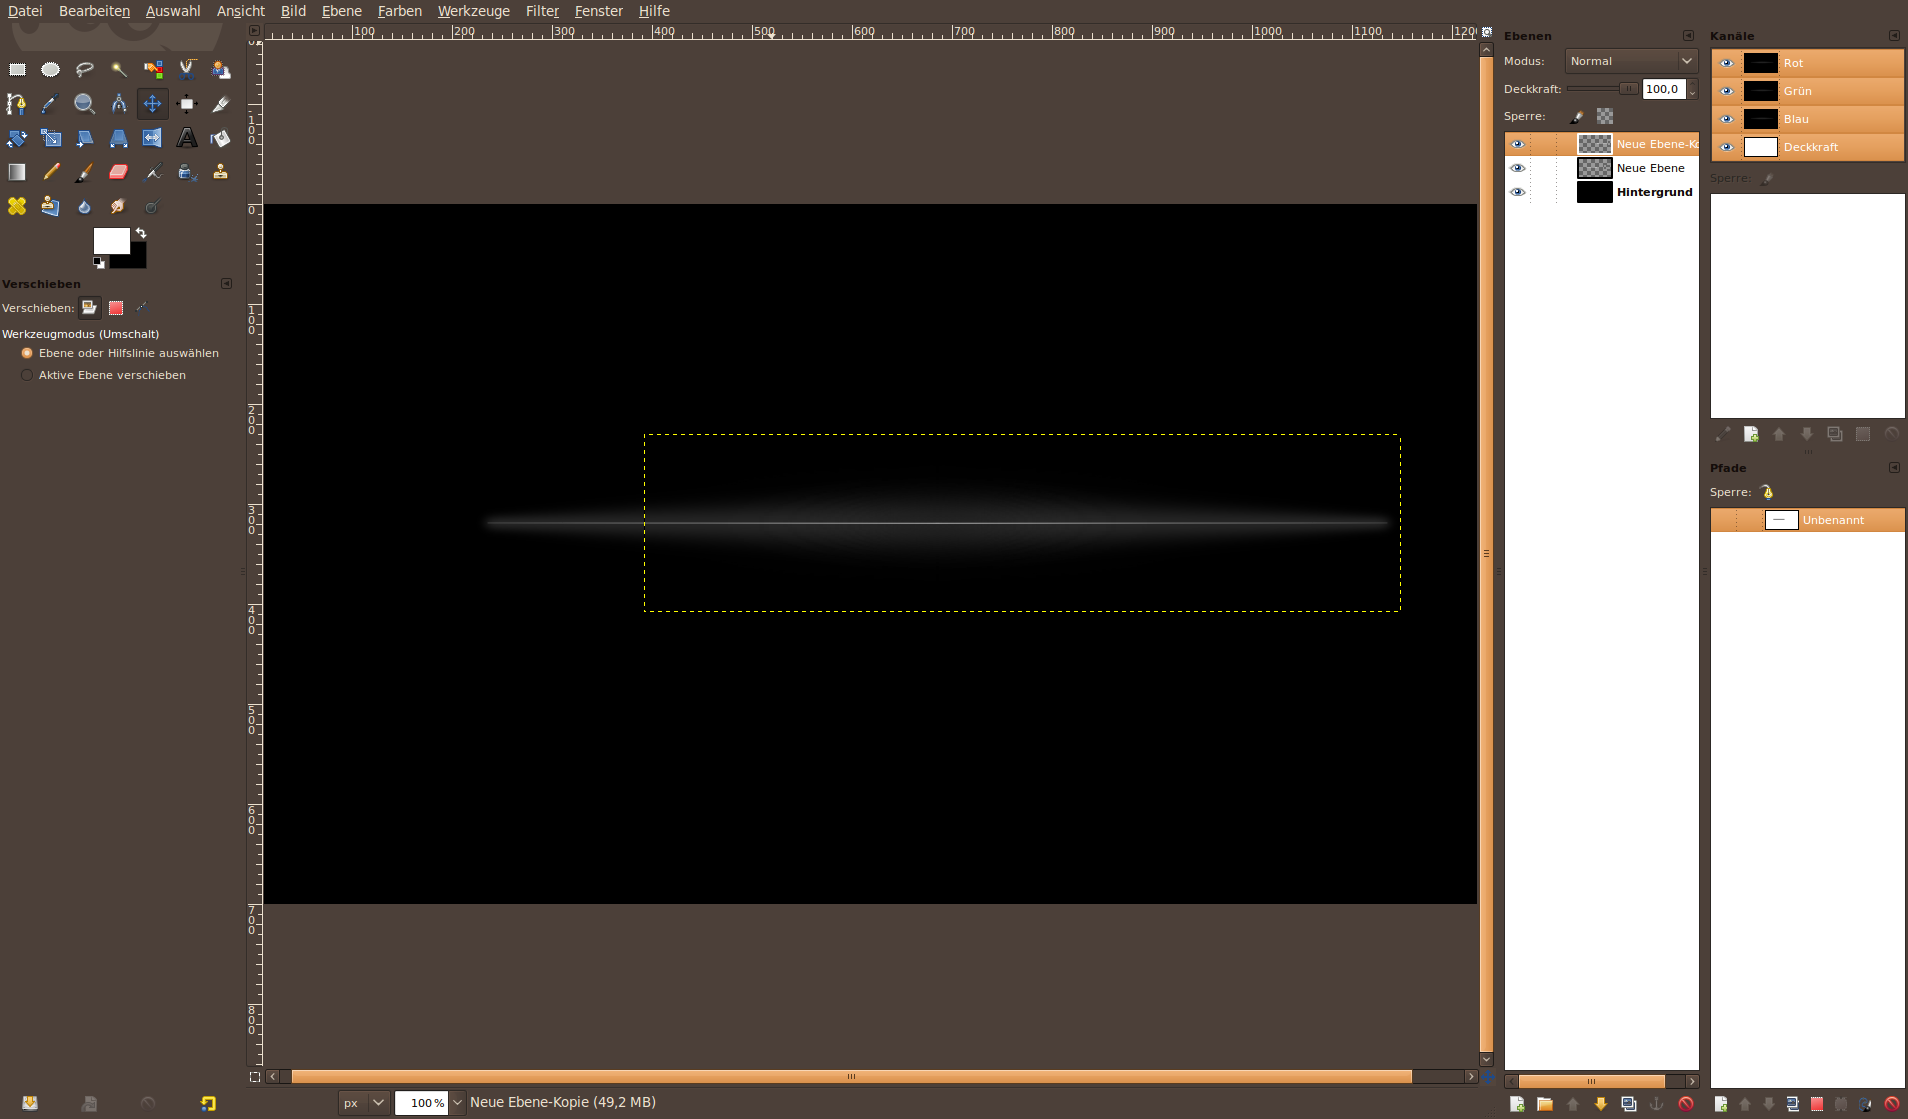
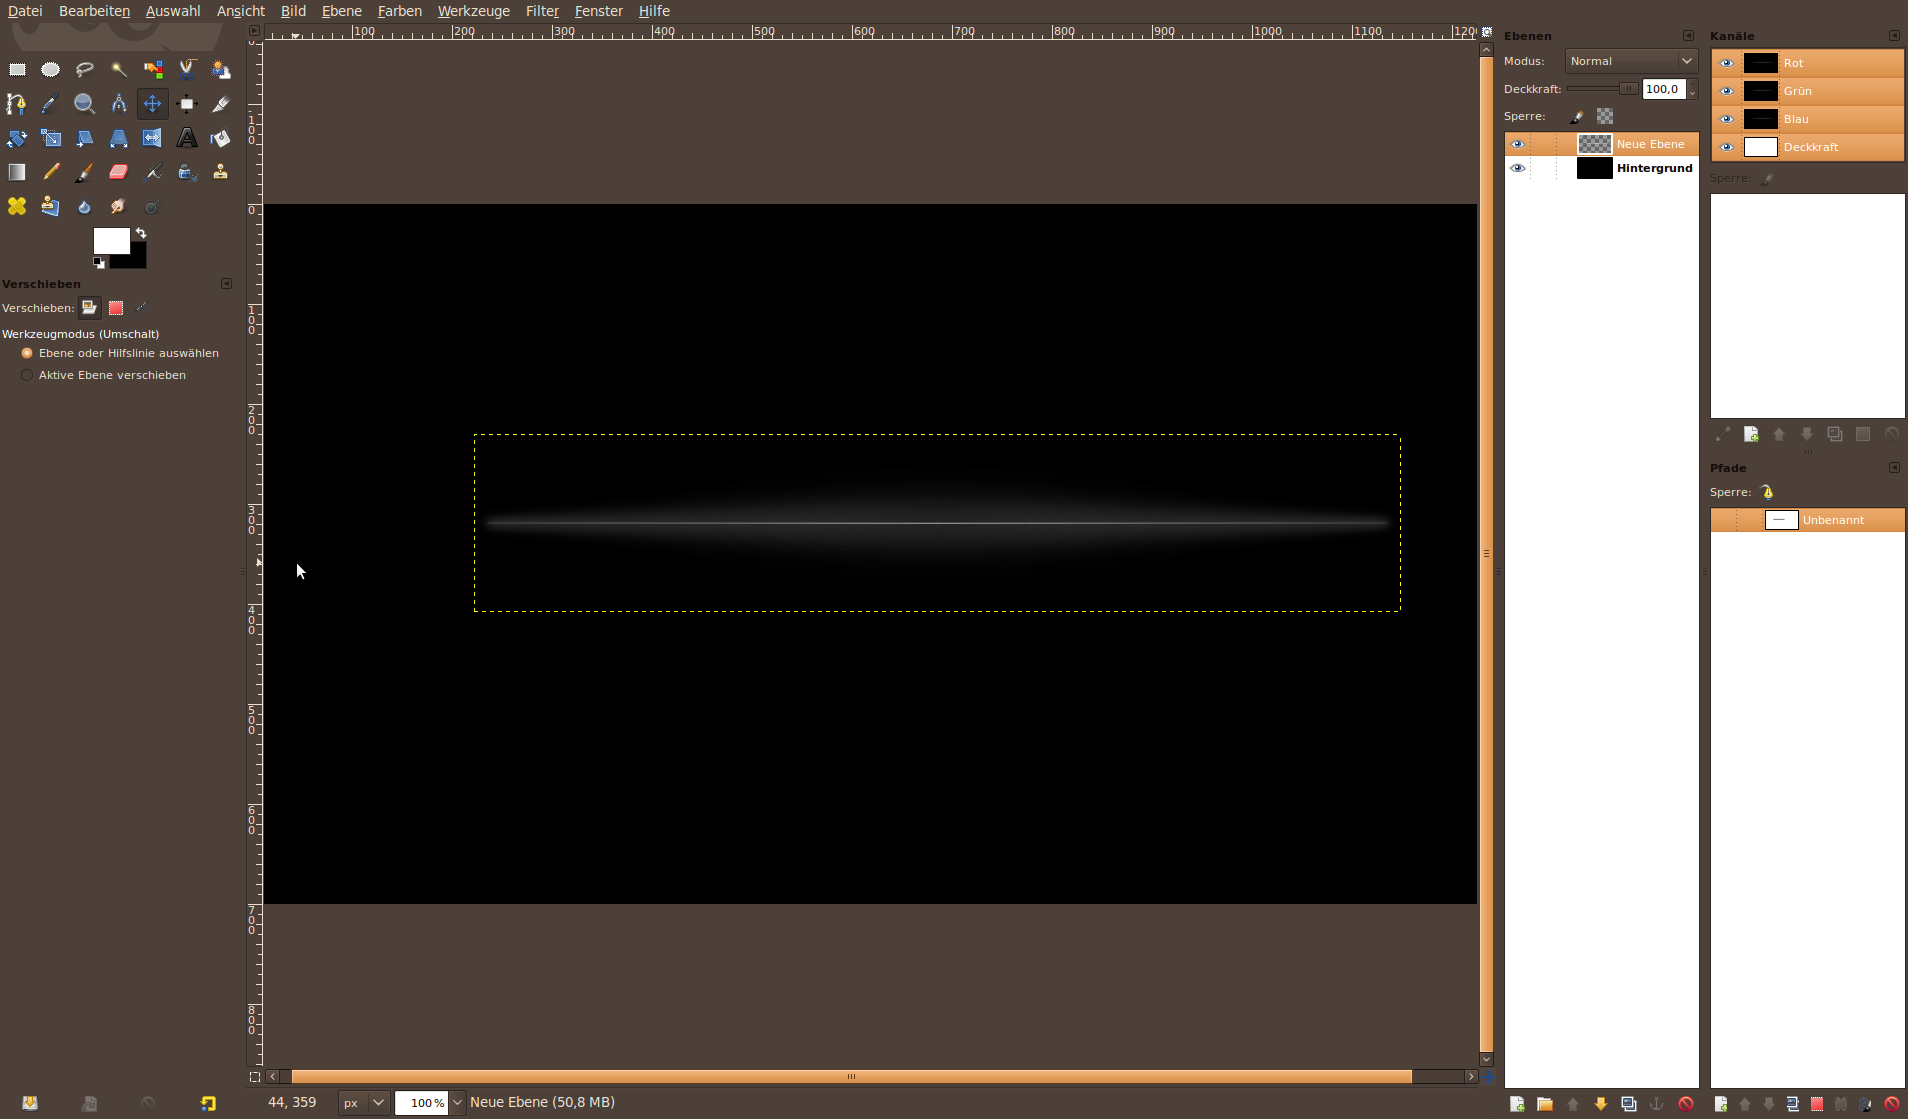
Click the right mouse button on the blurry layer to bring up the context menu and choose “Merge Down”. That will combine the layers into one.
- Layer / Crop layer automatically. -
6
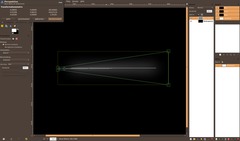
- Now choose the “Perspective” tool (SHIFT+P).
- Move the top and bottom left corners to each other so that they meet in the left middle as seen in the picture below.
-
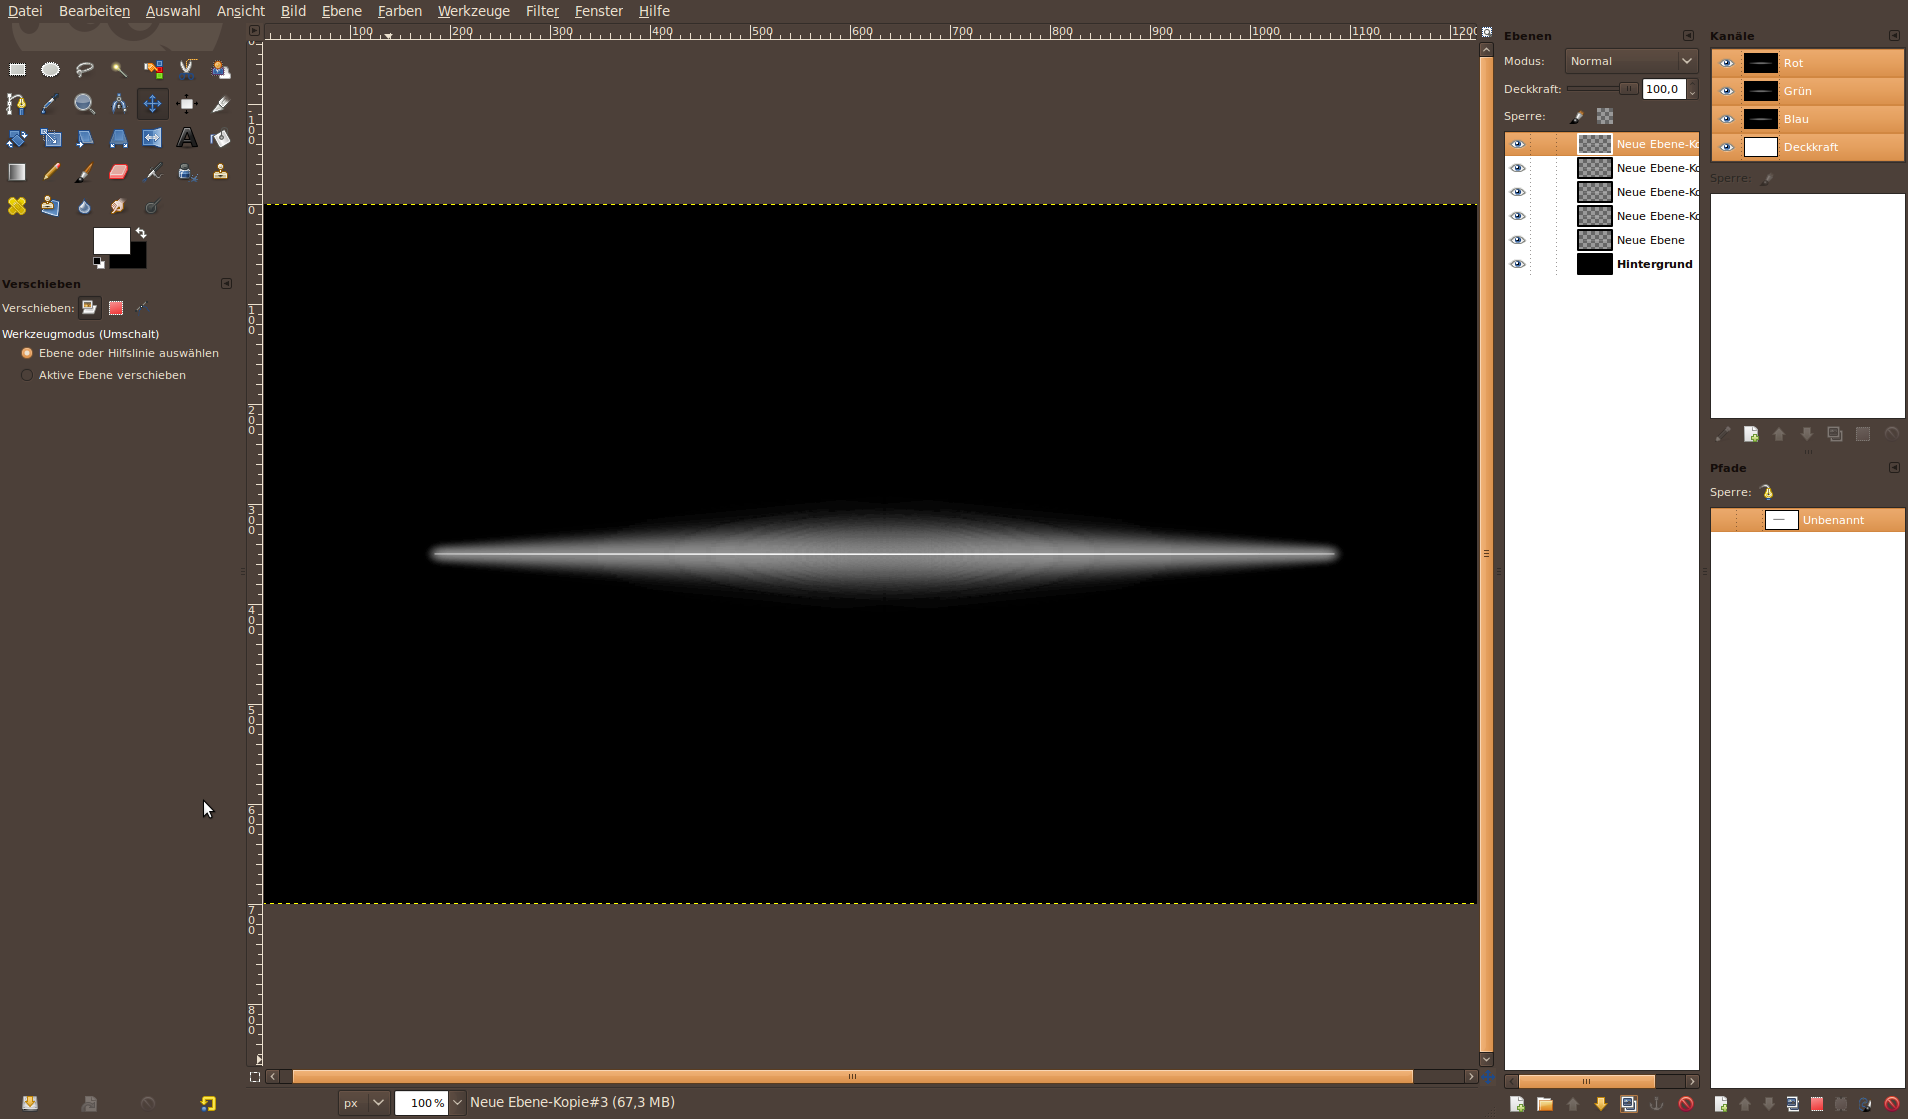
7
By now you should have a line that has a shine and is thinner on the left side. We’re finishing the line base by duplicating the line and flipping it:
- duplicate the layer
- choose the Flip tool (SHIFT+F) and click the layer on the canvas to flip it.
- now move the duplicate to the right so that there is a perfect smooth looking line that looks like it would be one. -
8
- Choose “Merge Down” again from the layers context menu.
-
9

We’re now using the IWarp tool to get some curves in.
- Move the layer to the middle of the canvas.
- Layer / Layer to picture size. By doing that we get more possible space to work on the layer with the IWarp filter. -
10
- duplicate the layer with the line 3 to 5 times.
-
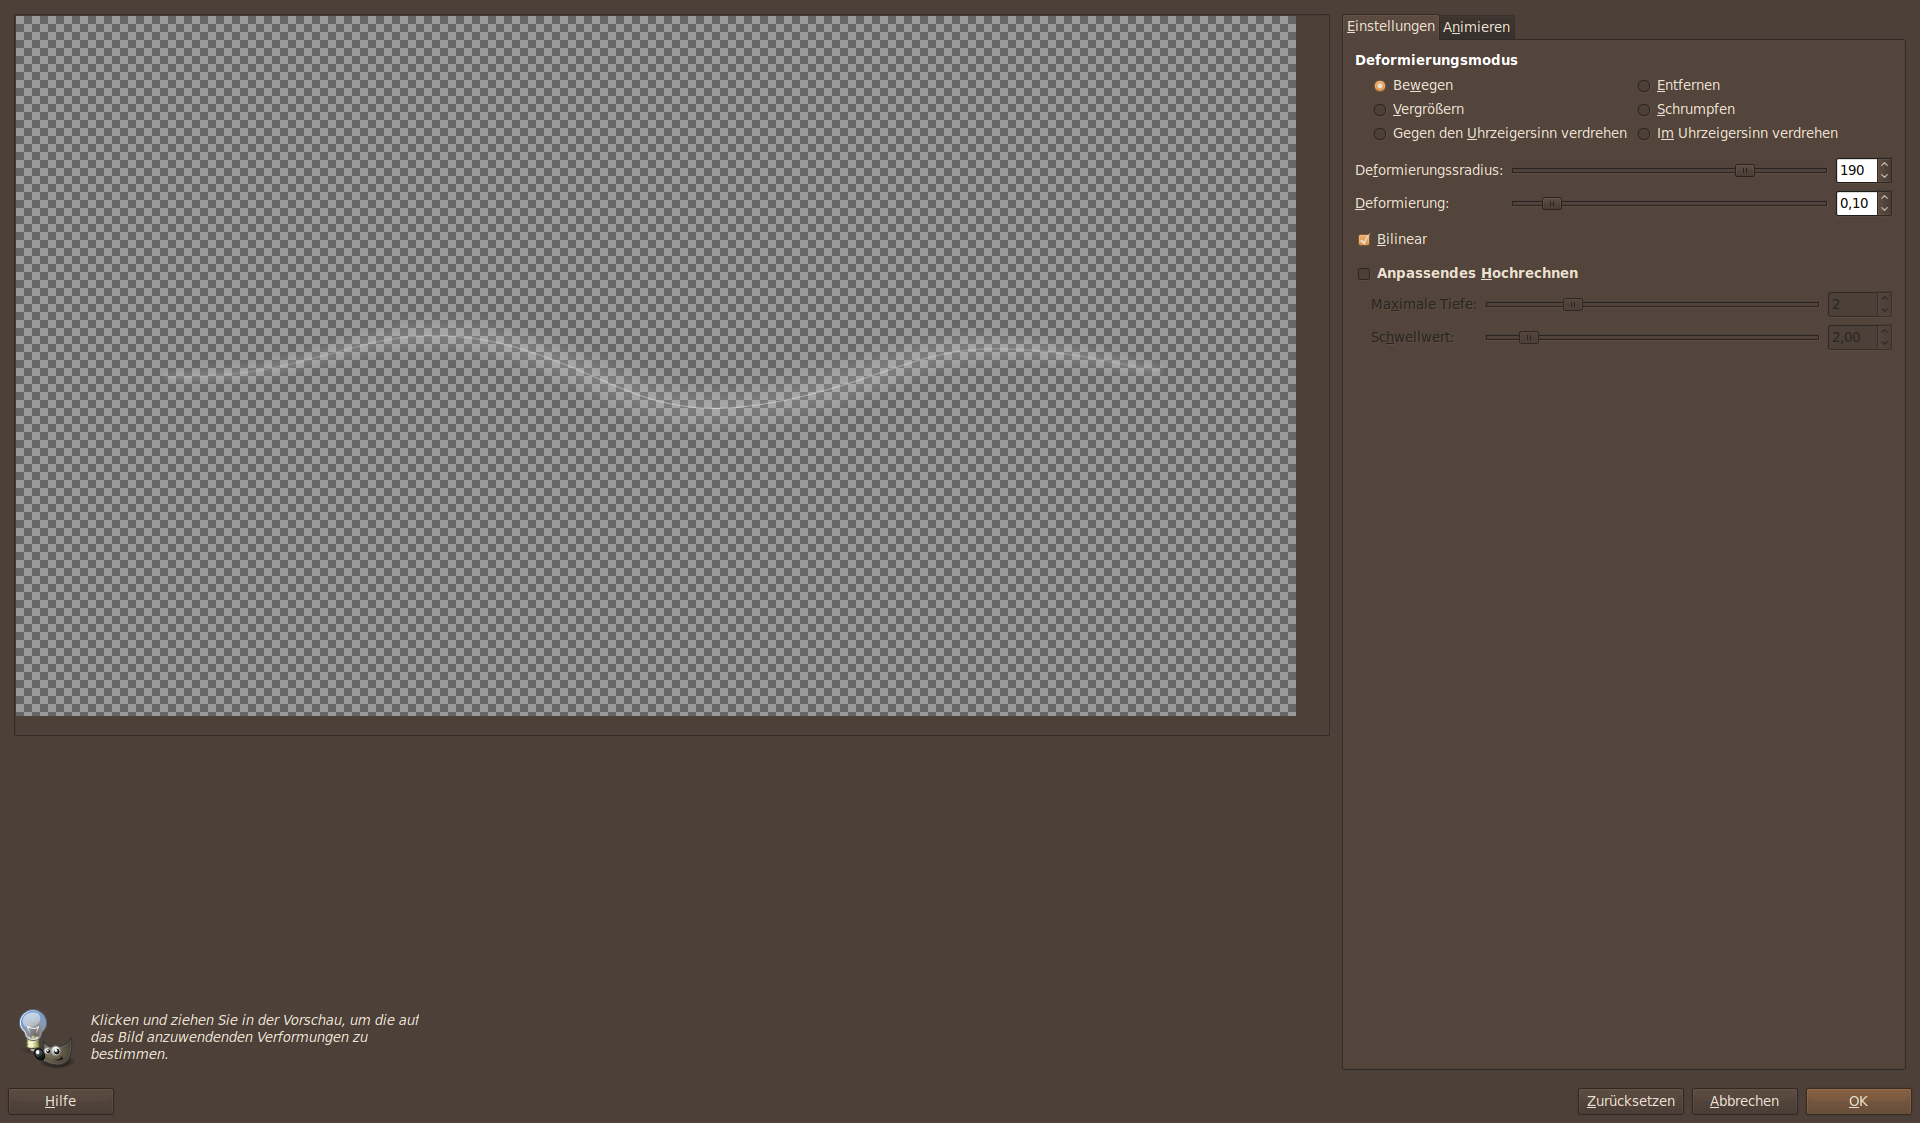
11
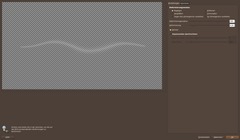
- Select Filter / Distort / IWarp. As values use:
Choose 180-200px for the “Move” option, select a “Radius” betwenn 0.10-0.20.
Maximize the filter window. Work in the preview window to the left and click inside below the left end of the line and drag the mouse cursor to the upper right direction. You’ll create a nice smooth curve by doing so. You have to player around a bit in this step to get nice (but not too big) curves in you line.
-
12

Choose another layer and repeat the step above for all of the duplicates. The aim is to get little different curves all the time.
-
13
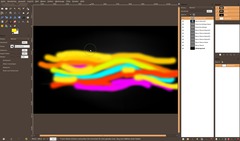
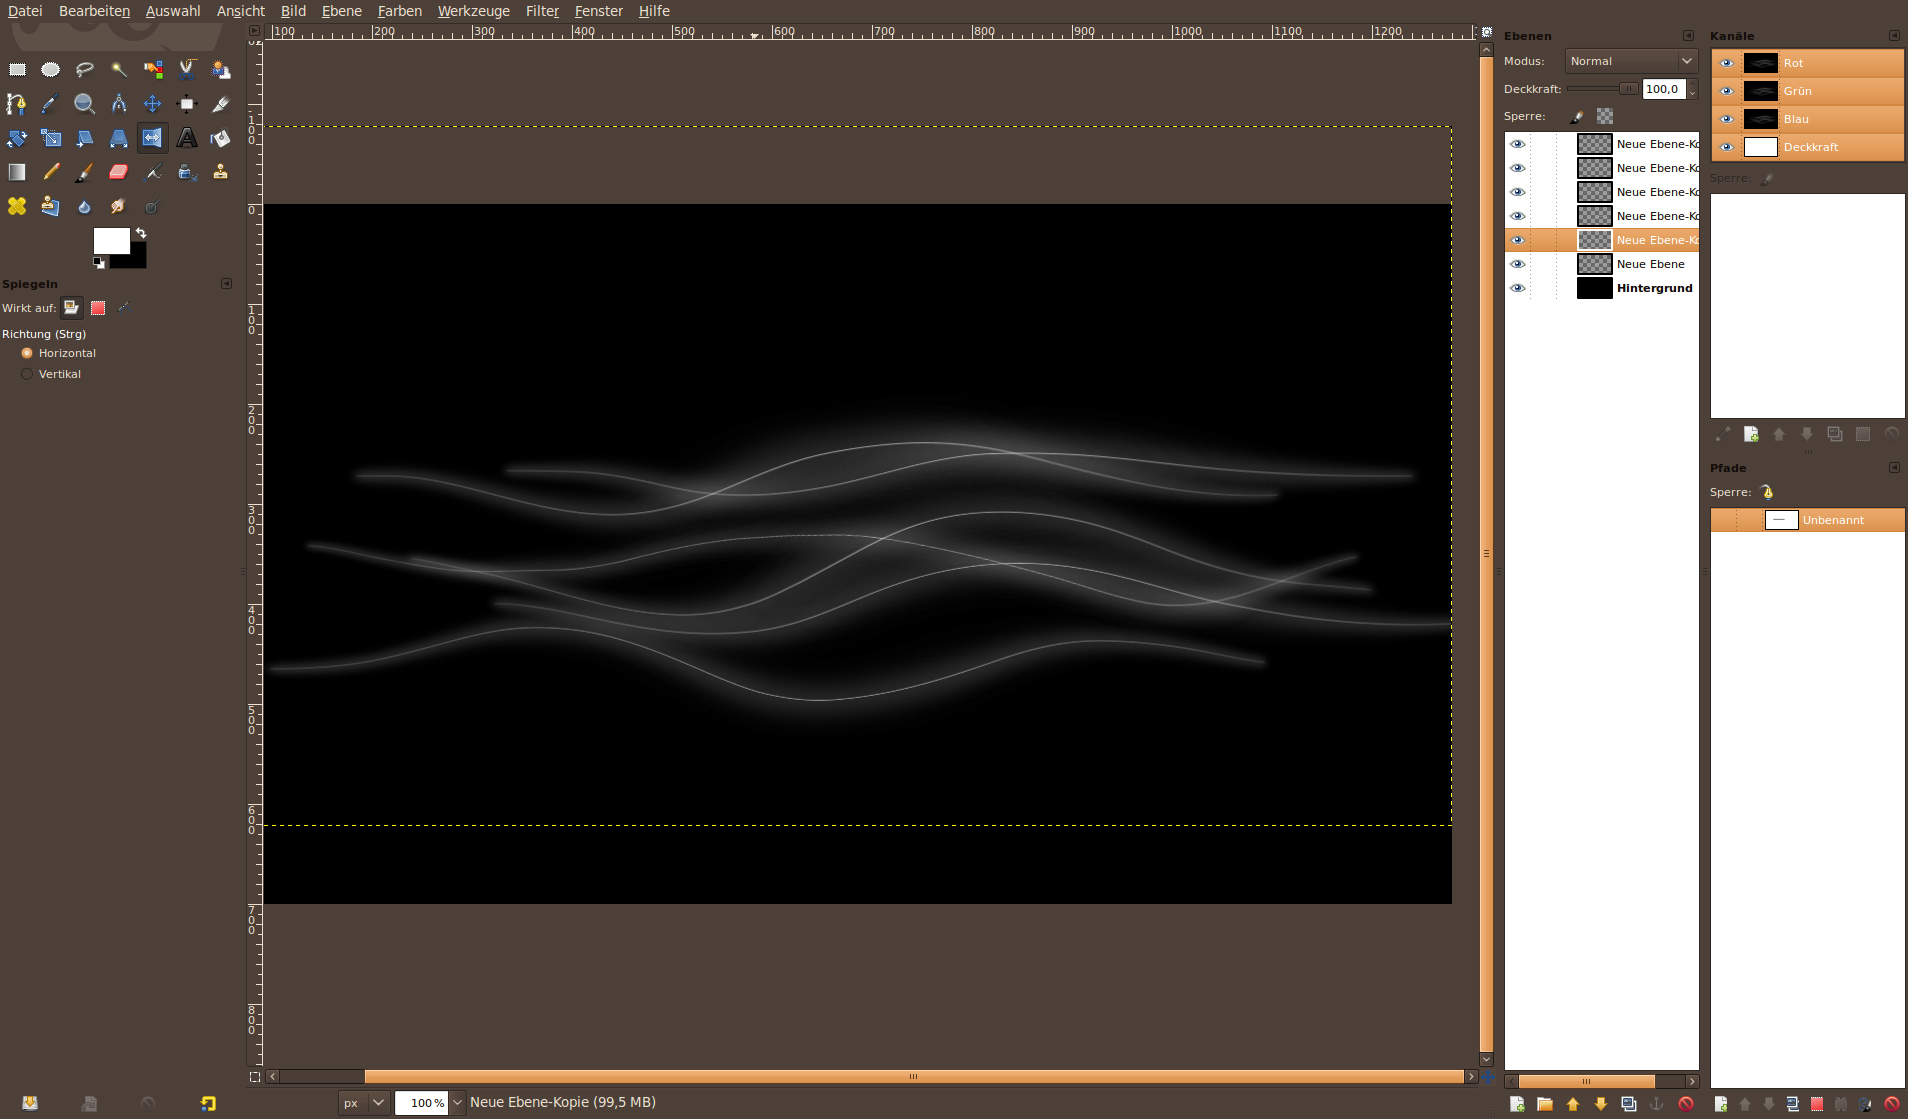
Move the lines a little bit away from each other.
-
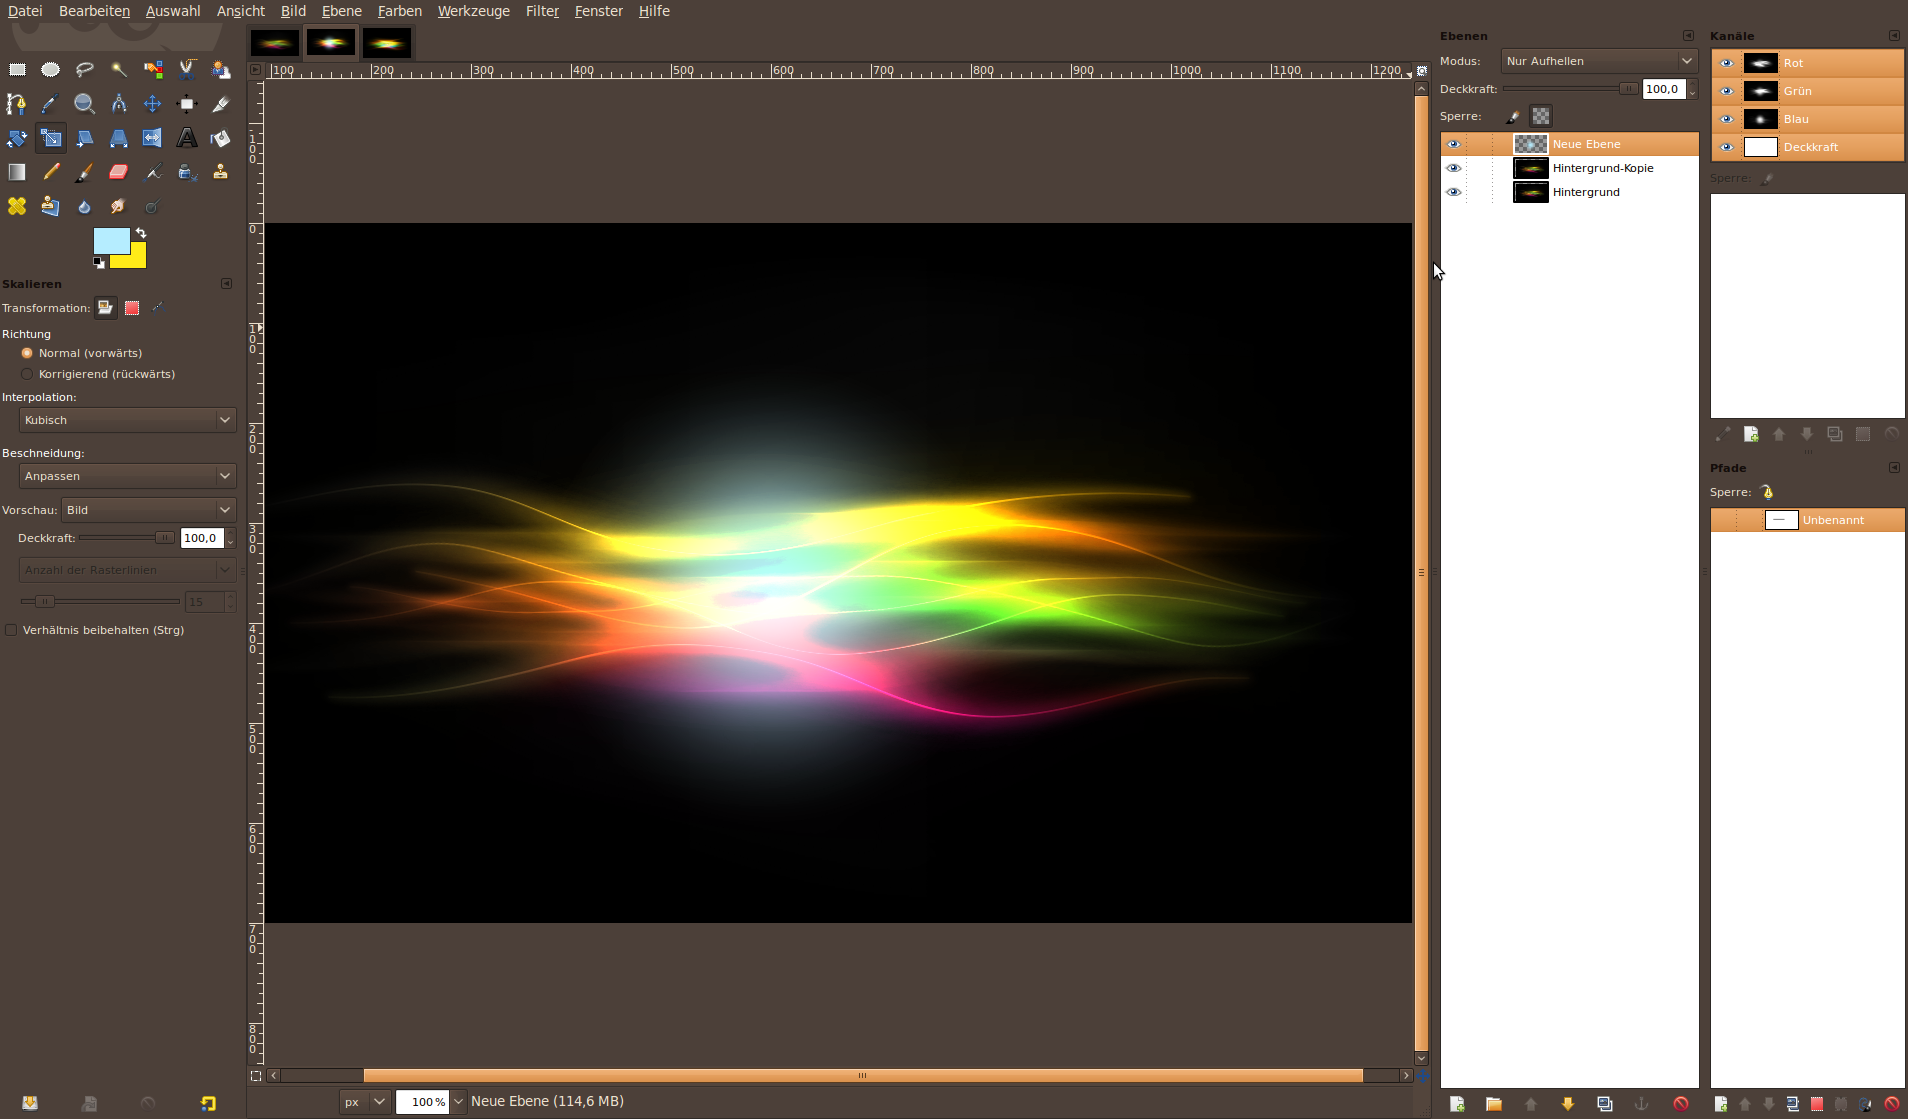
14
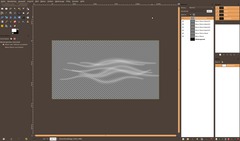
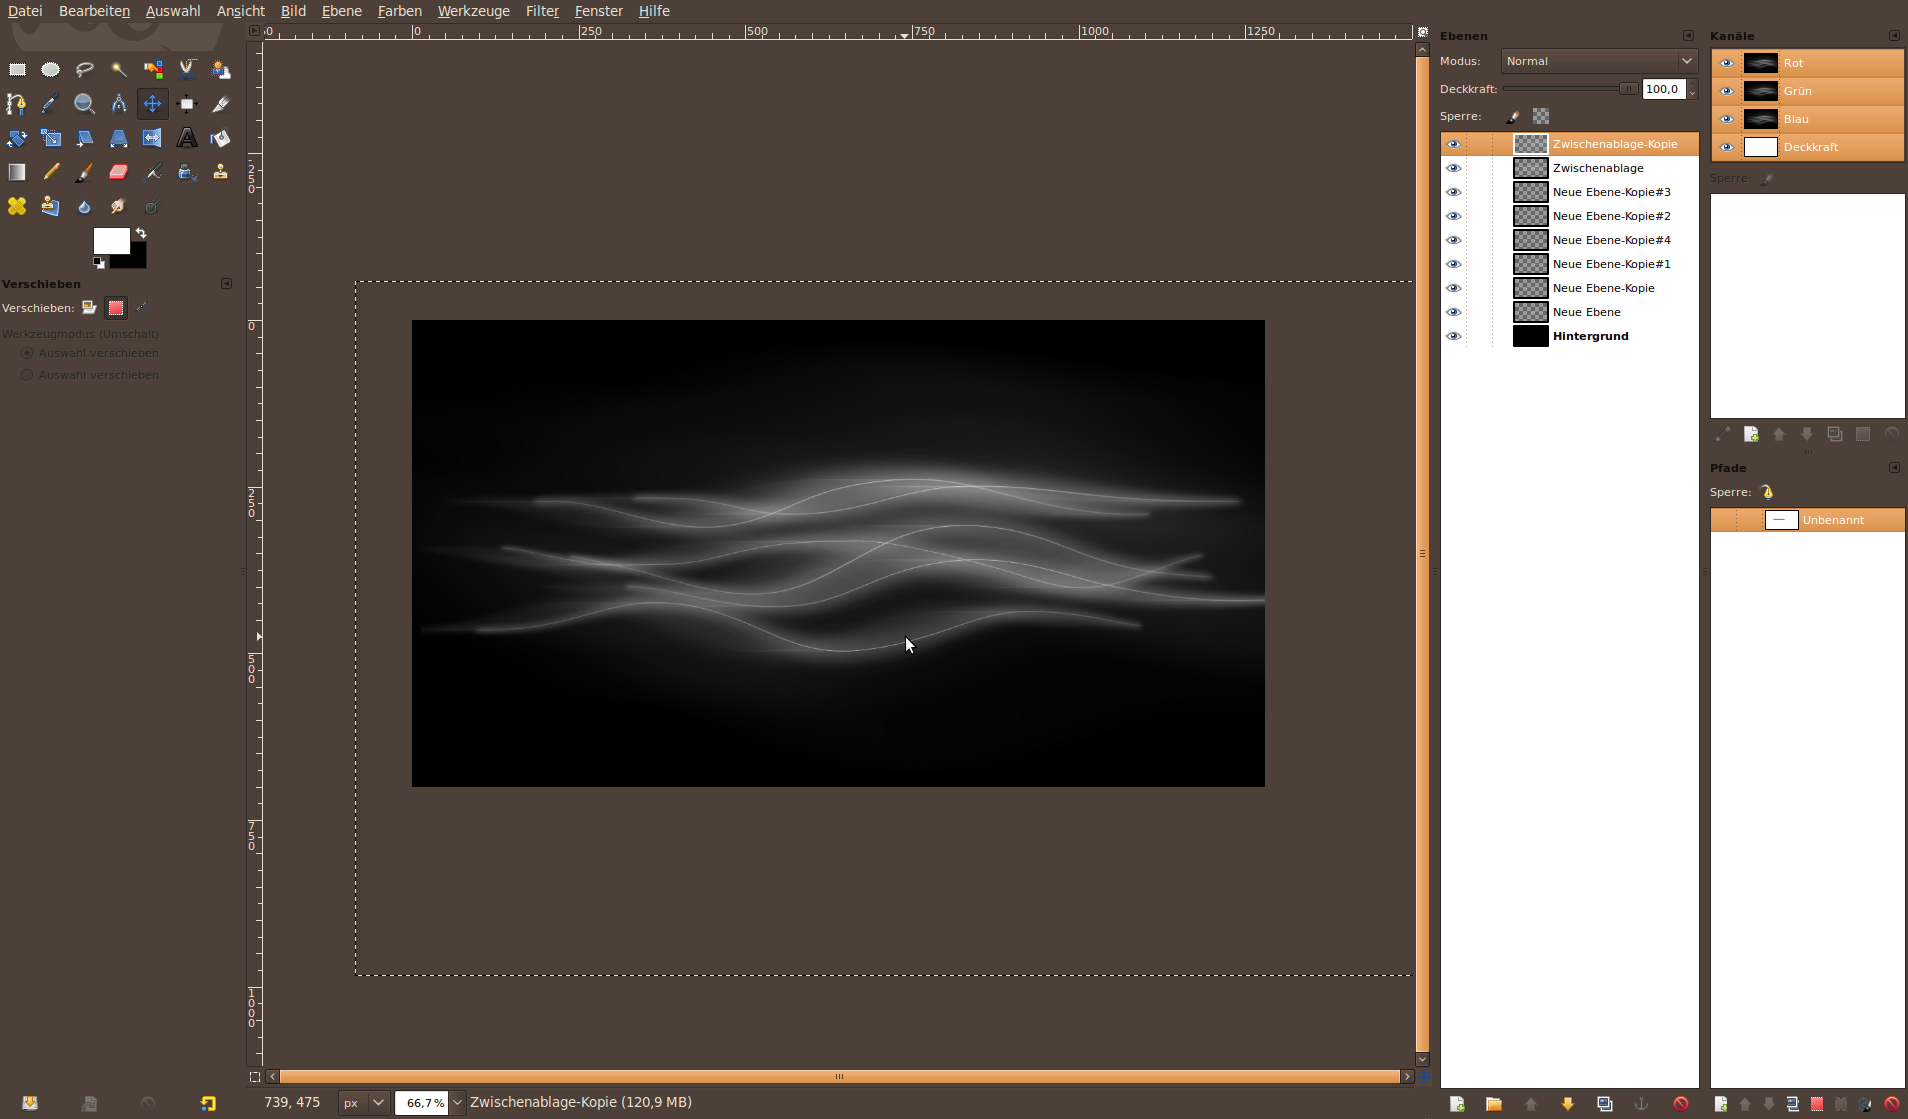
Deselect the eye icon to make the background layer disappear. Choose the layers context menu and select “New from Visible” (or go to Edit / Select visible. Edit / Paste visible as new layer. this has the same effect).
-
15

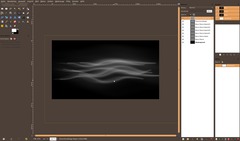
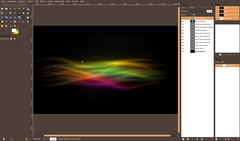
Make sure the new layer is active and you can work on it.
Now we’re getting some dynamic into the picture. Go to Filter / Blur / Motion Blur. Use “Linear” and a length of 170px, Angle 0 as values. It should look like the image below now.
-
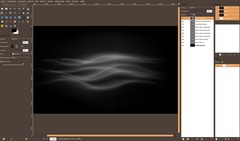
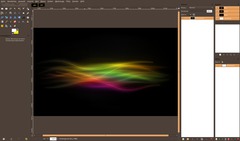
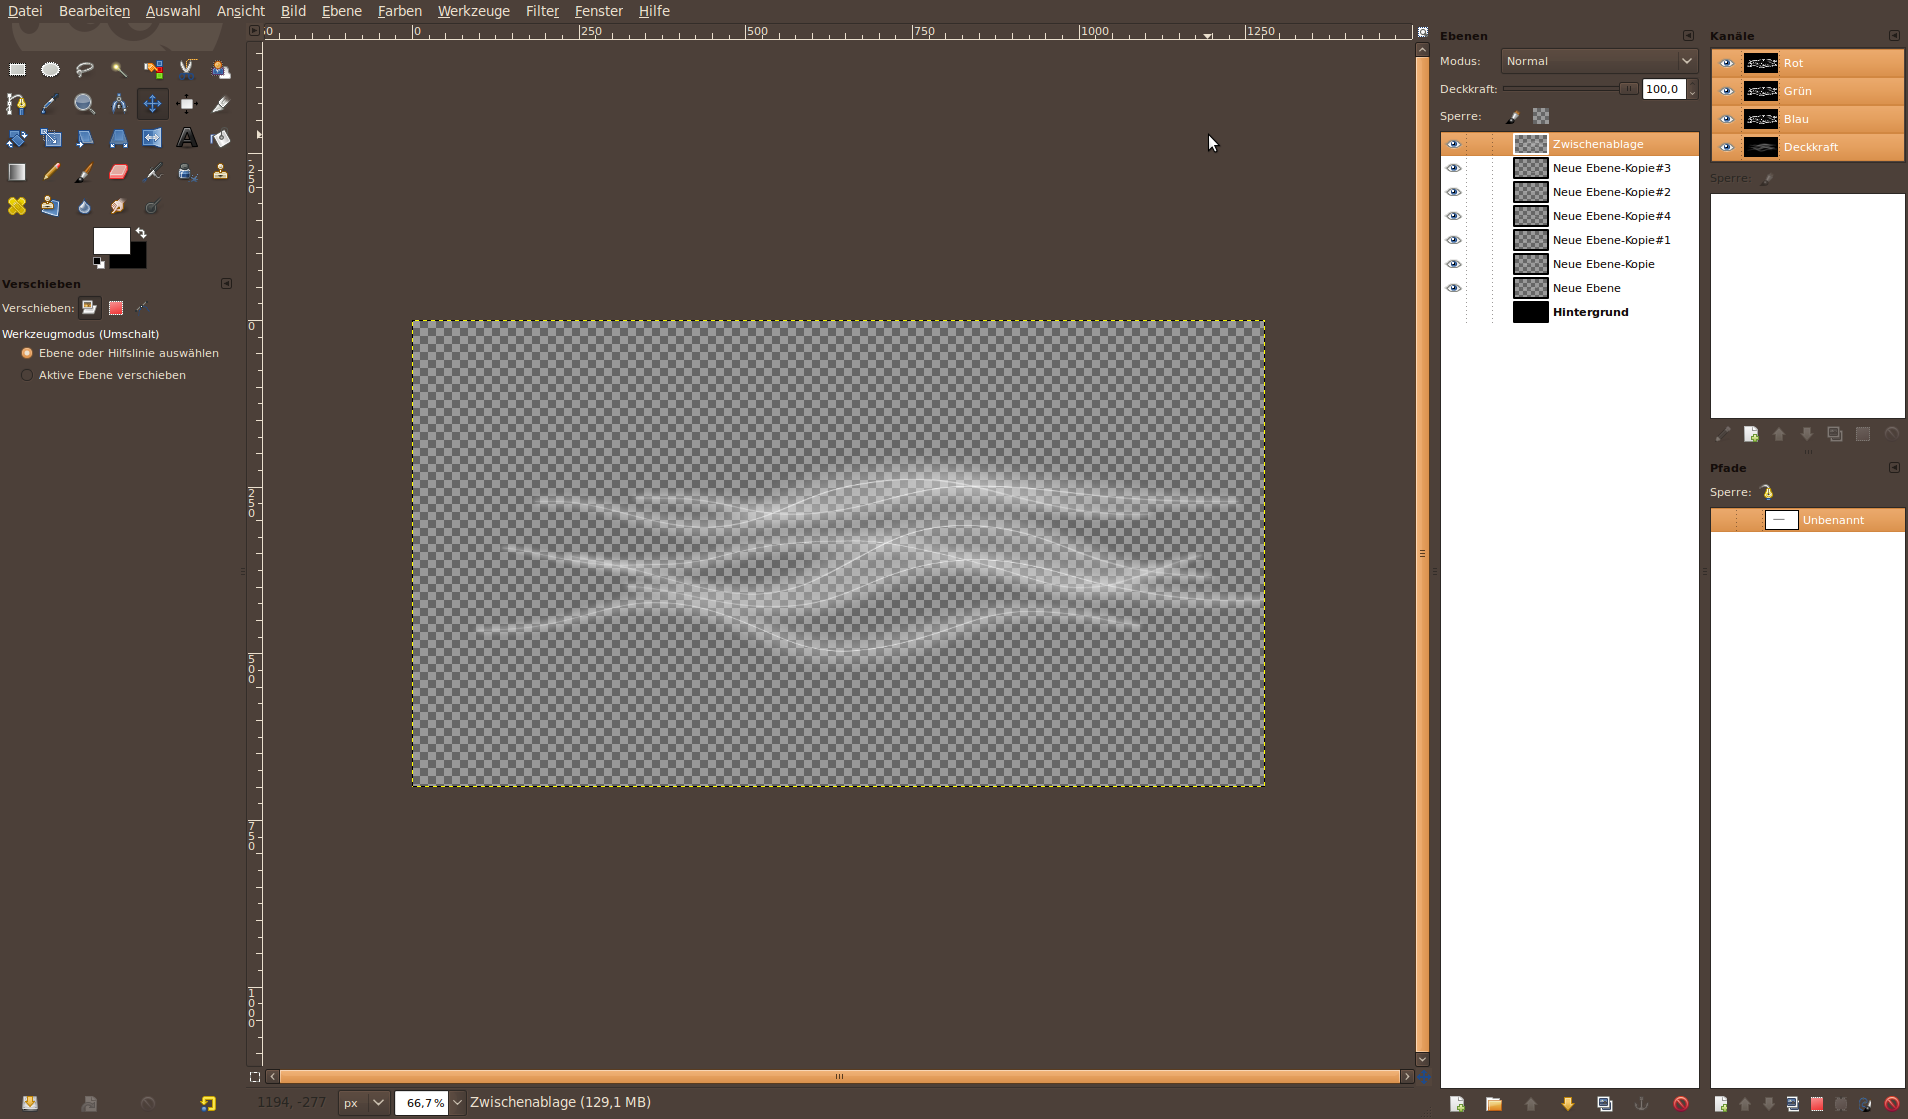
16
Duplicate the blurred layer and re-use the filter again. But this time use 190px length and an angle of 40°. After that use the Scale/Transform tool and scale it to 150%. Drag the layer to a position so that the gray blurry area lies above the lines.
-
17
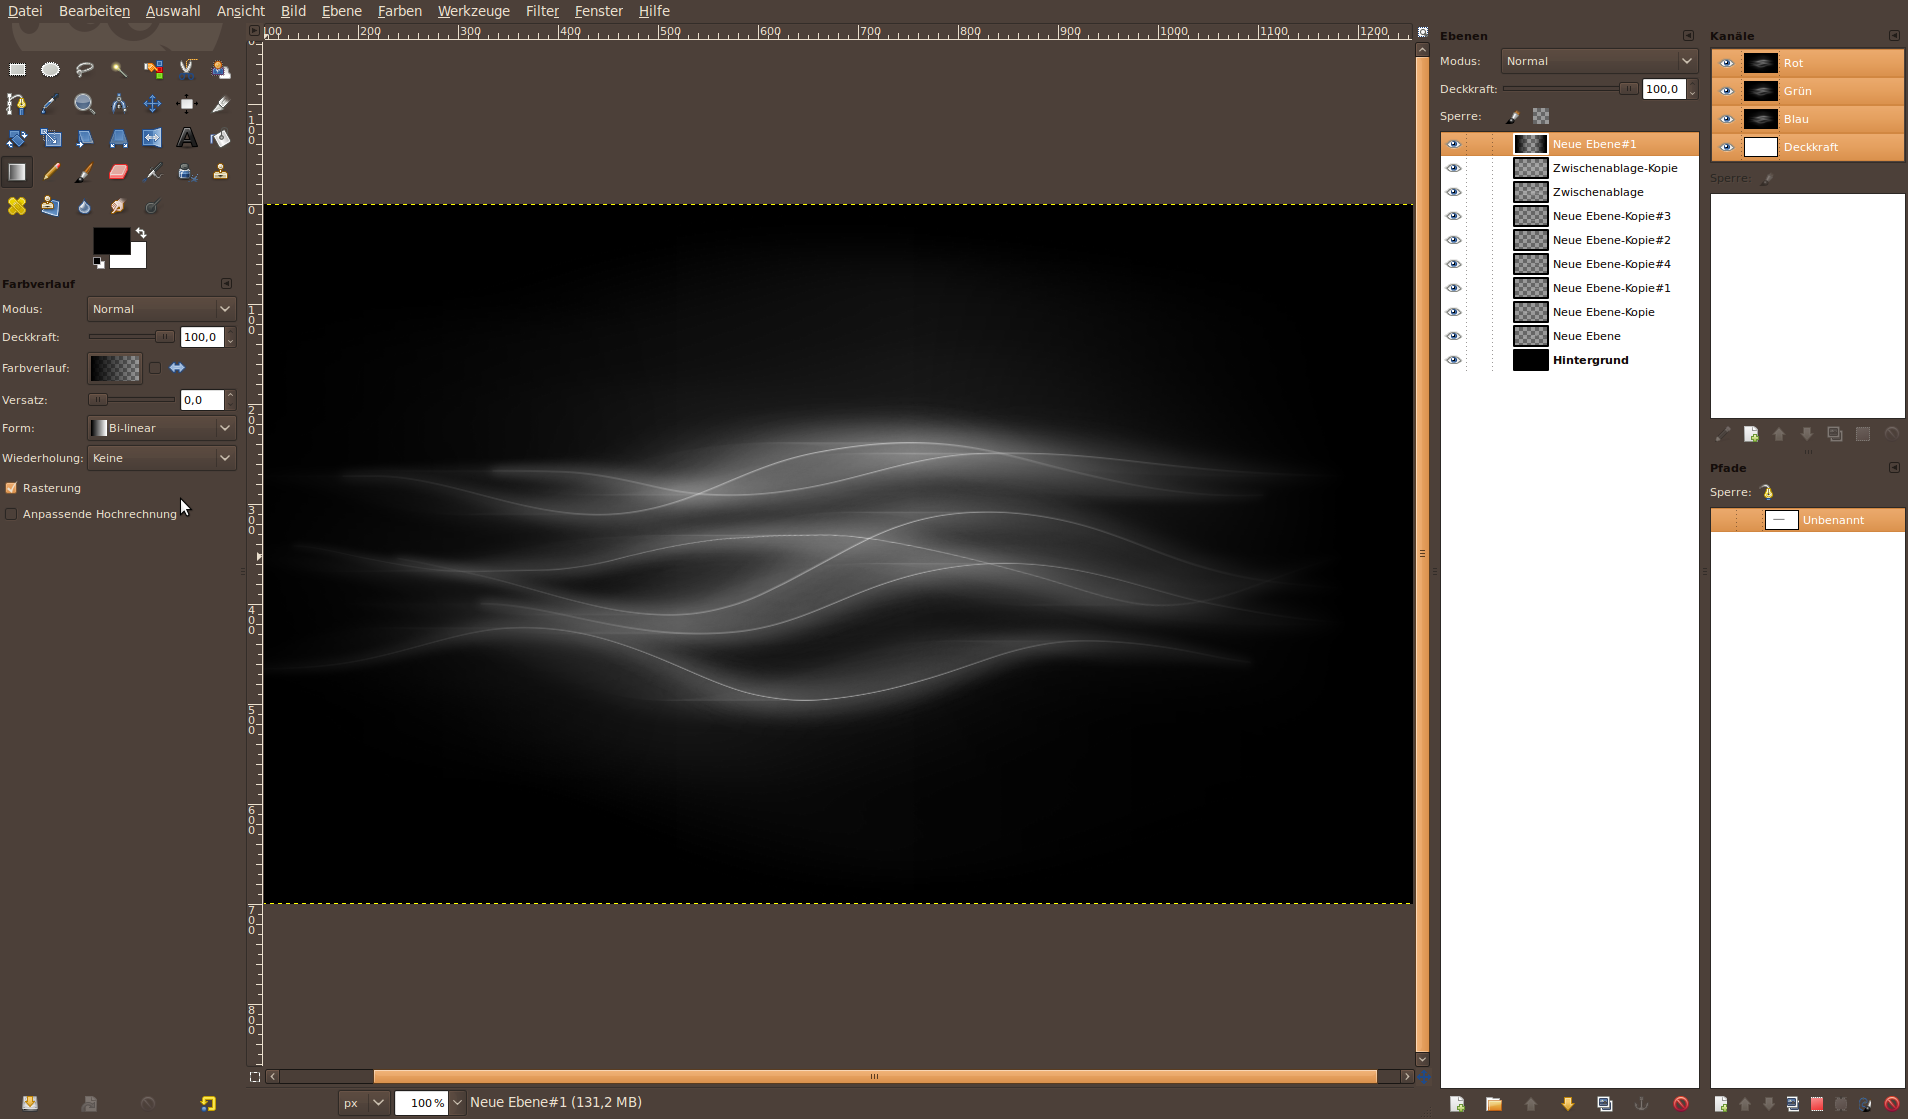
- New transparent layer
- Use the Gradient tool now. Select Black as new foreground color. In the gradient tools properties choose the FG to transparency option. Then drag a gradient from the left to the right. That should darken the left side. Do so for the right part of the image too. -
18
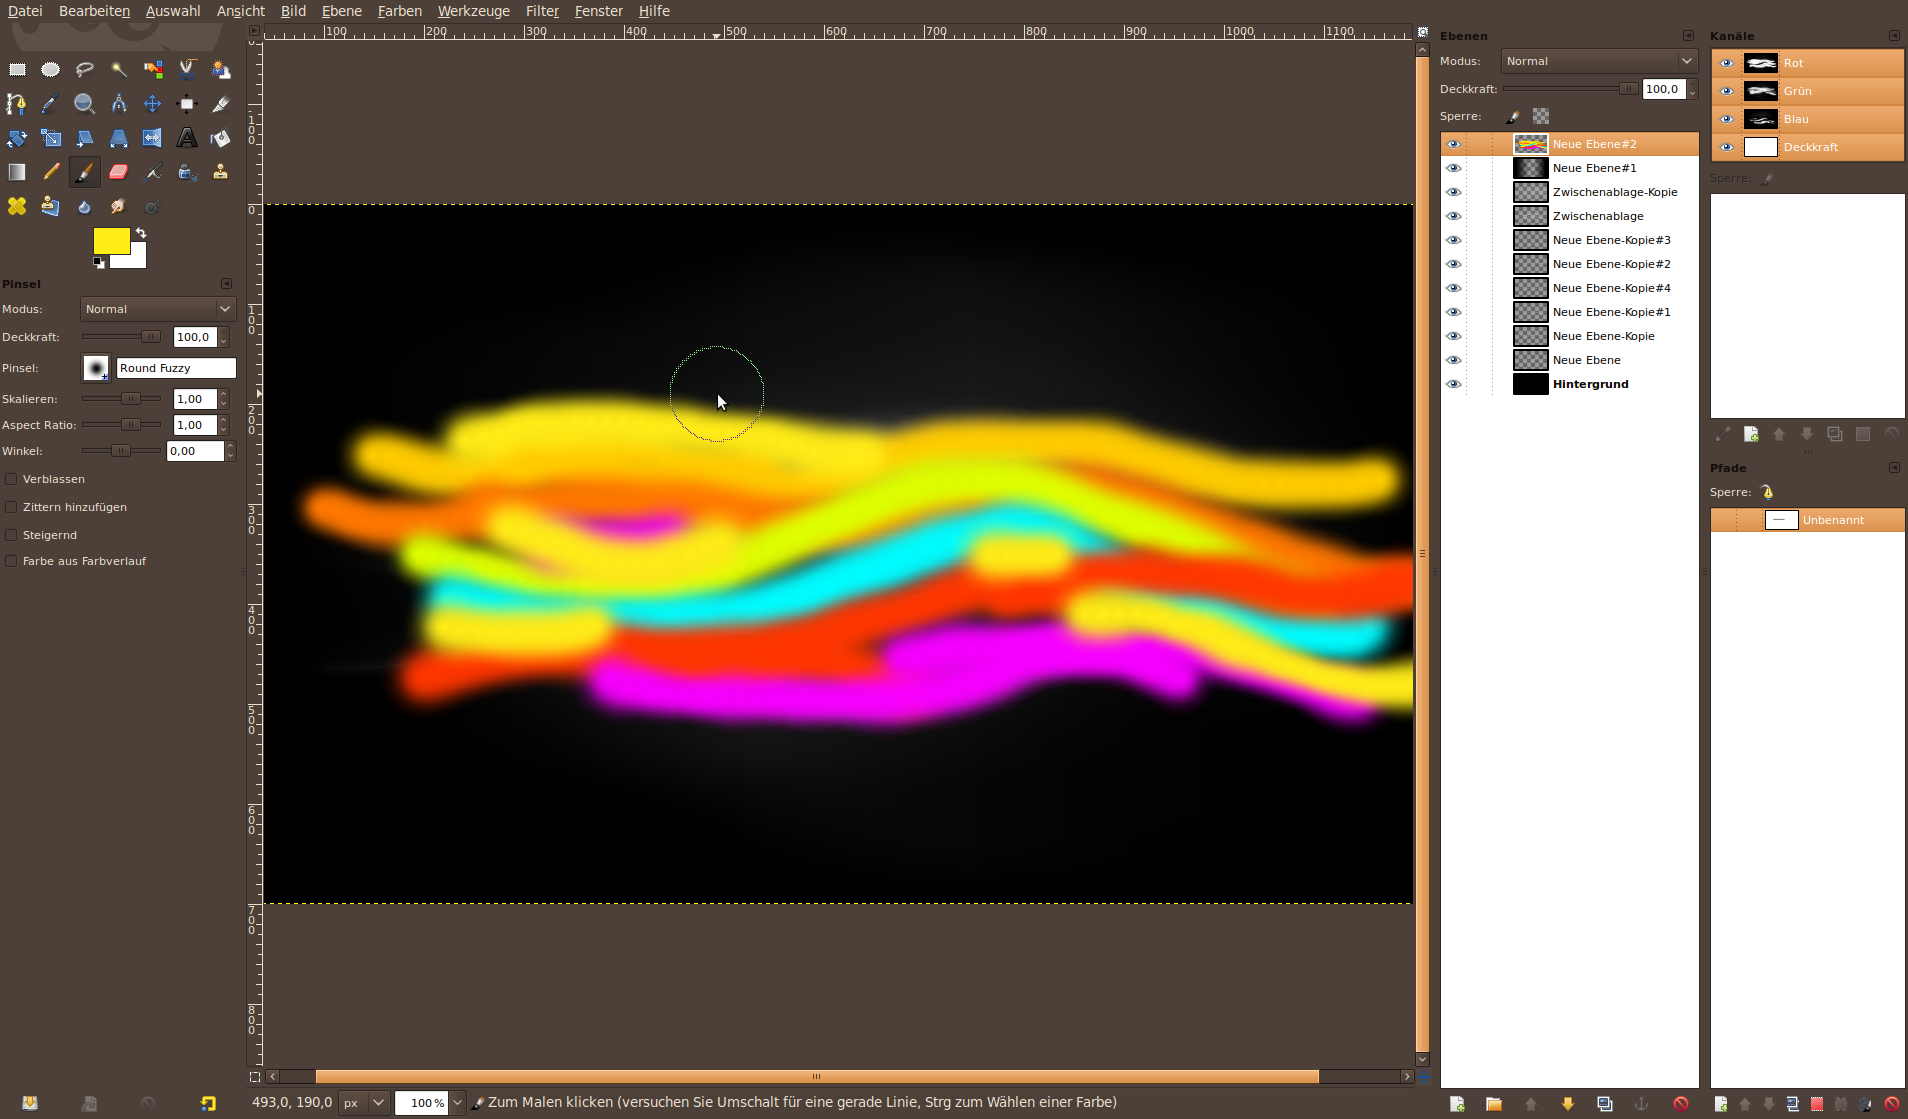
- New transparent layer
- Use the Brush tool and paint some color along the lines. It should look somehow like the picture below. -
19
Now use the Motion Blur filter again: Angle: 0, Length about 200 pixels.
After that blur the layer again by using Filter / Blur / Gaussian Blur: 100px. Set the layers mode (the option is found above the opacity/transparency ruler in the layers dialogue) to “Color”. You can move the lines to other positions that fit better if you want. You may also choose a lower opacity for some layers. The aim is to get a nice looking image (of course ;))
Save the image as i.e. lines-base.xcf.
-
20
Duplicate the whole image (CTRL+D) and merge all layers by pressing CTRL+M in the duplicate.
-
21

Duplicate the background layer. Go to Filter / Blur / Gaussian: 10px. Set the layers mode to “Dodge”.
-
22
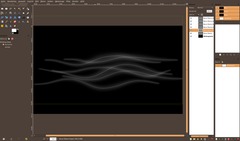
Next we want to highlight the middle of the picture.
- Create a new layer. Choose the Brush tool and use a big smooth Brush. Paint a single point into the middle of the image using #b5edff as color. Set the layer mode to “Lighten only”.
-
23
- Use the scale / transform tool and move the point a little together (rom top and from bottom).
-
24

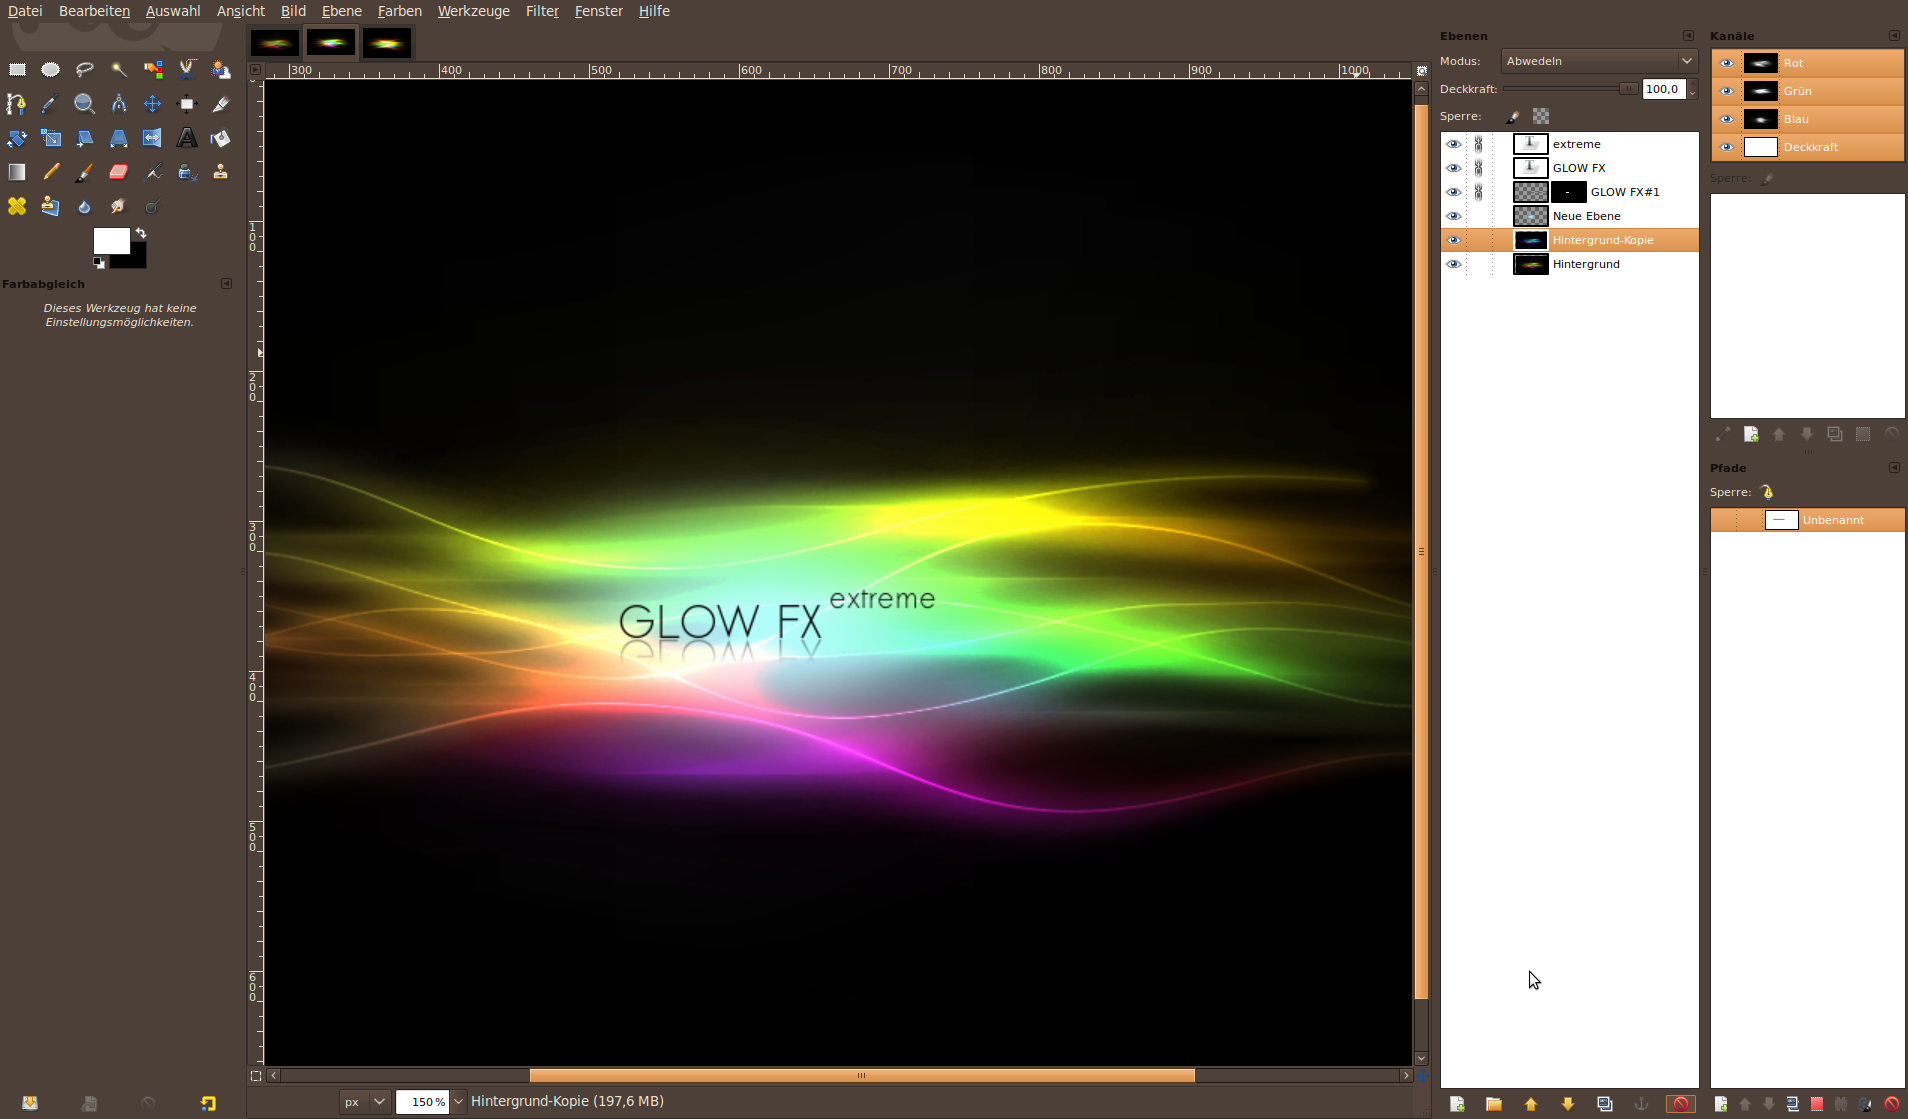
Now write a text using a thin font into the middle and flip a duplicate of the text – maybe use a layer mask with a black-white gradient to get a nice mirror-effect. That will emphasize the glowing effect even more.
-
25
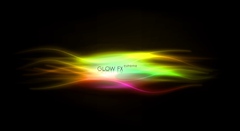
We’re done! Have fun with your own glow fx extreme effect! It can be nicely used as desktop wallpaper or for any graphics work.
-
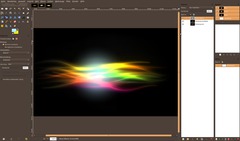
26
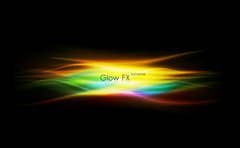
And here is a 2nd version that I created using the techniques above.
I hope you enjoed the tutorial!


Comments
Post your own comments, questions or hints here. The author and other users will see your posting and can reply to it.
Of course, you can also ask in the chat.
Subscription management
Please log in to manage your subscriptions.
User rating
This topic (Glow FX extreme) has been rated 4.7/5.0.
New comments are disabled because of spam.