


Tutorial: Extreme colors for your photos
 is licensed under a Create Commons Attribution-Non Commercial 3.0 Unported license.")

Download GIMP workspace (.xcfbz2) (26.4 MB)
Motivation
This technique (I call it "extreme colorize" myself ;)) combines lots of different layer masks with selective color correction to create a really colorful photo. The result is somehow a HDR like or DRI (dynamic range increase) like effect. Hope you like it!
Tutorial details
- Category: Techniques
- Time to reproduce: ≈45.0 minutes

- Tested with GIMP 2.7
-
1
 1001506_24318368.jpg
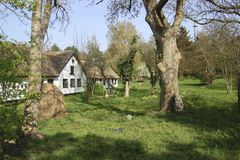
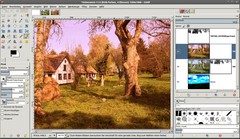
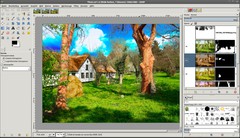
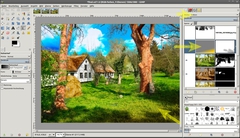
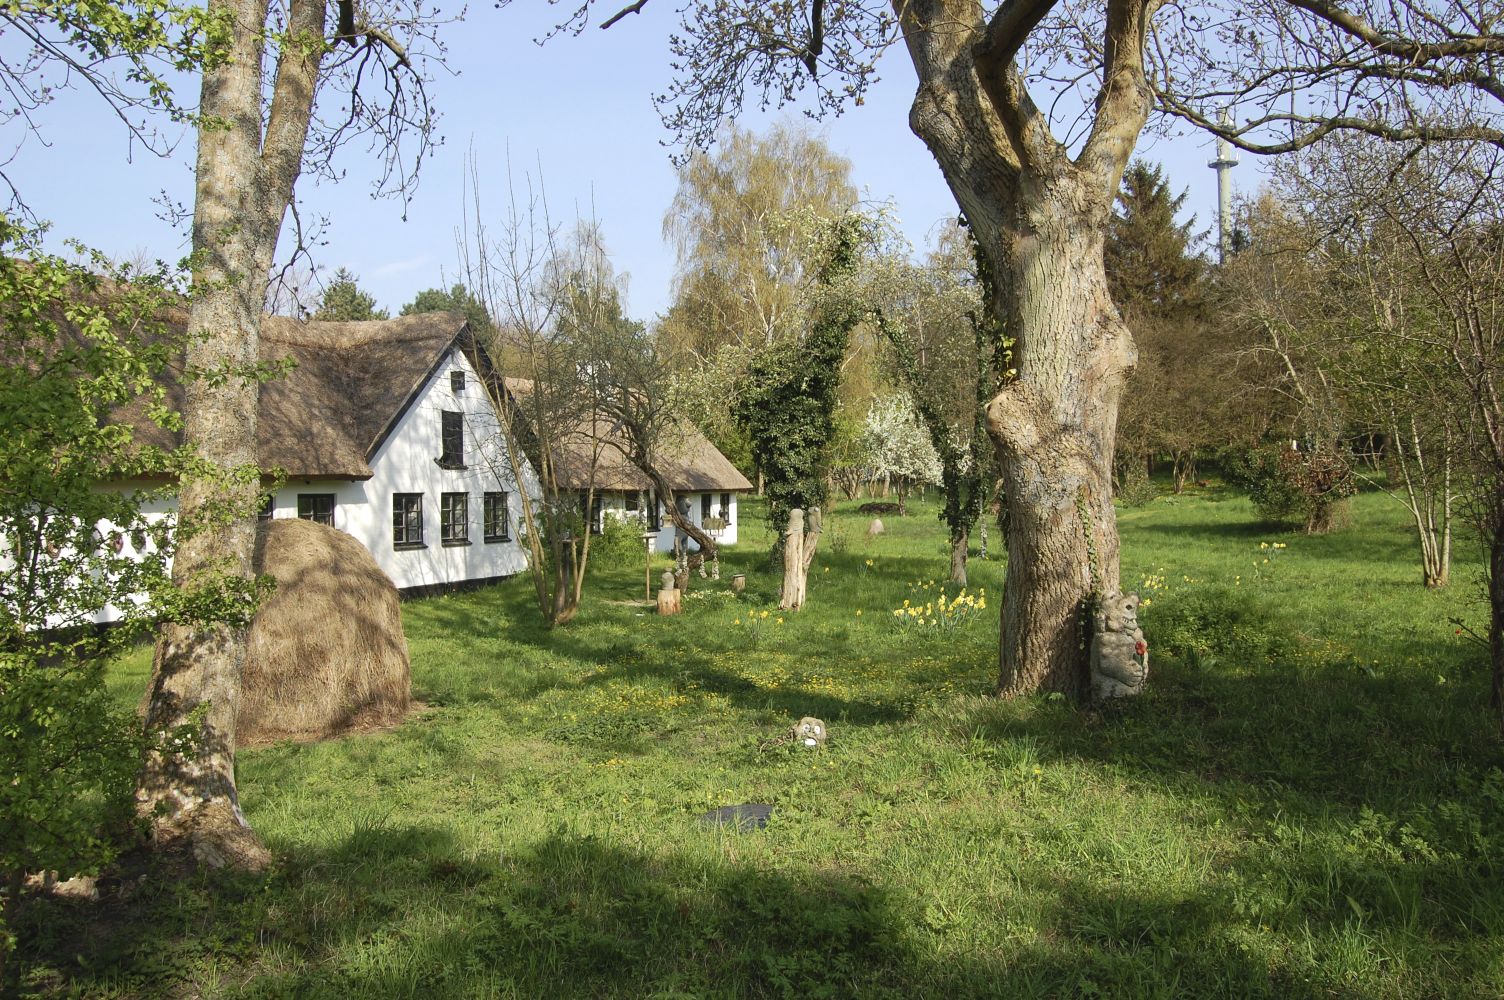
As a starting image I used a picture of a cottage. Right click the download link at this step and save the image.
-
2
The first step here could be to pop up the sky by replacing it with another one that has more contrast. To do that we’ve to mask the sky and use another image to replace it.
I’ve used a technique that is already descibed well in our tutorial: “Mask hair with fine strands”: You can do it pretty the same way here because the sky is almost single-colored and there is a nice contrast with the surrounding objects (cottage, trees).
However here are the steps to mask it in short:
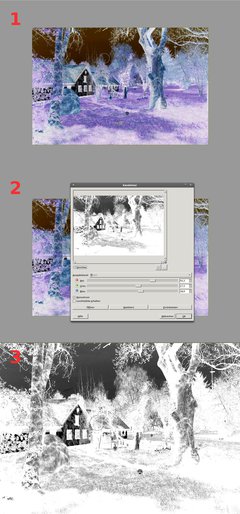
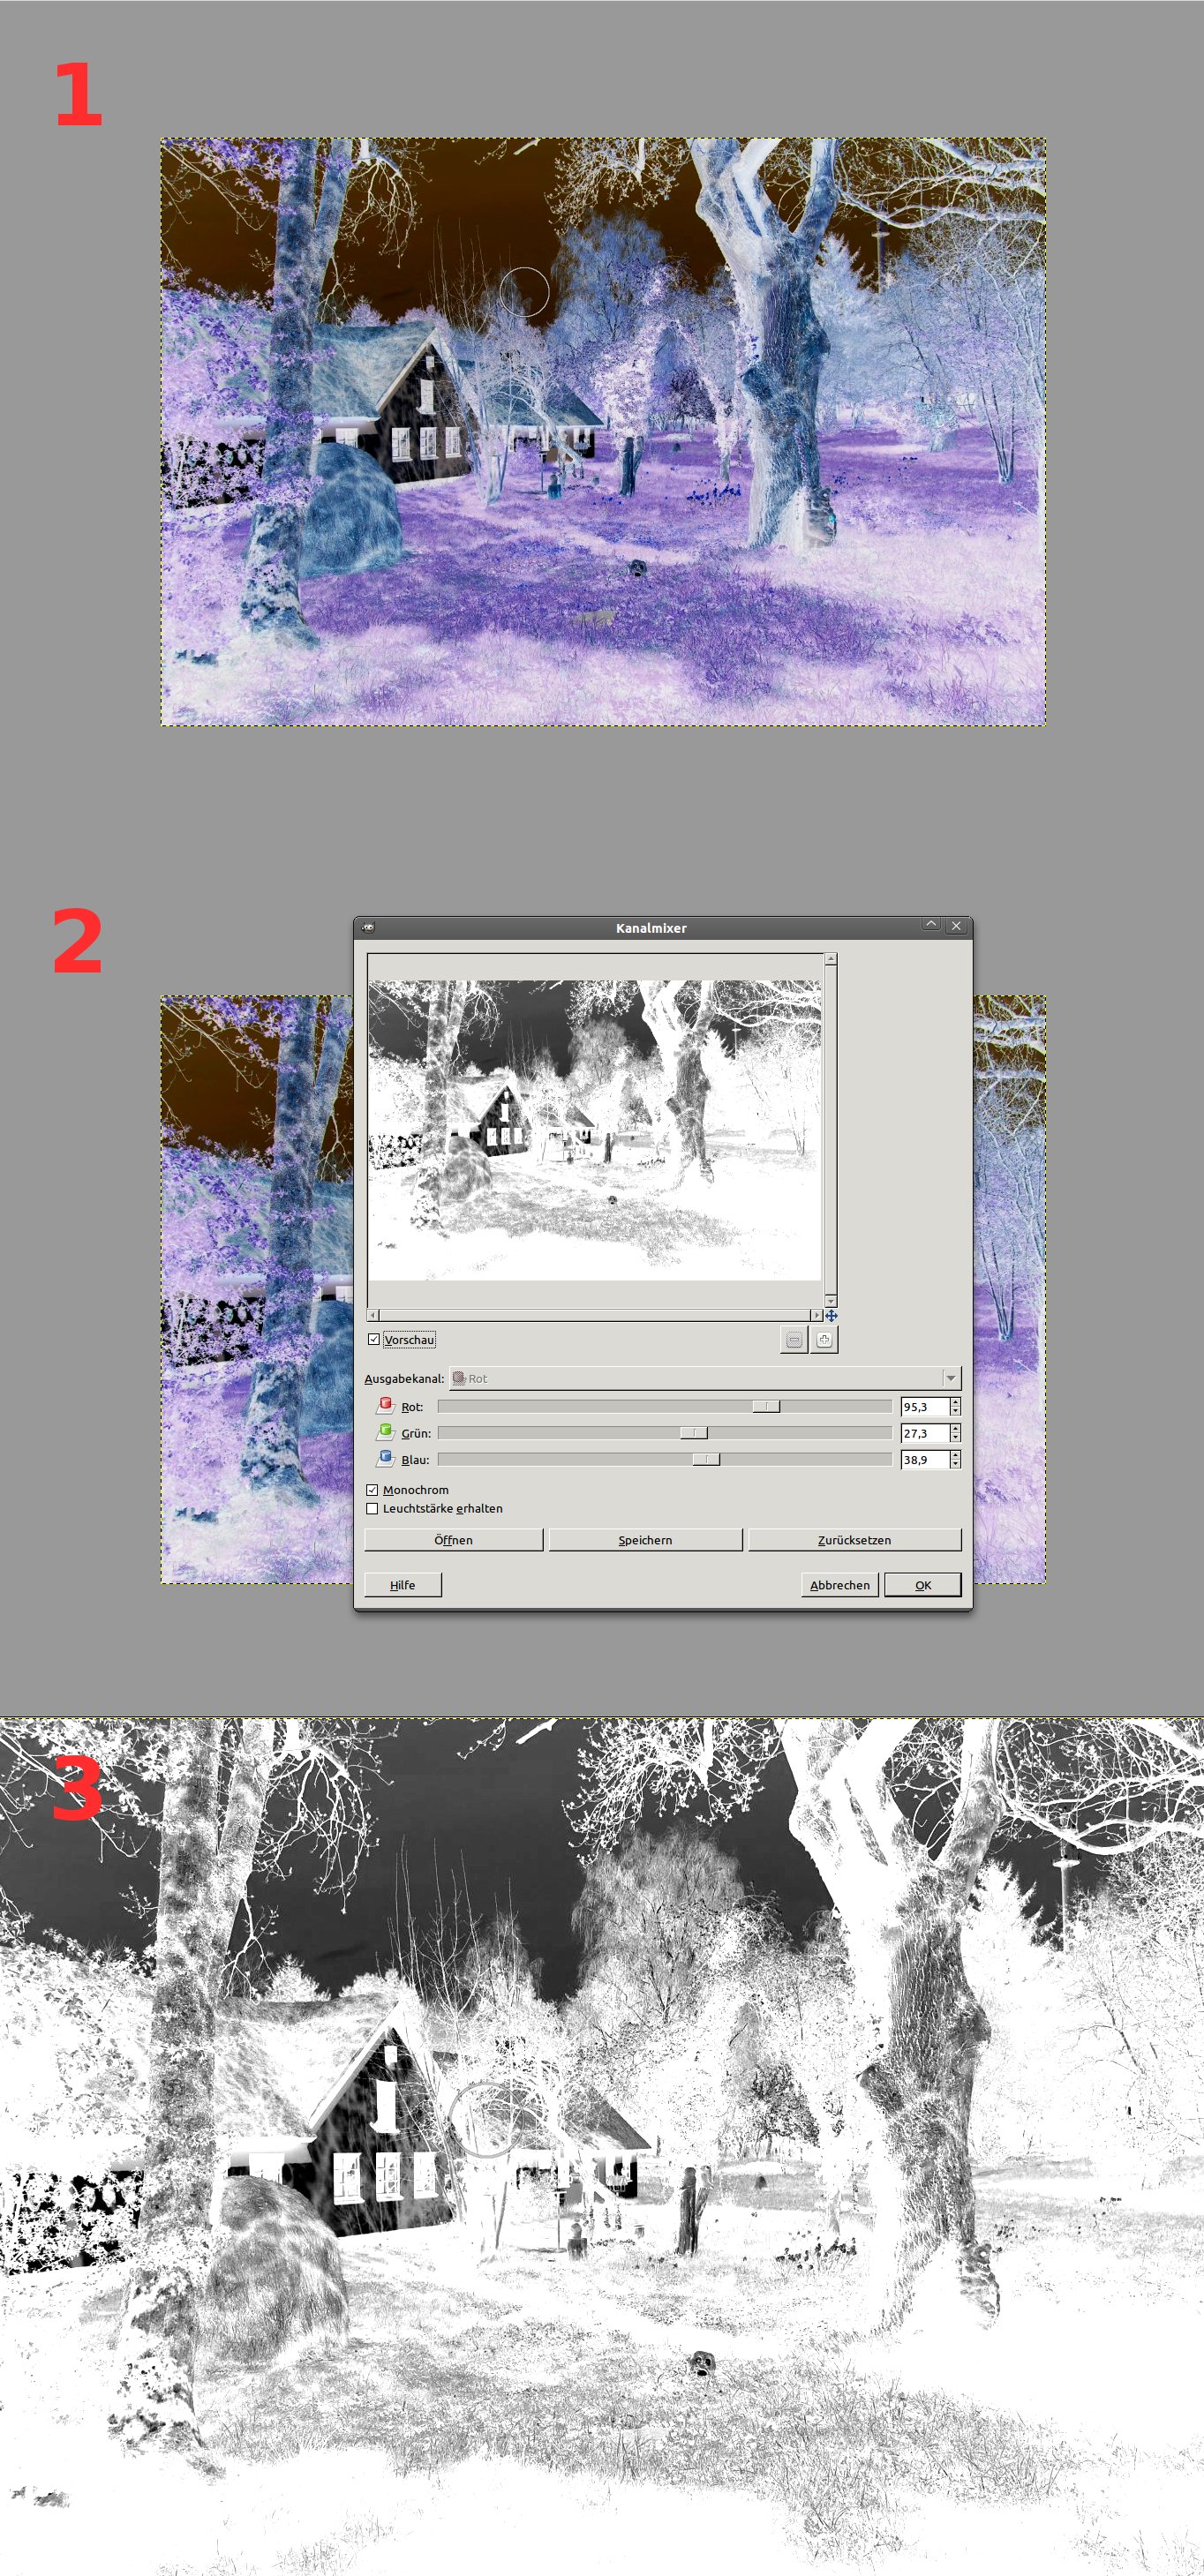
- Duplicate the background layer
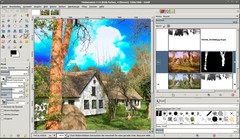
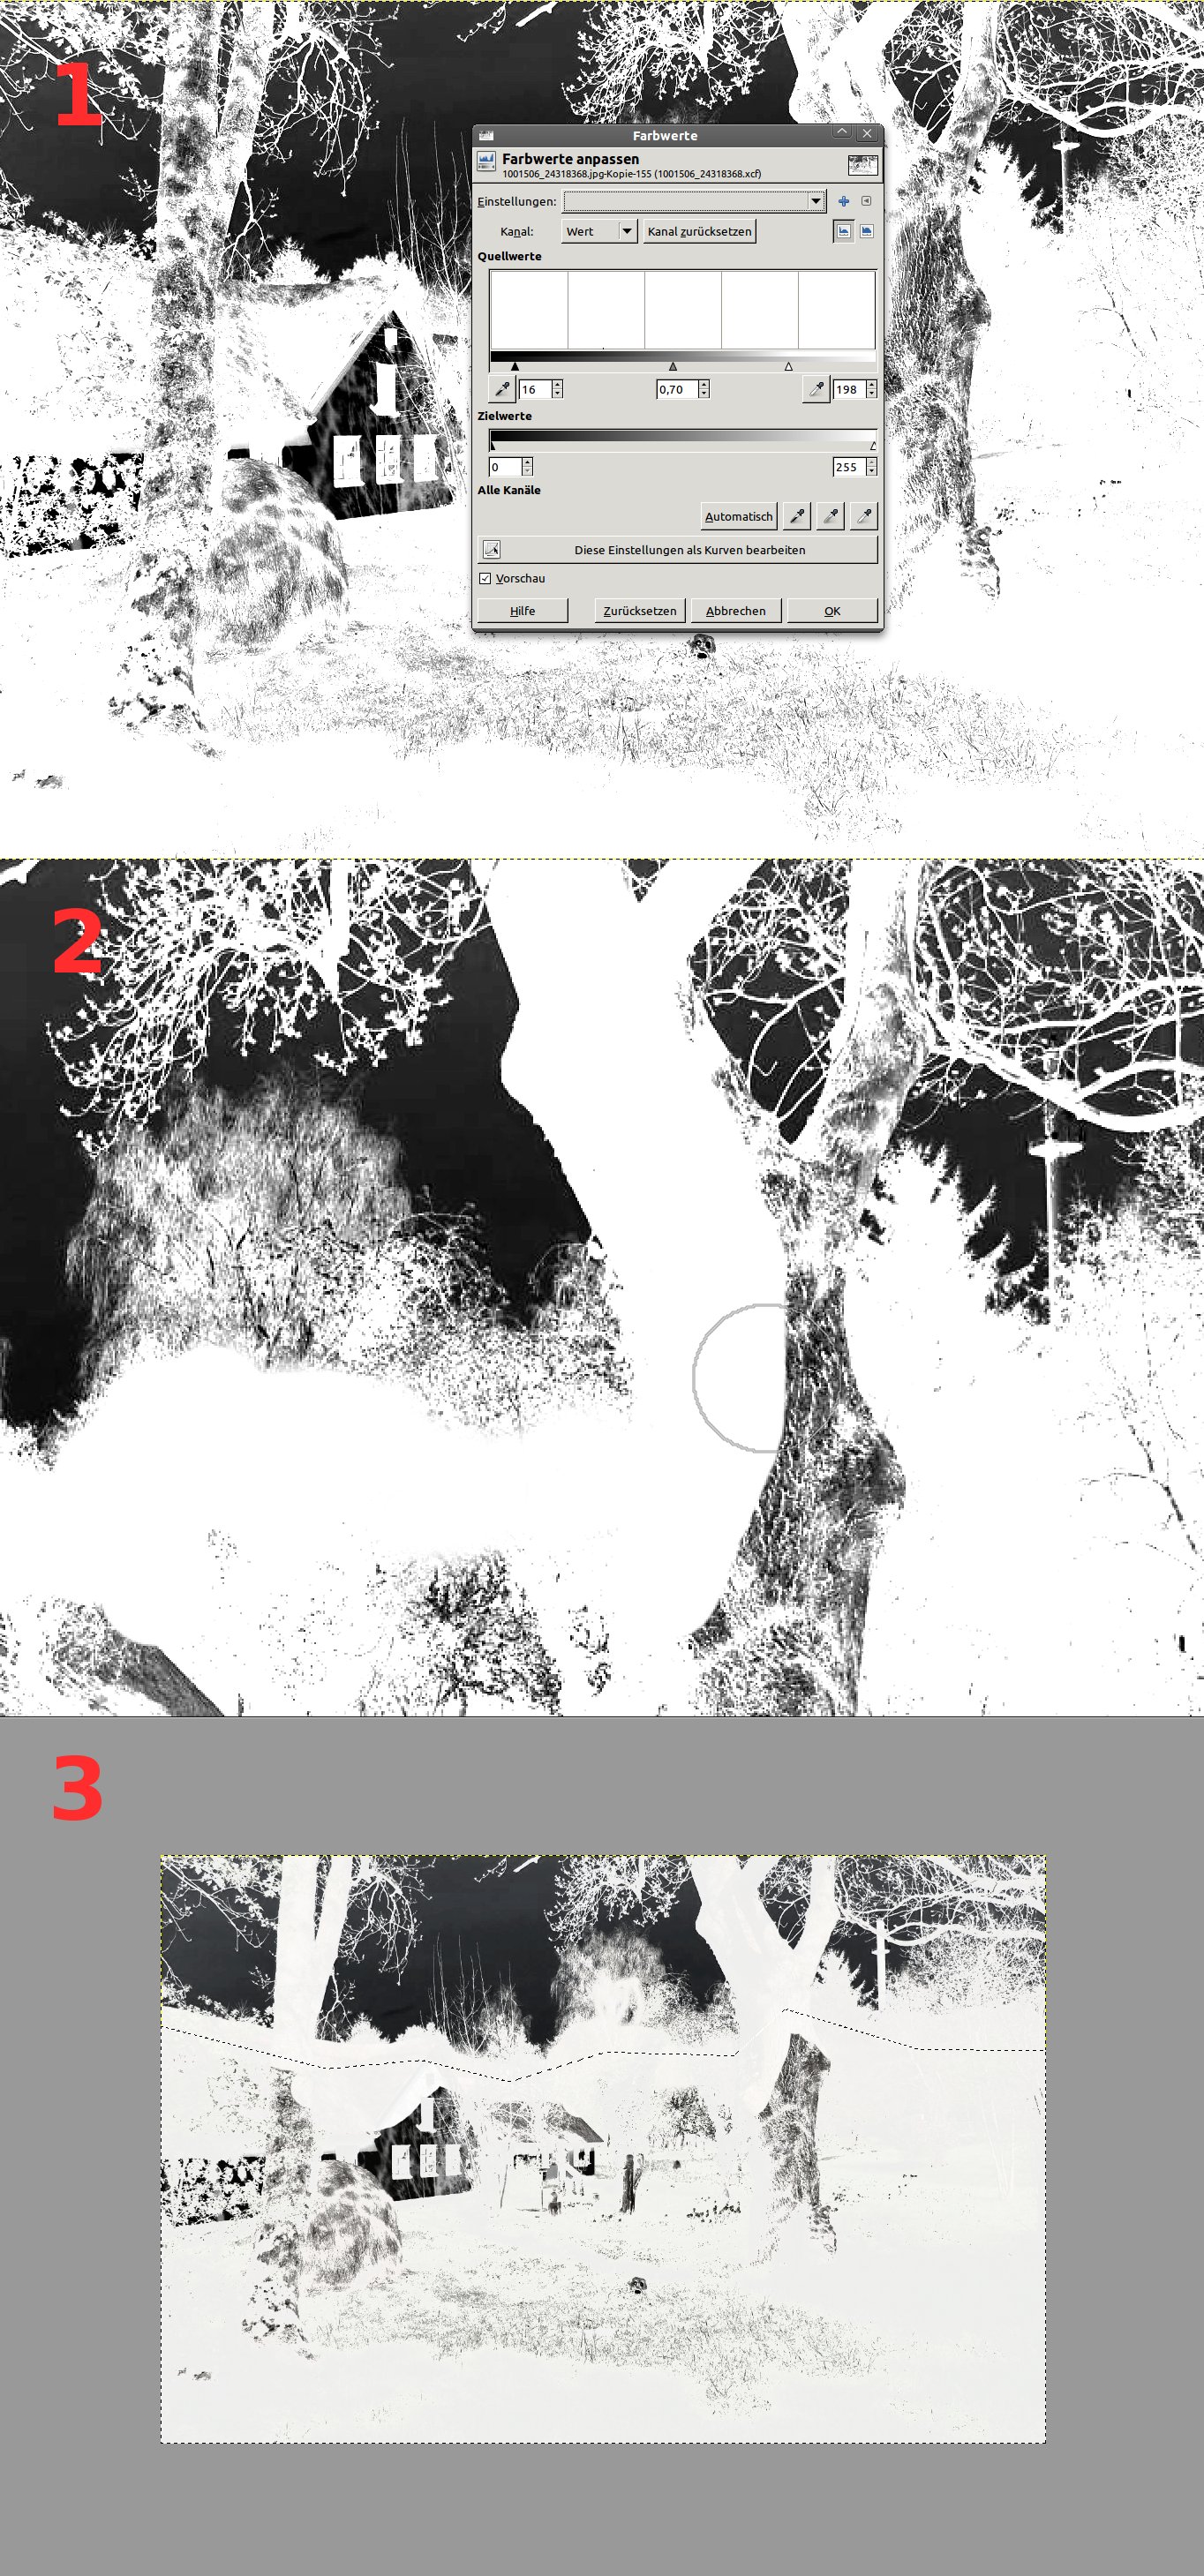
- Colors / Invert (see image 1)
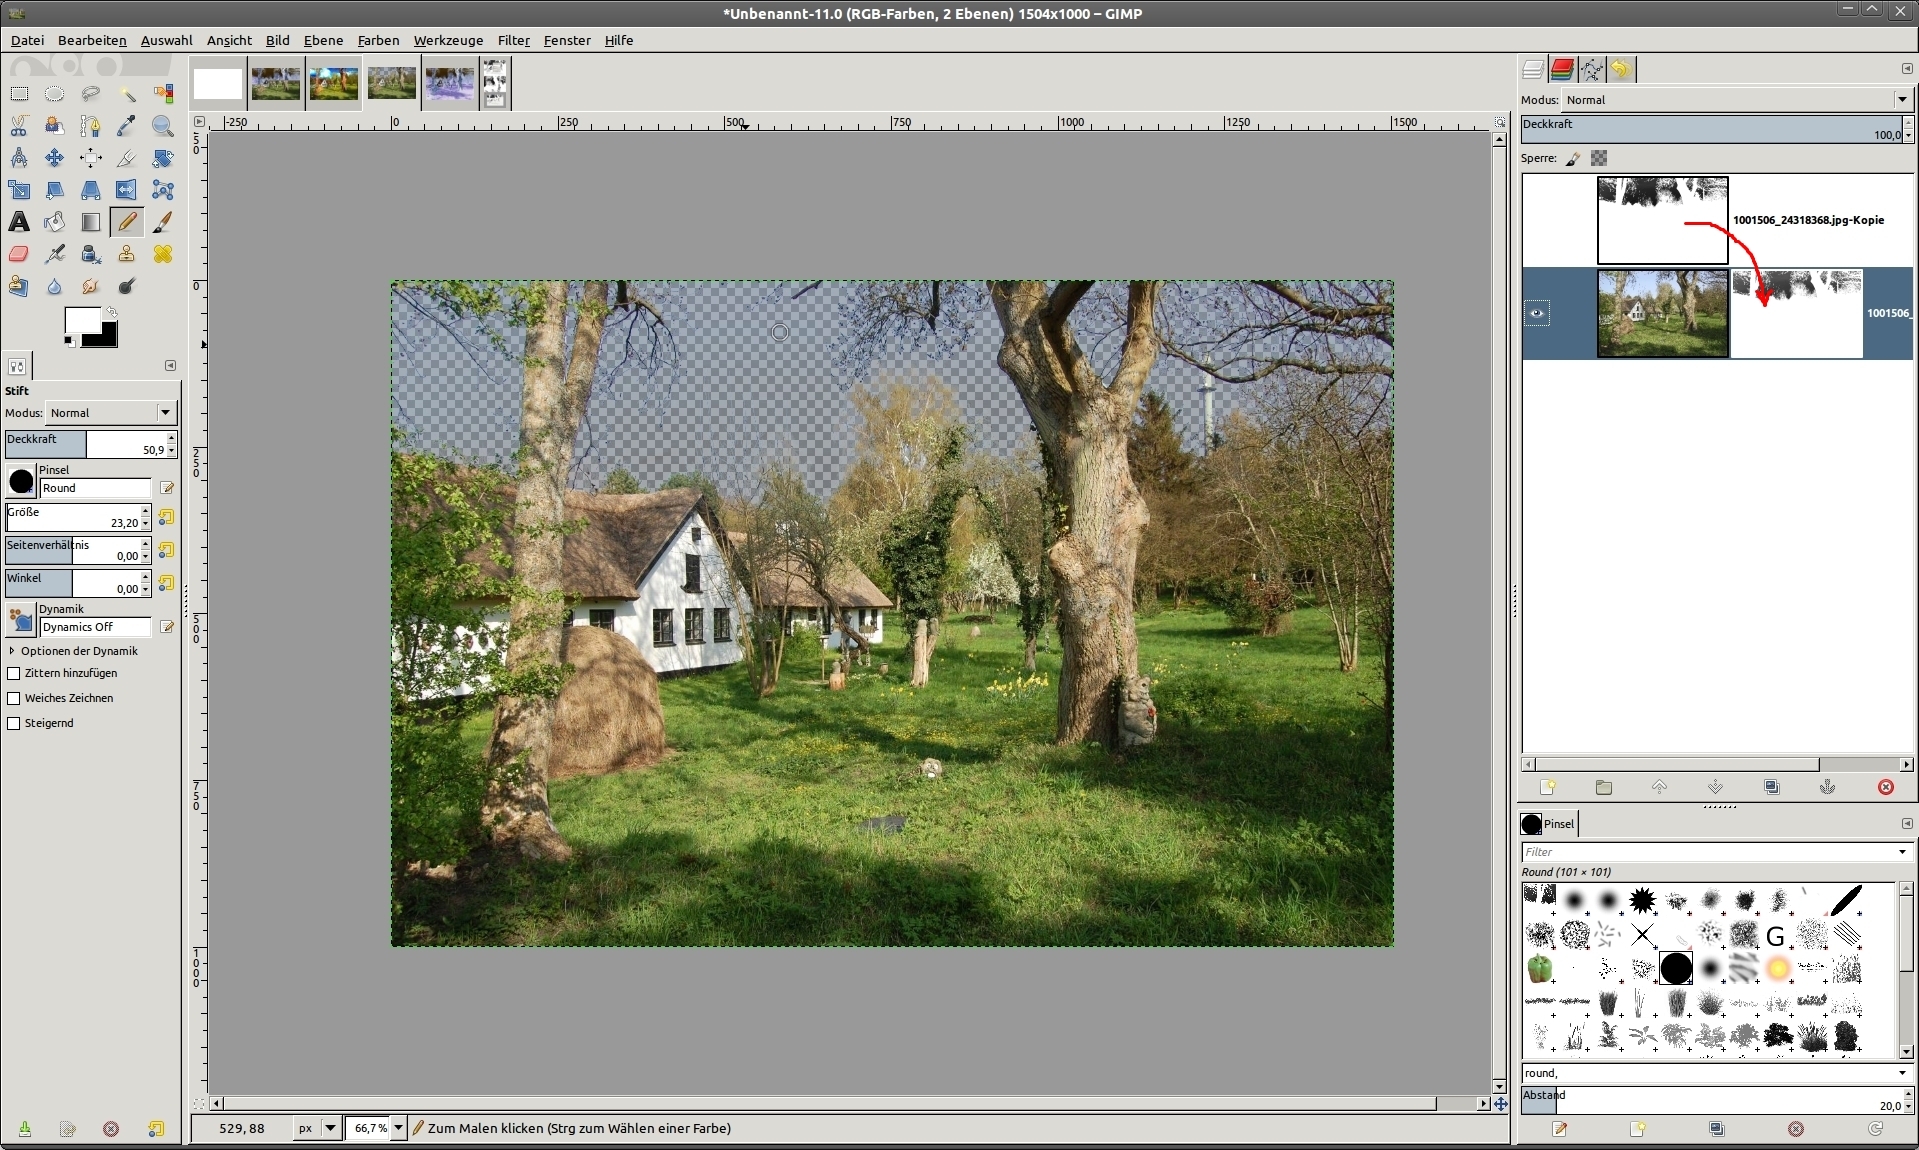
- Colors / Components / Channel Mixer (activate monochrome) (see image 2). The aim here is to get a very dark or black area that should be the sky – while the fine branches of the trees should be bright or even total white.The result is shown in image 3.
-
3
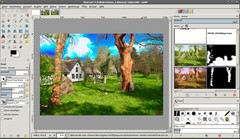
I now used Colors / Values to make a higher contrast. To do that you have to move the small triangles in the values dialogue from right a bit to the left towards the middle (this will convert the brighter tones into pure white. From the other side move the triangle to the middle too. This makes the darker areas of the image even darker or totally black.
By using the triangle in the middle you can fine-tune the bright or dark tones. The aim should be to get a nice white on the branches and the sky should be moved into pure black. (see 1)
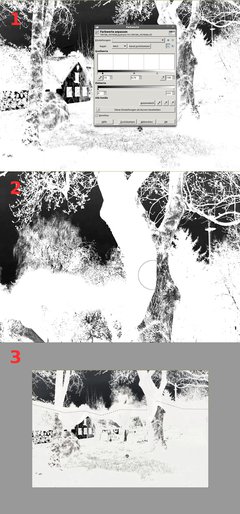
- As you can see in image 2 I’ve painted the trunk of the tree with white using the brush tool and a hard edged brush. I’ve done that for the tower in the back also and for the roof of the cottage as well. First I worked on the direct borders of sky/roof and painted these areas carefully – after that I used a bigger brush and painted the rest pretty fast using the free select tool (make a fast selection for the rest and fill the selection with white).
-
4

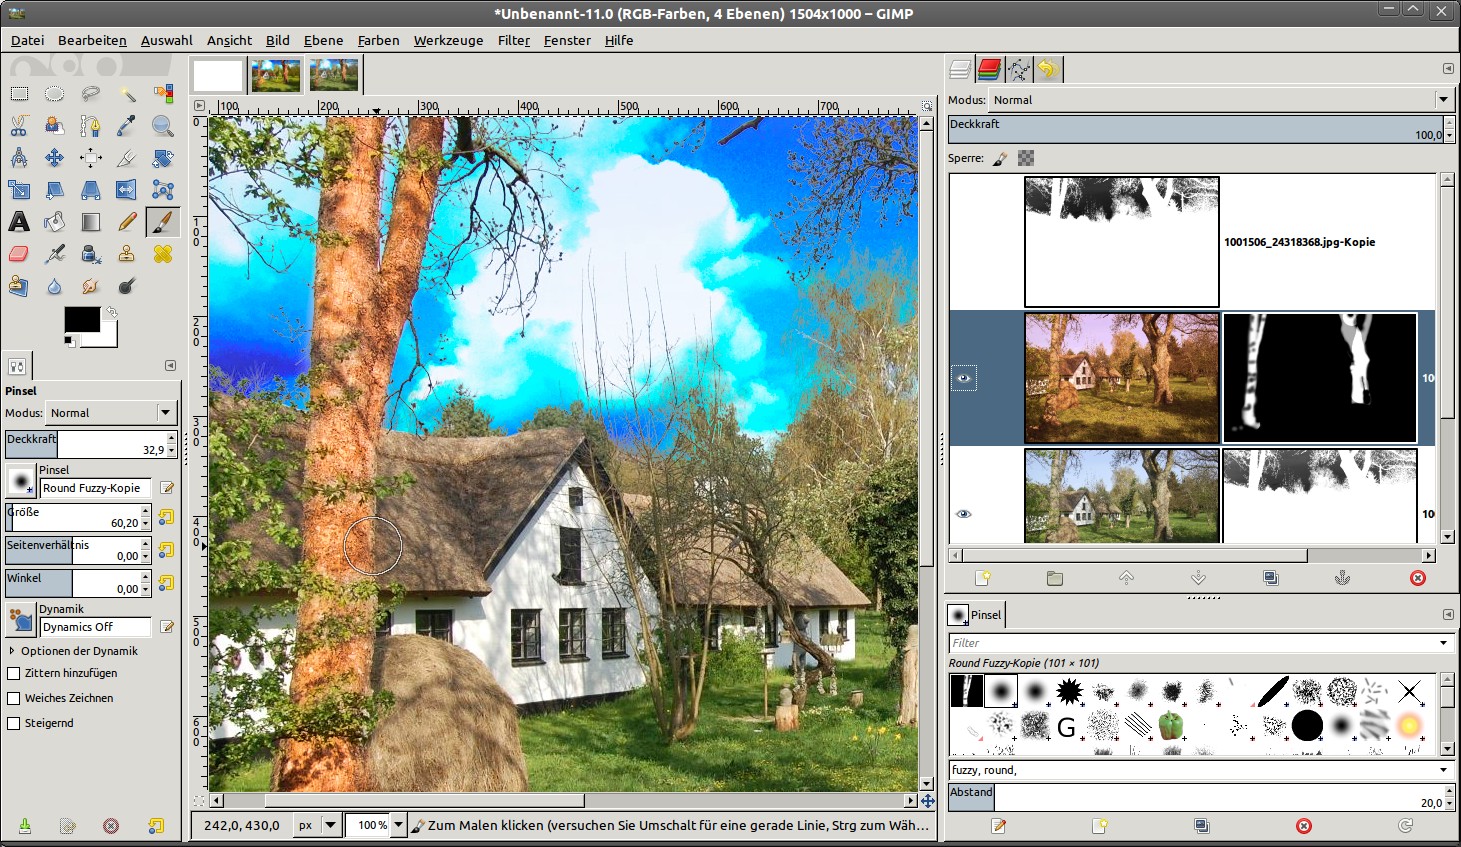
Next we will be using the just created black/white layer as a layer ask for our image to mask the sky:
On the black/white layer:
- Select / all
- Edit / Copy
- Select / None
- Select the background layer – right click the layer in the layers dialogue and choose “Add layer mask”
- Edit / Paste. Then click the anchor-symbol in the layers dialogue or go to Layer / Anchor
- Disable the visibility of the black/white layer. The sky should look transparent now. -
5
 sky_extreme.jpg
You can now use any sky image. If you want to use mine download it from above. Copy the sky image to the cottage image (it should be below the background layer).
-
6
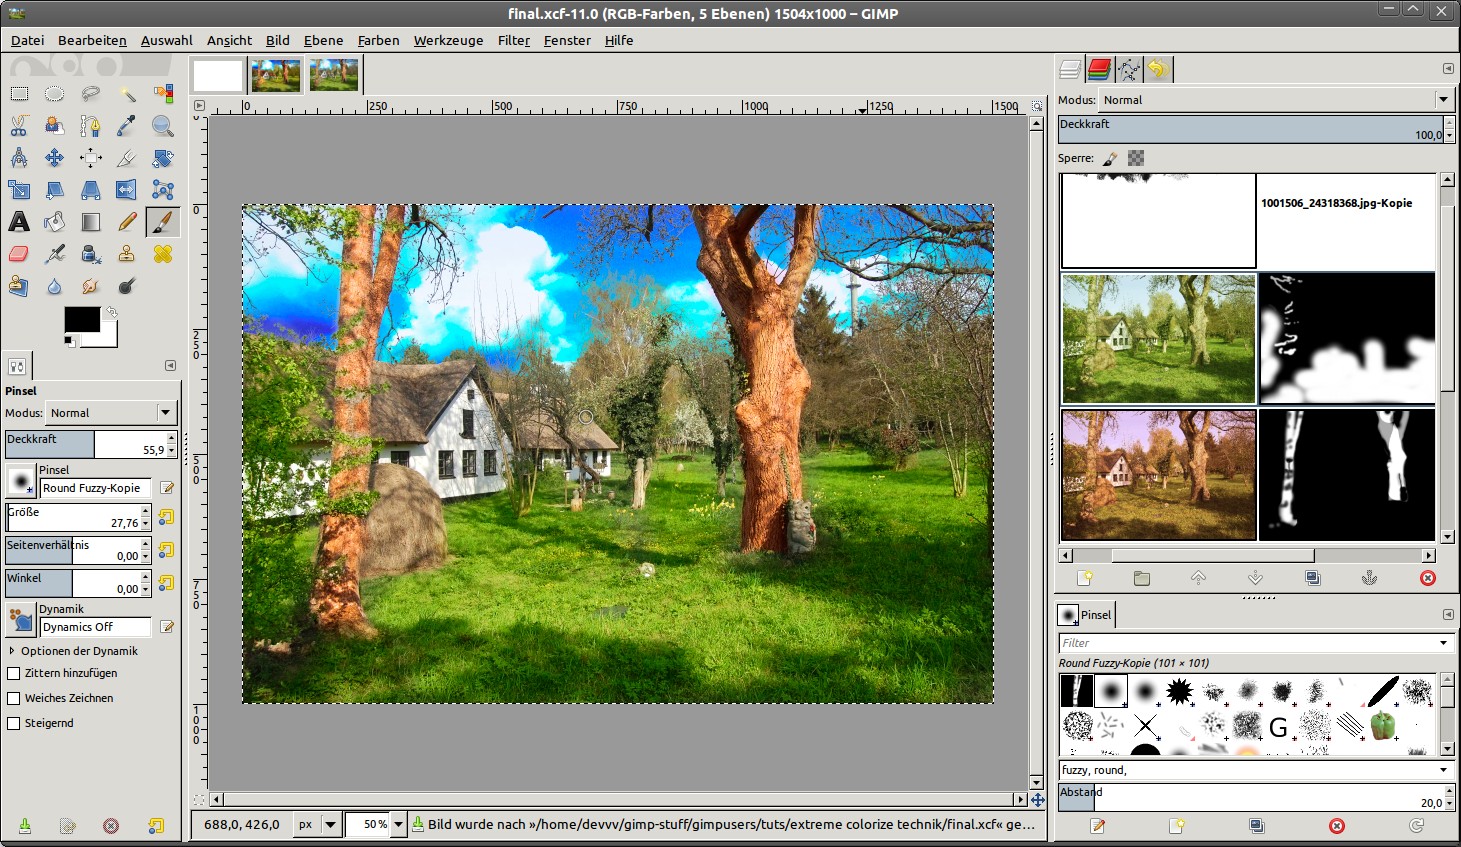
Now we’re getting to the technique itself. We need to make some selections (doesn’t have to be too exact or too fine) on different parts of the image.
Lets start with thre trunks
- Dupliacte the background layer. Fill the layer mask with full white.
- Go to Colors / Color Balance. There move the sliders to the colors taht you want the parts to be in the final image. I want to have a nice colorful brown. -
7
Fill the layer mask with total black now. Then take the brush tool, choose a soft feathered brush and paint the trunks with white on the layer mask to get it back into the image in our new extreme colored version.
-
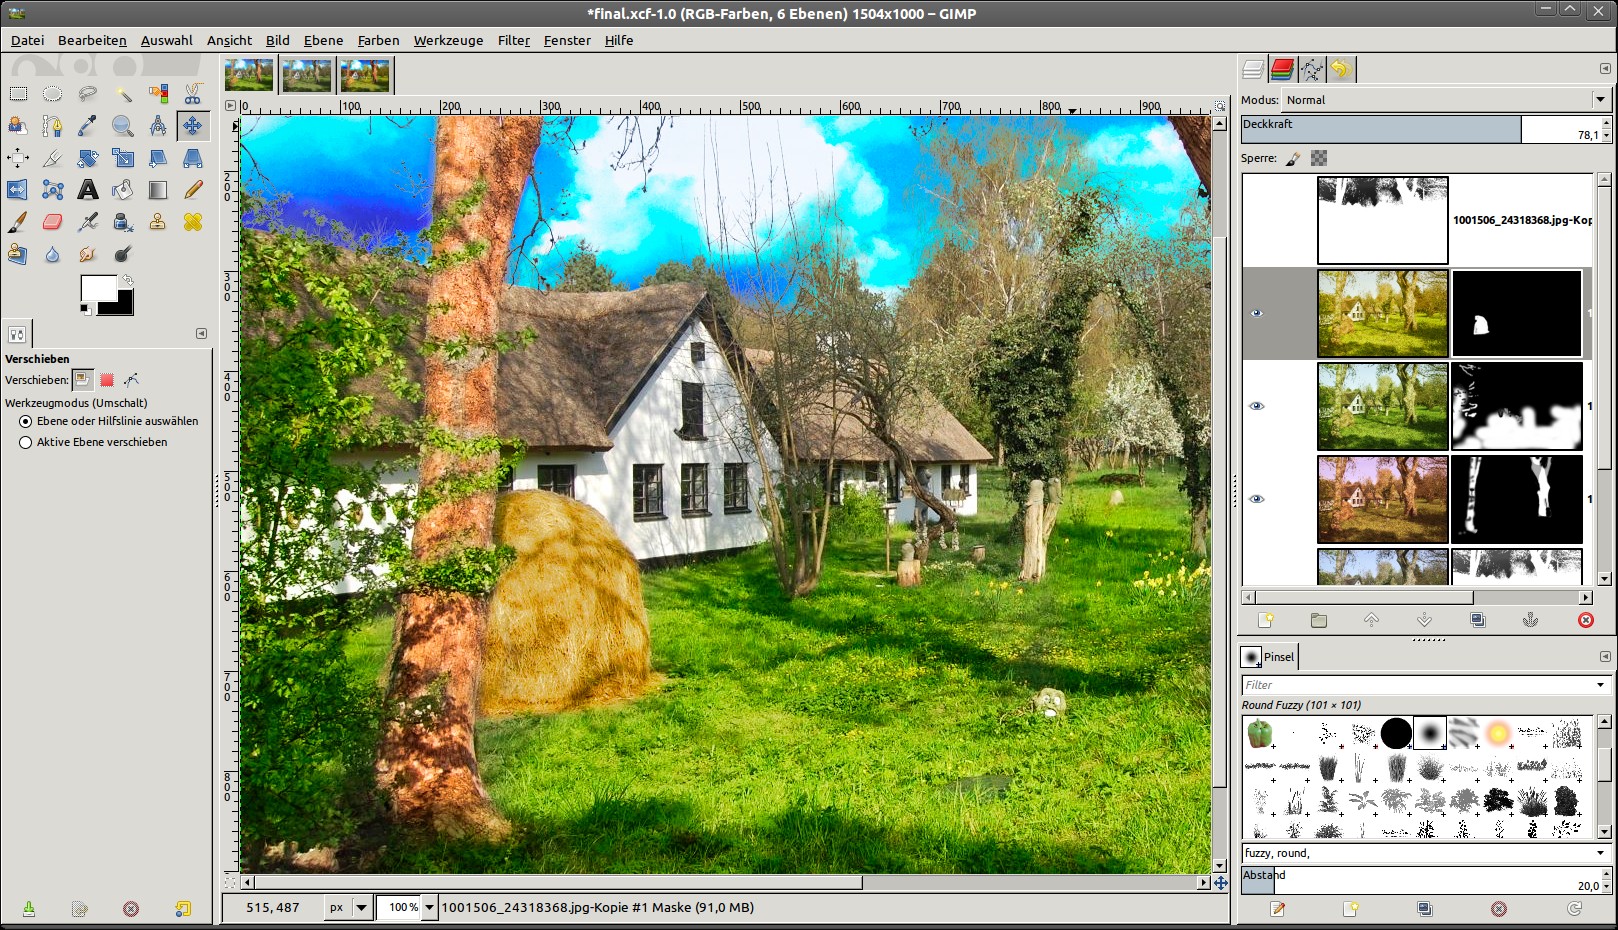
8
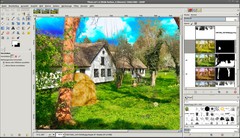
Repeat this step for all the special parts in the image. I did it on the grass to create a fully saturated nice green.
I’ve duplicated the background layer first, filled the layer mask with white and chose Colors / Color Balance to create the nice green you see in the image. This time I used a bigger soft brush to paint the grass and other green stuff back into the image. This step had a duration of no more than 5 minutes and the image already is much more appealing!
-
9
The next step was to colorize the hay on the left in a yellow/orange tone.
-
10
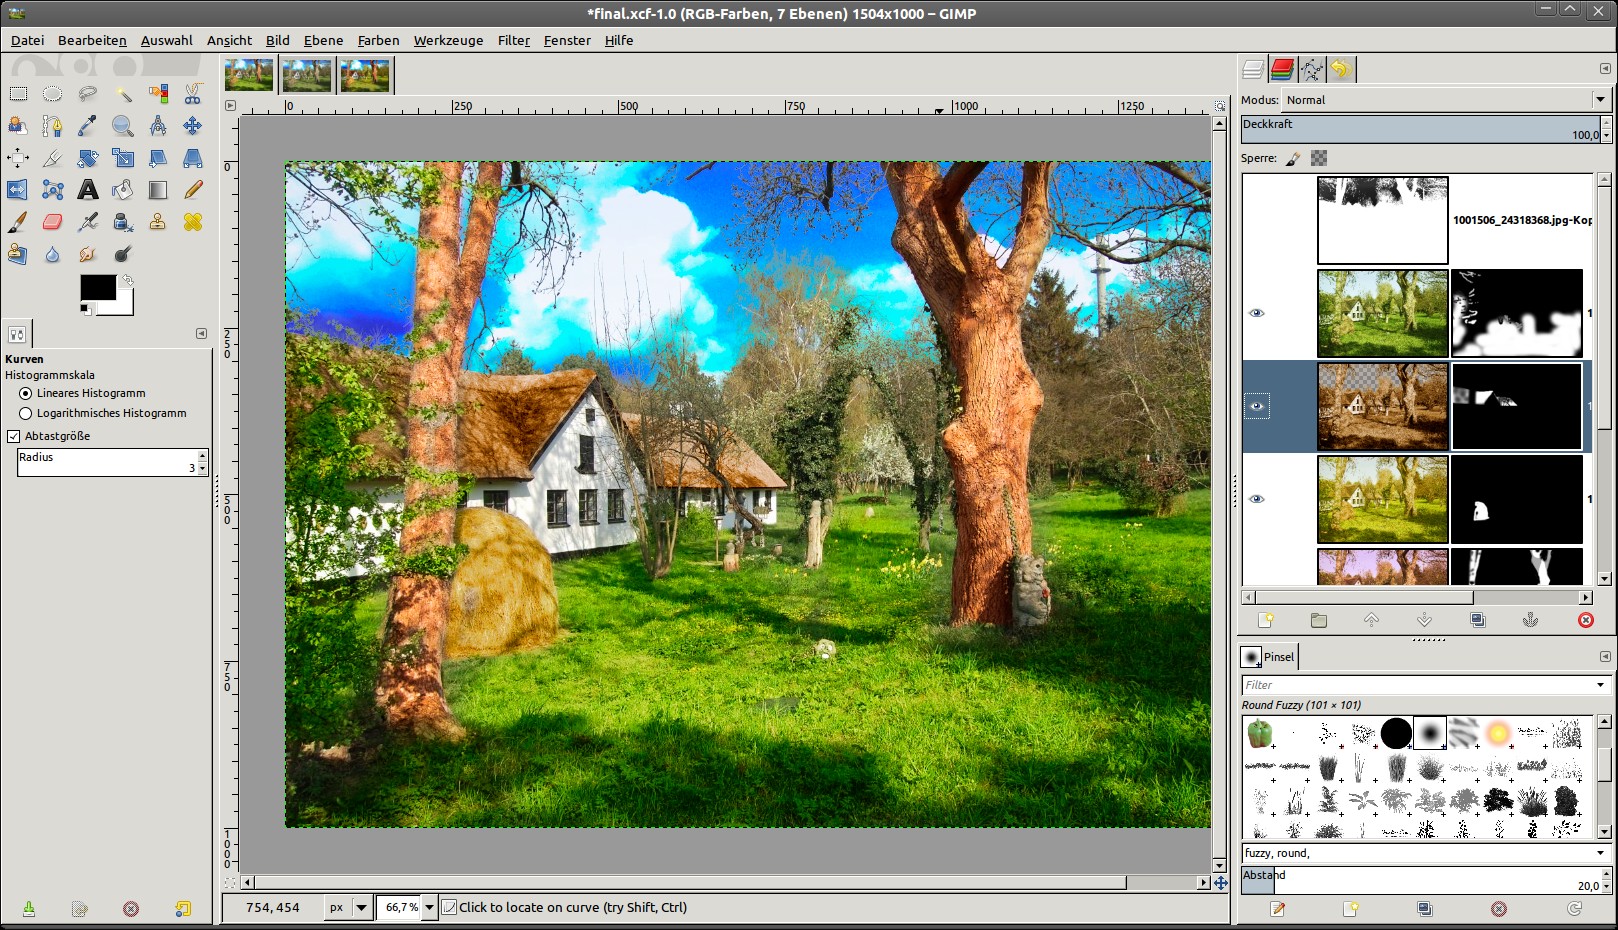
Then I worked on the roof to add a saturated brown to it. I moved the green grass layer atop the roof layer so that the bush at the left side lies over the the roof.
-
11
As one of the last steps I created a semi transparent gradient (orange to transparent color) on a newly added layer in the bottom right corner so that the heavy green is a little feathered and the grass gets a nice new color. This makes the image more diversified. The steps to do that:
- create a new layer
- Use the blend tool
- set Foreground color to a nice yellow/orange
- In the blend tool properties/options choose the FG to transparency gradient
- drag the gradient on the image from the bottom right corner to the almost center of the image
- Set the layers mode (find the option above all the layers in the layers dialogue) to “Color”. -
12
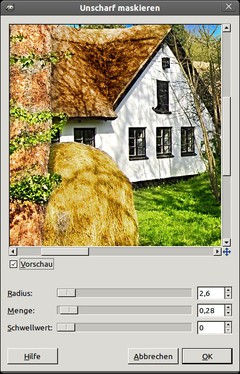
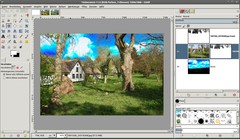
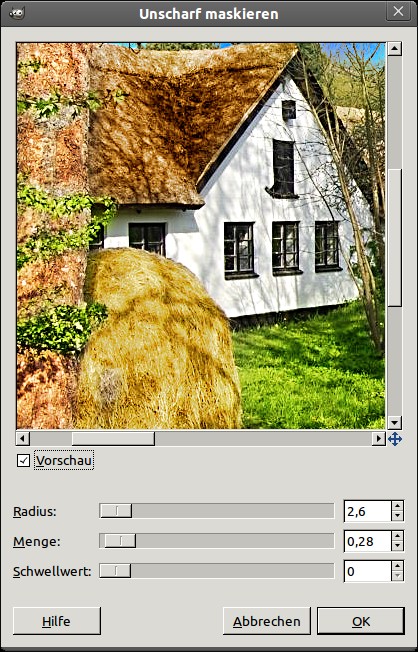
As a post production process I sharpened the whole image. First choose “New from Visible” in the context menu of the layers dialogue. Then, apply Filter / Enhance / Unsharp mask (see values on the image)
-
13

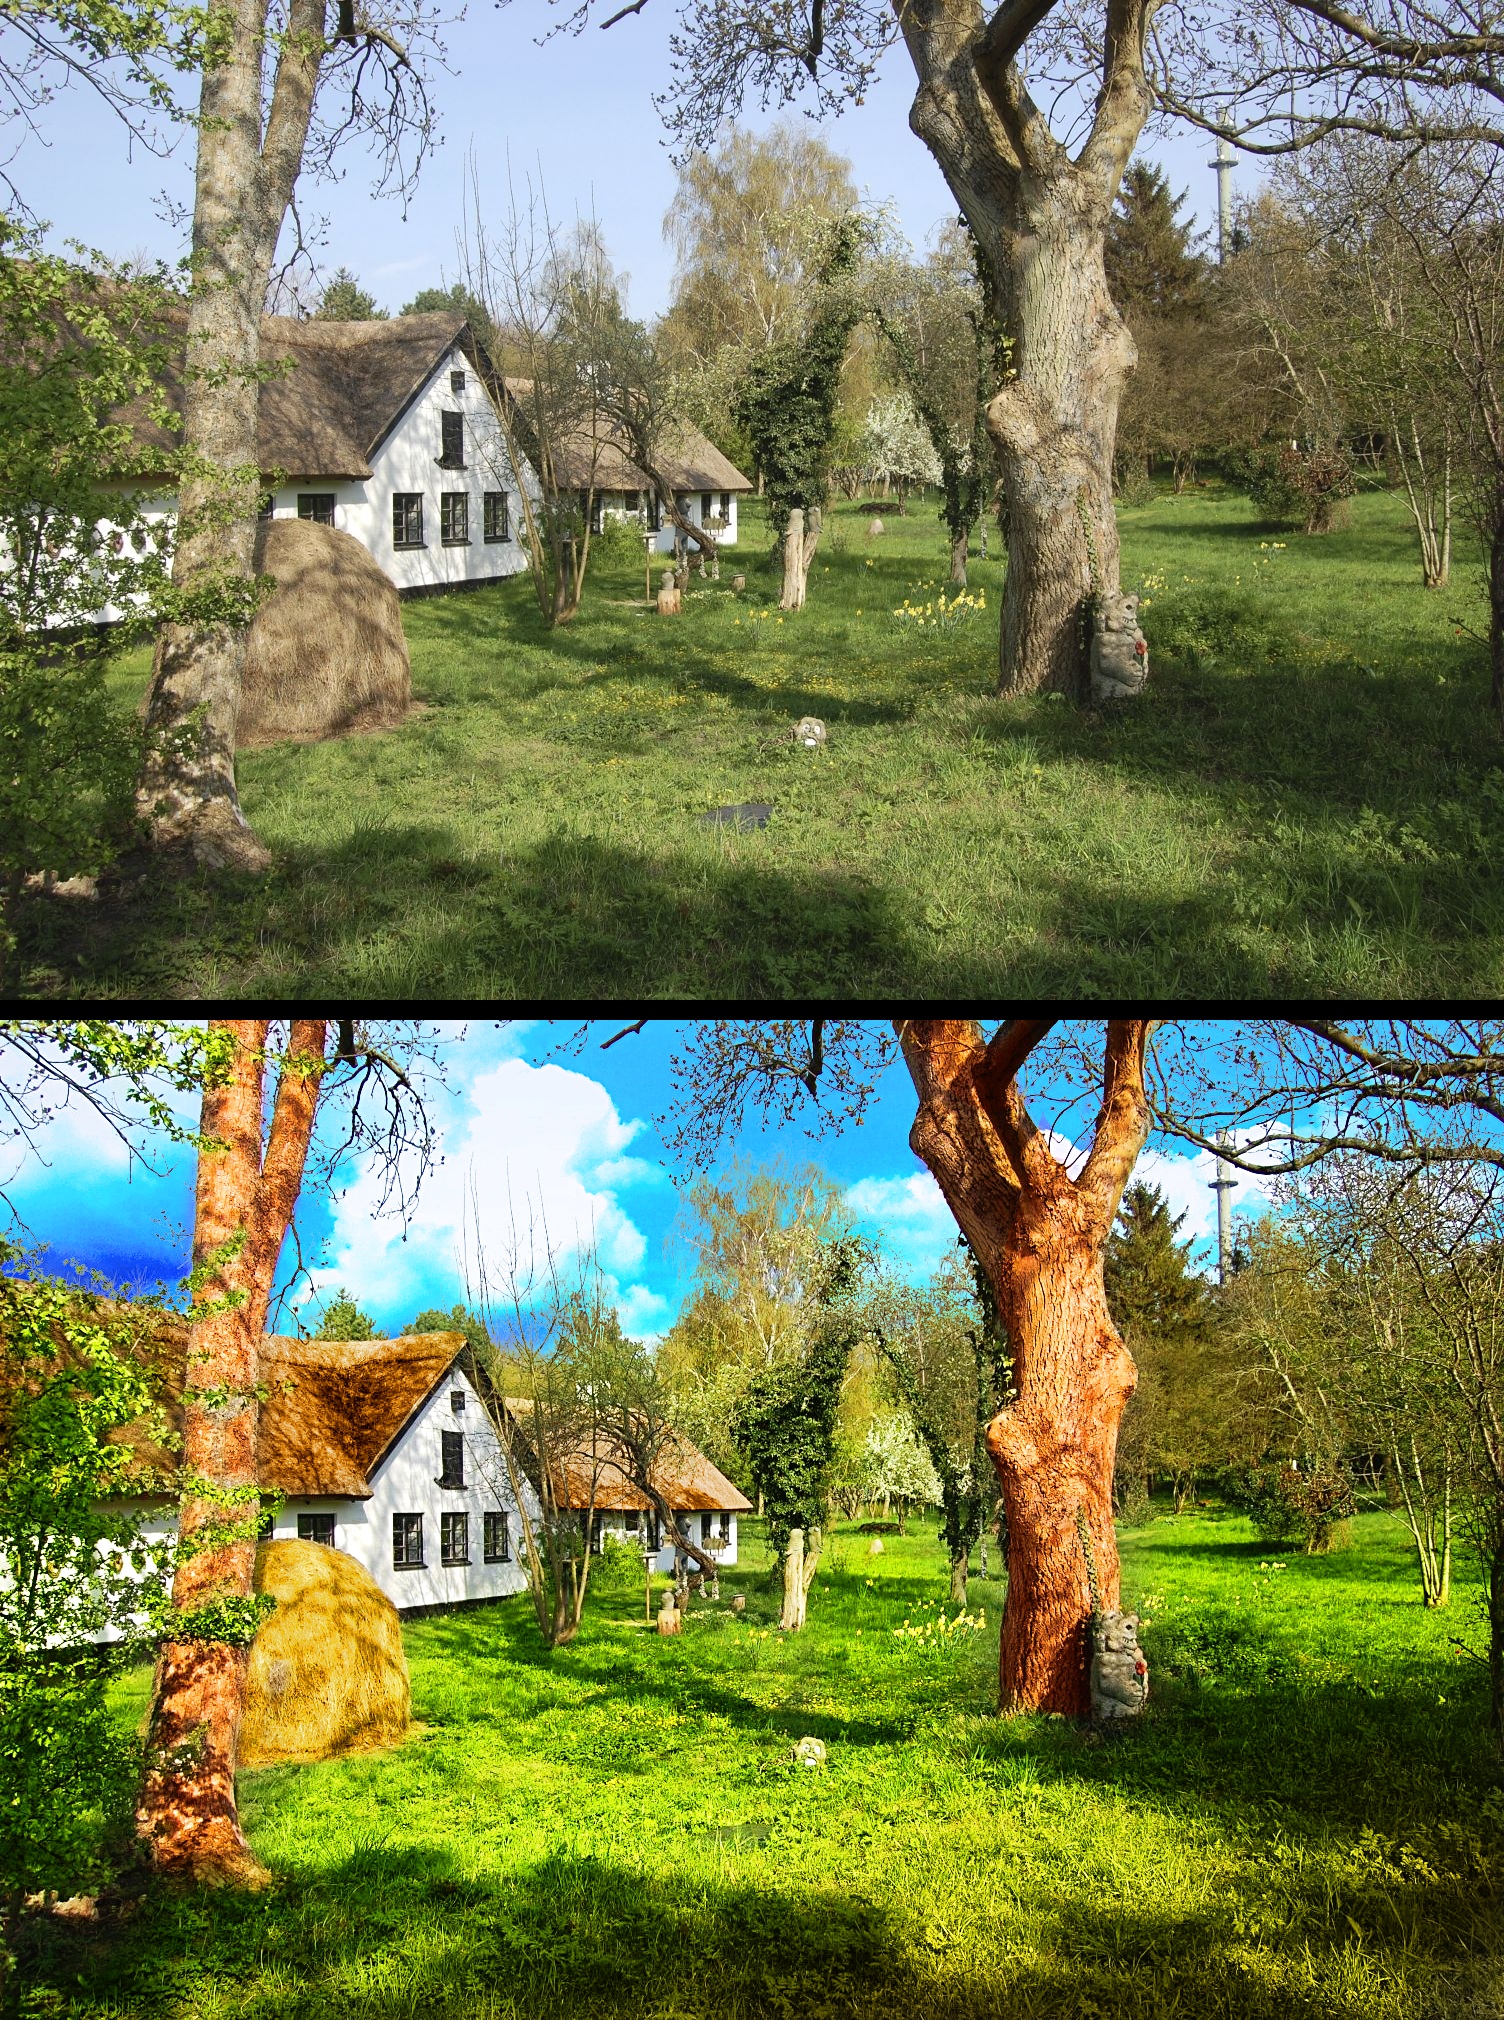
Thats it! Besides you’ll find a before/after version of the image.
-
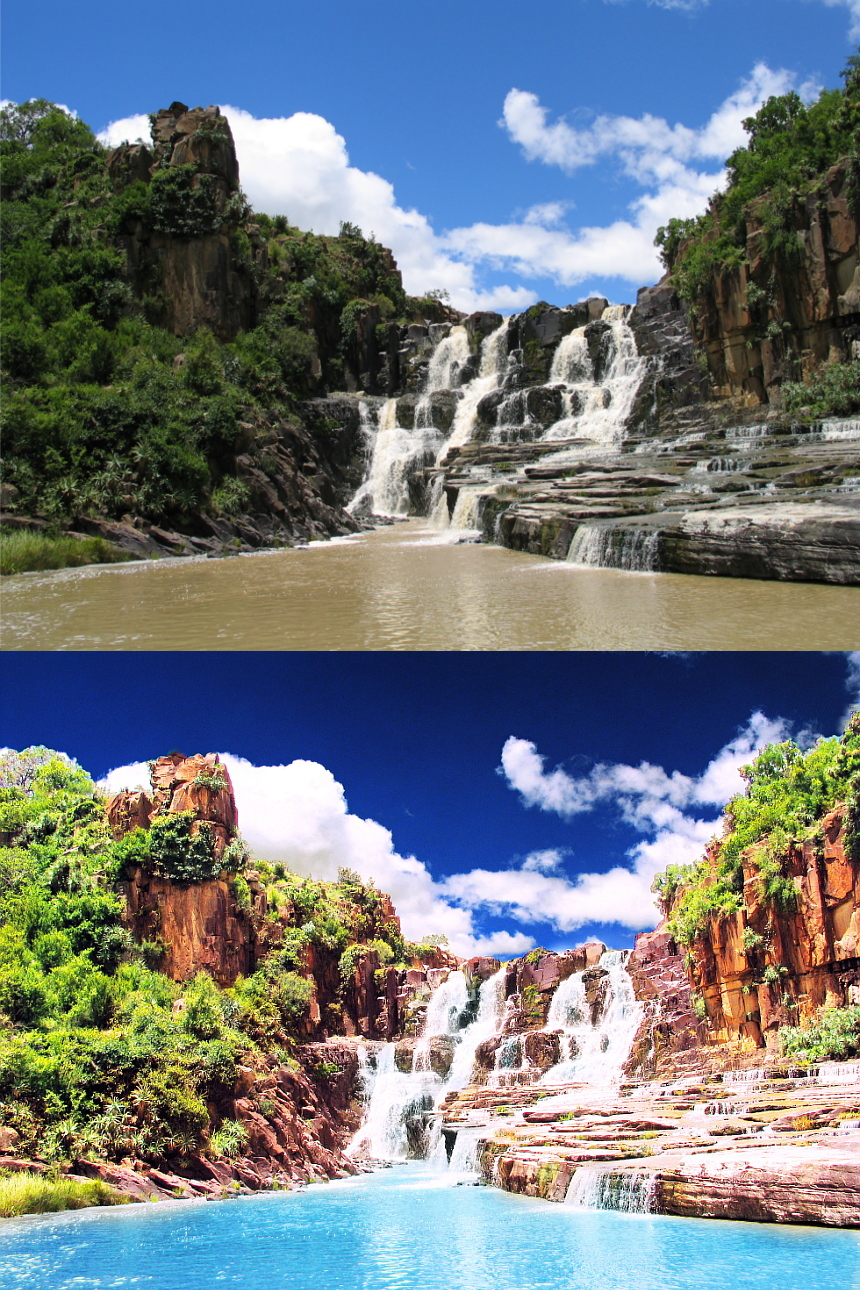
14

Here is another possibility (note the totally changed color of the water)
-
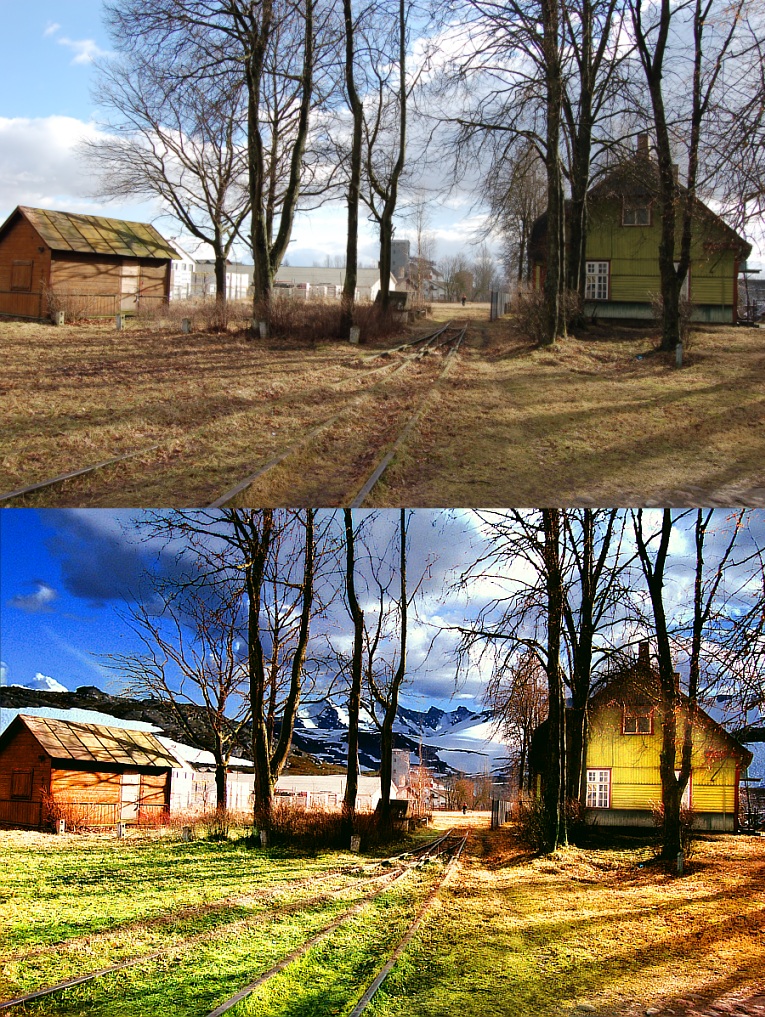
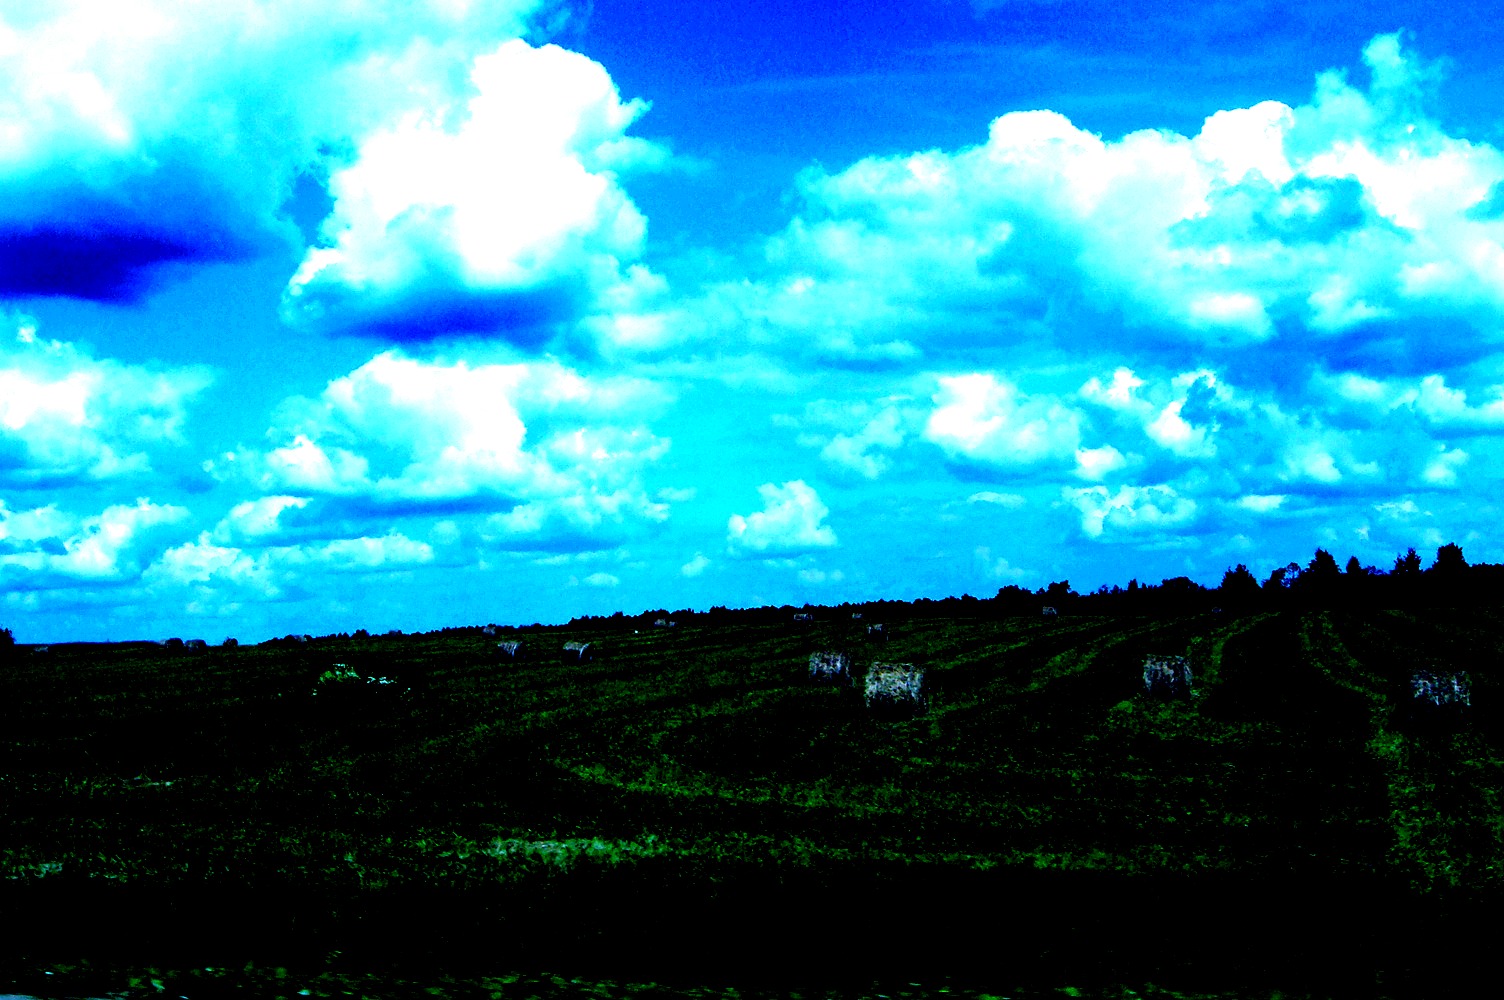
15

And another nice result – this image also demonstrates the effect very well! Hope you enjoyed this tutorial ;)


Comments
Post your own comments, questions or hints here. The author and other users will see your posting and can reply to it.
Of course, you can also ask in the chat.
Subscription management
Please log in to manage your subscriptions.
New comments are disabled because of spam.