


Tutorial: Creating architect/grunge style wallpaper
 is licensed under a Create Commons Attribution-Non Commercial 3.0 Unported license.")

Motivation
You will learn to create a wallpaper that is a mix of "grunge" and "architect style".
Tutorial details
- Category: Photos / wallpapers
- Time to reproduce: ≈45.0 minutes

- Tested with GIMP 2.7
-
1
Preparations: .abr files are Photoshop brushes, but GIMP can read them too. Install the two brush packages from above (= download, copy to GIMP’s brushes folder and restart GIMP). I have got them from deviantart.com.
-
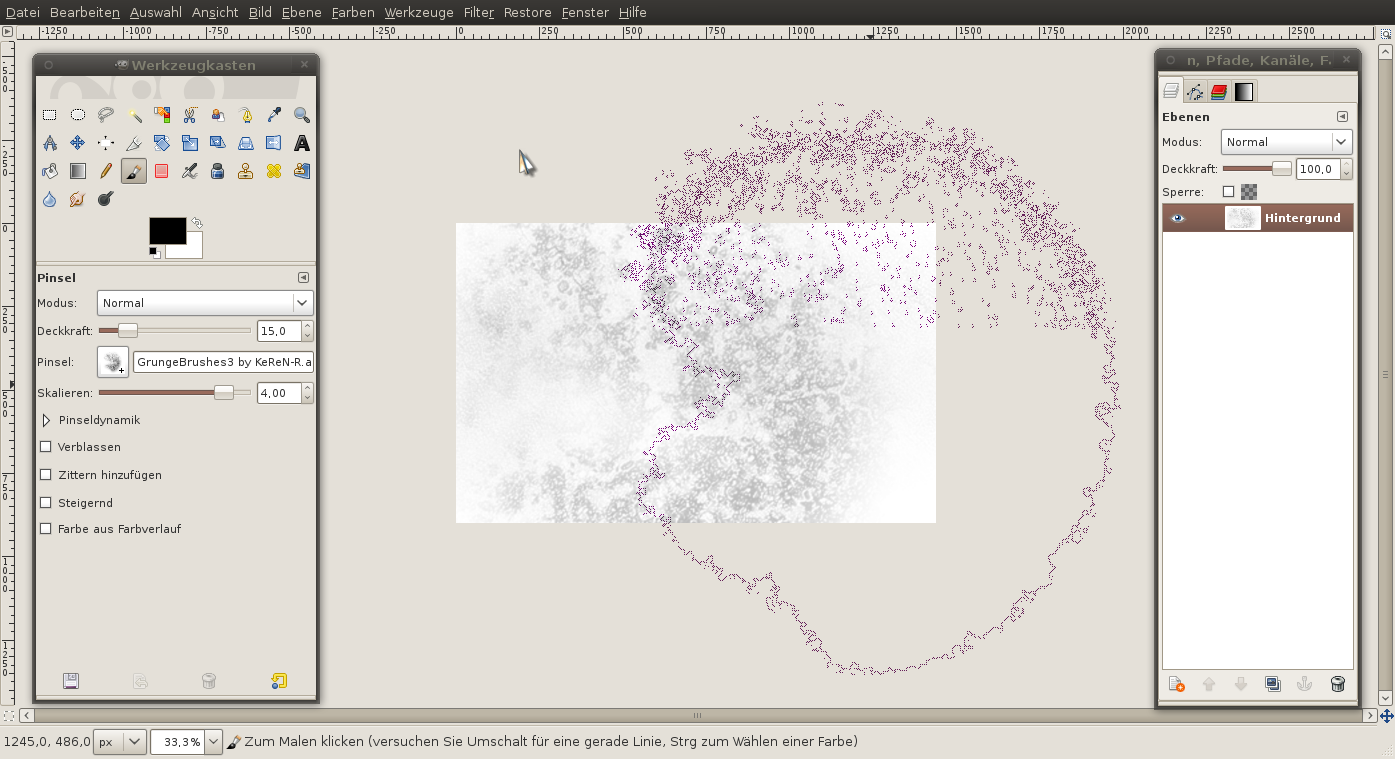
2
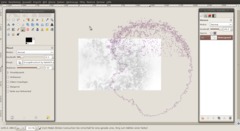
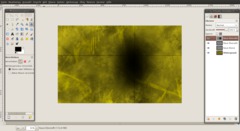
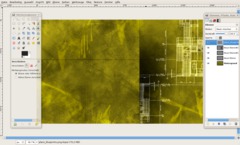
At first we create an empty image with 1440×900 px size and white background. Then we need a good-looking grunge background. Choose some random installed brushes and scale them to 4,00. Important: Set the brush drawing opacity to 15% to achieve a unified look.
Then apply the brushes. Use the grunge brushes of KeReN-R first.
-
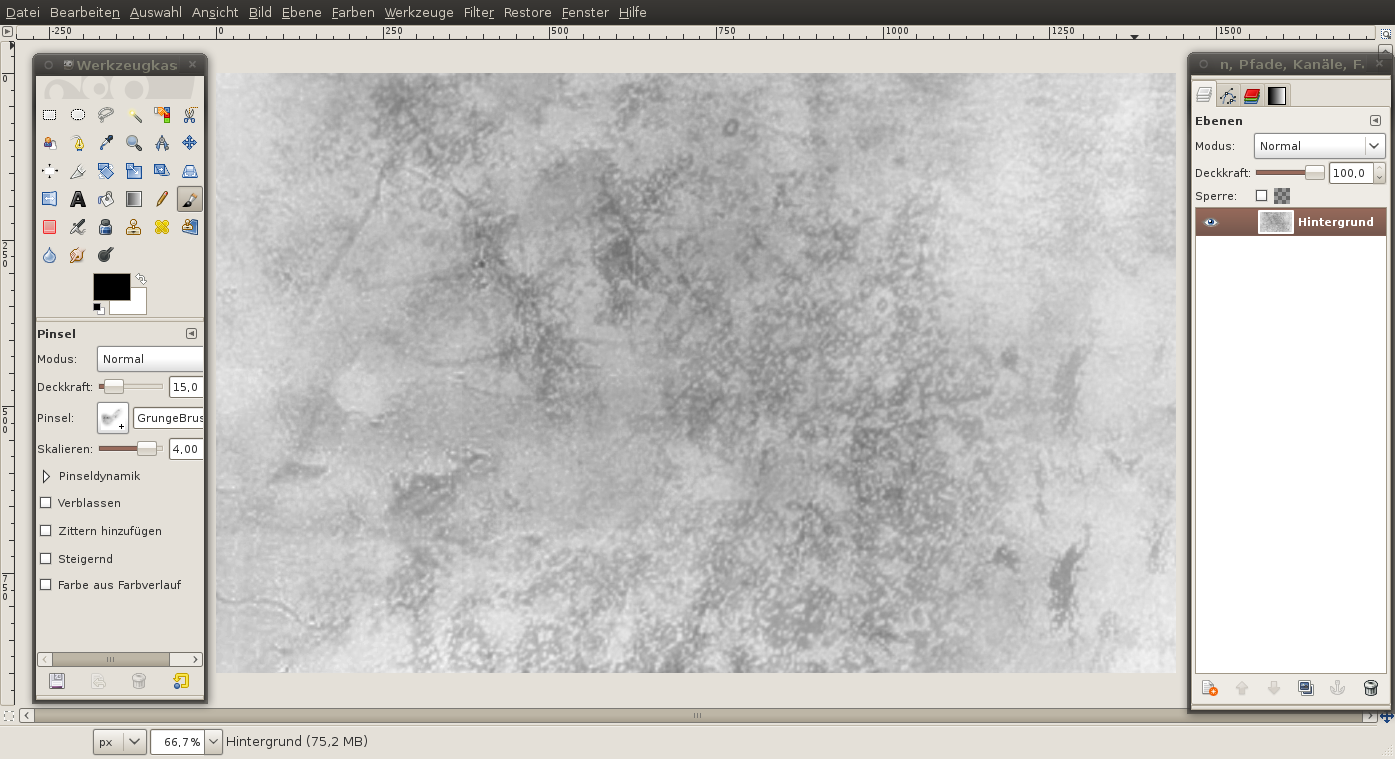
3
Click on the working area a few times, each time a little bit shifted. Let your fantasy flow …
-
4

… a little more …
-
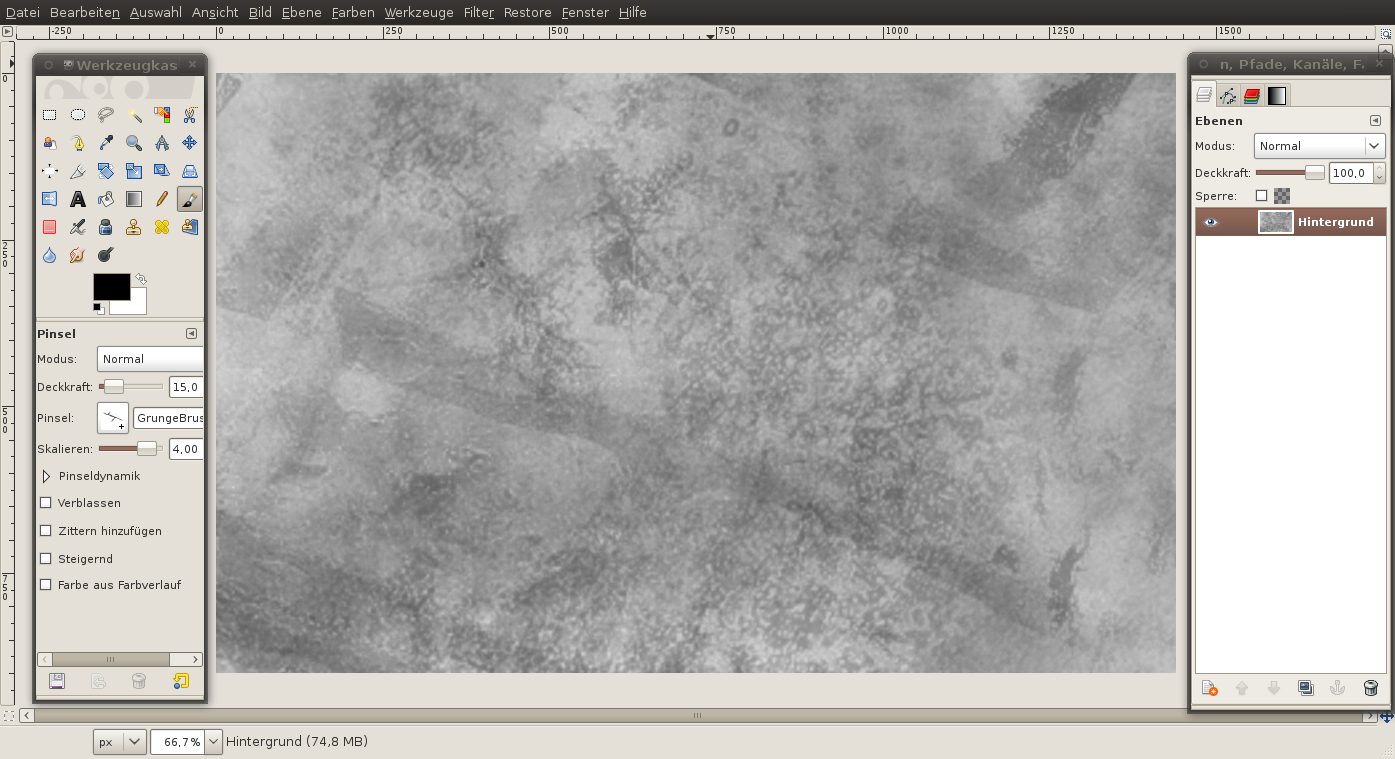
5
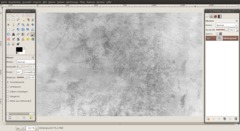
Now use the abstractvsgrunge2_byalias brushes. Go on and apply some of the brushes to the image. Maybe you want to scale the brushes down again to create some sharp details.
-
6
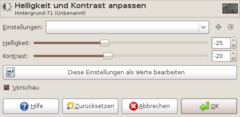
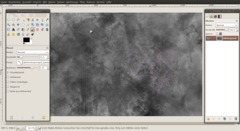
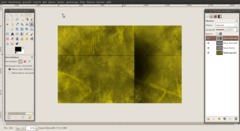
Now we adjust the image’s contrast so that there are more medium shades of gray.
- Colors / Brightness-Contrast: -25 | -20
-
7
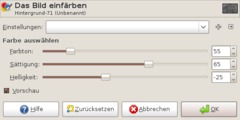
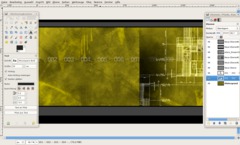
Now we colorize this background:
- Colors / colorize: see screenshot values
-
8
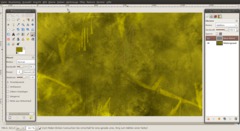
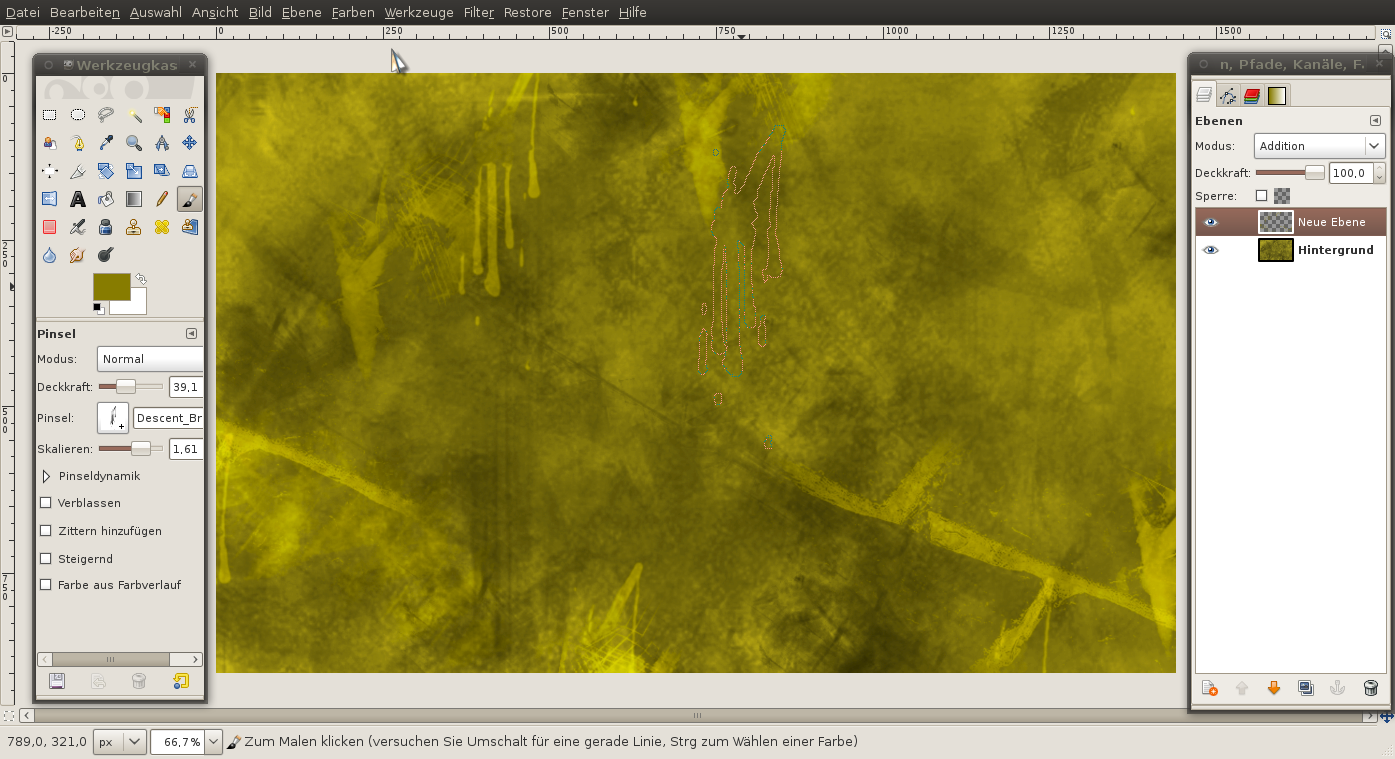
Then we add some more bright and dark details:
- Foreground color: choose 877c00
- New transparent layer: Set layer mode to “Addition”.
- Select a detailled brush: Paint with 40% opacity (Pinseldeckkraft) onto the layer to bring even more details into the image. -
9
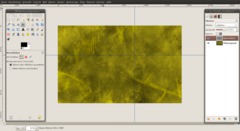
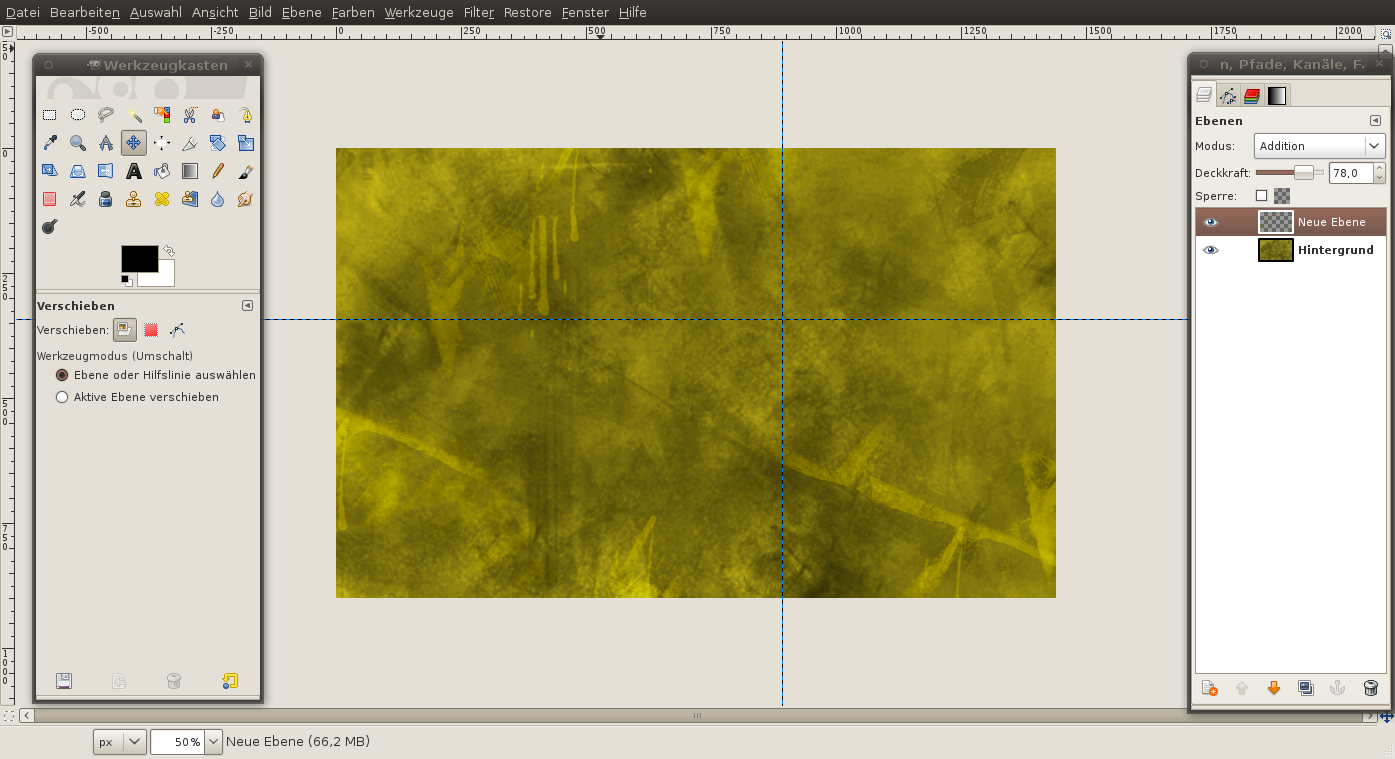
Create 2 guides:
- Image / Guides / New Guide in : Horizontal 38.
- Image / Guides / New Guide in : Vertical 62. -
10
- New transparent layer.
Select the “Pencil Tool” and paint straight lines along the guides using the Circle (5) brush.
Set the layer mode to “Overlay” and the opacity to 65%.
- View / Guides (deselect). -
11
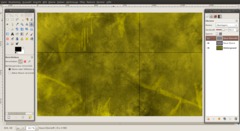
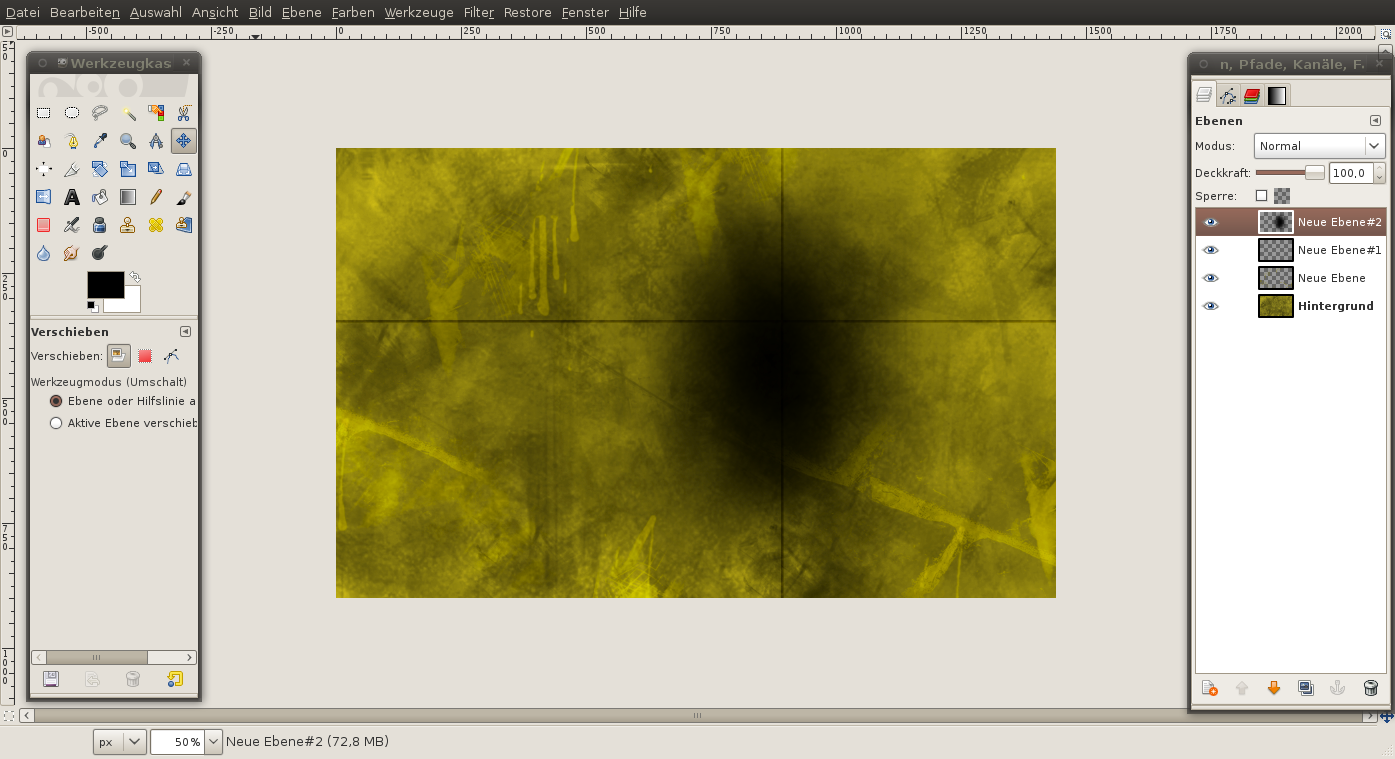
- Create a new layer.
- “Ellipse Select Tool”: Settings => “Fixed: Size” and enter “600×400”
- Create the selection.
- Select / Feather: 300px.
- Press “D” to set the default colors black/white.
- Hit Ctrl+"+" to fill the selection with black color. -
12
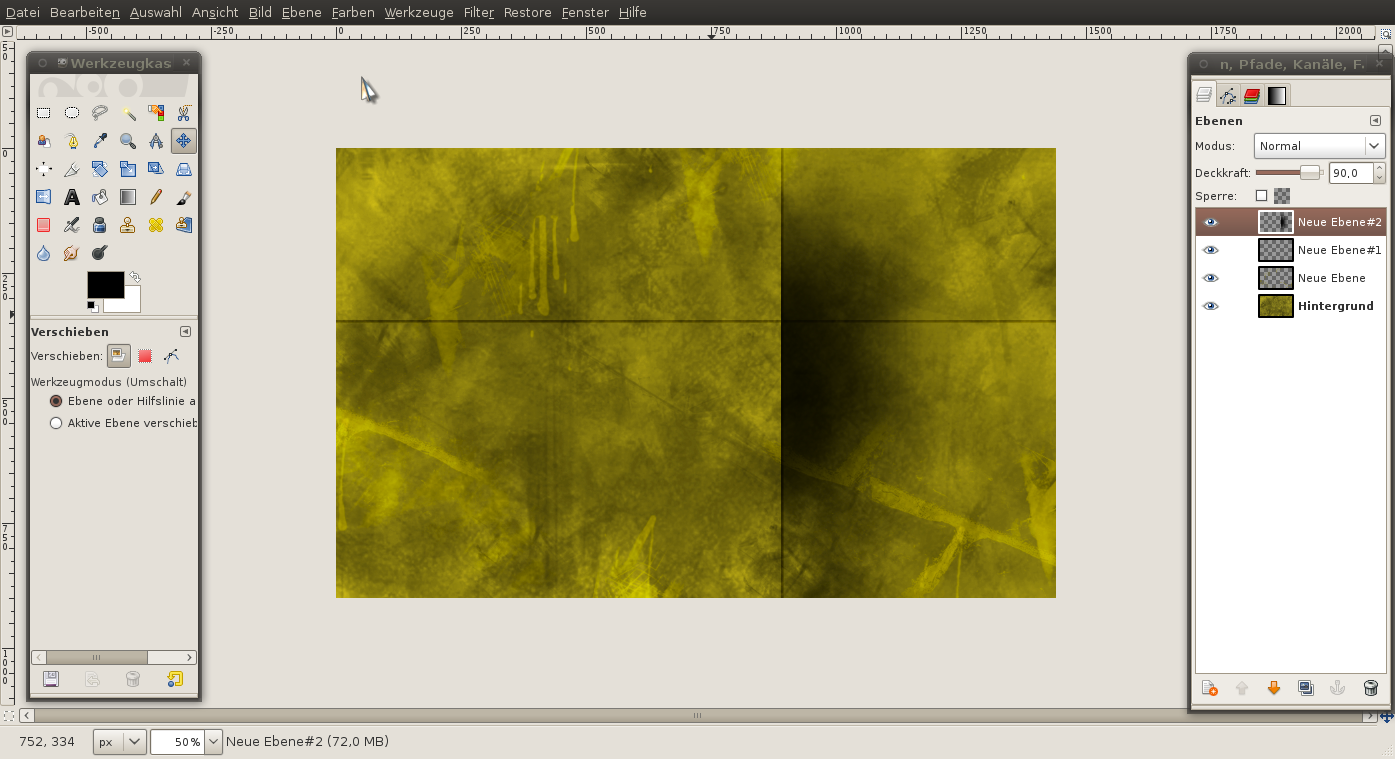
Use the “Rectangle Select Tool” to clip the left part of the circle.
Move the cut selection to the vertical line.
-Opacity: 80%. -
13
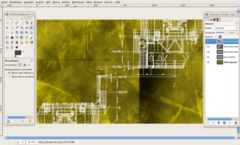
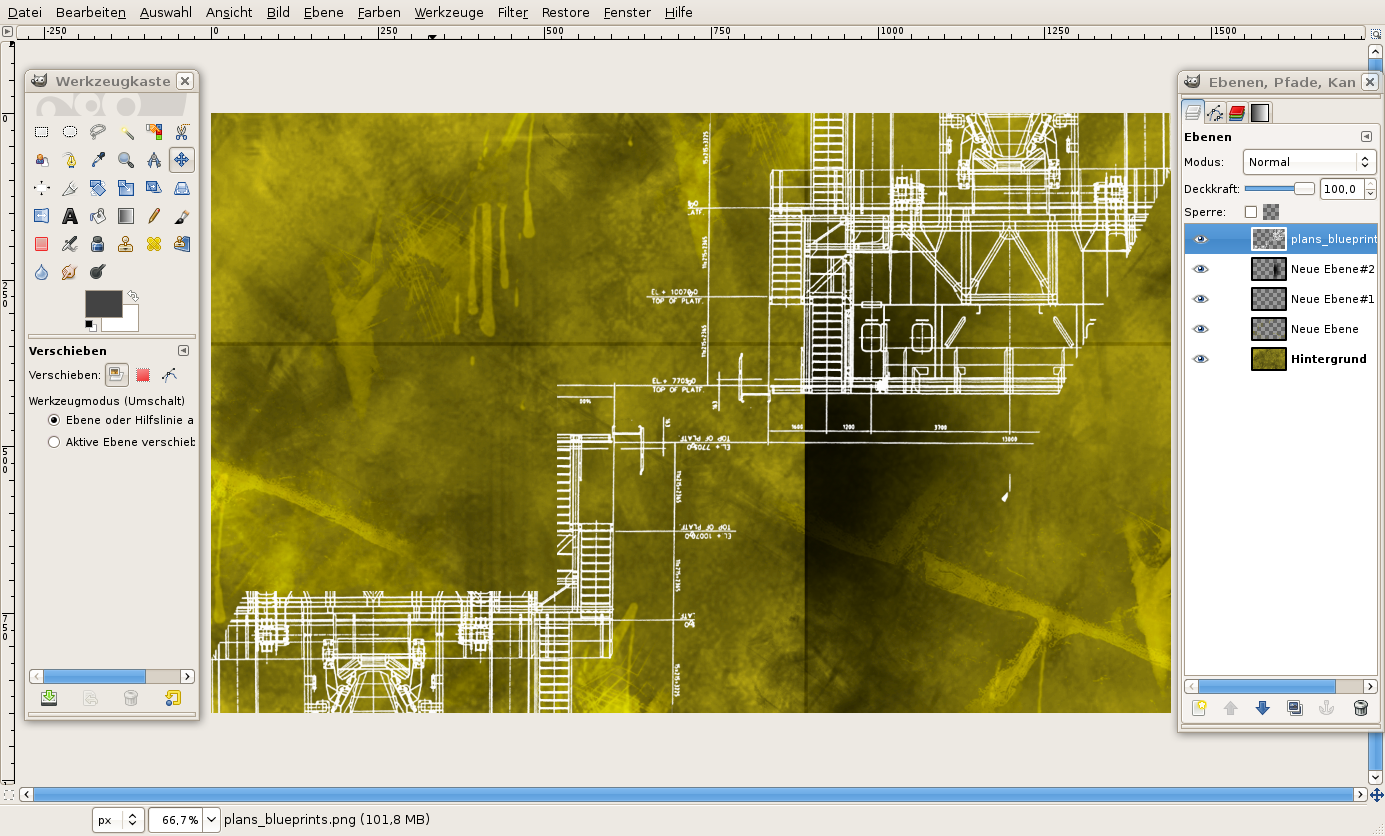
Now we have to bring in the “architectural style”. For this reason, I used an image from sxc.hu. I have already prepared the image (originally, the plans lay on a table and I have changed the perspective to make them even).
- File / Open as Layers: “plans_blueprints.png”.
-
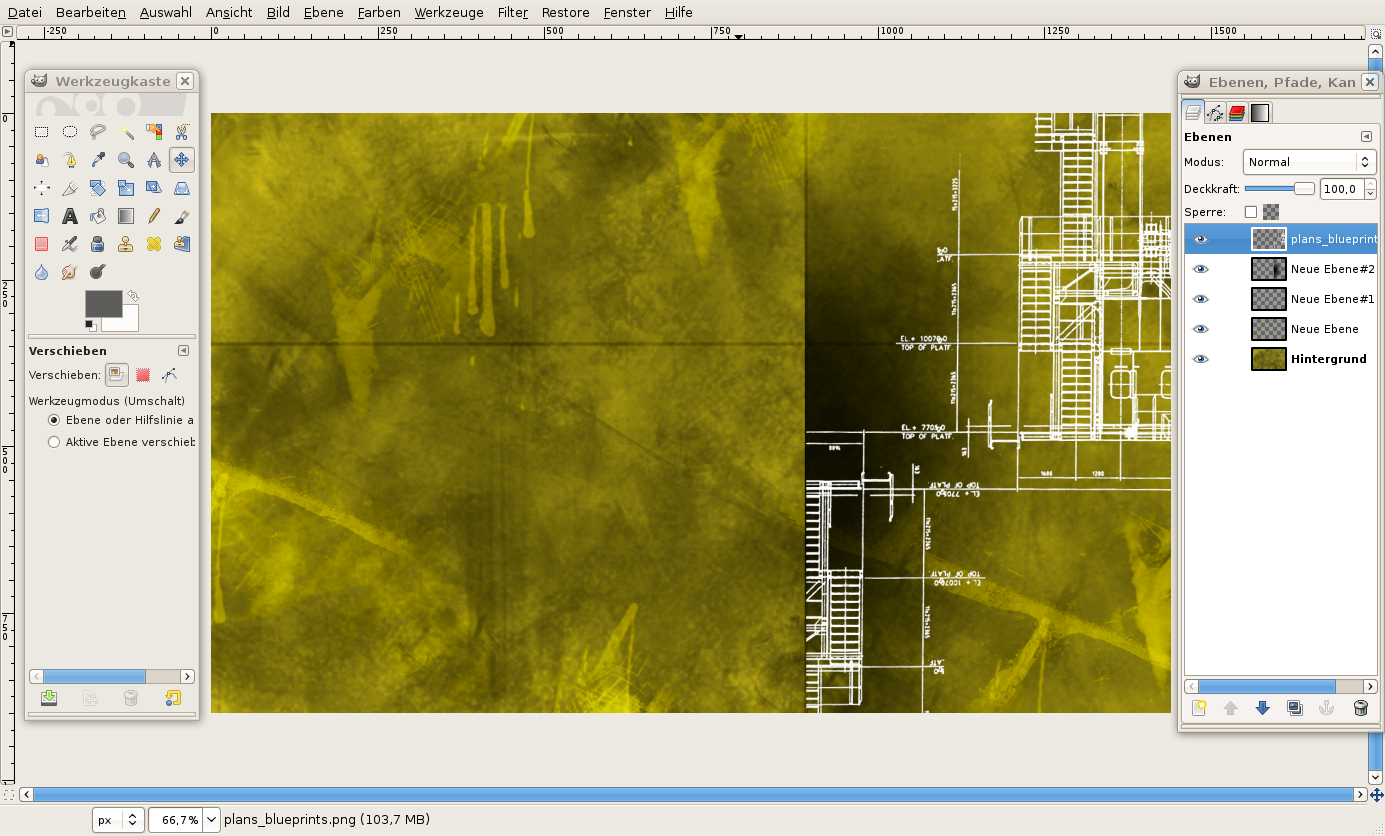
14
Move the layer a bit to the right side. Choose a part you like and clip overlaying parts so that the plan parts are only visible in the right part (which is bounded by the shadow).
-
15
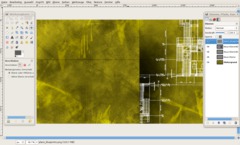
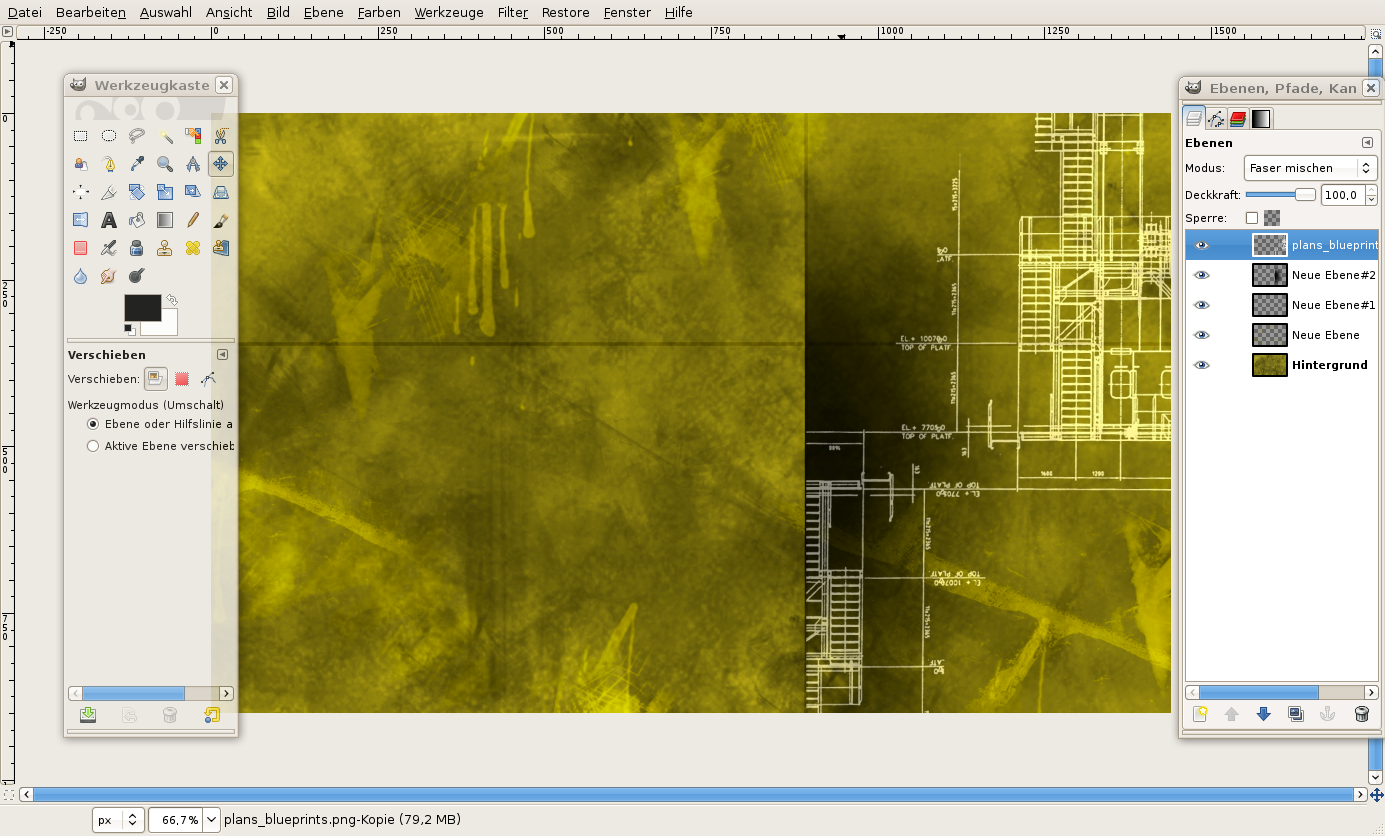
- Set the plan’s layer mode to “Grain merge”.
-
16

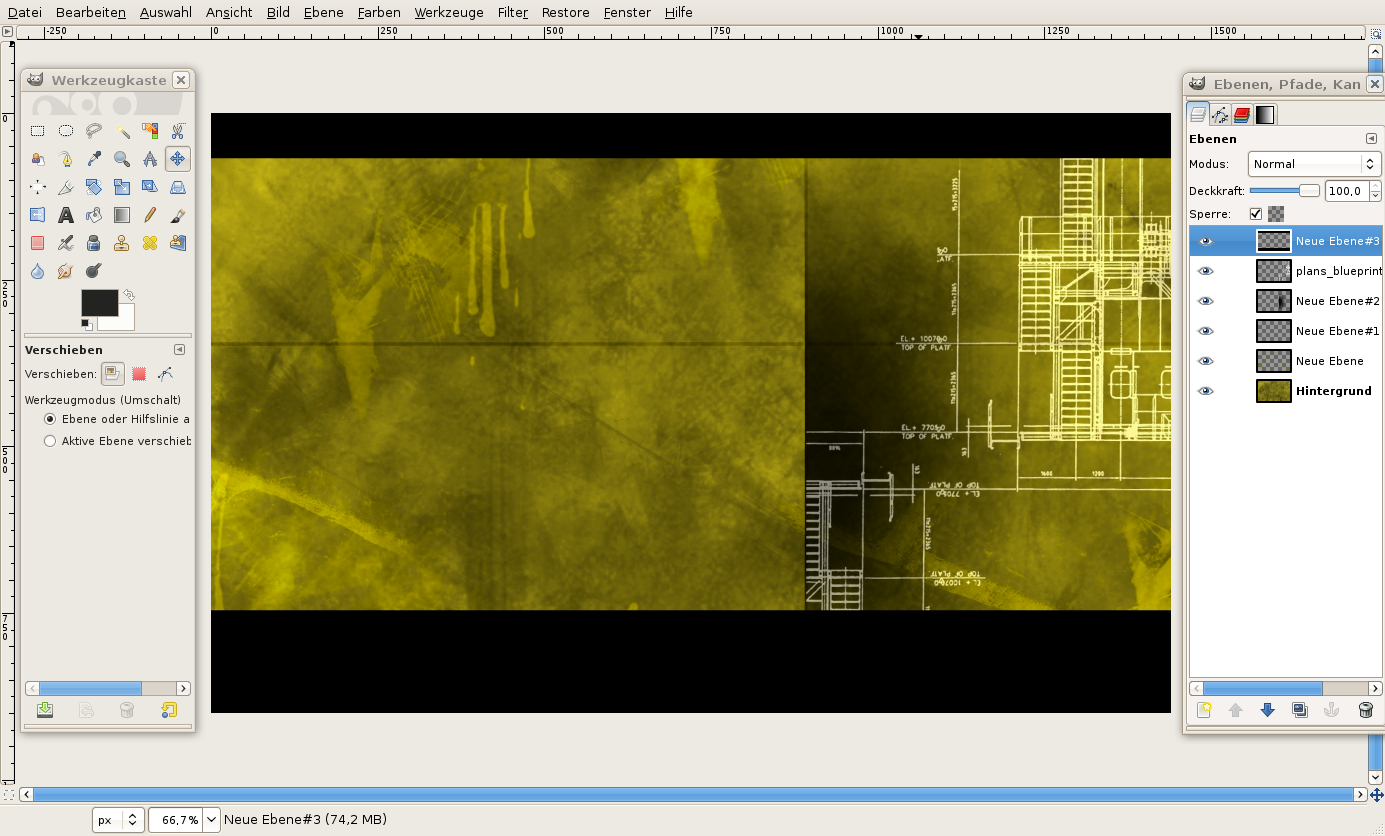
The next step is to narrow the middle part some more and thus create some focus.
- Create a new layer
- Select a thin part on the top and a think part on the bottom and fill the selection with black. -
17

- Create another new layer
- Select 2 bands (stripes) again – new within the black bands and fill them with the color 555555. -
18
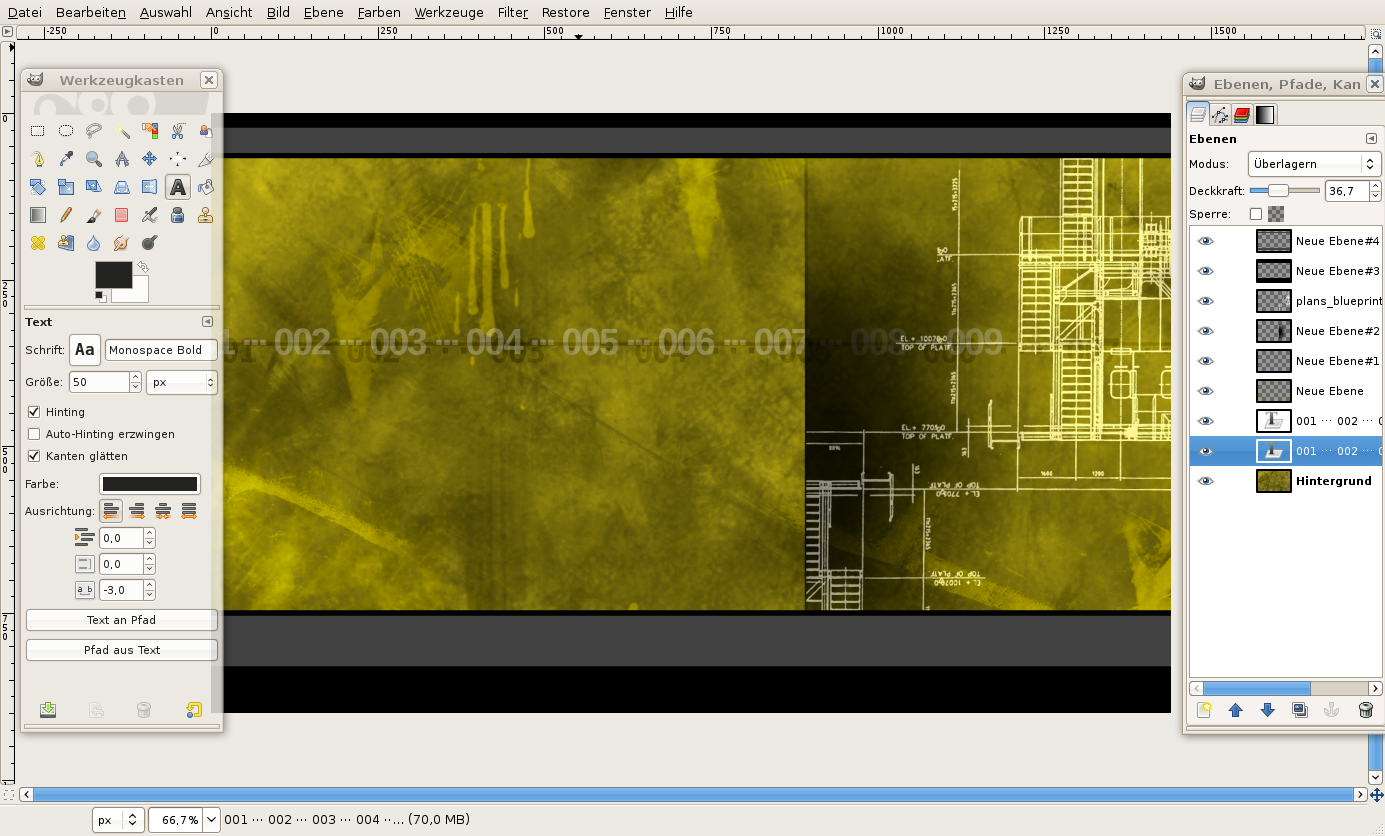
Now the text:
- Write “001 ··· 002 ··· 003 ··· 004 ··· 005 ··· 006 ··· 007 ··· 008 ··· 009” with a fat font, size 55, black onto a layer.
- In the Layers window, move the layer directly above the background layer with the texture. Opacity: 25%, layer mode: Divison.
- Clone this text layer and reduce the font size. Opacity to 35%, layer mode to Overlay. -
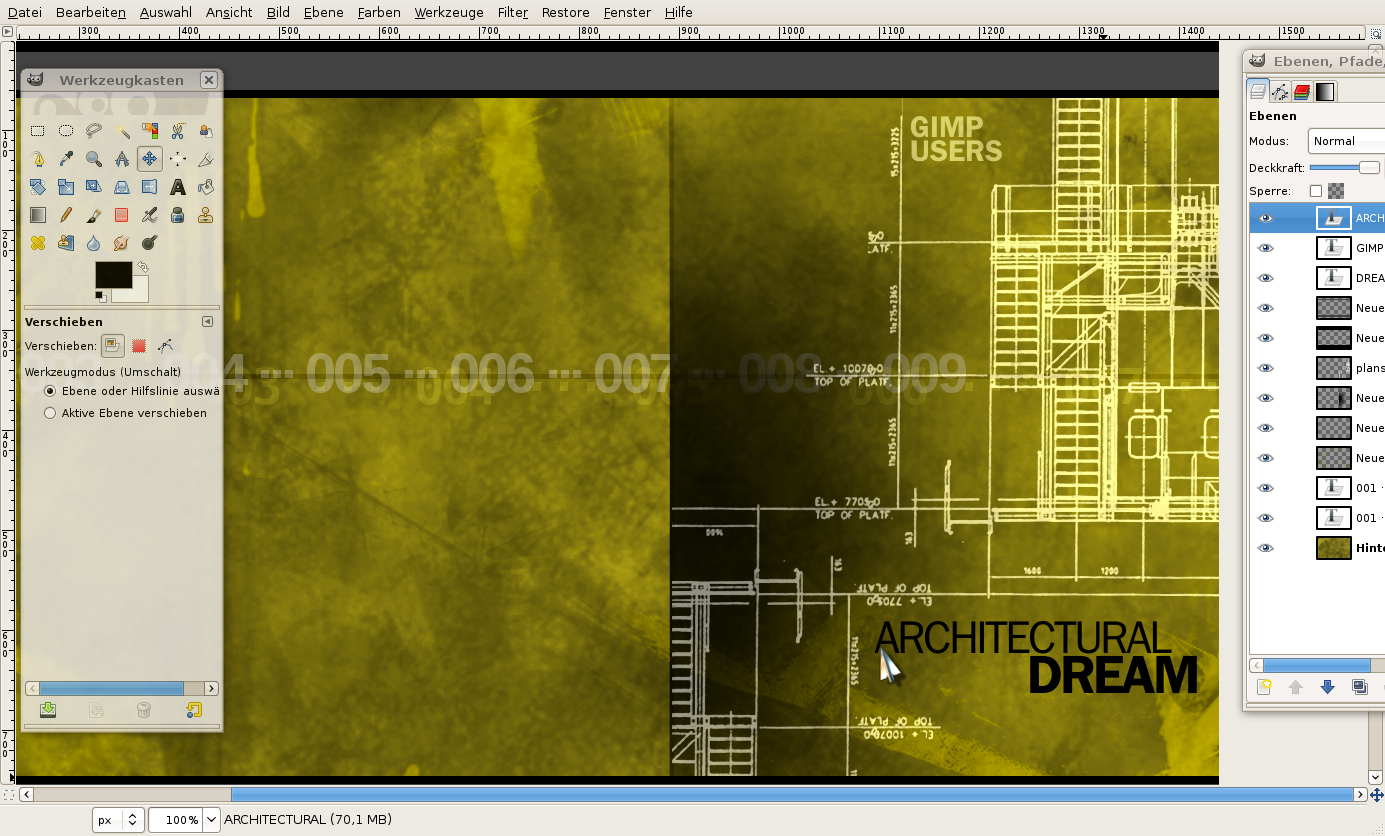
19
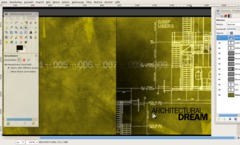
- Write “Architectural” and “Dream” (black text color) onto 2 separate new layers and arrange the blocks like this:
-
20
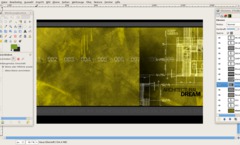
- Apply Filters / Enhance / Sharpen: 70 to the background layer. Now it’s finished!
-
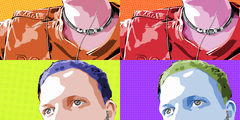
21
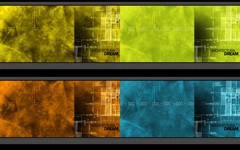
Here are some variants in other colors:


Comments
Post your own comments, questions or hints here. The author and other users will see your posting and can reply to it.
Of course, you can also ask in the chat.
Subscription management
Please log in to manage your subscriptions.
User rating
This topic (Creating architect/grunge style wallpaper) has been rated 5.0/5.0.
New comments are disabled because of spam.