


Tutorial: Create perfectly repeatable textures
 is licensed under a Create Commons Attribution-Non Commercial 3.0 Unported license.")

Motivation
This tutorial shows some techniques to create seamless textures. Two ways are described: one can be used very fast, the other one can be used to create sharper and pretty nice textures. You'll also learn how to quickly test seamlessness in GIMP.
Tutorial details
- Category: Techniques
- Time to reproduce: ≈10.0 minutes

- Tested with GIMP 2.7
-
1

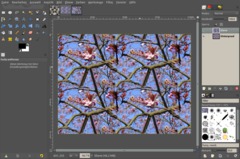
Seamless textures are very often used in 3D modelling or also for website backgrounds.
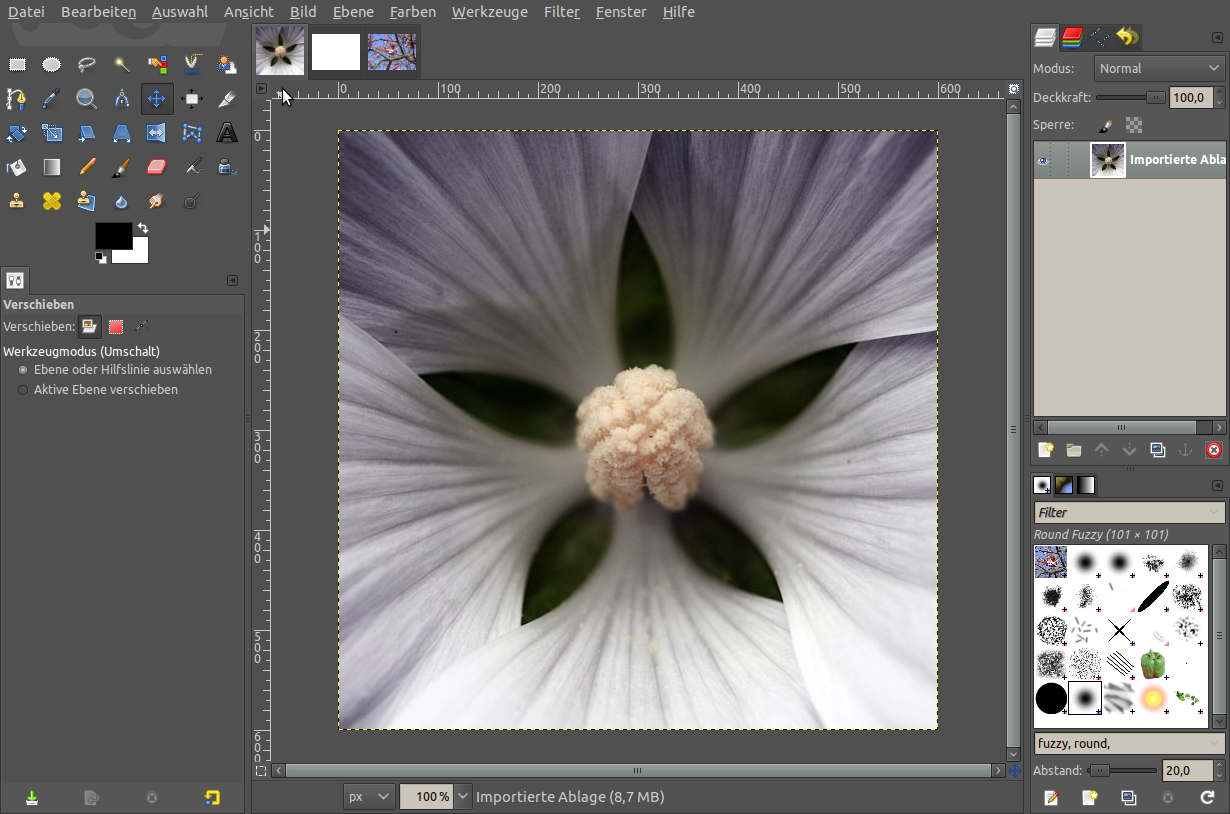
If you have a nice image to start with like here with that symmetric leaves of the flower there is a fast way to create a well repeatable texture with GIMP.
-
2
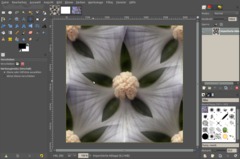
Simly choose the “Make Seamless” filter found under the menu “Filter” / “Map”. GIMP tries to crossfade the eges of the image to make it seamless. Is some cases this look really good.
-
3
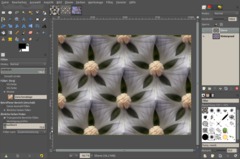
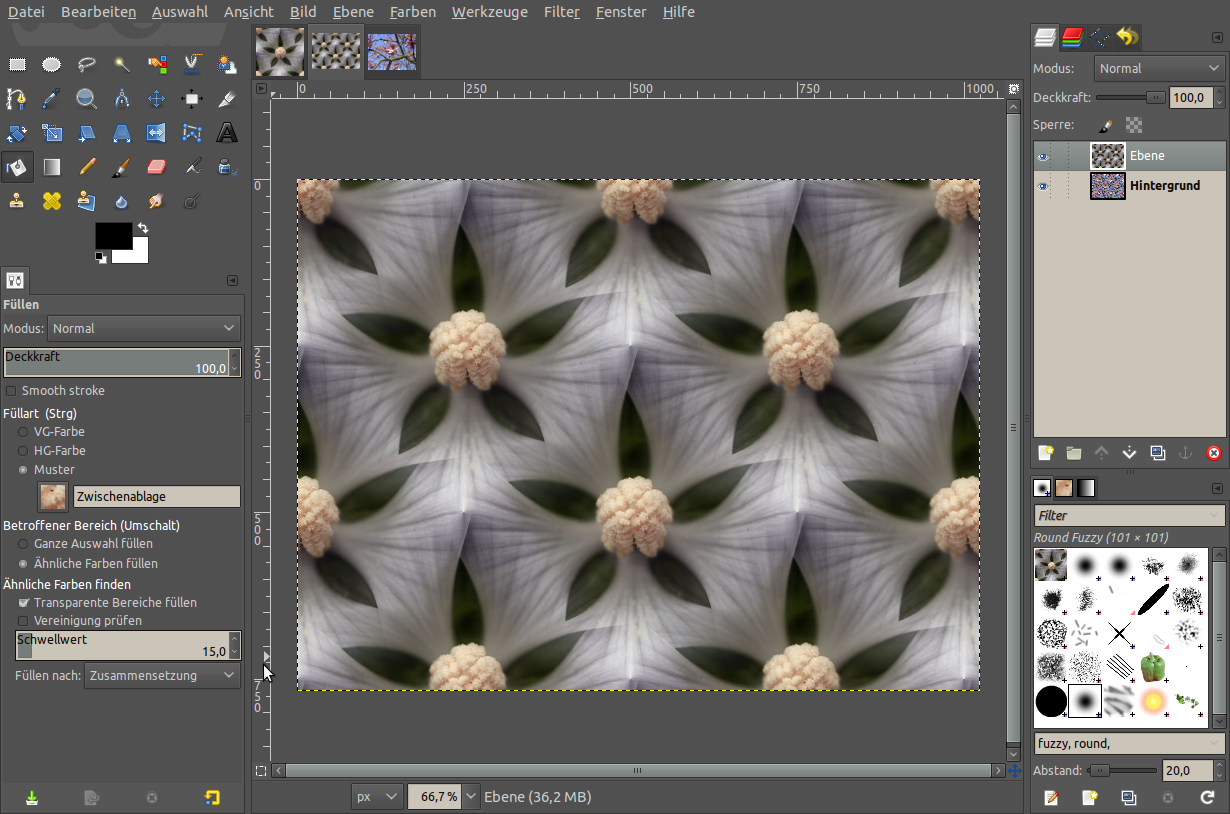
To test how well the texture is repeatable just follow these steps:
- copy the seamless image to the clipboard (Attn: only images with a max. size of 512×512 px can be directly used as an on-the-fly brush / pattern in GIMP If your picture is larger than 512×512px please make it smaller first)
- now create a totally new image with any size (i.e. 1600×1200px)
- choose the Bucket Fill-tool and set the option to “Pattern”. From the drop down the first one is the stuff you copied to the clipboard
- Then click inside the white background of the new image or just use EDIT / FILL PATTERN to test the seamlessness. -
4

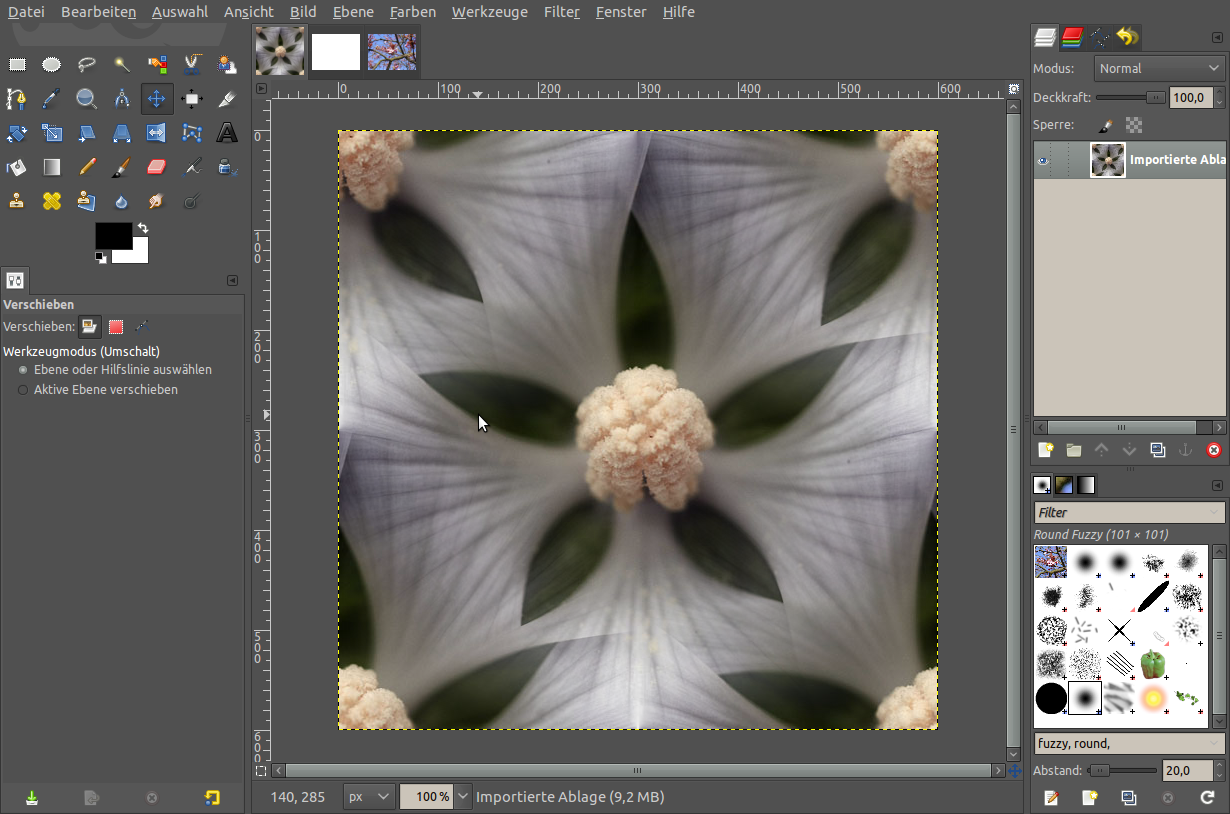
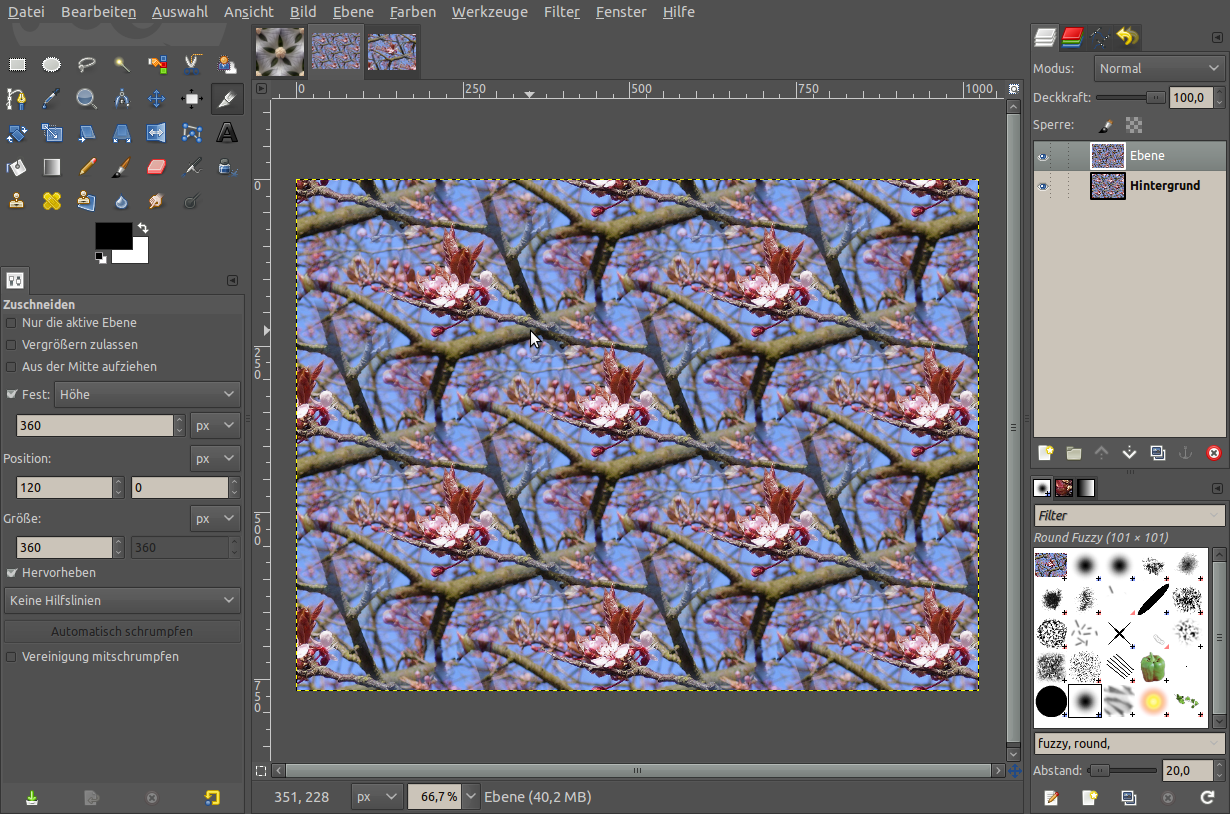
The “make seamless” filter isn’t the perfect choice for all textures and patterns however. Sometimes the fading stuff isn’t what we want the seamless texture to look like (see the image).
-
5
Create sharp seamlessness
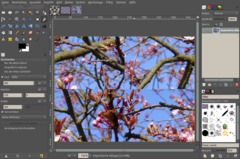
It would be really better if the texture would remain sharp. So therefore we need to do some thing by hand. First we need to offset the image by width and height. GIMP has a filter for that here: Layer / Transformation / Offset. In the dialogue click the “Offset by x/2, y/2” button.
-
6
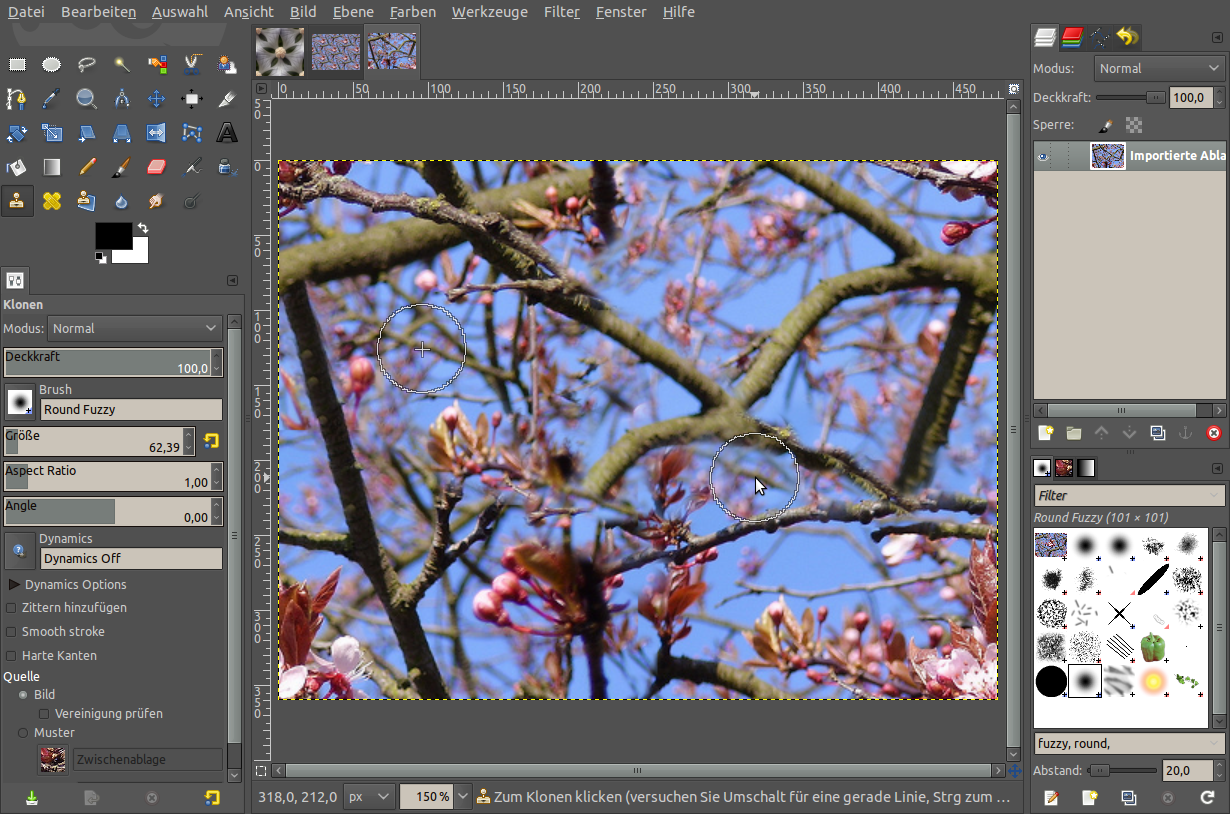
Now use GIMPs Clone tool. Clone parts over the clearly visible middle lines (see image of step 5). Try to coat these visible borders, you can also try to clone i.e. a whole branch through the image.
The more detail you give the image by cloning the more equal will your texture look at the end!
-
7
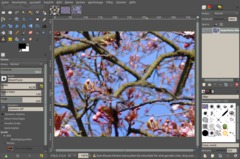
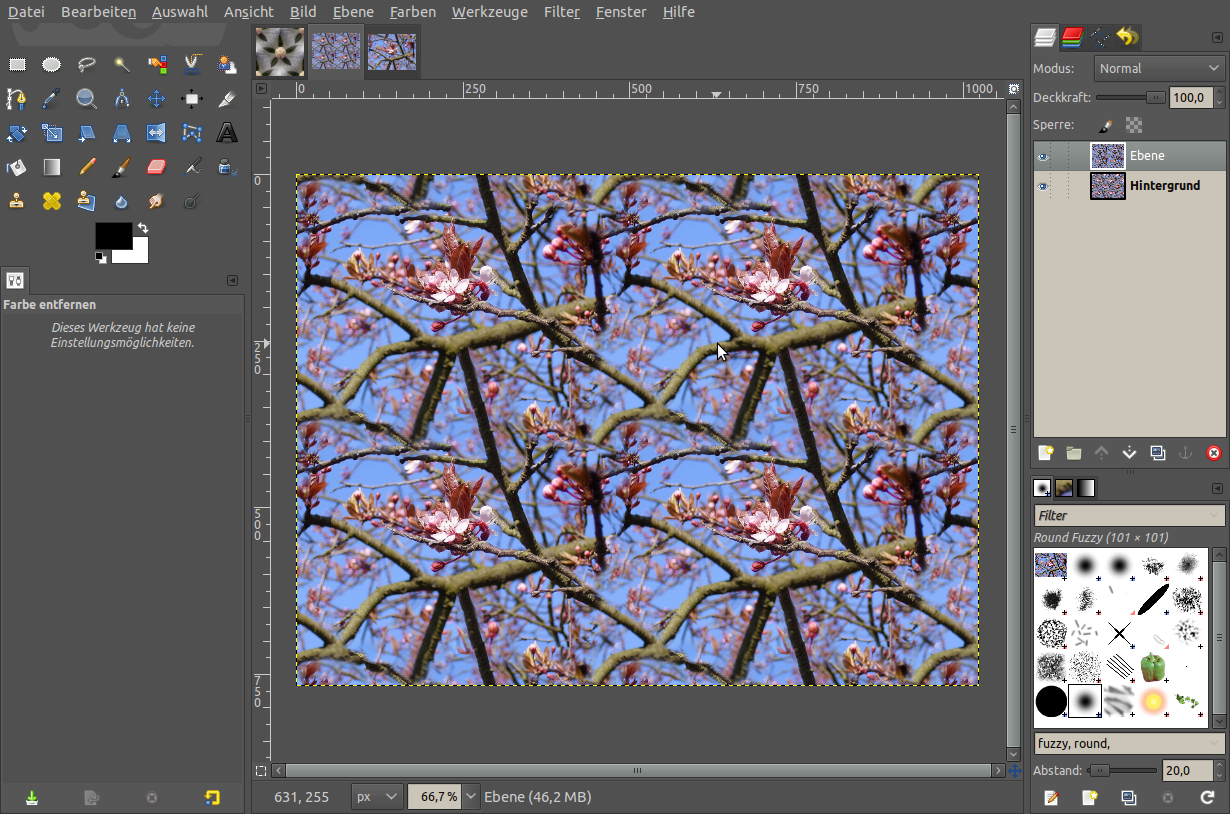
Next repeat the step with the offsetting (LAYER / TRANSFORM / OFFSET) and click the “Offset by x/2, y/2” button and apply it. After using the repeating technique of step 3 the texture will look somehow like this.
-
8
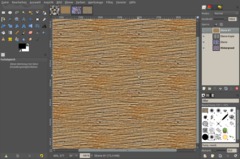
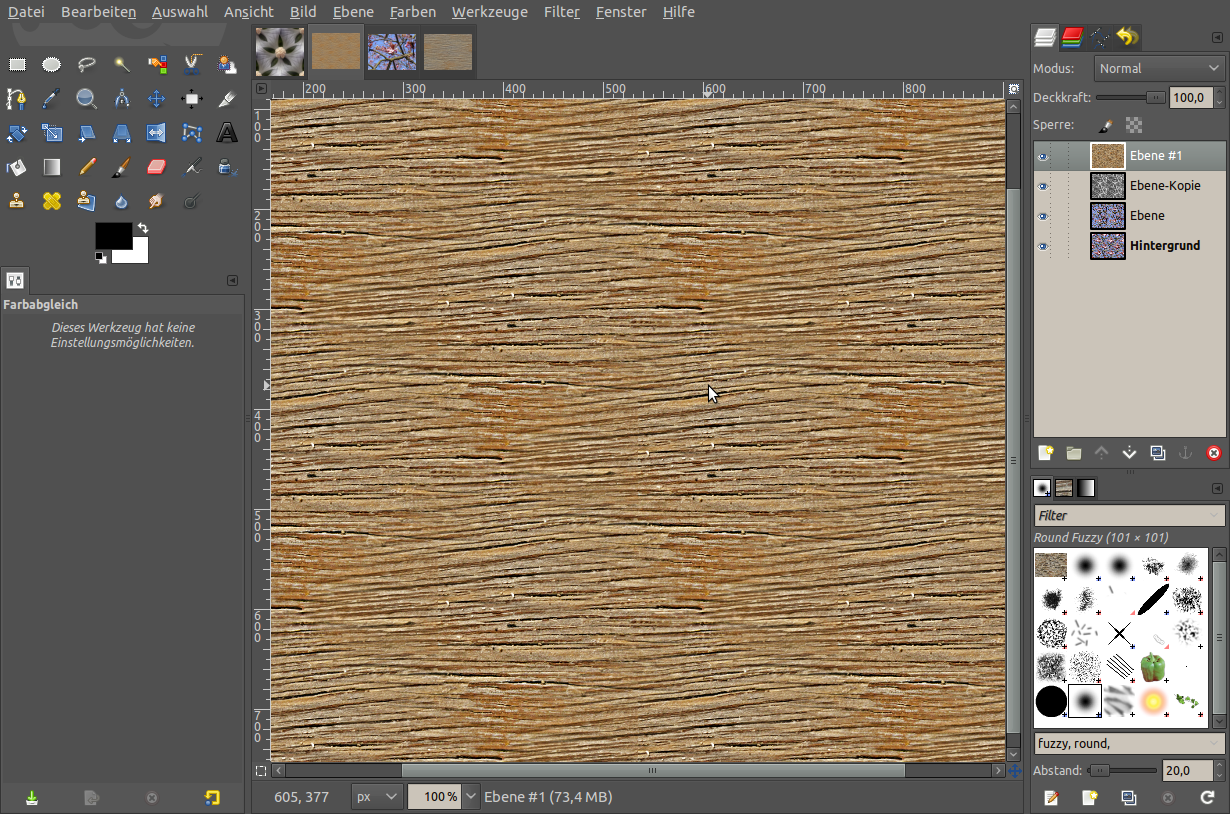
Often you’ll need to homogenize the brightness of an image. How to homogenize an image in brightness you can see in this tutorial:
Homogenize brightness on images
In the shown image (the wodden texture) I’ve used the technique shown in the tutorial to get a brightness adapted texture. In this simple case I again used the “Make seamless” filter, sharpened it a little and added a soft brown color tone by using Colors / Color balance.
Hope you enjoyed the tutorial and you find it useful / helpful!


Comments
Post your own comments, questions or hints here. The author and other users will see your posting and can reply to it.
Of course, you can also ask in the chat.
Subscription management
Please log in to manage your subscriptions.
New comments are disabled because of spam.