


Tutorial: Create nice lines effects using the blend tool!
 is licensed under a Create Commons Attribution-Non Commercial 3.0 Unported license.")

Download GIMP workspace (.xcfbz2) (925 KB)
Motivation
In this tutorial I'm gonna show you how to use the blend tool to create very nice lines effects, that can be perfectly used as desktop wallpapers or for any other kind of praphics work. The technique is amazingly simple really – so almost every GIMP user will be able to do it easily.
Tutorial details
- Category: Simple effects
- Time to reproduce: ≈10.0 minutes

- Tested with GIMP 2.7
-
1
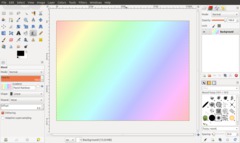
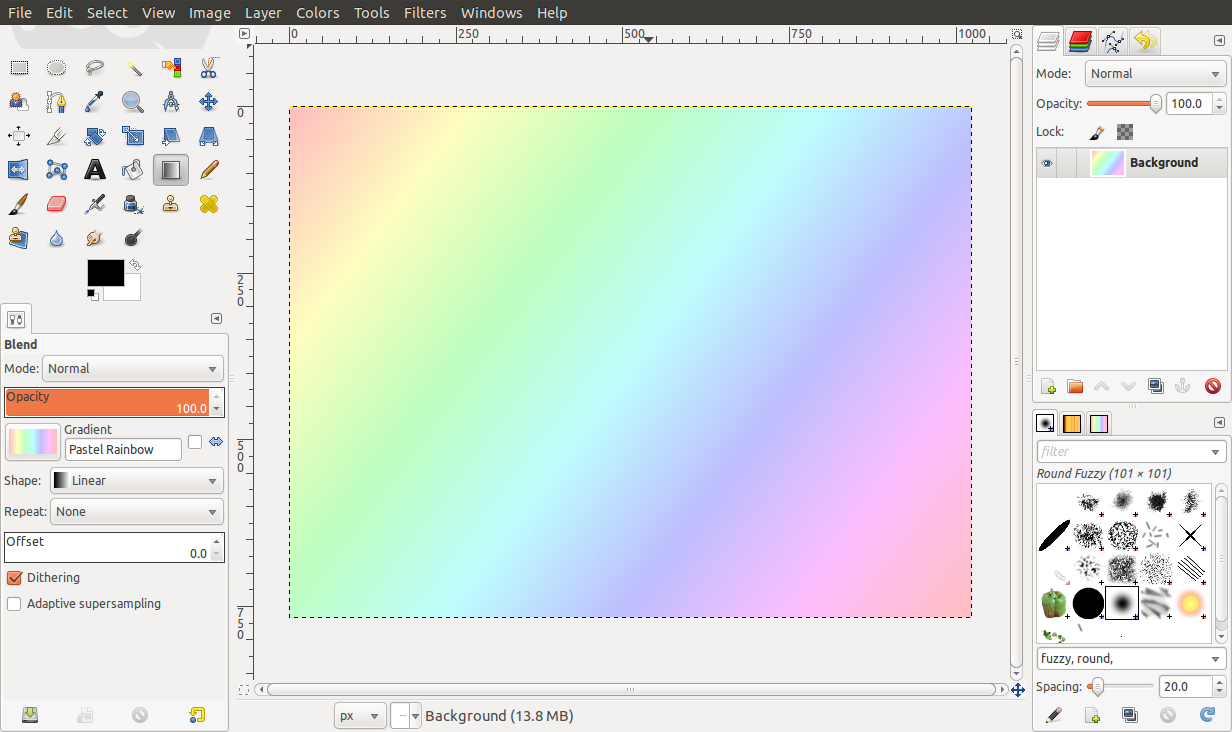
First create a new file, i.e. 1024×768px. Then use the blend tool: Choose the “Pastel Rainbow” gradient from the dropdown menu. Then draw the gradient from top left to bottom right of the canvas. Thats our background base.
-
2
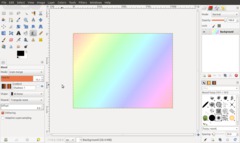
Setting the blend tool options
Now choose the “Shadows 1” gradient from the dropdown and set these parameters in the blend tool options:
Mode: Grain merge
Opacity: 75%
Shape: Bilinear
Repeat: triangle wave -
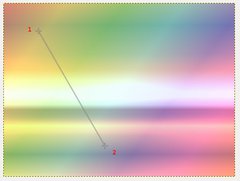
3

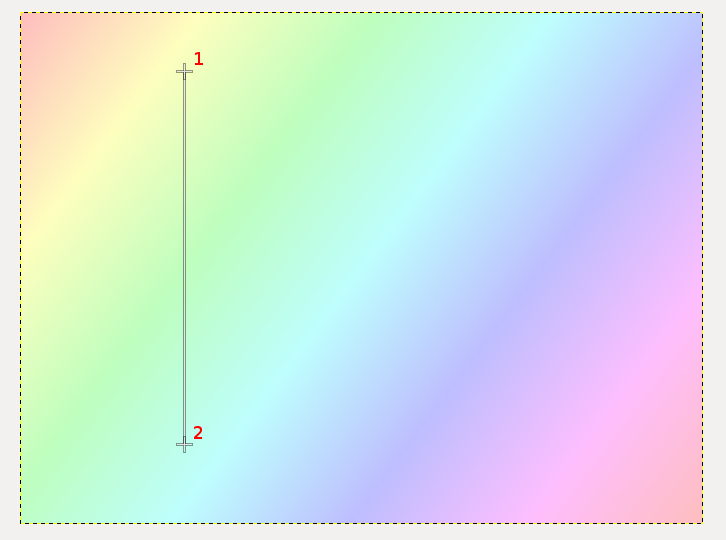
Drag the gradient as shown in the image. Be sure to be inside the canvas.
-
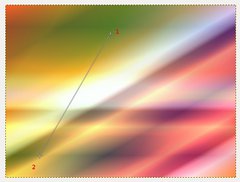
4
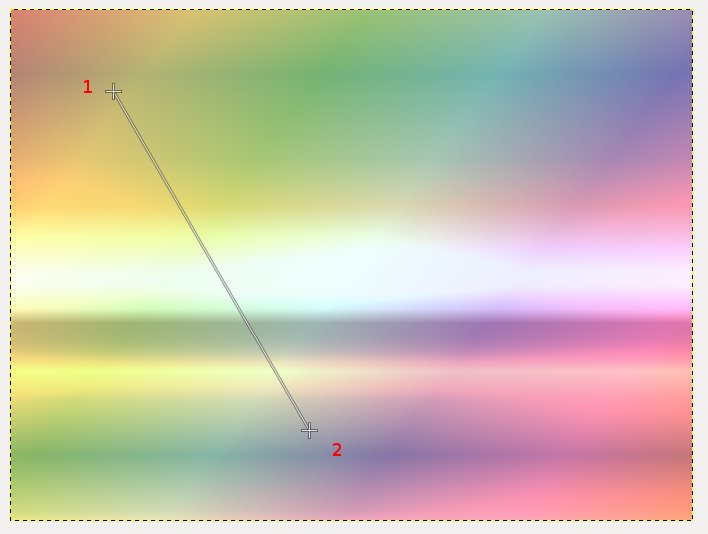
Drag the gradient as shown in the image. This time drag in a “top-left to bottom-right”-direction. Hold CTRL on your keyboard, then you can draw the gradient in exact 15°-steps. I used a 30° angle. to drag the gradient.
-
5
Do the same as in the step above. But now in a top-right to bottom-left-direction, again use an angle with 30°. By using exact angles it is easier to get an asthetically pleasing combination of the lines.
-
6

Now we’ve already a nice output that has some softer lines. You’re done if you like these softer lines. But as this technique is really experimental-friendly I want to show you some other examples you can easily accomplish by doing some more steps :)
-
7
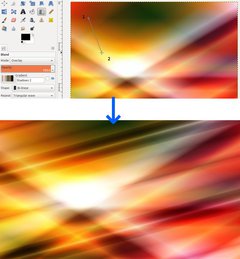
You can reach the effect shown in the lower part of the image by choosing the “Shadows 2” gradient. Set the opacity to 100% and take “Overlay” as mode. Drag a smaller gradient (15°) as show in the picture.
-
8

Alternatively to the above step (step 7) you can get some kind of harder lines by decreasing the distance of the dragged gradient.
To get the effect in the image I have set the opacity to 75%, the mode to “Grain merge”, and then I have drawn a gradient from top right to top left (but only of about 1-2 centimeters / 1 inch) in distance.
-
9
I really love the this tqchnique to create interesting backgrounds, because it is so damn easy to do and the output is very nice for the input time.
Some things you can also try to get different styles:
Use other base background gradients, vary the angles of the line-gradients each time you drag one by 1-2° and of course you can also try other modes to get very very different results. Also consider to use a colorful gradient then set the mode to “colorize” or “color” and so colorize the whole scene in a different way.
I hope you enjoy the technique!
-
10

This background is completely different from the onther one, and has only taken about 2 minutes to make!


Comments
Post your own comments, questions or hints here. The author and other users will see your posting and can reply to it.
Of course, you can also ask in the chat.
Subscription management
Please log in to manage your subscriptions.
User rating
This topic (Create nice lines effects using the blend tool!) has been rated 4.0/5.0.
New comments are disabled because of spam.