


Tutorial: Vexel Simulation on Photos
 is licensed under a Create Commons Attribution-Non Commercial 3.0 Unported license.")

Motivation
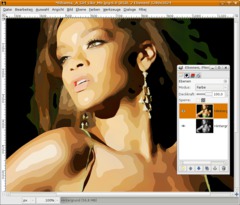
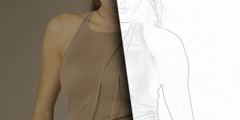
Some of you might know this very cool effect where a person is looking somehow 'vectorized' or fragmented into vector shapes. However GIMP is not the best choice since it is not a vector-program. But I found a cool way to simulate that effect without using vector shapes. Enjoy!
Tutorial details
- Category: Photos / wallpapers
- Time to reproduce: ≈25.0 minutes

- Tested with GIMP 2.3.18
-
1
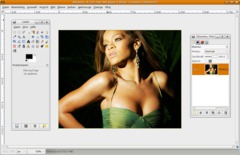
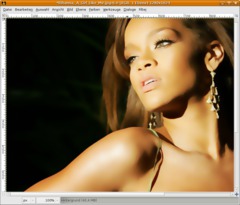
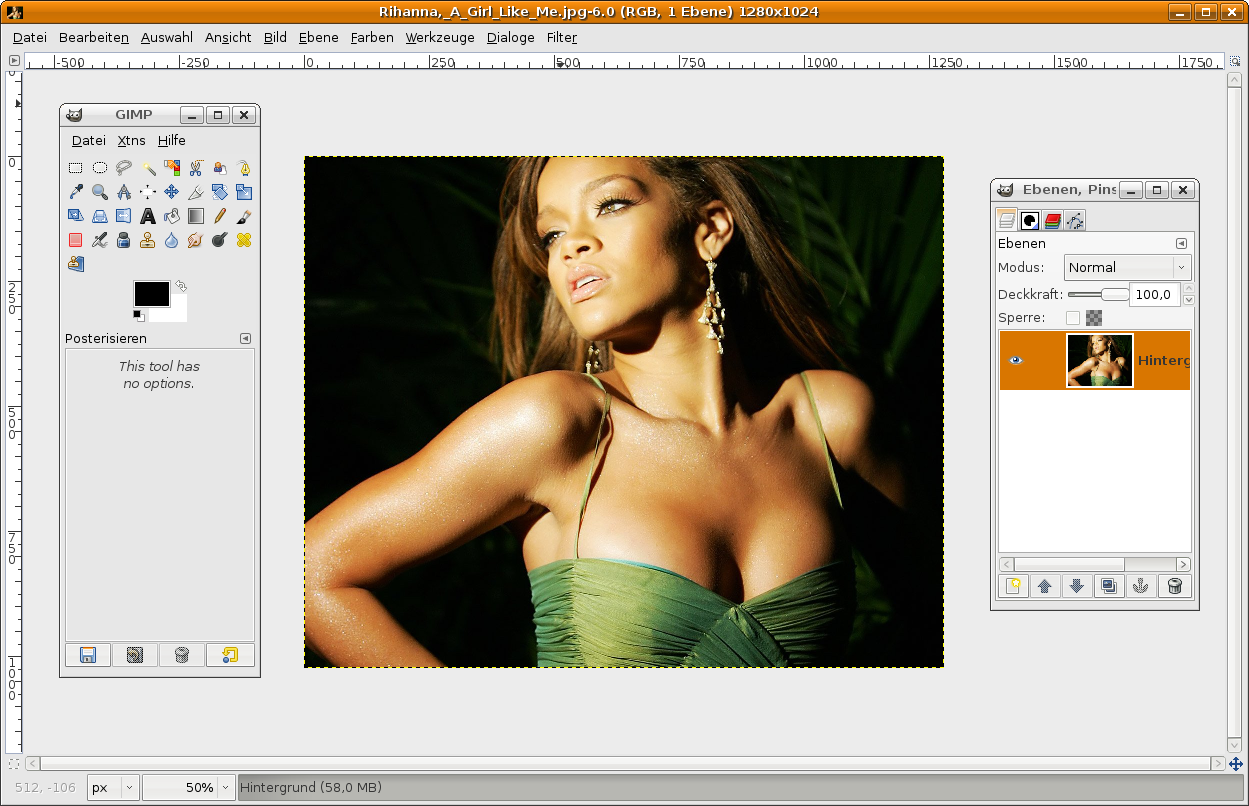
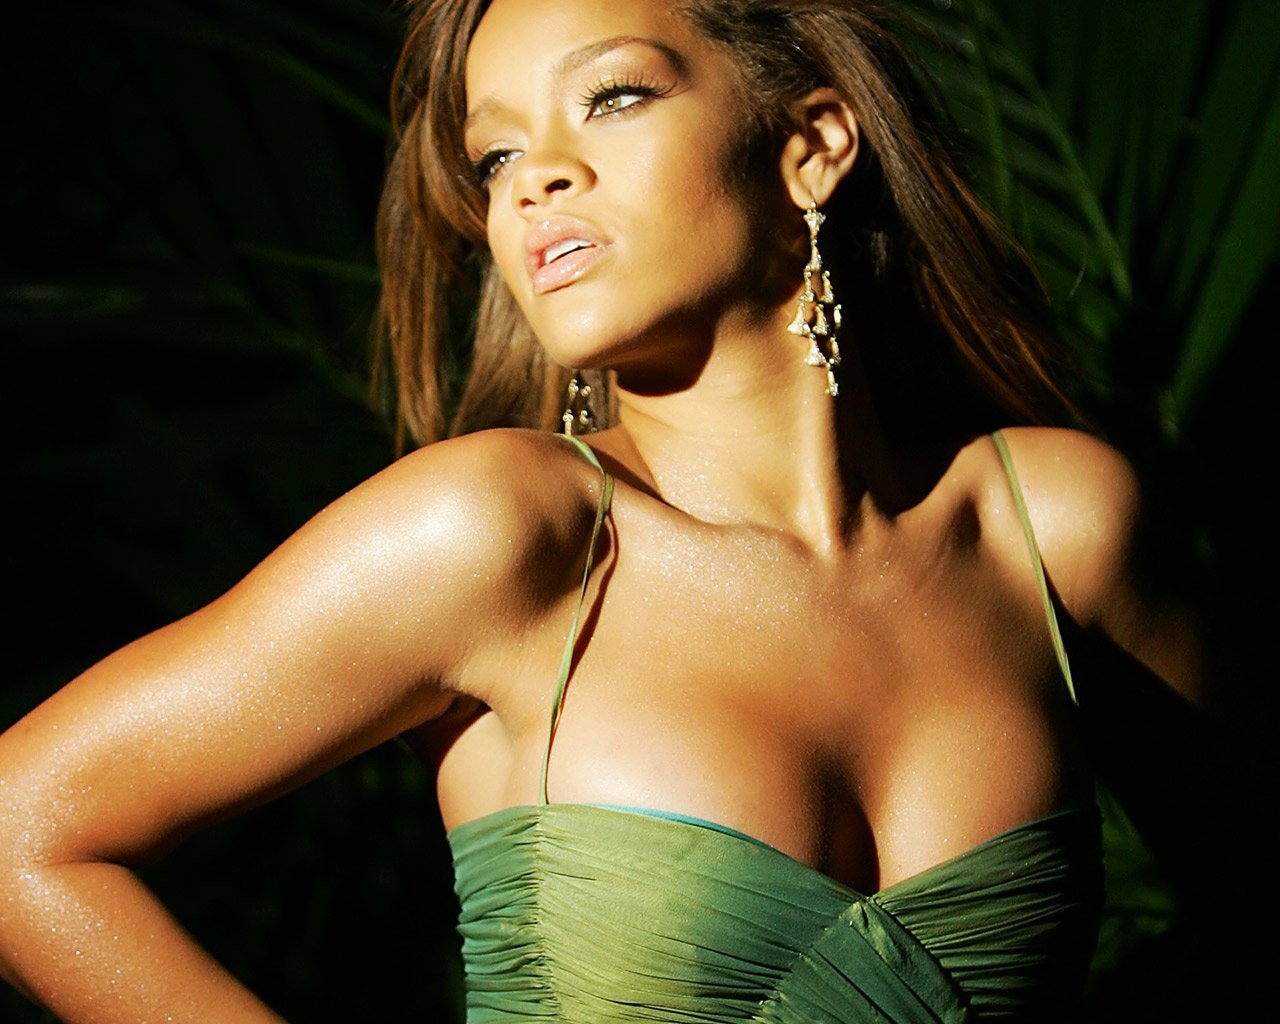
In the first step open up an image of your choice. An existing wallpaper with a celebrity will work best I think.
If you find Rihanna looks good for this you can of course use my template (download from the right) to follow the tutorial step by step and learn the technique.
-
2
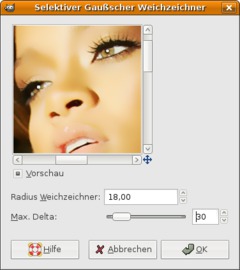
If you don’t use this wallpaper you probably have to extract/mask the person first. That will help the effect to look better in the end. In this case our person is already on black background. Thats good enough.
We’re preparing the effect now:
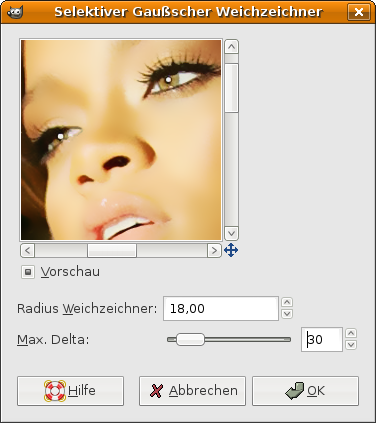
Filter / Blur / Selective gaussian Blur: 18px.
Delta: 30Tip: This kind of blur mechanism makes it possible to blur similar areas of the image without effecting the sharper edges. Thats important here to preserve the general detail of the image.
-
3
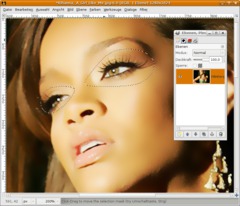
We see a slight problem occuring now. When looking at her skin it has many small white dots we don’t want.
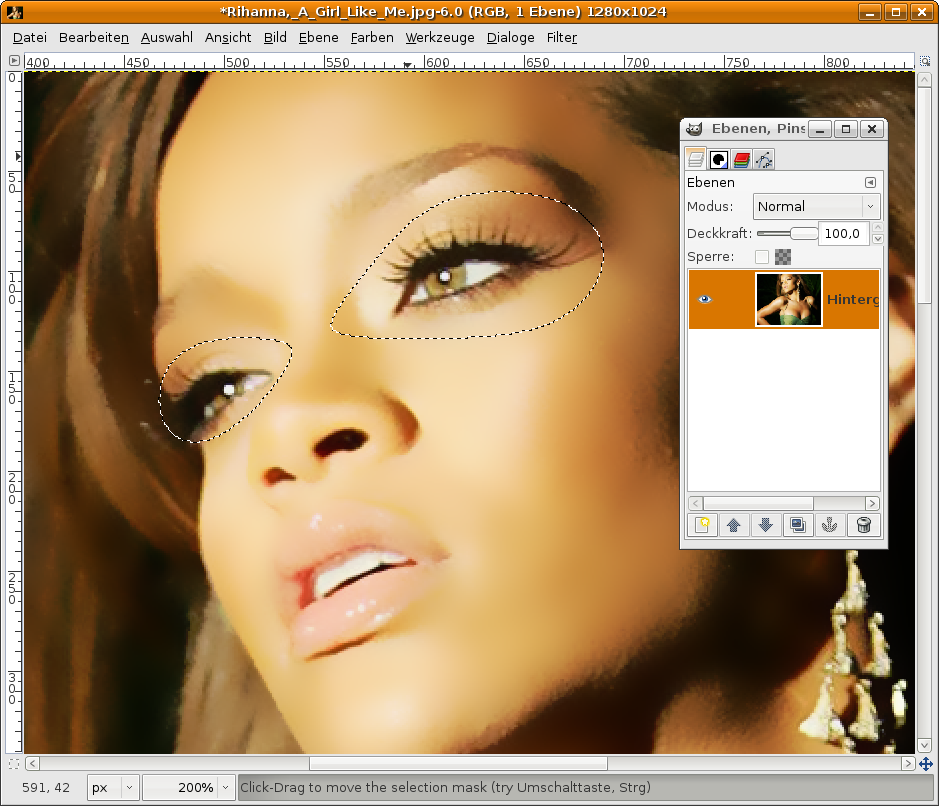
Second problem: If you look at the eyes they also have a white dot, but thats one we want!
We’re using the free selection tool now. Do a small selection around her eyes. Then do:
Selection / Feather: 50px.
Selection / Invert. -
4
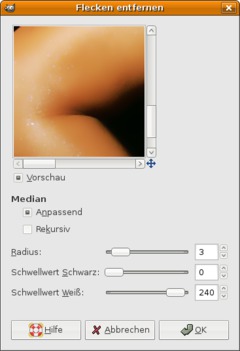
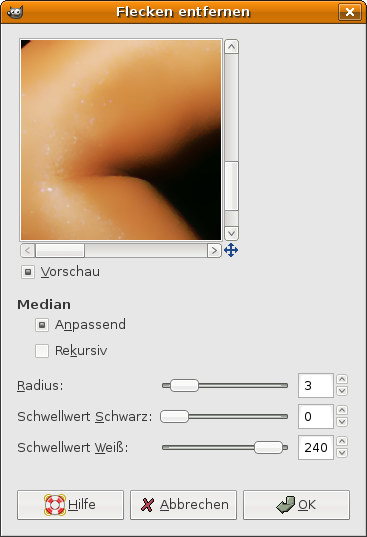
Now we’ve everything selected except her eyes and we can now work on the small white dots.
Go to Filter / Enhance / Despeckle.
Adaptive on.
Values: 3 / 0 / 240Repeat the filter by pressing CTRG+F. Now all the white dots should have gone.
-
5
The selection should still be active. We need to blur very strong now to gain a good smooth curves at the end.
Again use Filter / Blur / Selective gaussian blur. This time use these values: 15px (Radius) and 35px (Delta)
Tip for those who use another picture: Take a close look on the smooth areas. They have to be really smooth, while the detail of eyes and lips or on this picture the detail of her earrings have to be preserved. You can achieve this by makinf free selections and feathering them as we did with the eyes before.
-
6
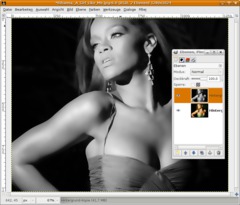
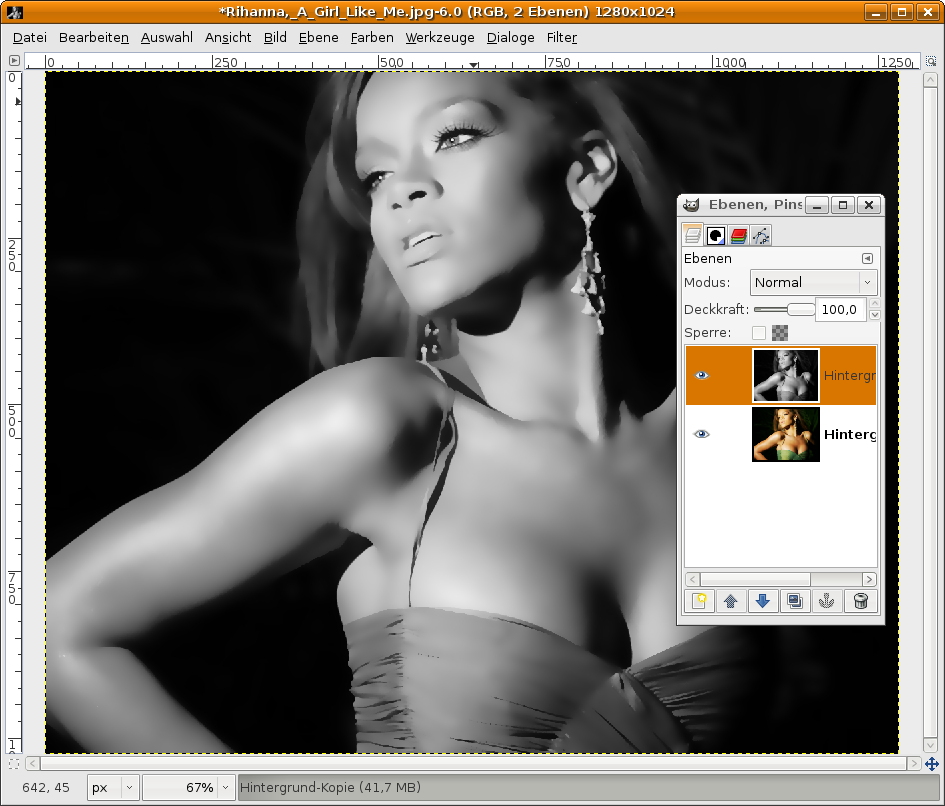
Selection / None.
Duplicate the layer now. The go to Color / Desaturate: Average.
-
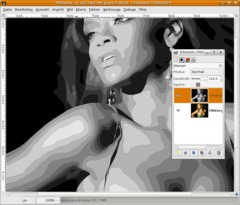
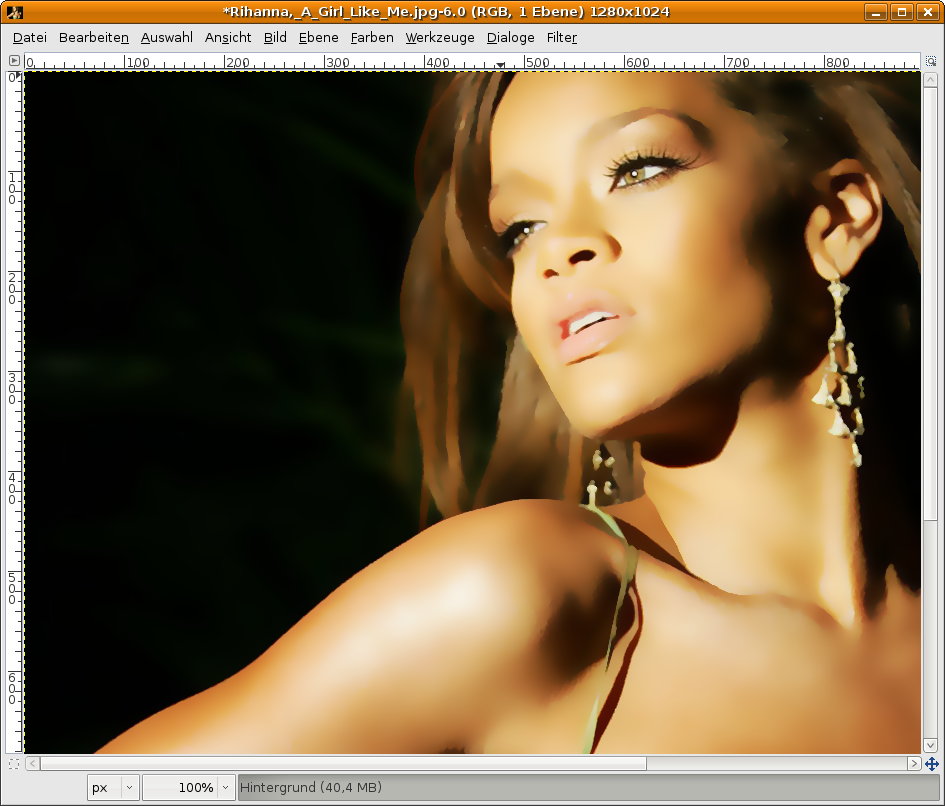
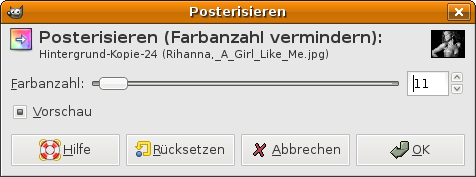
7
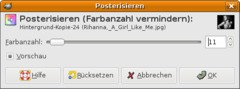
Colors / Posterize. You can play around with these values now. It looks usually good when using values between 8 and 15.
-
8
Vector pictures are from nature very sharp and have clean edges. We can make this better in our picture by just using Filter / Enhance / Sharpen: 45px.
-
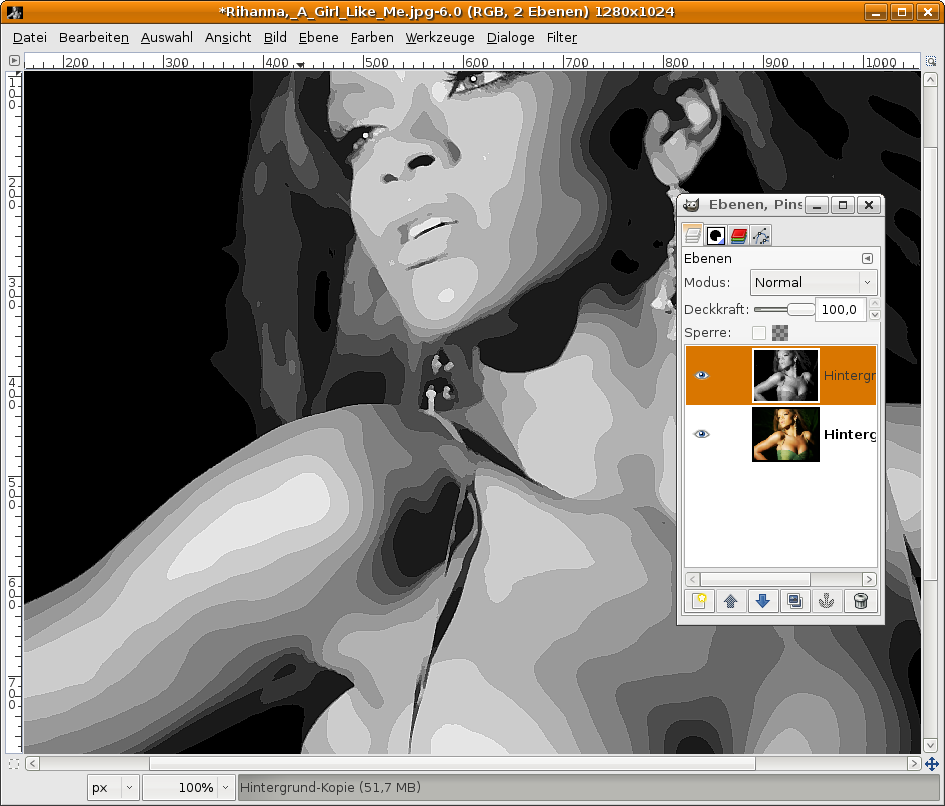
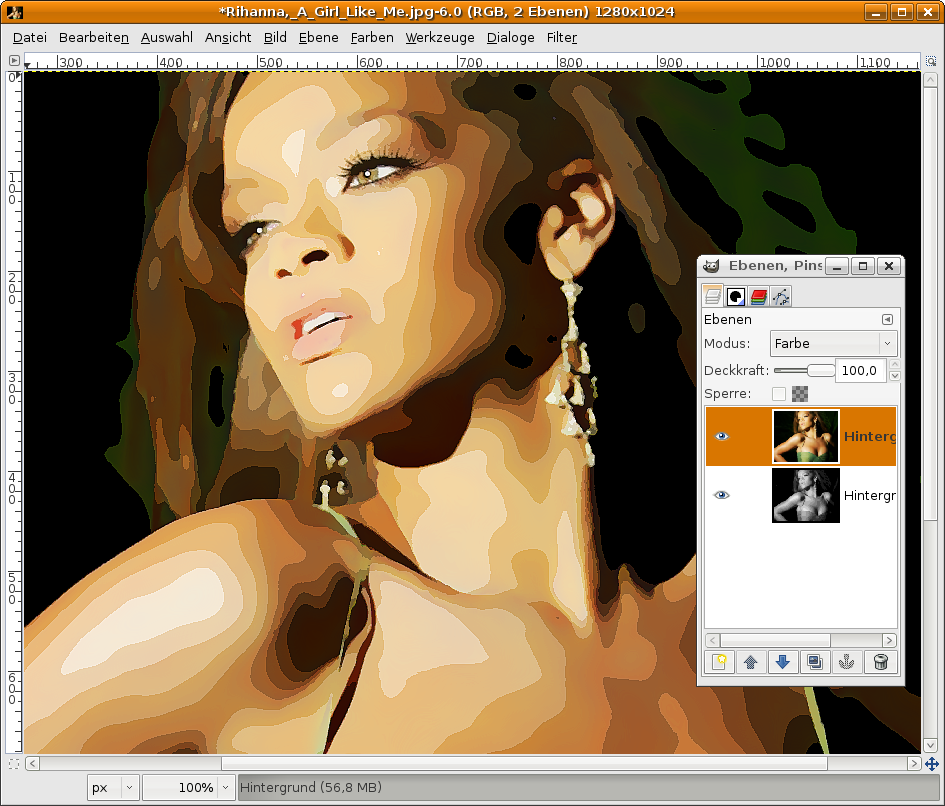
9
Move the grey duplicate down in the layers dialog. Click the photo-layer to activate it and use the layer mode “Color”. We’re done ;)
-
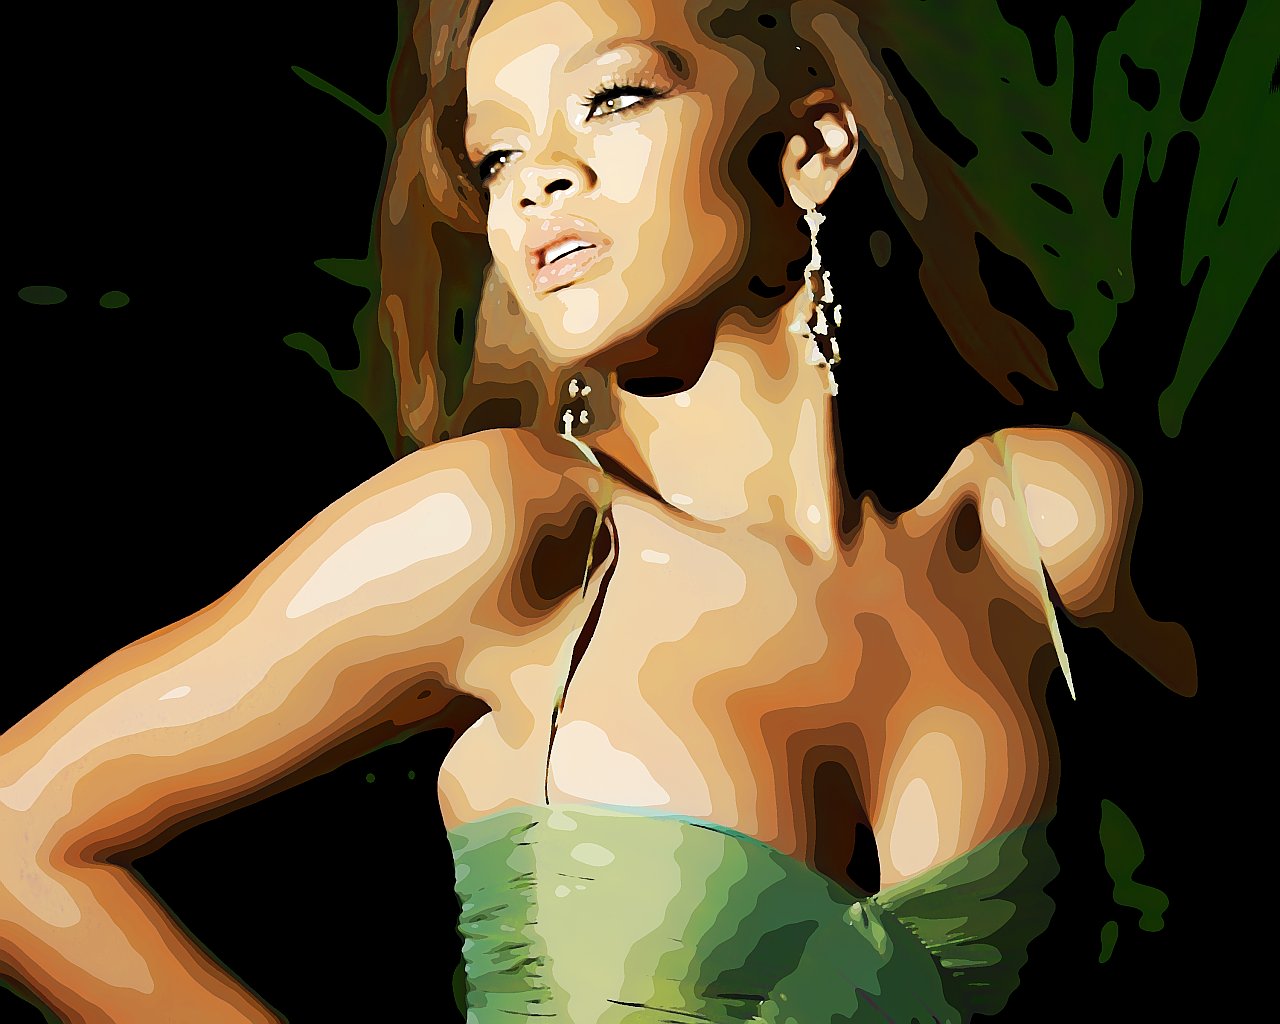
10
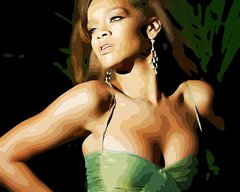
The final picture looks like this after some minimal brightness & contrast adjustments.
-
11

Here’s an image with Jennifer Garner which i played with, but the effect looks better on the picture with Rihanna I guess. At the picture with Jennifer it was very hard to get smooth curves and preserve detail.
Have fun!


Comments
Post your own comments, questions or hints here. The author and other users will see your posting and can reply to it.
Of course, you can also ask in the chat.
Subscription management
Please log in to manage your subscriptions.
New comments are disabled because of spam.