


Tutorial: Smudge painting
 is licensed under a Create Commons Attribution-Non Commercial 3.0 Unported license.")

Motivation
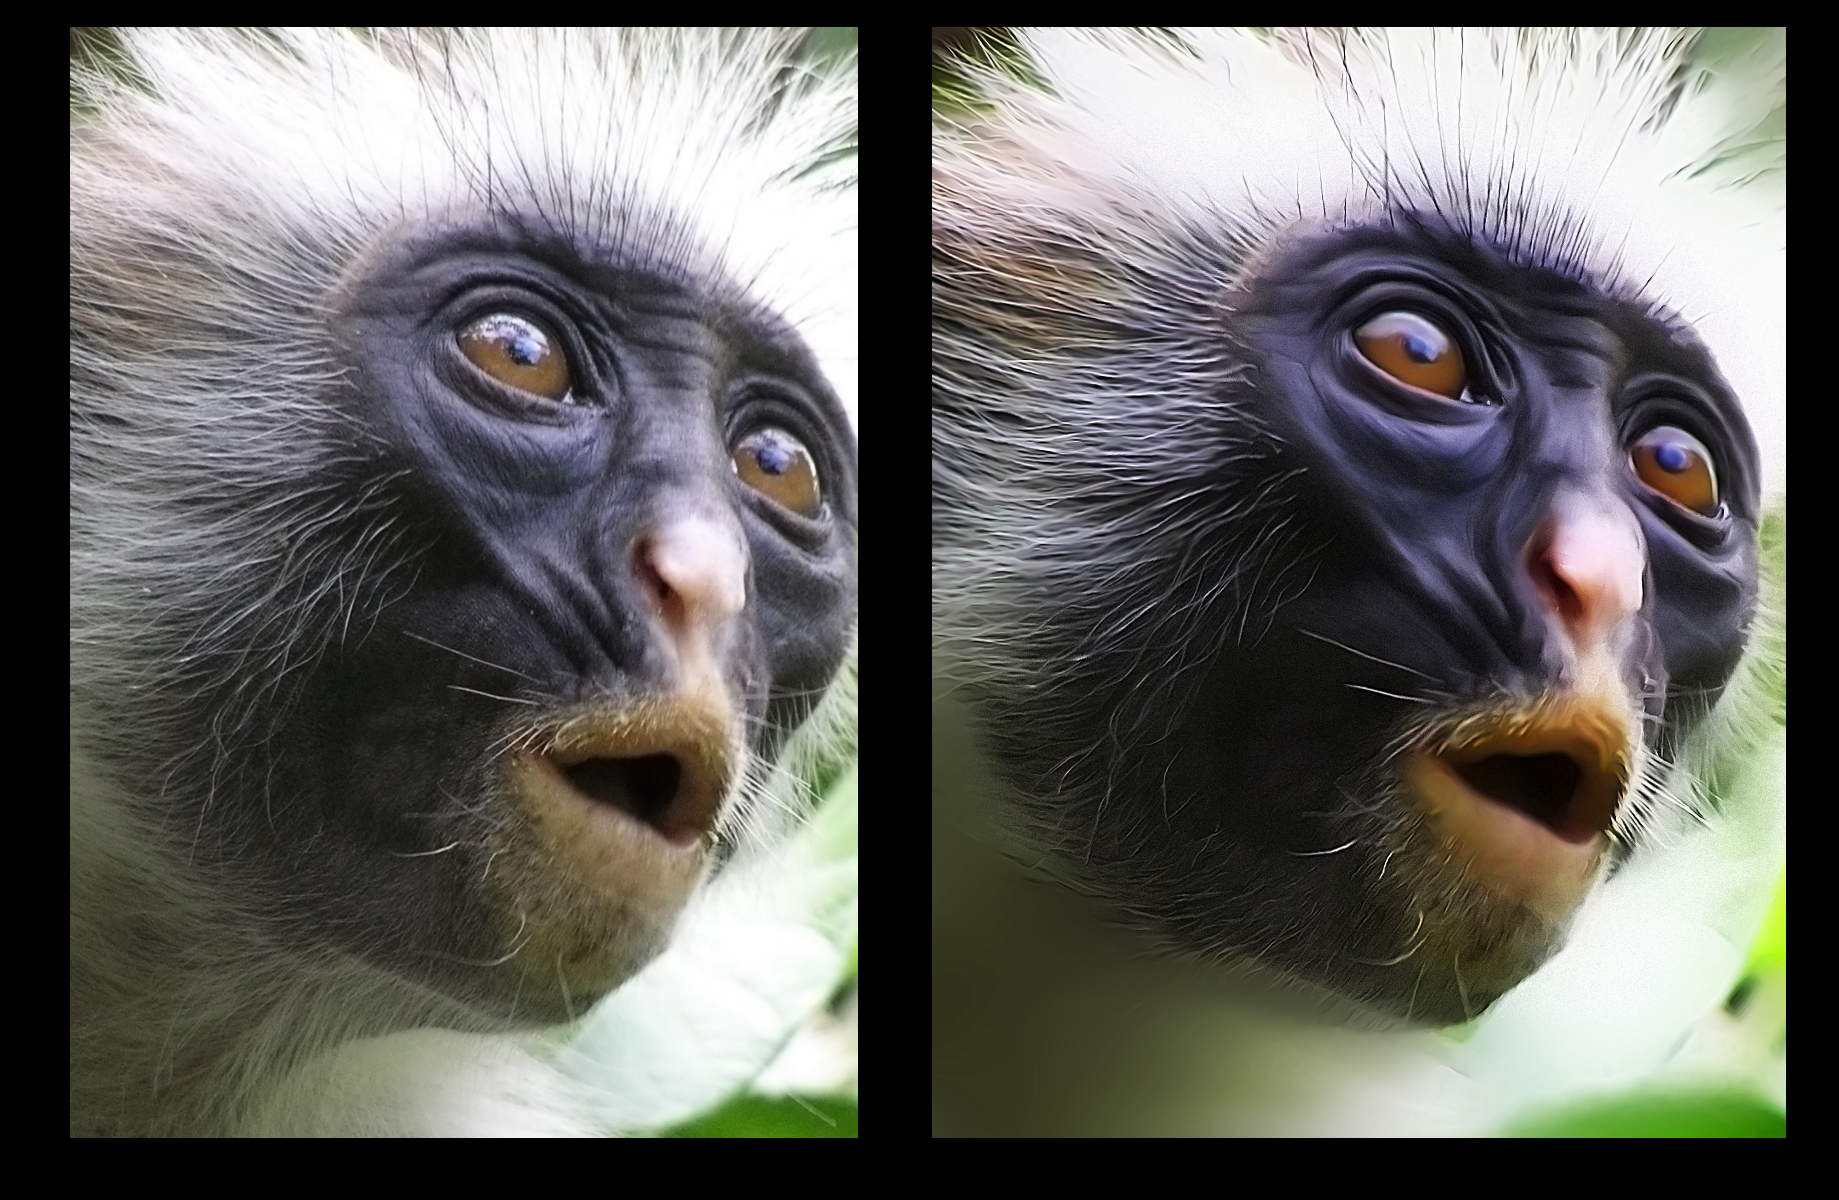
The so-called smudge paining is an arts technique where some parts of a photo are smudged in a special way to create an image that looks as it was painted. In this tutorial I show you the general steps that are needed to create such a painted looking effect. But be aware - to master this technique you'll need lots of time - the more detailed you work the better will the outcome be. Nevertheless lets start - and enjoy the tutorial!
Tutorial details
- Category: Techniques
- Time to reproduce: ≈75.0 minutes

- Tested with GIMP 2.6
-
1
 linda_sarsa_brushes.zip
Preperations
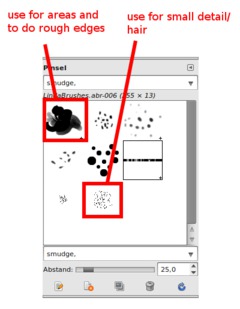
Before you start please install the brushes attached to this step. There are 2 brush packs inside the zip-archive. Lindas brushes are used to smudge homogene and same-colored areas while Sarsas brushes are used on fine details like hair. In my example both brush packs are used.
Also you need to install an external plugin: GMIC which has a filter that we need. (GMIC is really an excellent plugin extension to GIMP – you should have installed it all the time ;))
-
2

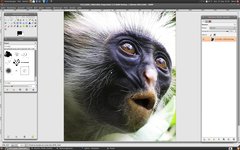
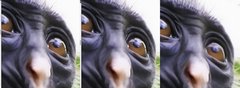
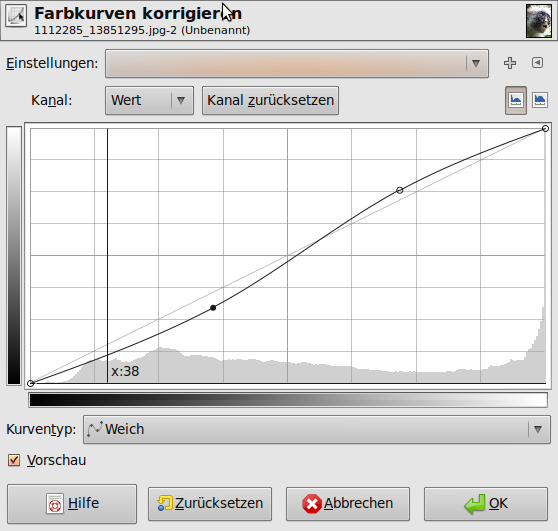
In the first step you need to higher the contrast of the image. Because our final image is an art-like image the photo should be altered in a way that it doesn’t look like a photo anymore.
Use the curves tool found under Colors / Curves and apply a slight S-curve as shown besides.
-
3
Next we continue to loose reality on the photo by oversharpen it. Thats necessary to get clearly visible contoures and edges. Don’t have a lot to consider on the oversharping – in the following steps we will smudge those oversharpended white contoures anyway.
Use Filter / Enhance / Sharpen (50-75).
-
4
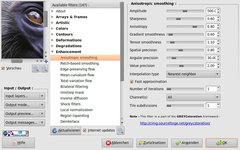
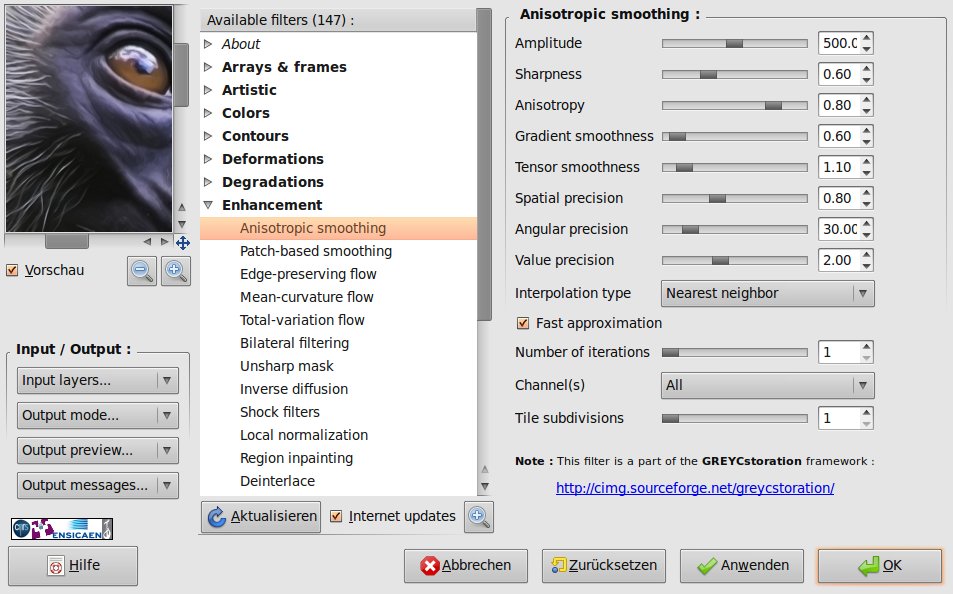
Now we’re going to get rid of some of the over-sharpened parts by making the more homogene areas blurry while letting the contoures remain in the photo. We’re going to use Anisotropic Smoothing.
- Filter / GMIC (foung at the very bottom) / Anisotropic Smoothing. Choose the values from the picture.
-
5
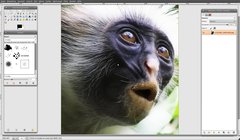
Now sharpen the image again. But this time a tittle less then in step 3. The apply the same filter with the same anisotropic smoothing settings as before again.
-
6
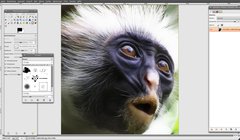
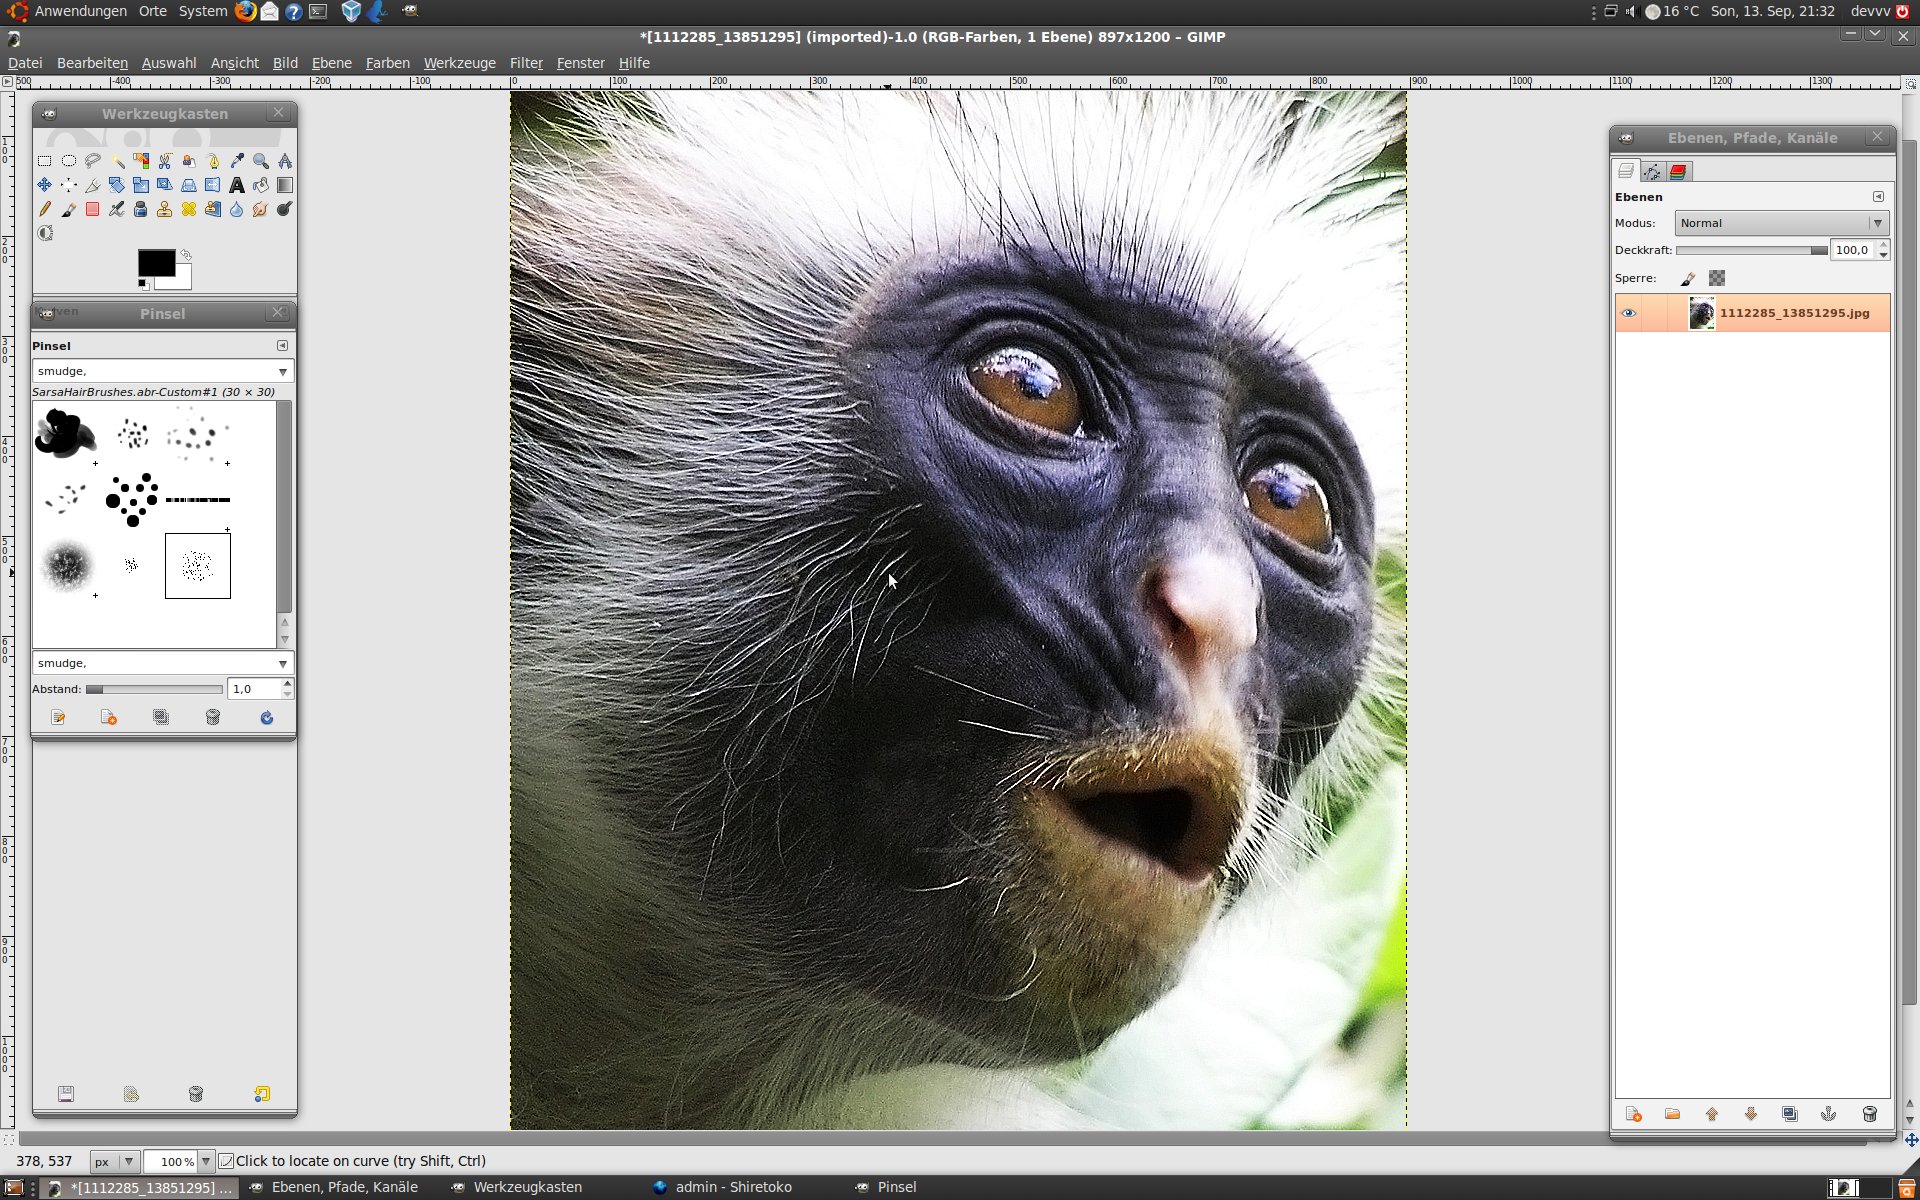
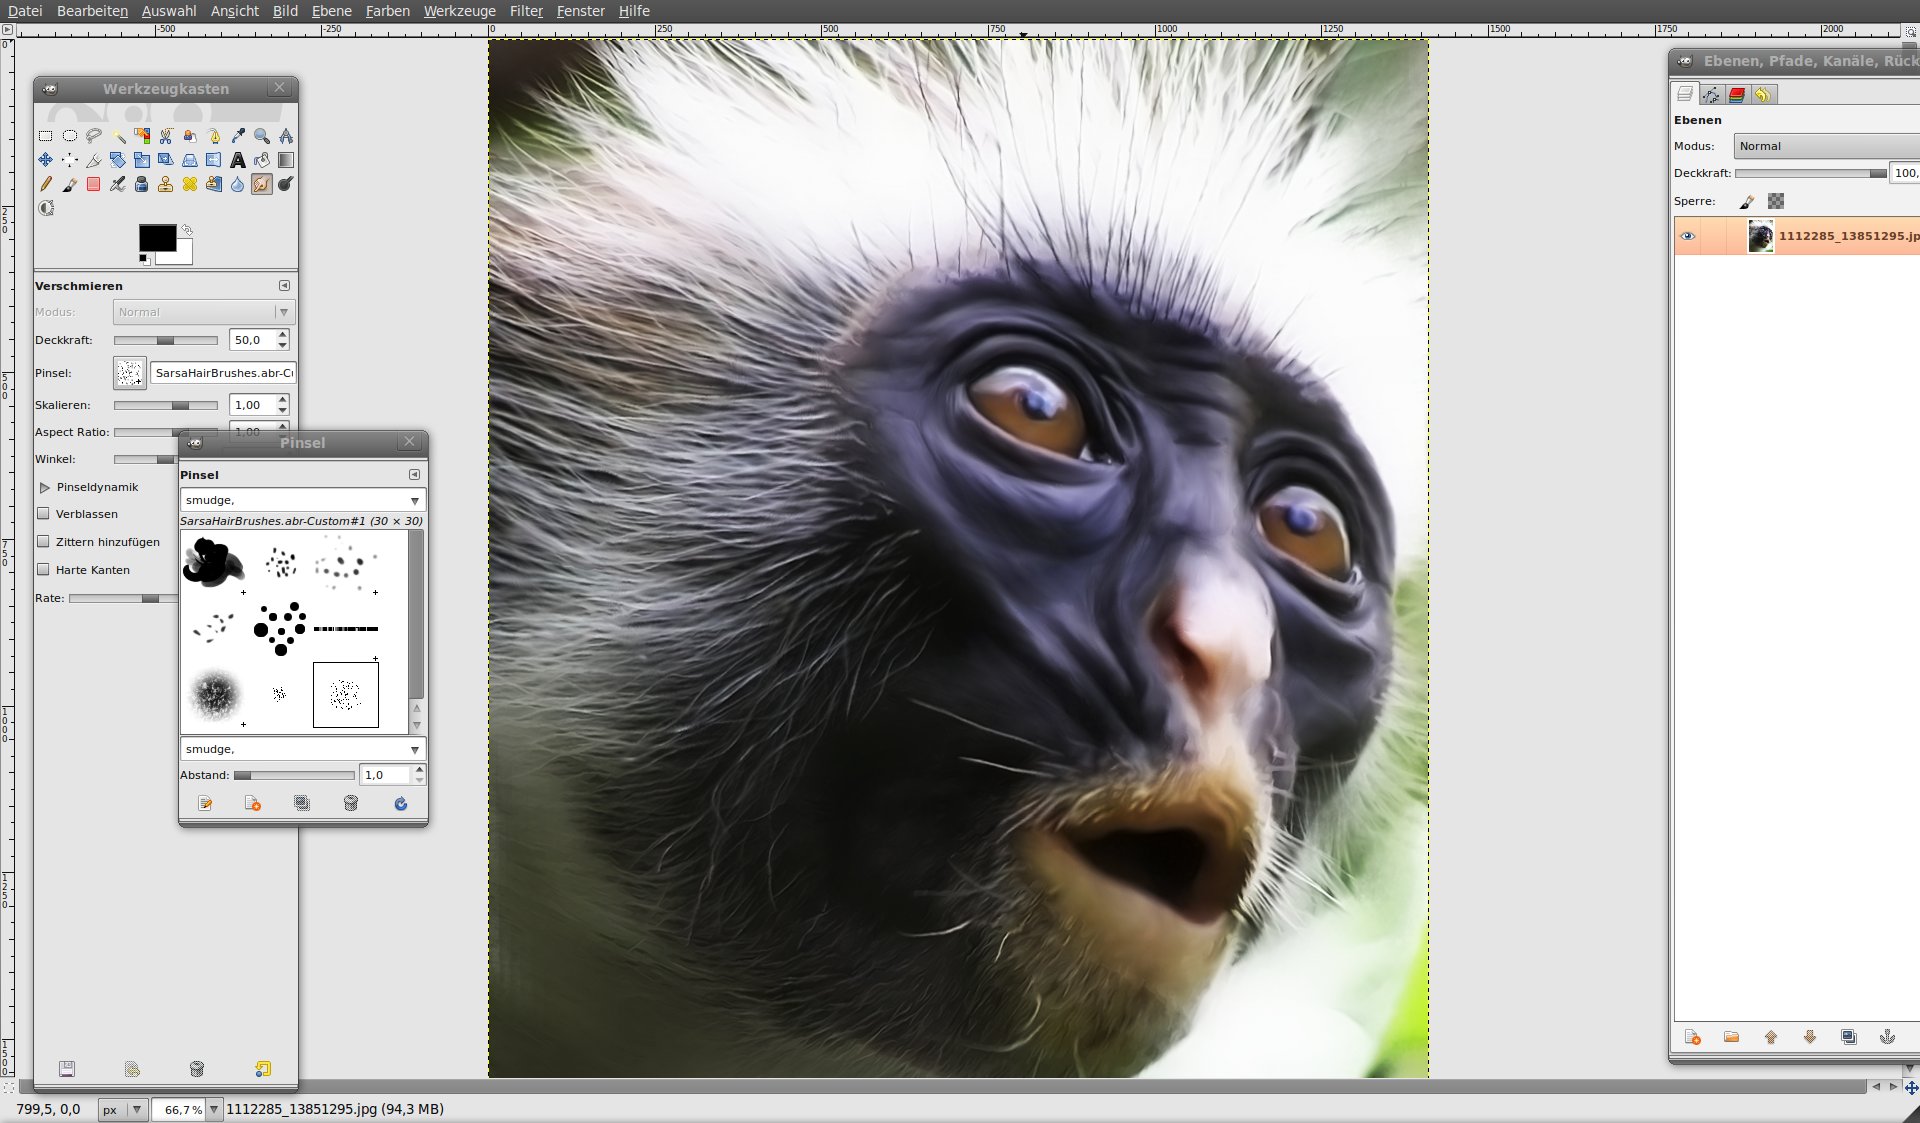
Now the brushes come into play. Choose Lindas brushes.
- Use the smudge tool and set the opacity of the tool to 50%. By doing this you avoid to change too much in the image with a single click or drag with the mouse or tablet pen. Its better to work on the same part by doing the smear/smudge more often. That also helps to mix the colors much nicer.
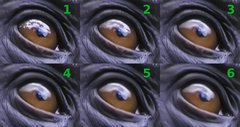
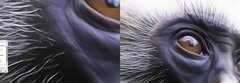
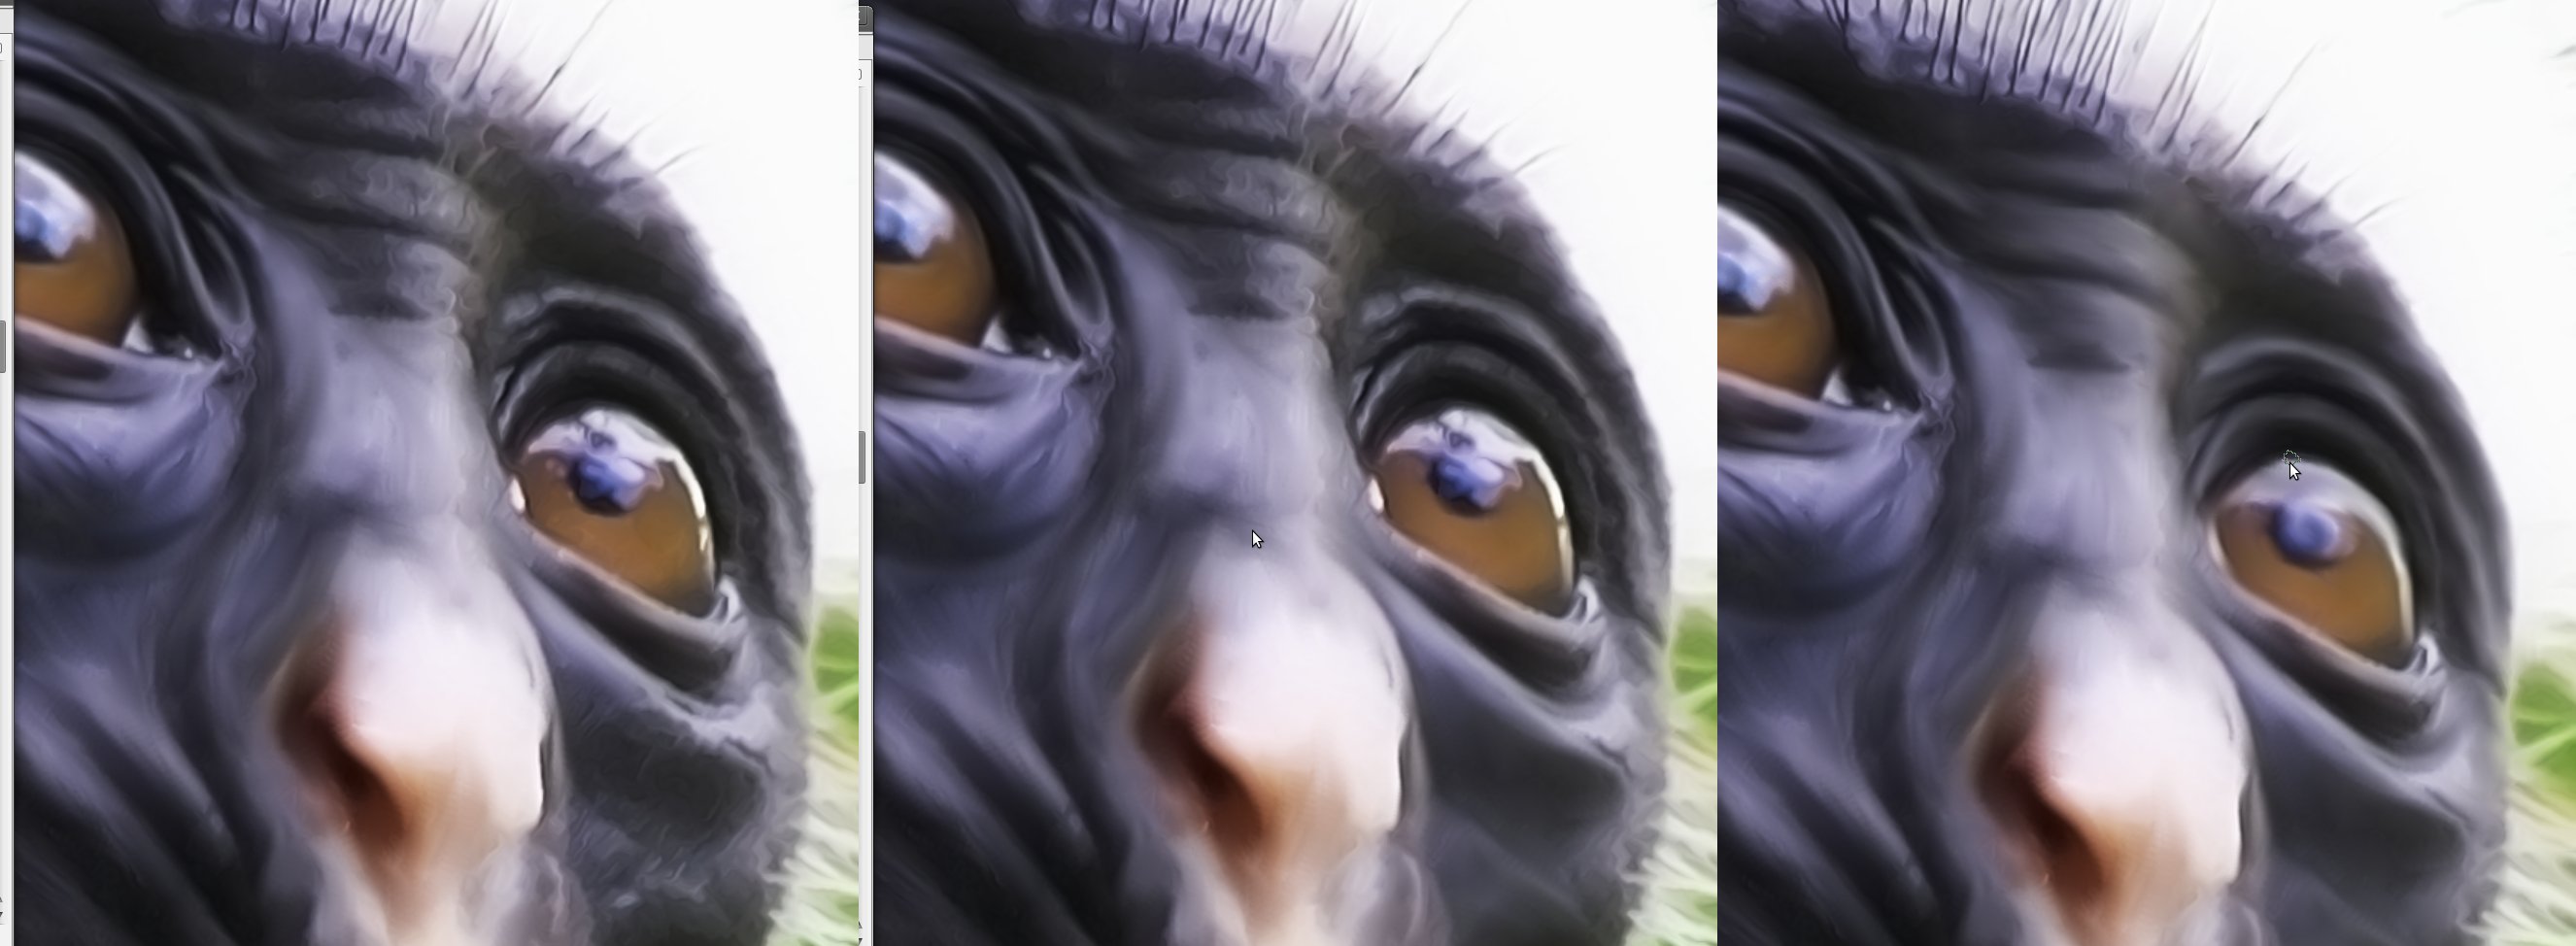
- Use the first brush of Lindas brushes. Start with the eyes of the ape. Set the zoom of the image to 300% (maybe more). Now tighten the contoures on the eye – again and again until the real sharpness in the image fades away. Use a very small scale brush (0.10 or so)
In my case I’ve first worked on the brown in the eye which I homogenized by smudging it using small cirle-like moves with the mouse.
After that I worked from the inside of the eye more and more to outside of the eye rings.
-
7
Next I used the same brush and continued moving downwards. But this time I used a bigger scaled brush (0.2). This speeds things a little up…
-
8
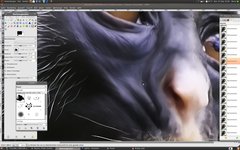
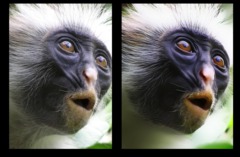
After that I worked on the right eye. First below the eye and then using a small-scale brush with 0.1 size again on the eye itself – then I moved to the upper part of the nose.
-
9
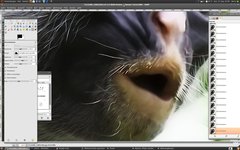
My next approach was the mouth, where I was streaking the outer and inner contours of the lips and smudged them accordingly while again using small circle like movements to homogenize the lips colors.
-
10
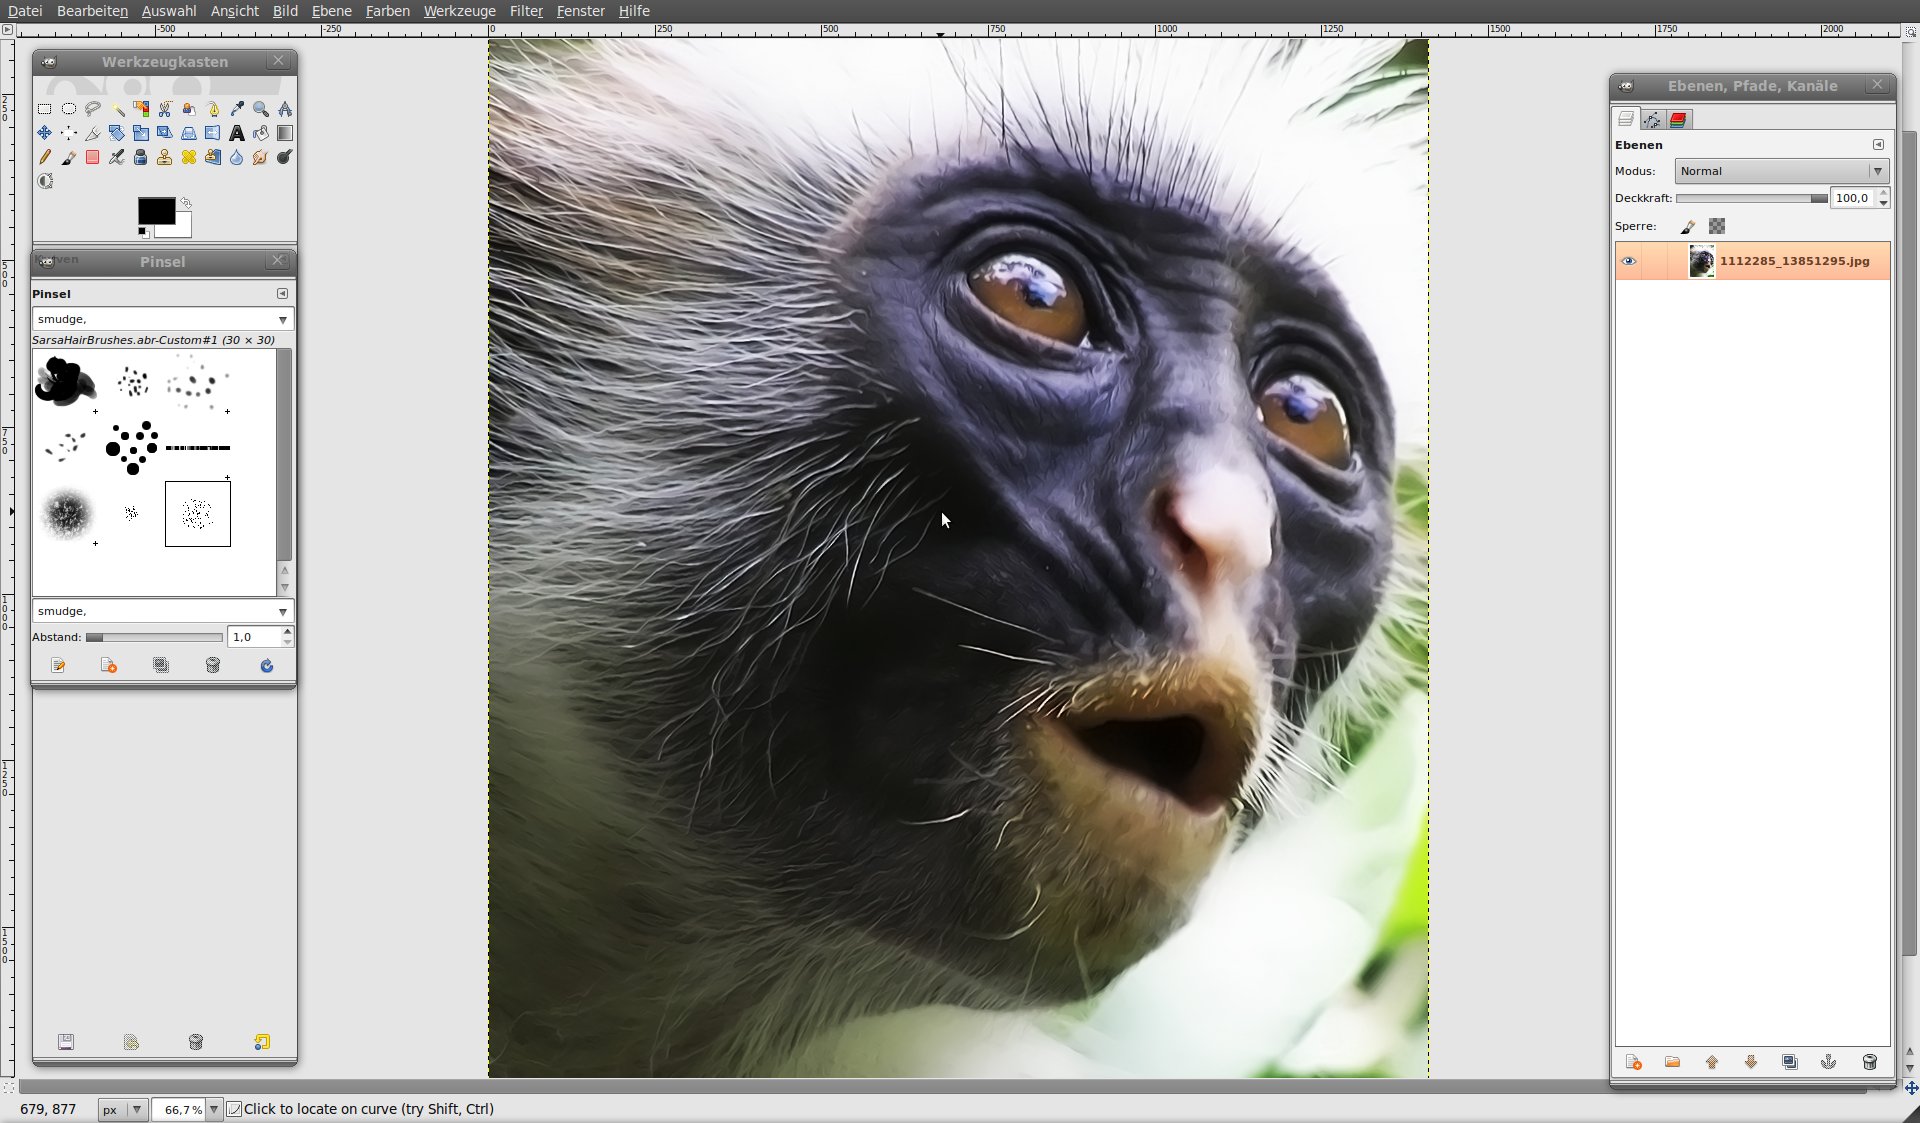
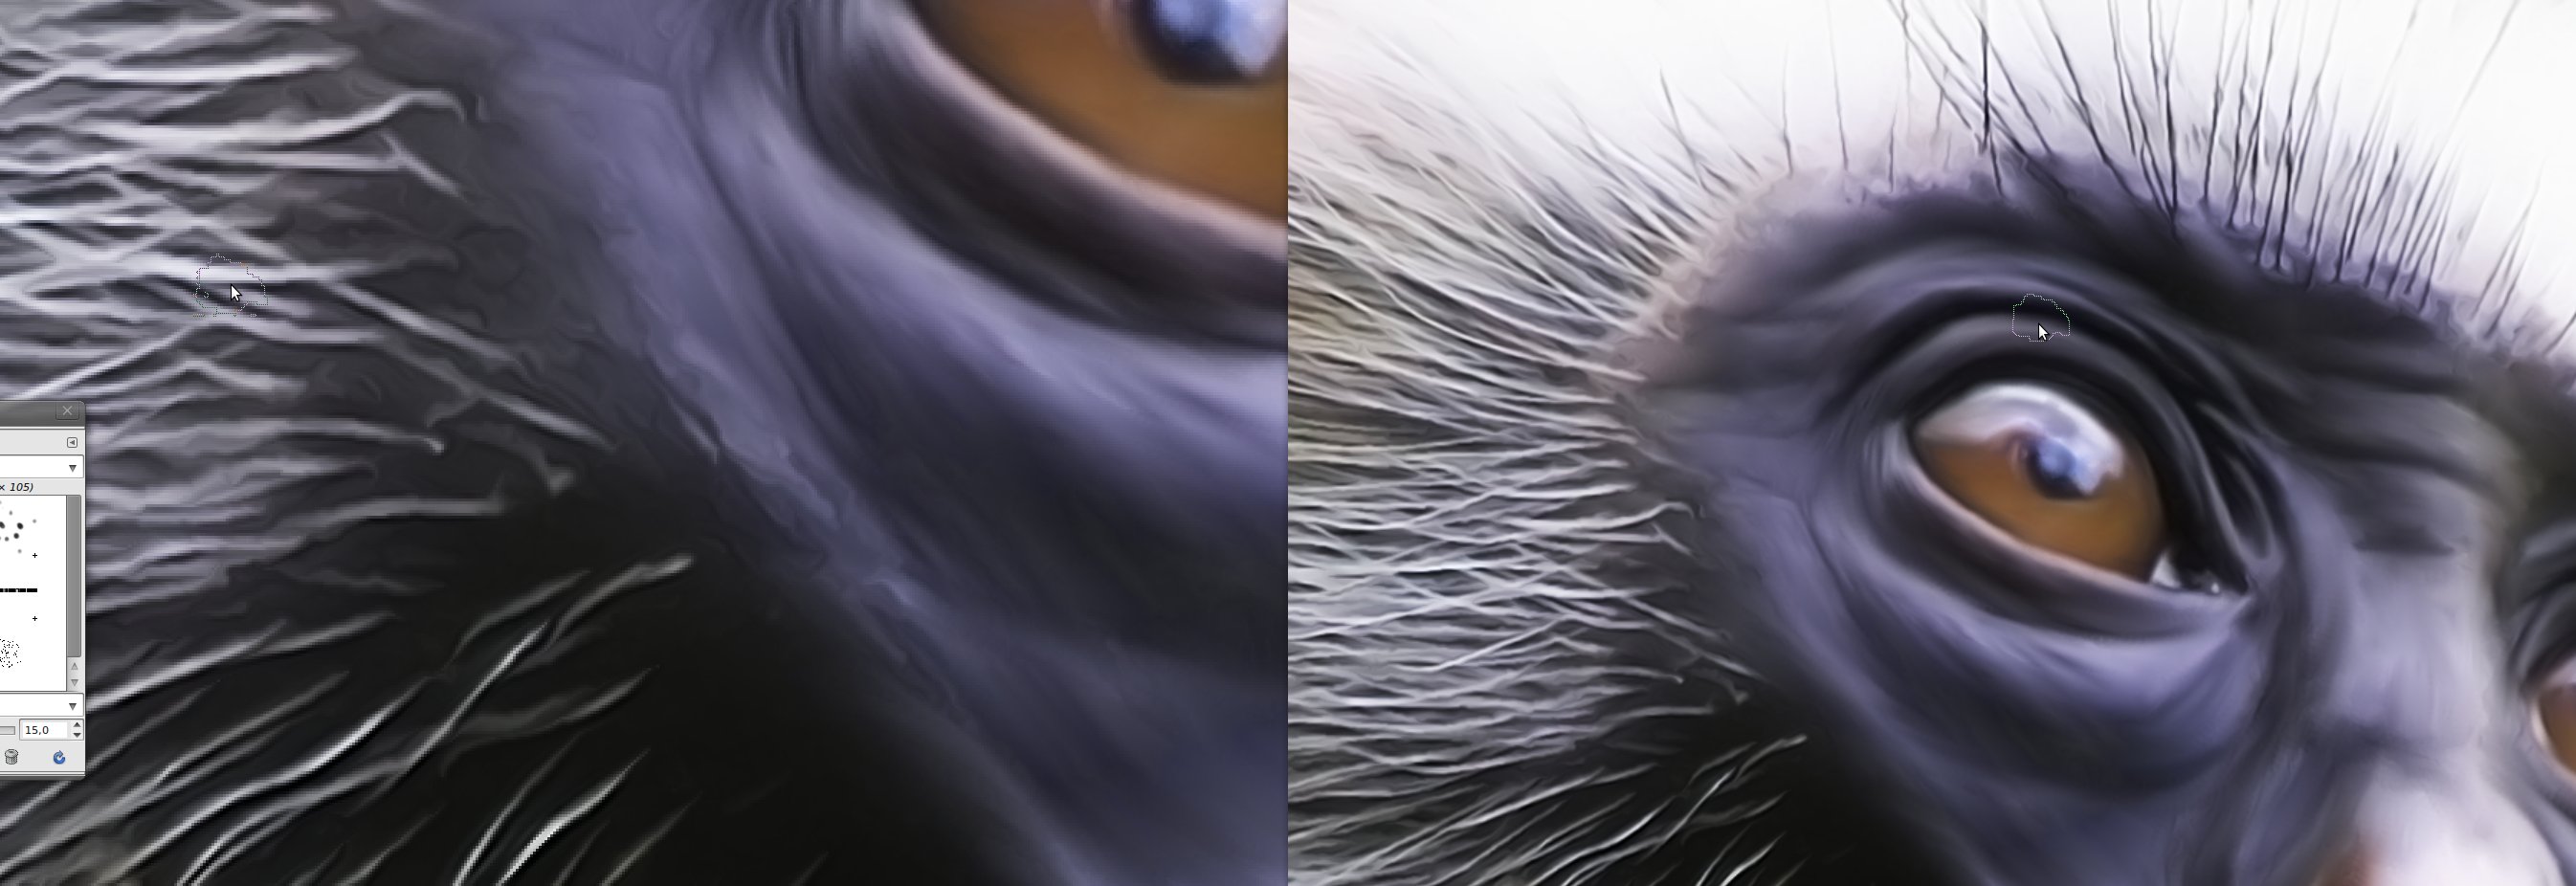
In one of the last steps of the smuding itself I worked on the fine detail of the hair / hairline
-
11
It belongs to you If you want to smudge the hair all the way or If you want to remain the sharpness in the photo – both is possible and looks different.
so this is an optional step: I used Sarsas big hair brushes and smudged the hair in bigger parts – that means that I just moved over the hair using the smudge tool and the hair brush in the same direction as the hair is. Scale: 1.0. Doing this the hair looses on sharpness.
-
12

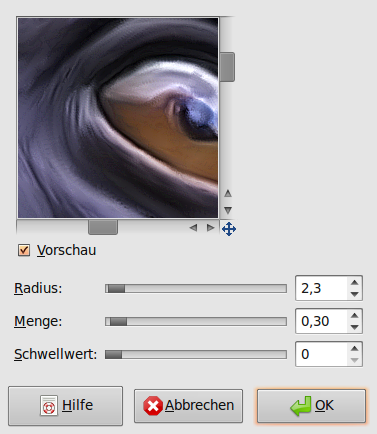
- Now do a Filter / Enhance / Unsharp mask: 2.3 / 0.3 / 0
Repeat the filter by pressing CTRL+F
-
13
You can now use the Dodge&Burn tool to darken or brighten some parts of the image to further decrease the photo-like looking.
Nevertheless really take time on all the steps – it really pays off!
-
14
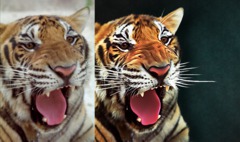
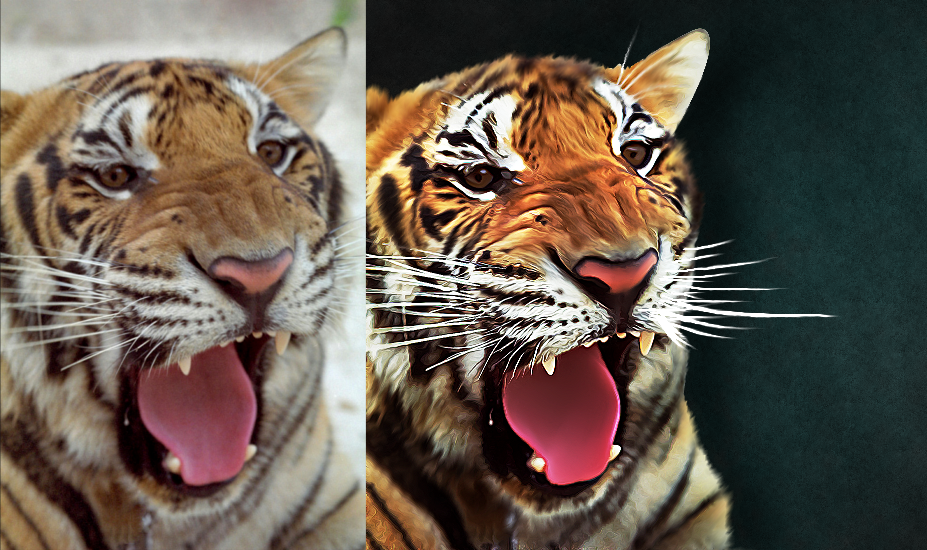
Here is another smudge paining with a tiger.


Comments
Post your own comments, questions or hints here. The author and other users will see your posting and can reply to it.
Of course, you can also ask in the chat.
Subscription management
Please log in to manage your subscriptions.
New comments are disabled because of spam.