


Tutorial: Smoke and Flames
 is licensed under a Create Commons Attribution-Non Commercial 3.0 Unported license.")

Motivation
In this tutorial, I'll show how to create fairly realistic smoke in the GIMP. After that I'll show you how to convert the smoke into cool looking flames in just some very easy steps. Enjoy!
Tutorial details
- Category: Special FX
- Time to reproduce: ≈15.0 minutes

- Tested with GIMP 2.3.16
-
1
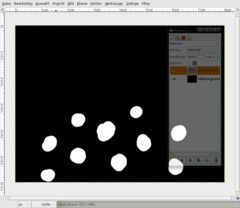
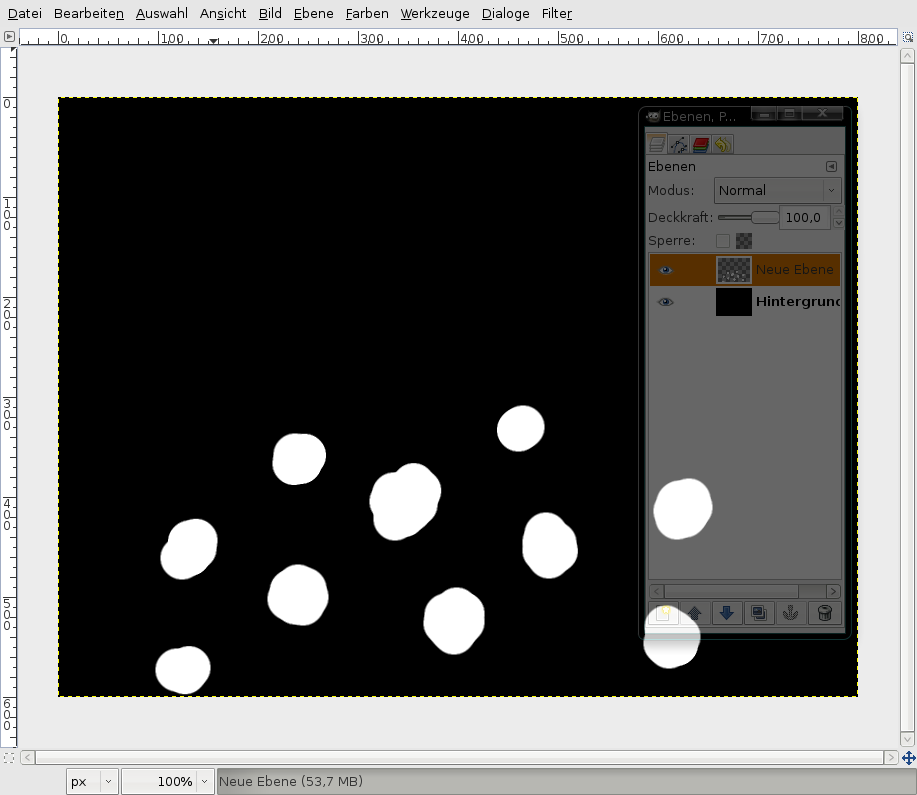
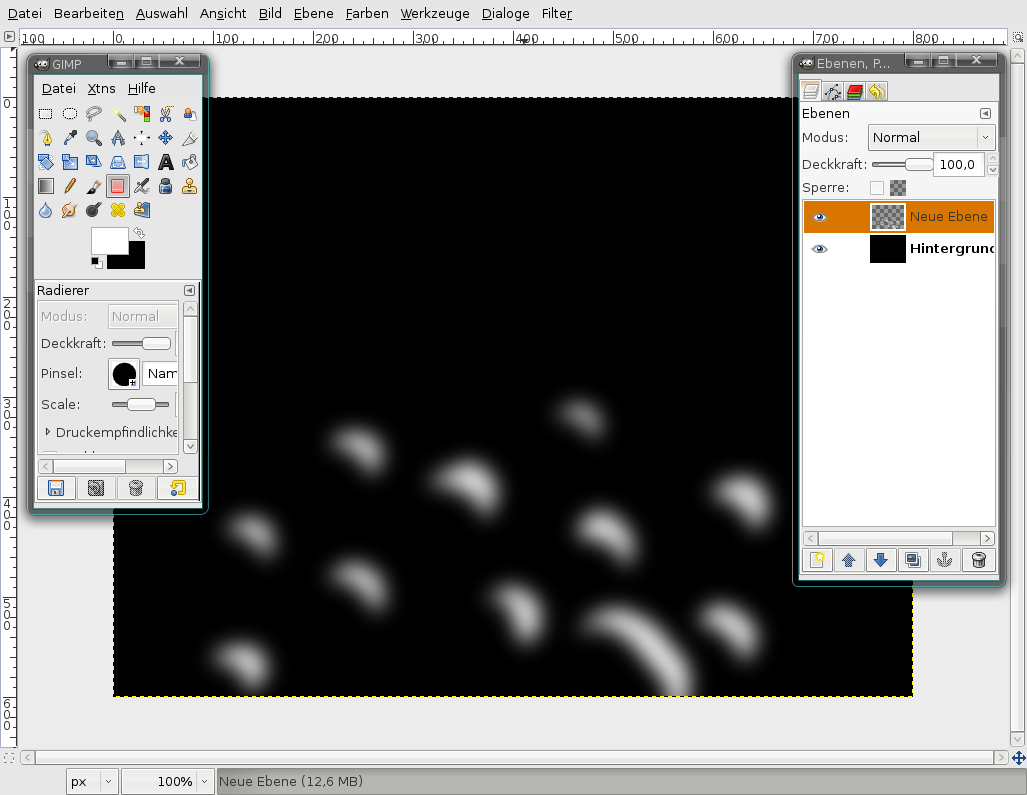
Create a new file: 800×600px. (black background-color)
- add a new layer, it shall be transparent
- take a big, white brush and paint some big dots as seen on the picture below. -
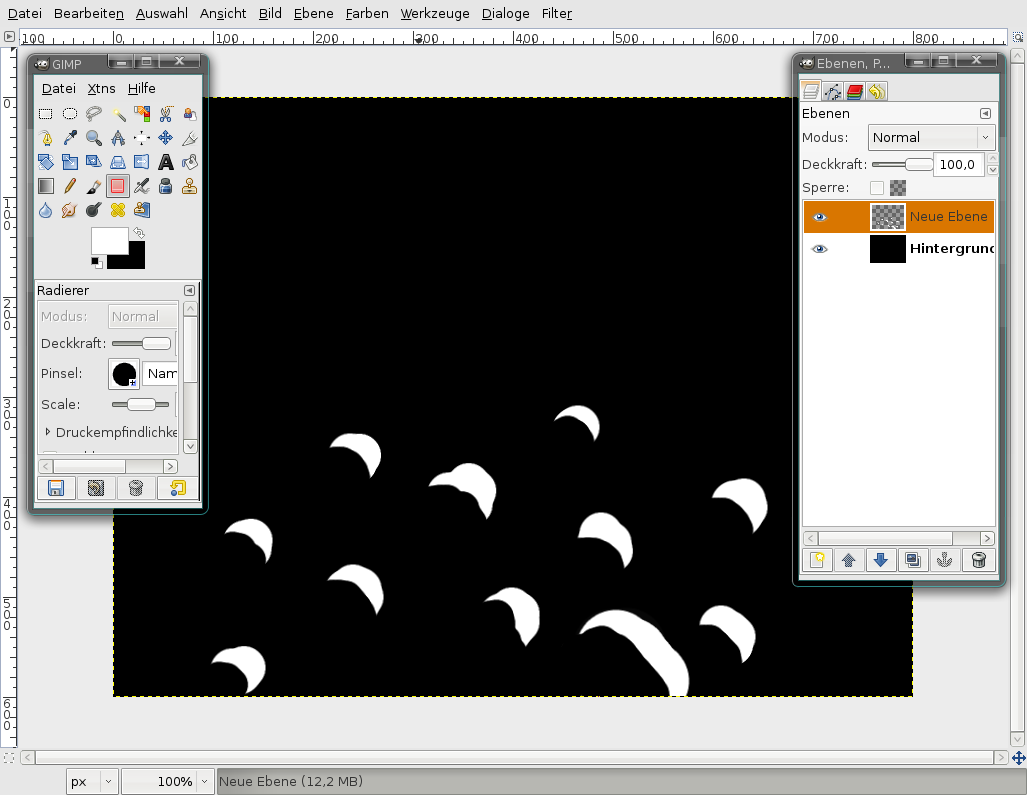
2
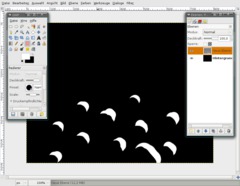
Now take the Eraser-Tool, and delete some parts of these dots, so that you get something like a half moon at the end.
-
3
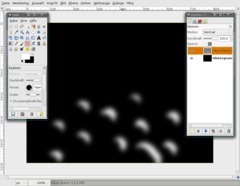
Next apply a gaussian blur to this layer: Filter / Blur / Gaussian
-
4
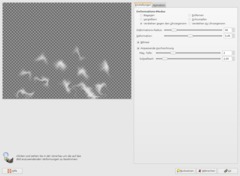
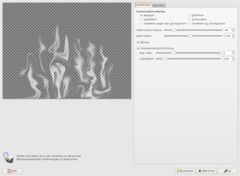
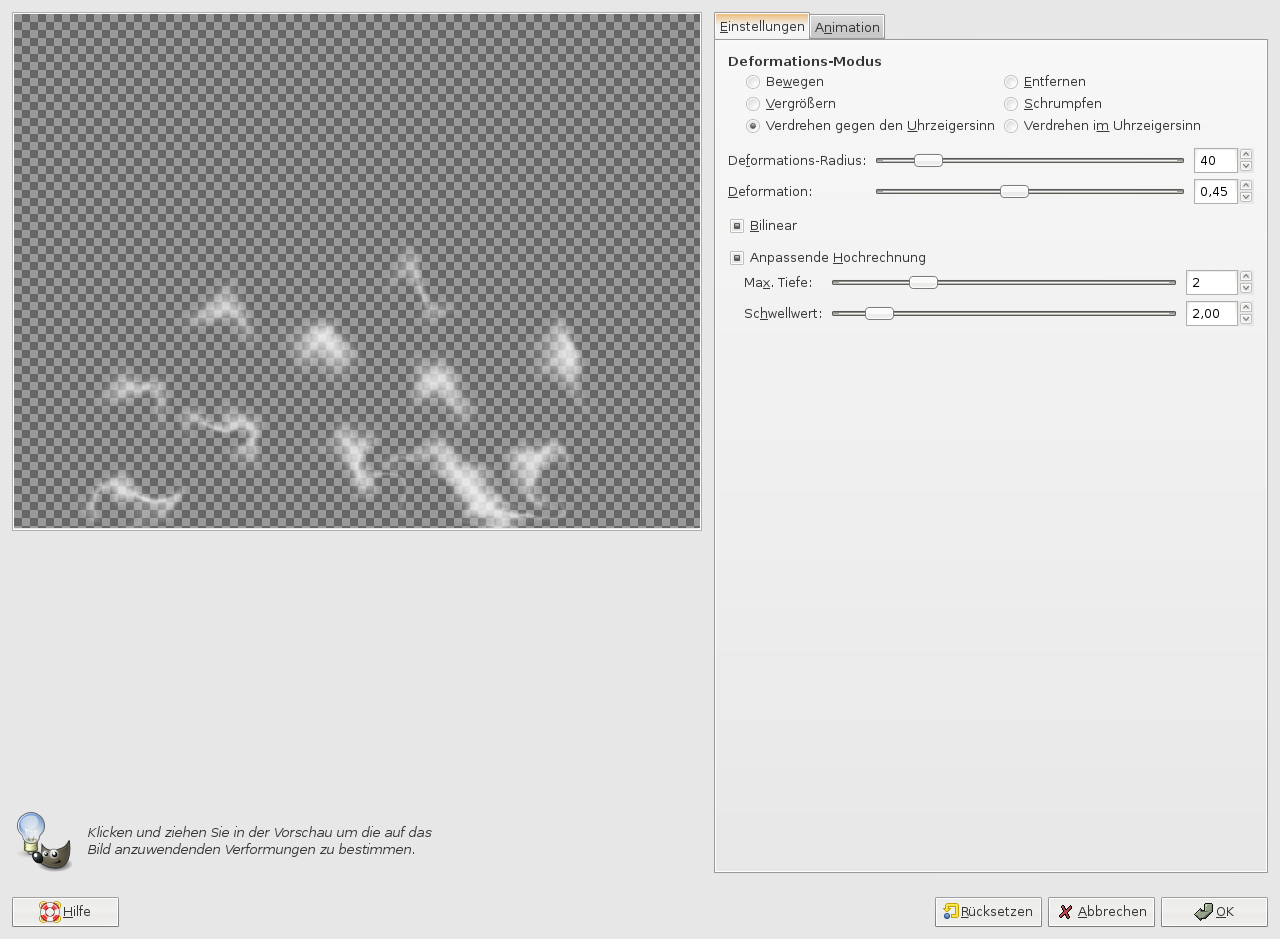
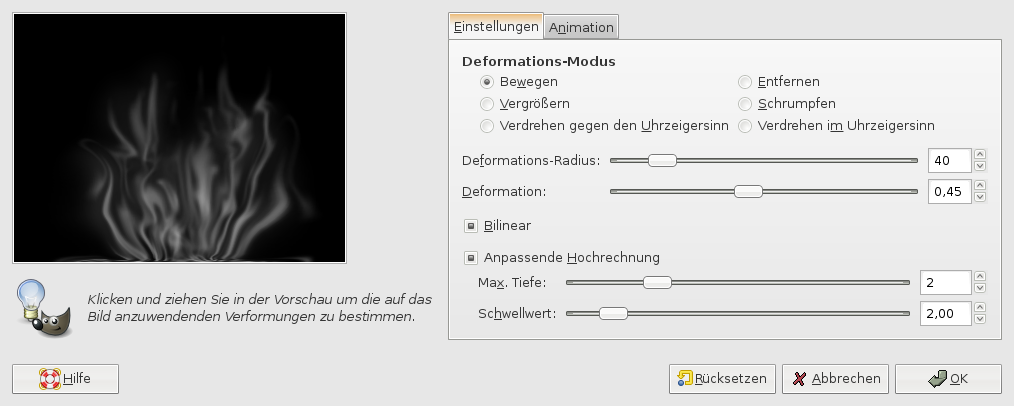
This step is now very important: Go to Filter / Distorts / IWarp.
Adjust the settings as seen on the picture.
Deform Mode: Swirl CW. In the preview window hold your left mousebutton down and start to zigzag from left to the right pretty fast.
The purpose of this is to get points that are streched a little bit. DON’T click the OK button yet.
-
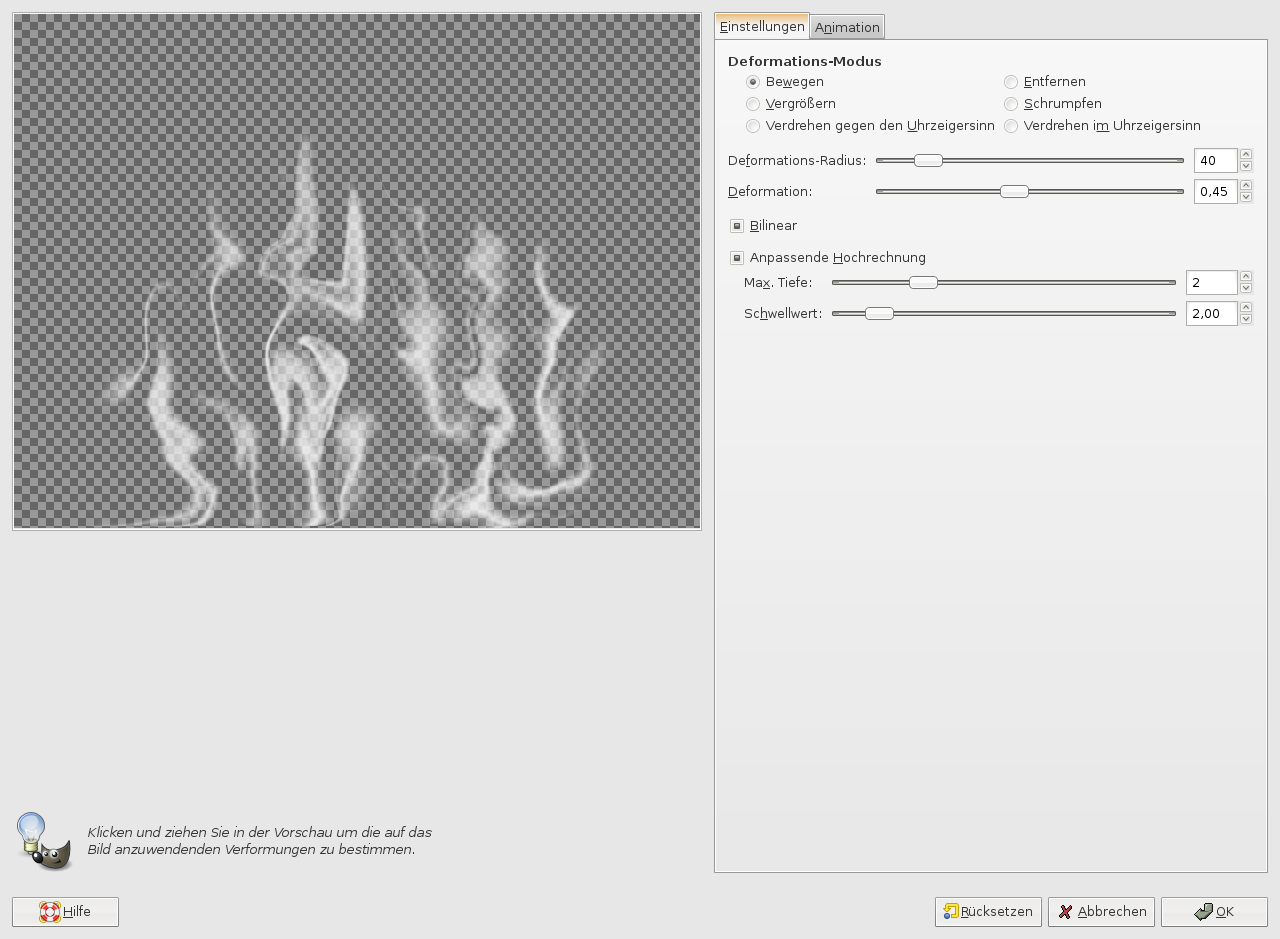
5
Now swith to another Deform Mode: Move. This step will take some time until you’re finished. Try to move the single points/dots together and alsy try to move them a little to the top. Look at my picture to see what it should look like.
When finished click OK.
-
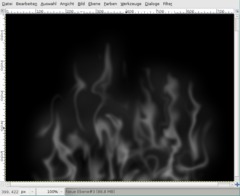
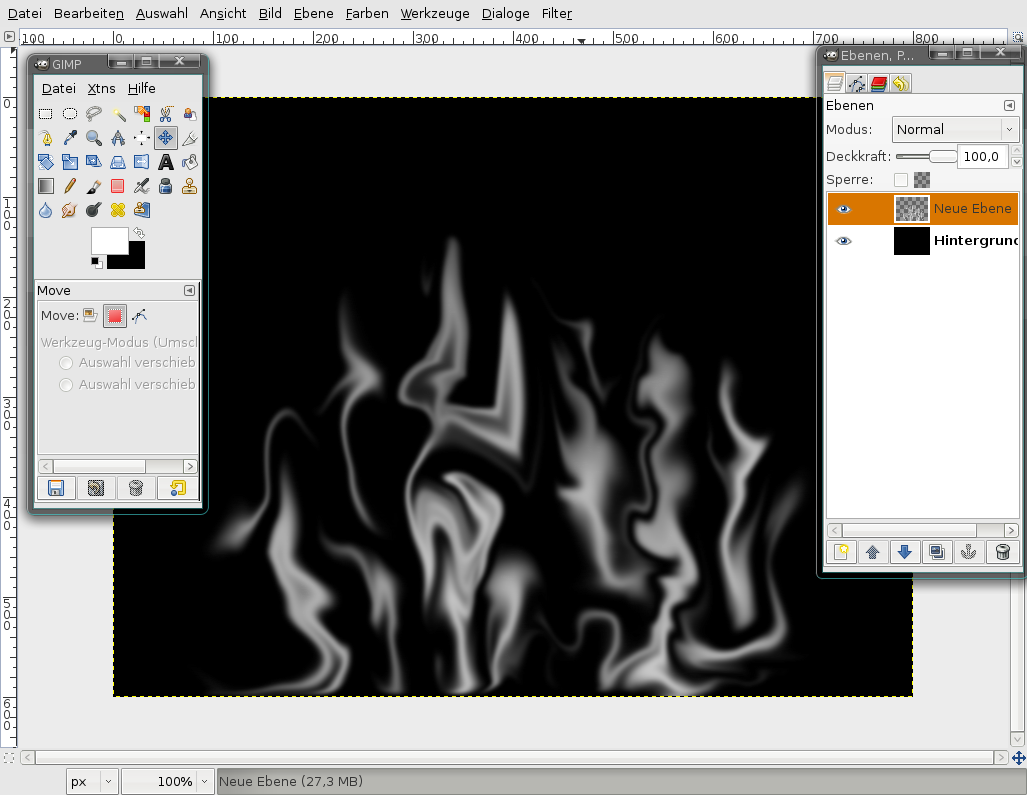
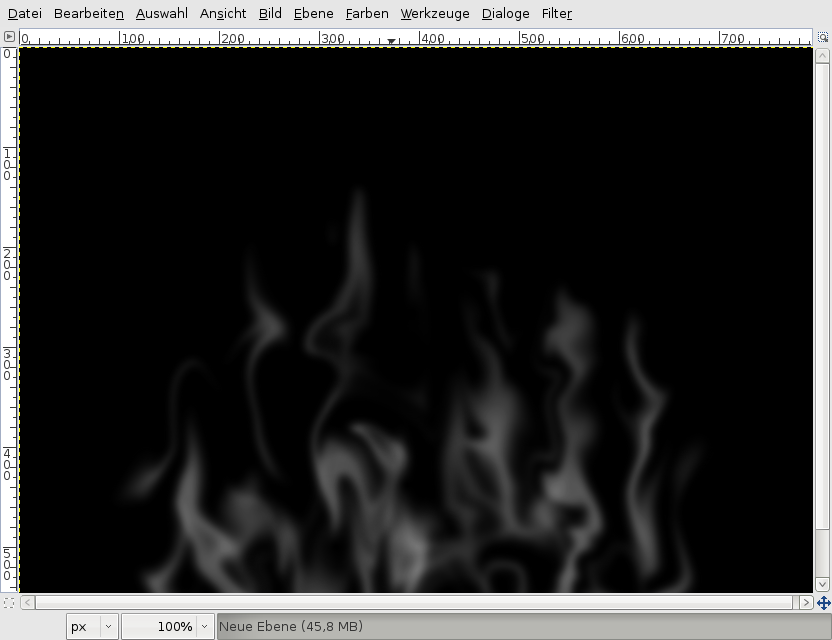
6
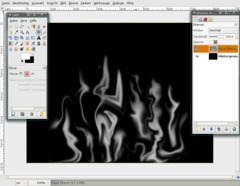
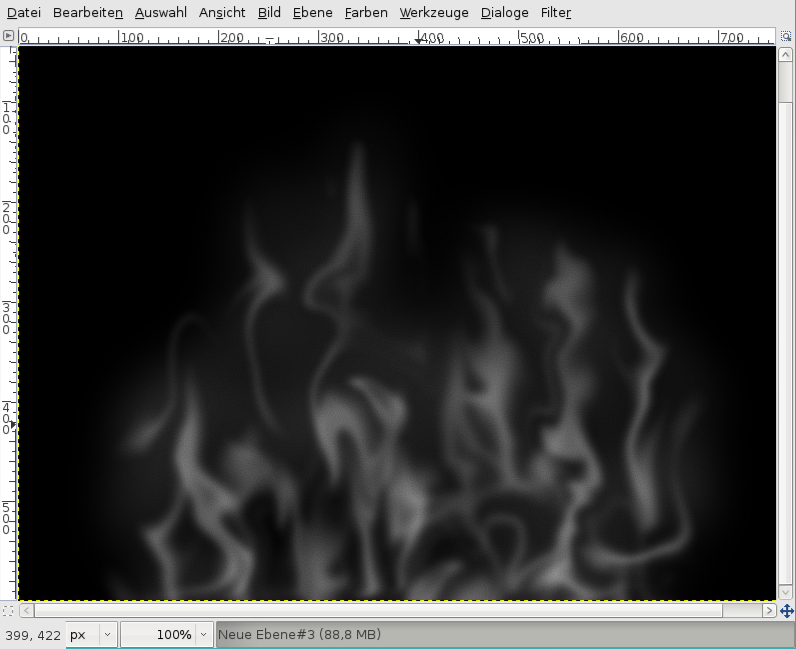
It looks like this now (of course you will have no the identical image but you should now have something like this):
-
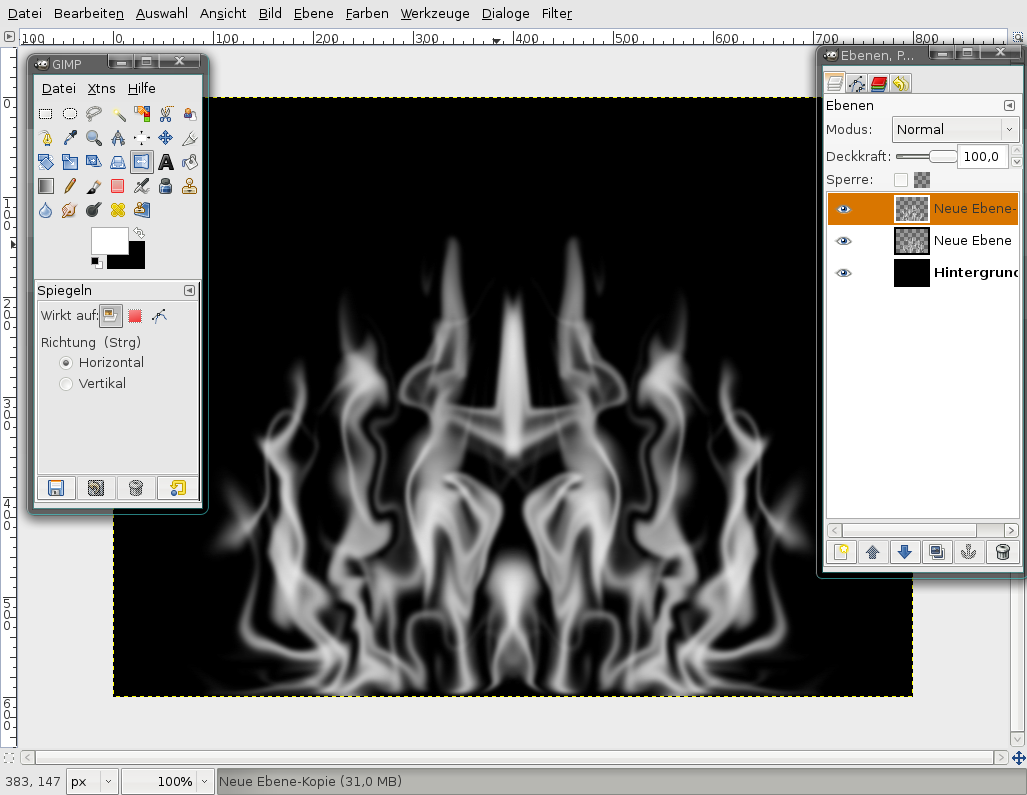
7
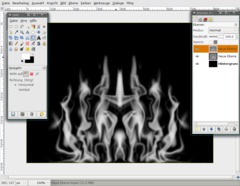
Duplicate the layer. Select the Flip-Tool (SHIFT+F), click the layer once and you should have a flipped layer.
-
8
- Filter / Blur / Gaussian: 10px.
- Move the layer a little more to the bottom.
- In the layers dialog click the one layer that is at the top.
- Click right and choose “Merge down”. -
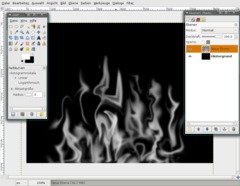
9
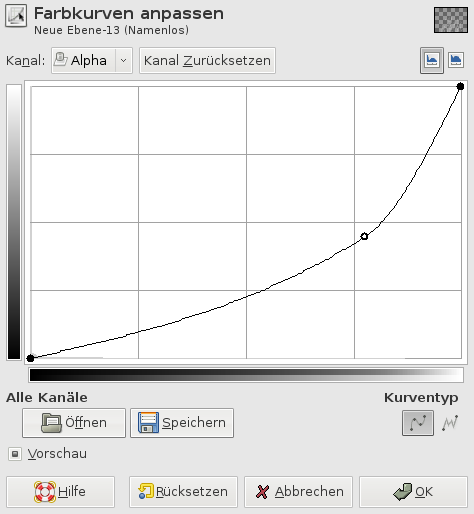
- Filter / Blur / Gaussian: 10px.
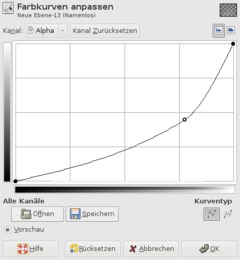
Okay. So that does not look like real smoke, doesn’t it. It is to thick/strong. To get rid of the strongness go to Colors / Curves. Top left select “alpha”. Then adjust the curve seen below.
-
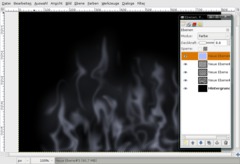
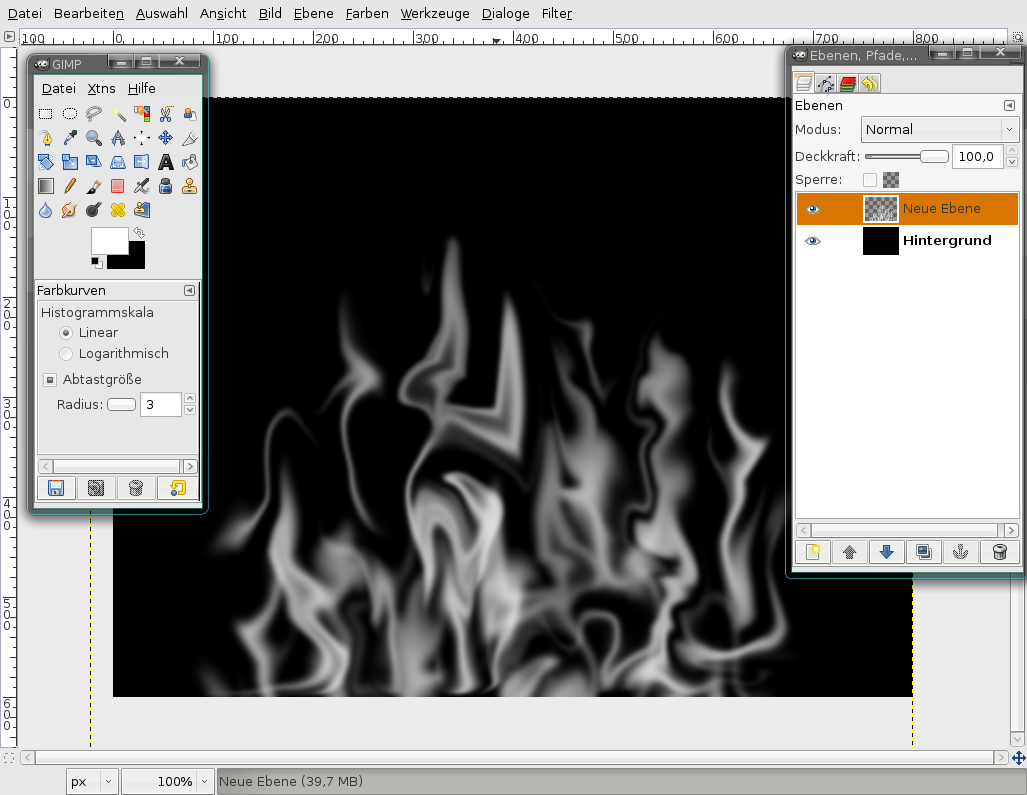
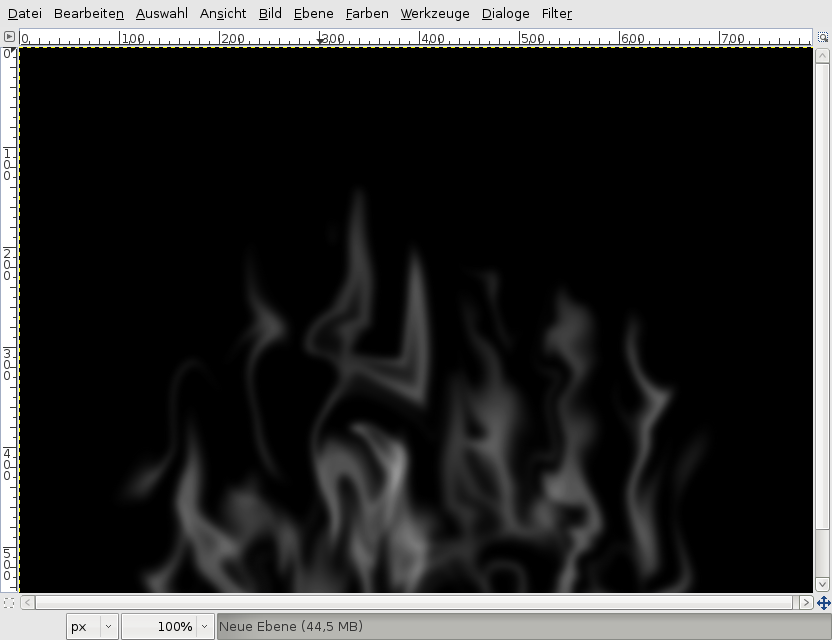
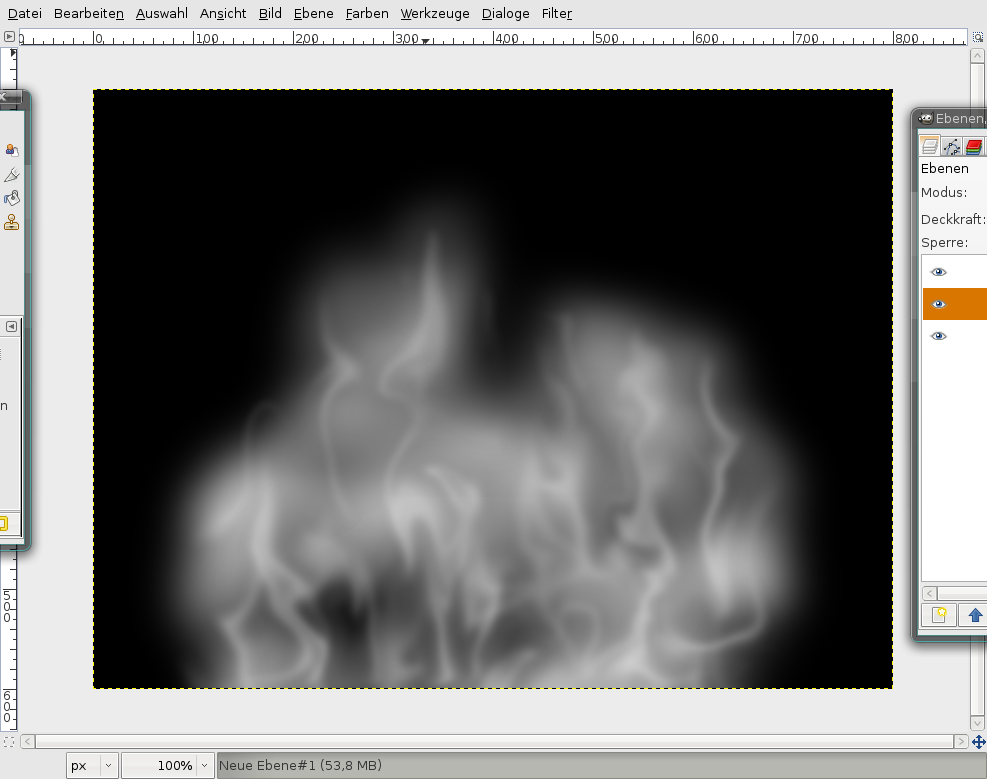
10

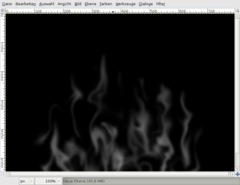
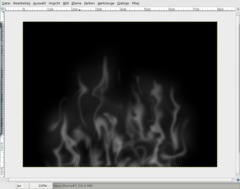
Now it looks better!
-
11
We want to make our smoke look more realistic, so we have to remove some parts of the picture that don’t look natural ;)
For this take the Erase-Tool. In the settings chhoose a big soft brush. (If you don’t habe a big soft brush you’ve to create one in the brushes-editor first!)
In my picture I’ve removed some smoke in the top middle.
-
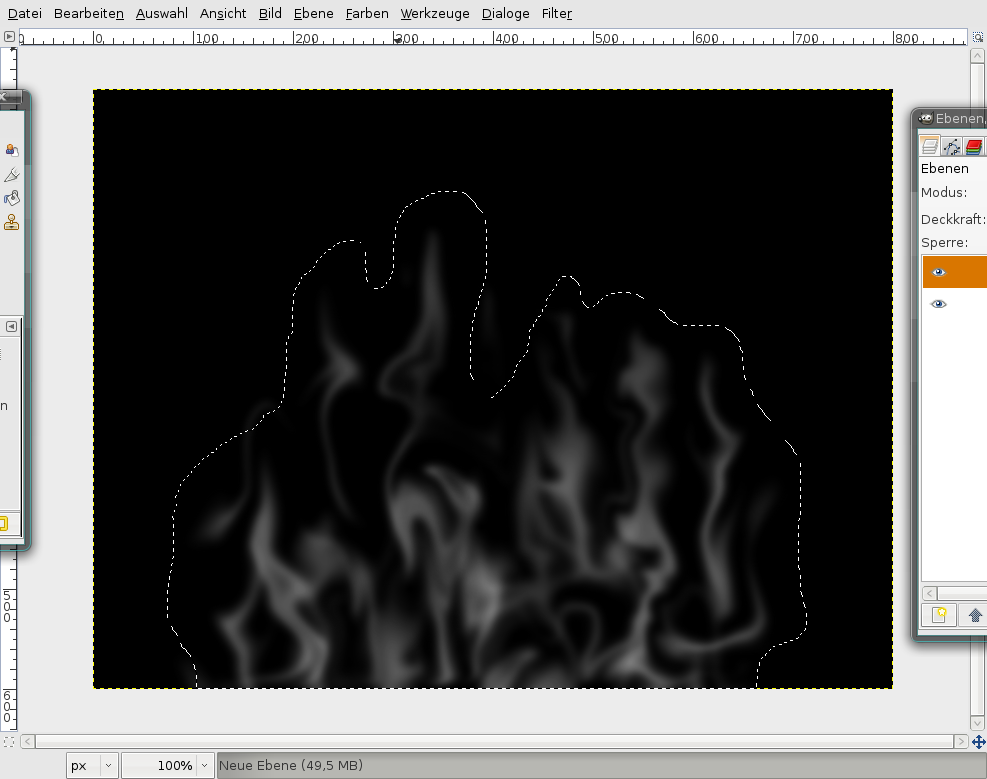
12
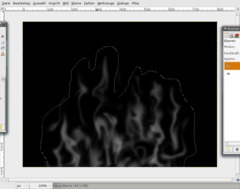
We’re now done with the details of the smoke. To get a better overall feeling we’re going to enhance it with a very slight backgound that shoud give us the feeling of have some sort of environment smoke.
Take the free select tool (F) and draw a selection around our smoke (like an outline).
-
13

- add a new layer
- Filter / Render / Clouds / Solid noise.Random: checked, others unchecked.
X/Y: 4/4.
Details: 1 -
14
Adjust the opacity of the layer to 20%.
-
15

Smoke dows also have a structure/pattern. We’re goint to simulate this as follows:
- add a new layer on the very top.
- Fill it with a medium grey tone.
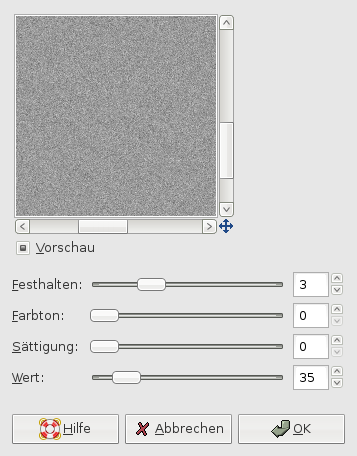
- Filter / Noise / HSV and take these values -
16
Filter / Enhance / Sharpen: 85px.
Set the layers mode to Divide and the opacity / transparency to 40%.
-
17
Now we’re just going to colorize our smoke a little bit.
Create a new layer on top of all. Fill it with #afbeff and set the layers mode to “Color”, the opacity to 10%.
The smoke is done!
-
18
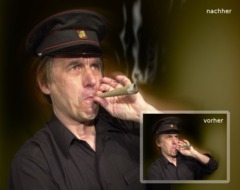
Here is a photo which I added our just created smoke to.
-
19
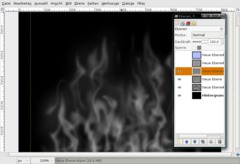
Now we’re going to convert our smoke to some cool looking flames.
Save your smoke to smoke.xcf.
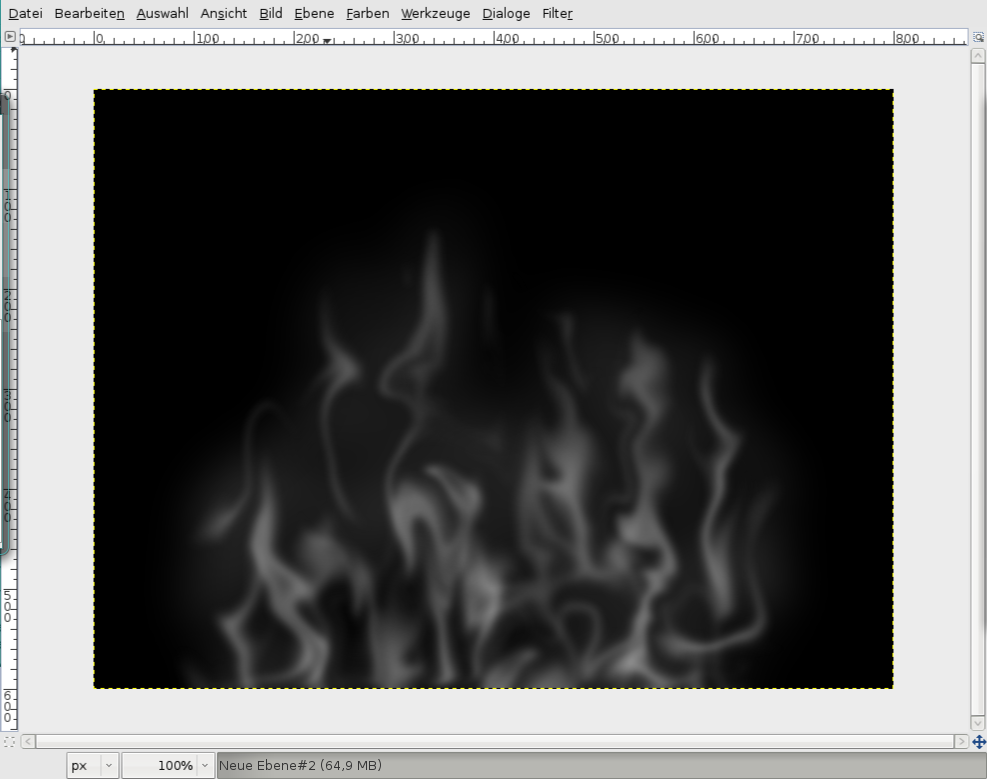
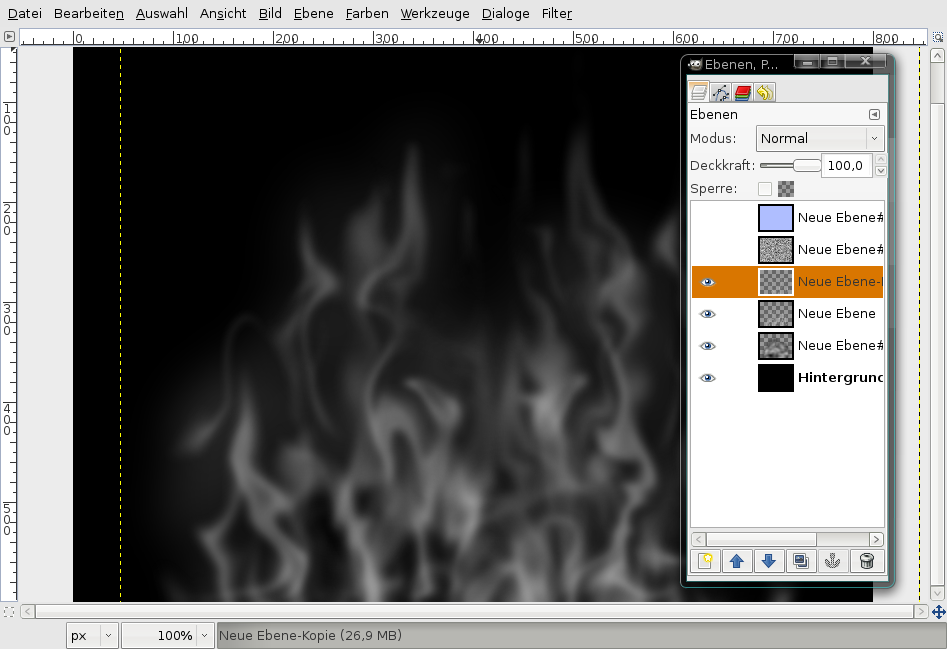
Click the eye icon of the blue layer to make it invisible.
Duplicate the smoke-layer, flip it, move it to another place in the image and remove some parts of the duplicated layer so that we don’t see that it is just a duplicate.
-
20

- Go to Edit / Copy visible.
- Edit / PasteClick the anchor-button in the layers dialog to get the pasted to a seperate layer.
After that choose the IWarp Filter again, select Move and in the preview window move the “flames” from left to the middle and from right to the middle. It looks like this now:
-
21
Colors / Brightness & Contrast: 60/50.
Then apply Colors / Color Balance
Shadows: 100 / -100 / -100
Midtones: 100 / 100 / -100
Highlights: 100 / 100 / -100Thats it ;)
-
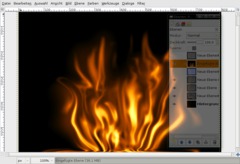
22
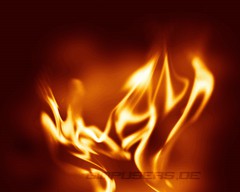
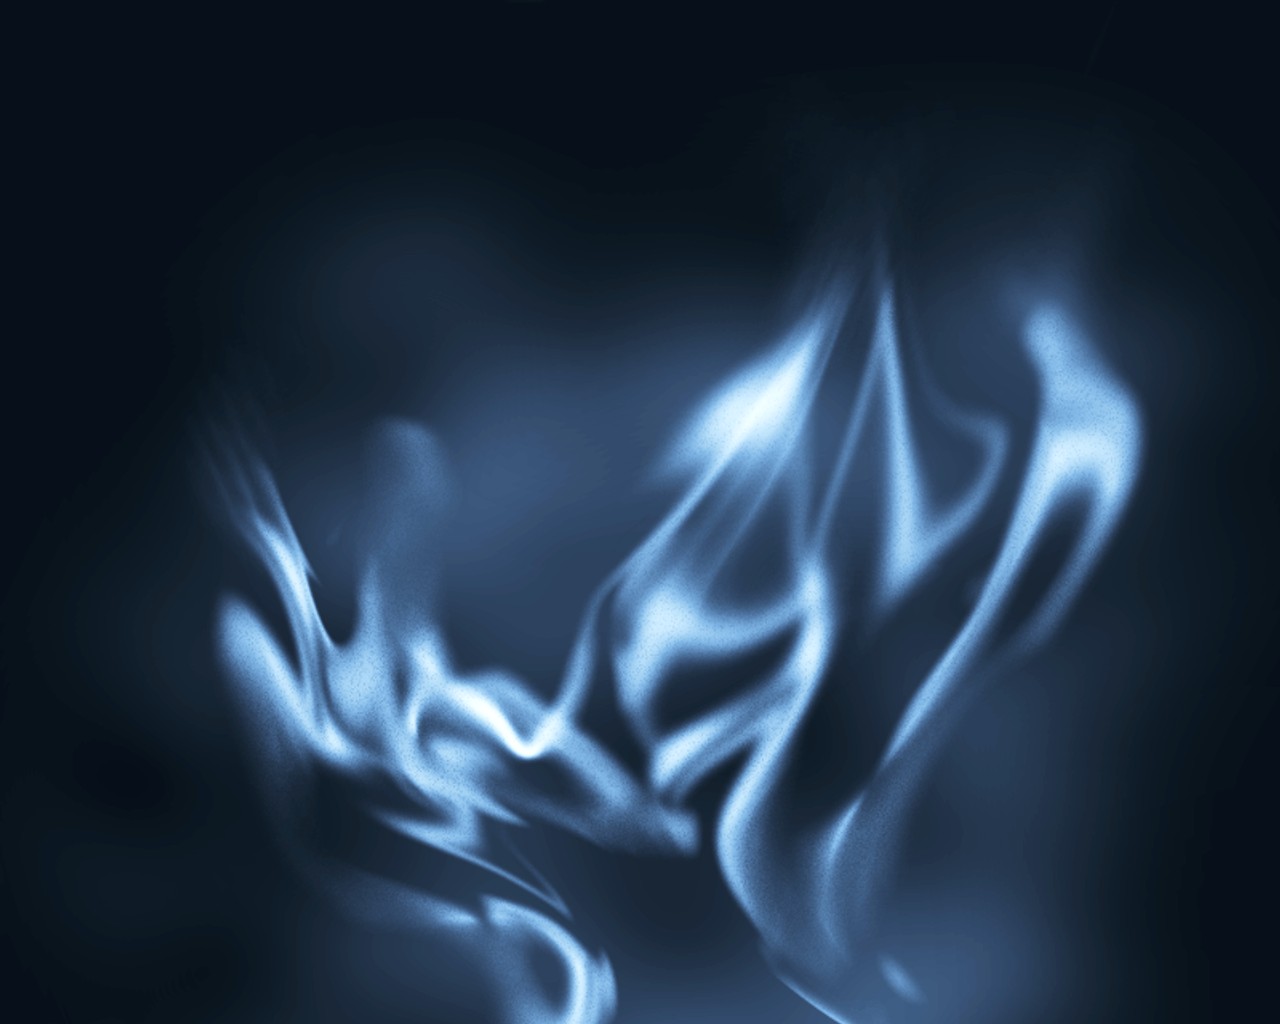
I’ve you’re playing around abit like me you can do some cool flames. I’m using this one as a desktop wallpaper atm ;)
-
23

Or you can just colorize it blue, looks cool too!


Comments
Post your own comments, questions or hints here. The author and other users will see your posting and can reply to it.
Of course, you can also ask in the chat.
Subscription management
Please log in to manage your subscriptions.
User rating
This topic (Smoke and Flames) has been rated 4.0/5.0.
New comments are disabled because of spam.