RSS/Atom feed Twitter
Site is read-only, email is disabled

Tutorial: Hot Wallpaper with Flames

Written by · Created on Aug 19, 2006, last updated about 13 years ago CC BY-NC License

Motivation

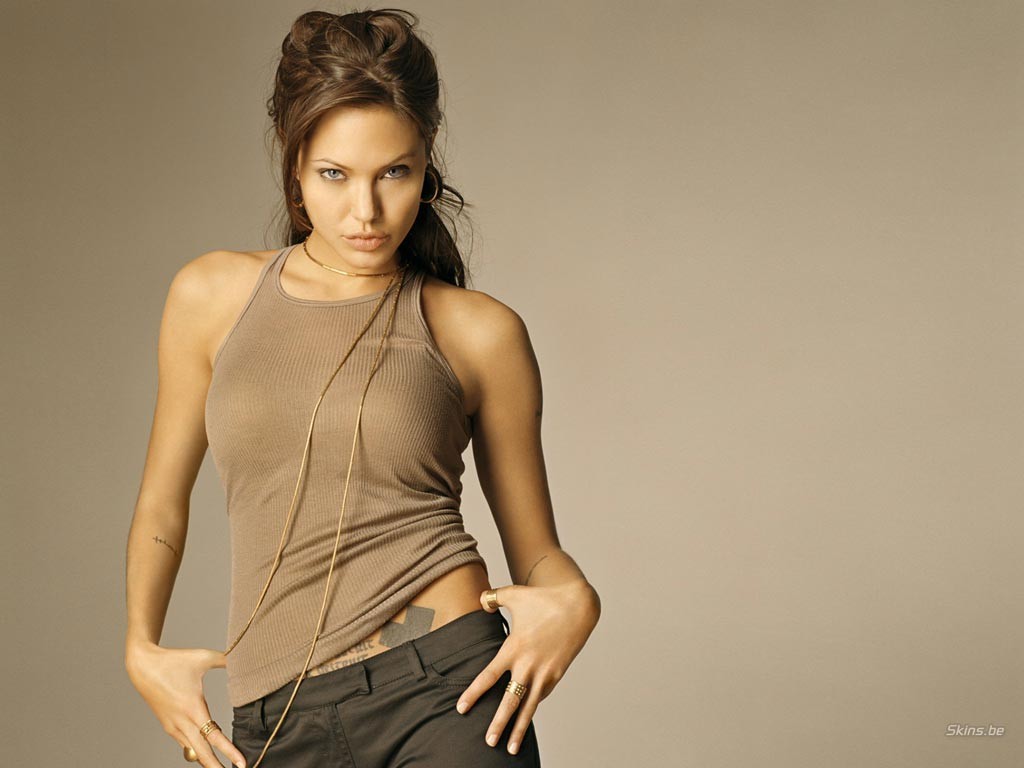
In this desktop background tutorial I will show you how to create a hot wallpaper with Angelina Jolie. She is surrounded from and standing in hot flames ;)

Tutorial details

  1. 1

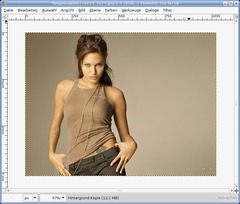
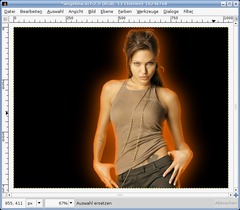
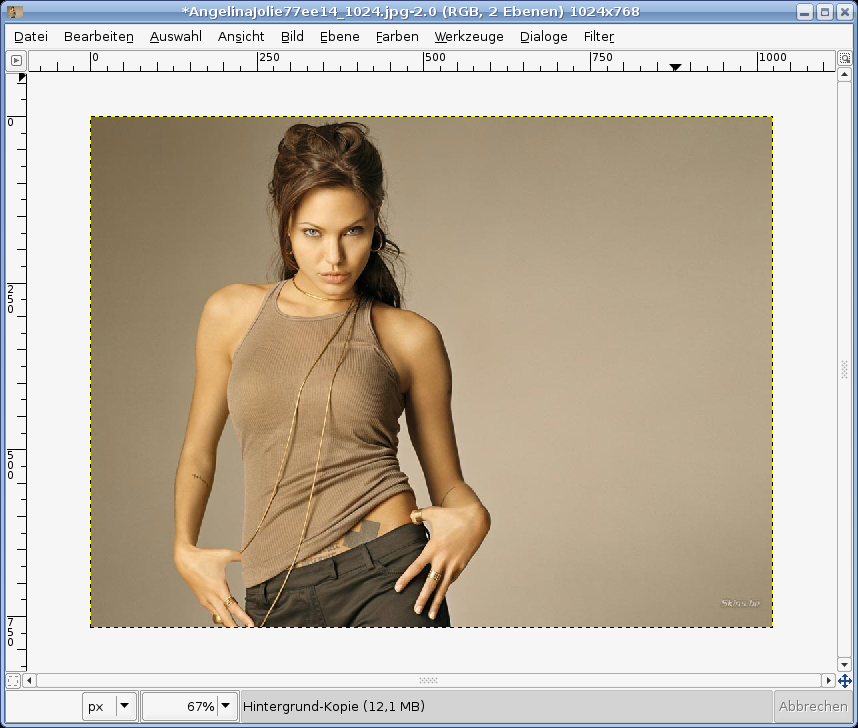
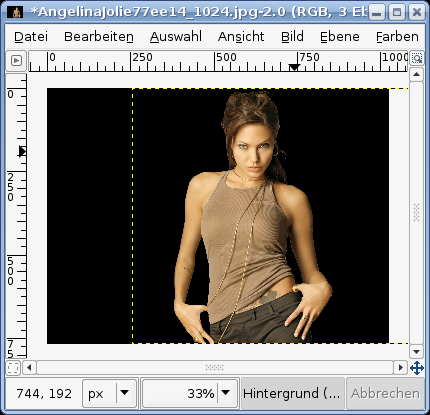
    Google images search, look for “Angelina Jolie”, click the Dropdown to only view large images. You’ll find this picture pretty easy. Save the picture and open it up in the GIMP.

  2. 2

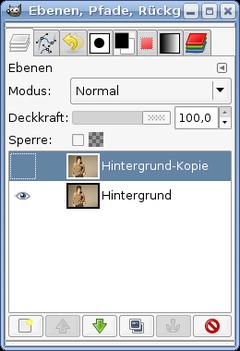
    First of all we’ve to mask Angelina (free her body from the background). There are many ways to do this, one easy way is to use the paths-tool. Click B, thats the hotkey for the bezier-paths-tool. Check the “Polygon”-Option. Duplicate the picture and make the copy invisible by clicking the eye-icon in the layers-dialog.

    In the layers-dialog activate the background-layer, click right and choose “Add Alpha-Channel”.

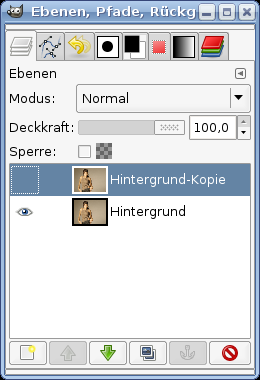
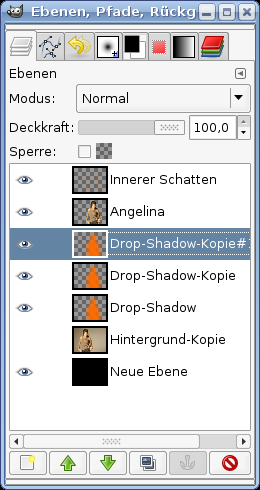
    Your layers should look like this now:

  3. 3

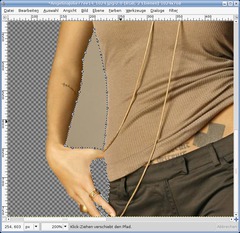
    Be sure to have the Paths-Tool active. Now start to click in the left bottom (where her hand is). Zoom the picture in to 300%, now click in small intervals along her skin. When encountering edges do very small click intervals. do this for the whole picture. First only for the outer part.

  4. 4

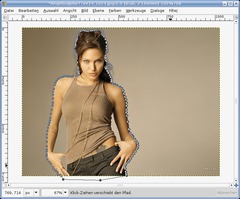
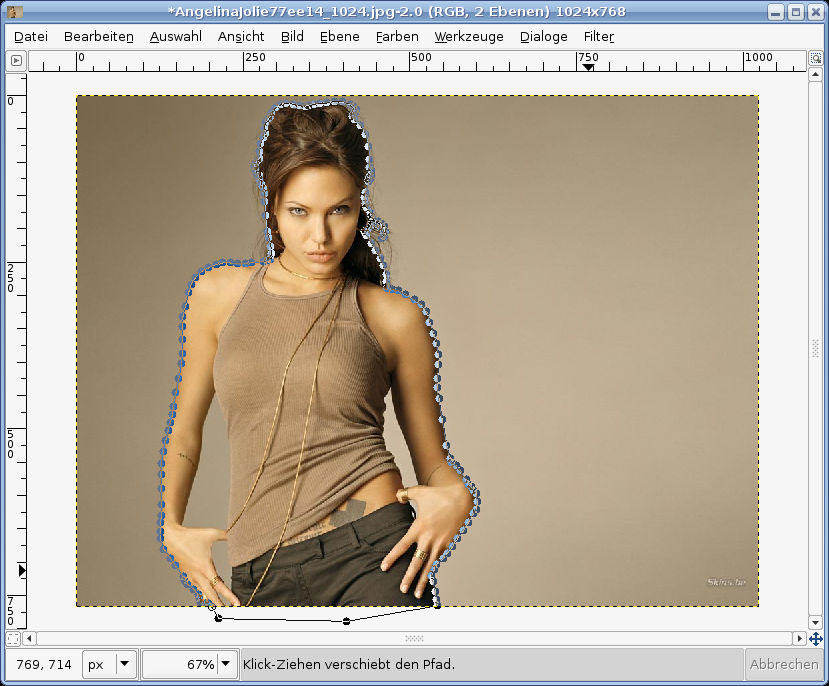
    When you finished you need to hold CTRL and click the first point you set. This is to complete your path – it is completed as seen on the picture below.

    If you did some points wrong or change anything in the path you can do this now by moving the single points. By holding CTRL and scrolling the wheel on your mouse you can zoom out/in. After you’re satisified with your path hit ENTER and the path becomes an active selection.

  5. 5

    The part is now selected. Hit CTRL+I to invert the selection or go to Selection / Invert and remove the selected part (hit DEL):

  6. 6

    Now repeat step 3 with the inner – not yet transparent – part of the picture.

  7. 7

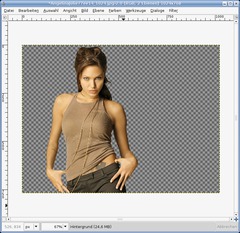
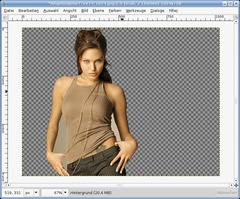
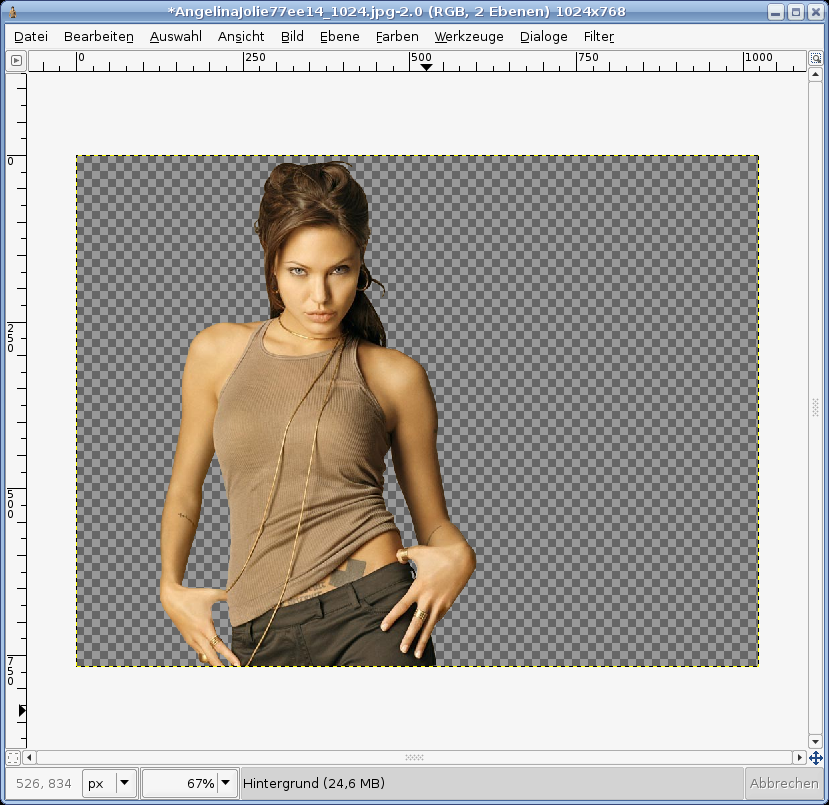
    Angelina (freed from the background) should now look like this:

  8. 8

    Move her to the right, then go to Layer / Layer to picture size. Create a new, empty layer and fill it black. Move the layer to the total bottom in the layers-dialog.

  9. 9

    Now we need to some inner glow to her body!

    - Add a new transparent Layer above the body layer
    - Set #ff7200 as FG-color.
    - rightclick the layer with her body (layers-dialog), choose “Alpha to Selection”
    - Select / Shrink: 5px
    - Select / Feather: 20px
    - Selection / Invert
    - select the just created layer
    - Edit / Fill with FG-Color
    - Selection / None
    - rightclick the body-layer again (layers-dialog) and again choose “Alpha to Selection”.
    - Selection / Invert
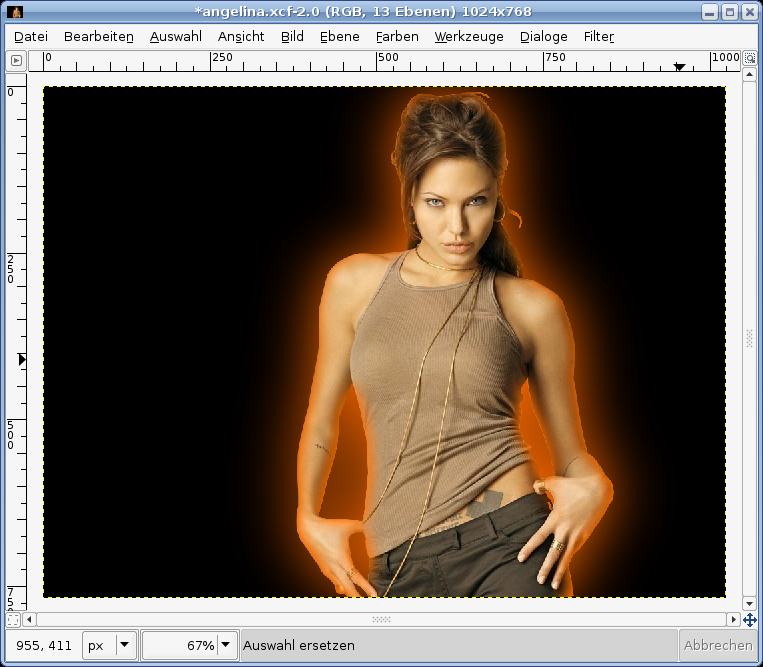
    - activate the orange layer and cut the selection.

    You should now have a inner glow on her!

  10. 10

    Next we need a strong drop shadow.

    - Filter / Light and Schadow / Drop Shadow (in GIMP 2.2 this filter is found under Script-Fu)

    Radius: 60-70
    Color: #ff6000
    Opacity: 100%

  11. 11

    To make the glow more visible duplicate the layer 2 times.

    Another way to get a nice glow is:

    - Alpha to Selection from the body-layer
    - Selection / Expand: 5-10px
    - create a new layer, move it behind (below) her body in the layers dialog
    - fill the layer with any red or orange color
    - deactivate the selection (SElection / None)
    - choose Filter / Blur / Gaussian Blur and blur the layer pretty much until you’re satisfied!
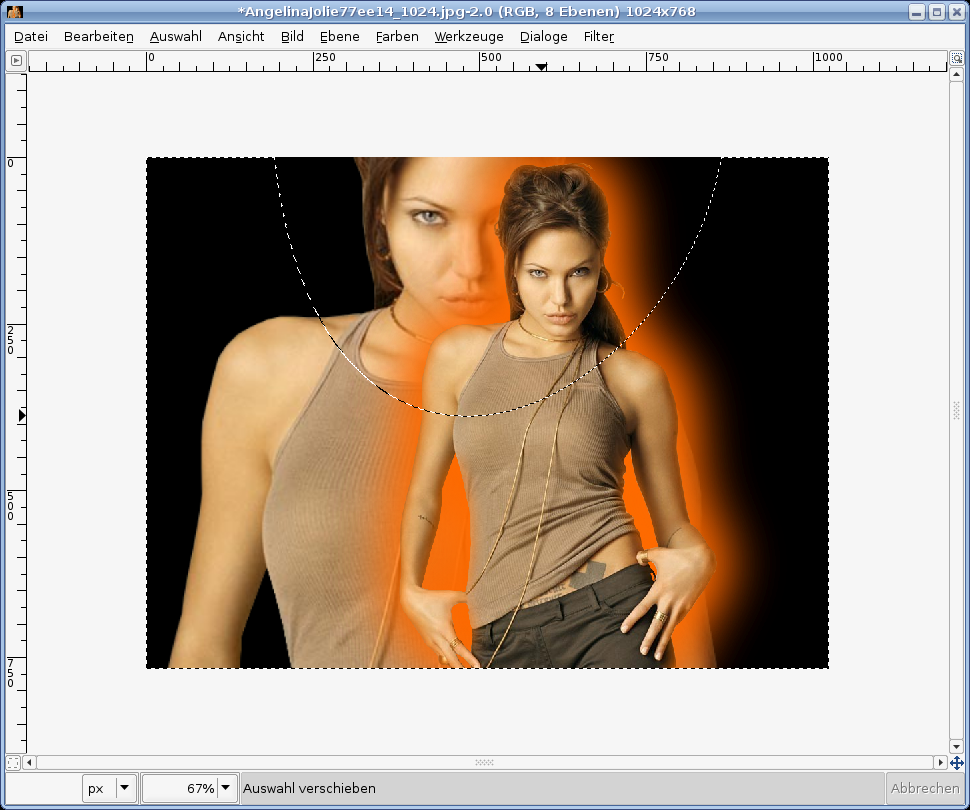
  12. 12

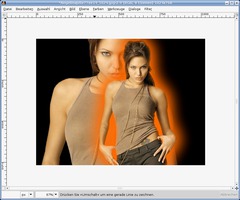
    Now we gonna duplicate her face and move it to the back, lower the opacity, so that it can be very little seen.

    - Press Shift+T to get the Scale-Tool active.

    In the popup-dialog set the chains to be linked! Set 2000px as new width. Click OK. Then move the layer directly above the black layer in the layers dialog.

  13. 13

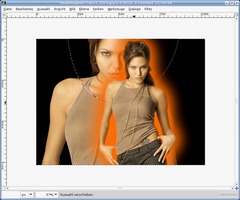
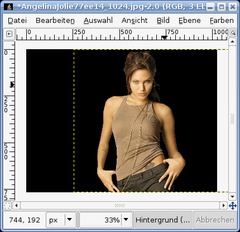
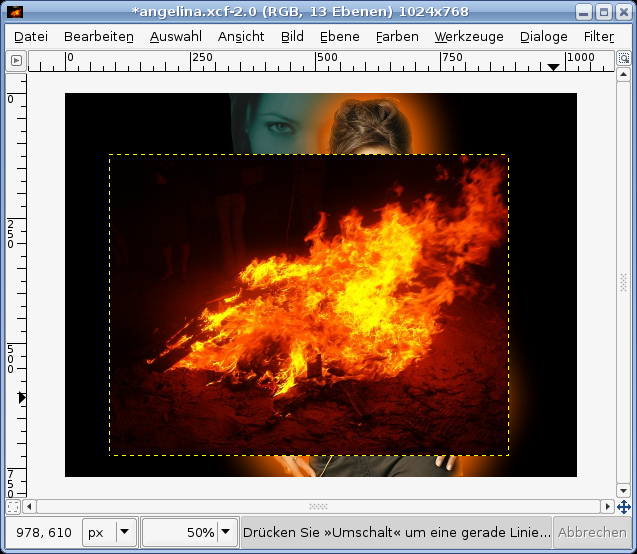
    Now we let her fade a bit into the black background. Press F (free selection tool) and make a selection as seen on the picture.

  14. 14

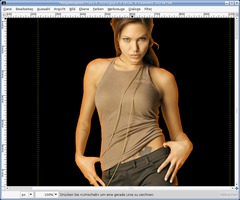
    Then click Selection / Feather: 450px.

    Delete the selected part.
    - Selection /None

    Optional you can also use layer-masks if youre familiar with this technique.

    Now lower the opacity of this layer until you’re satisfied.

    Optional you can colorize the layer now (Colors / Colorize)

  15. 15

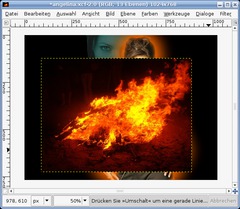
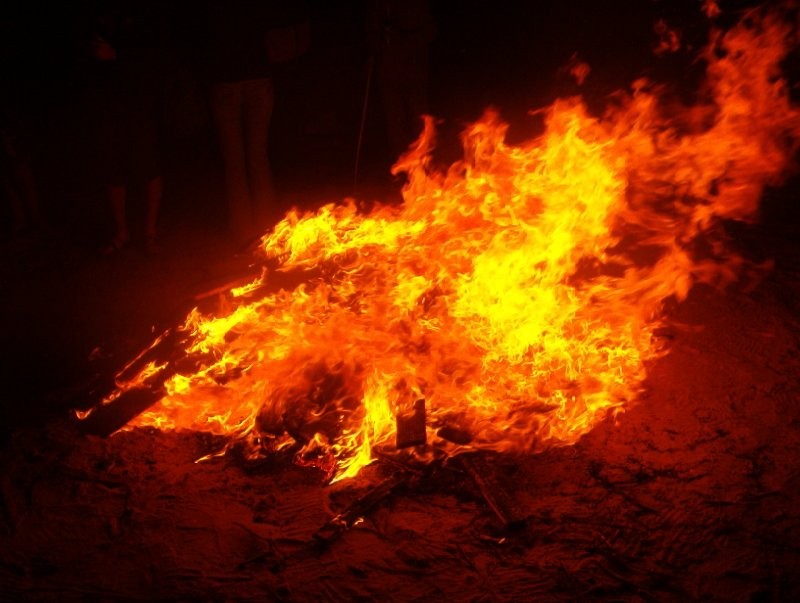
    Next we make the picture pretty hot ;) Open your browser (oh, damn I gueass it is already open ;)) google images search and search for a cool fire, or you download my fire (Tutorial-Details to the right).

    - Open the fire.
    - Selection / All
    CTRL+c top copy alls

    switch to our picture, press CTRL+v to paste and click the “add layer”-button in the layers dialog. Then you should have the fire on a seperate layer.
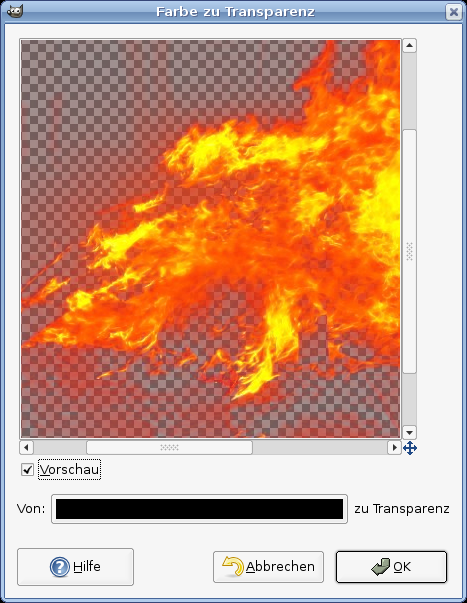
  16. 16

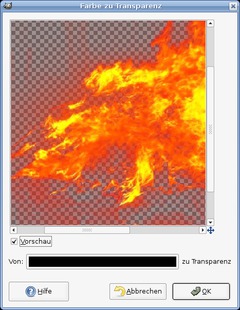
    Colors / Color to transparent. (in GIMP 2.2 this is found under Layers / Transparency / )

  17. 17

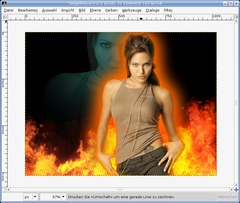
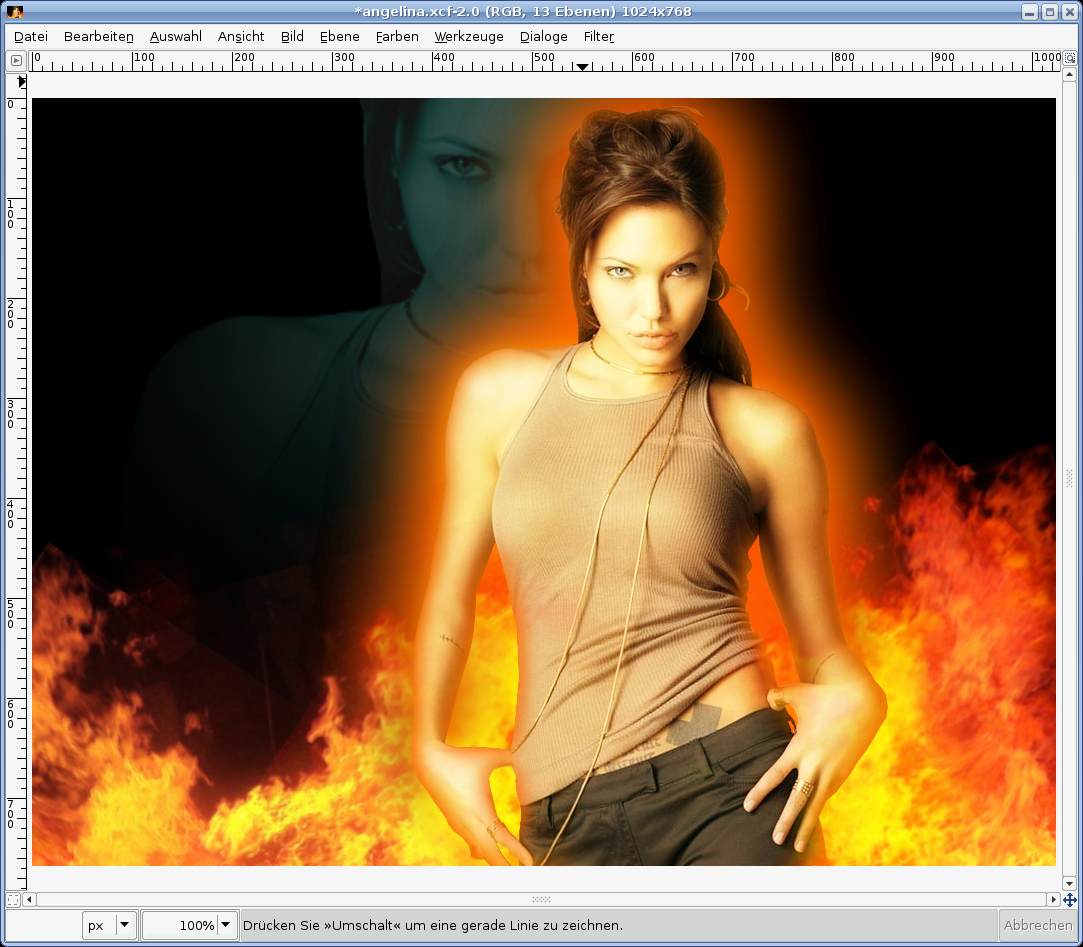
    The next step is totally up to you. Play around with the fire, duplicate the fire-layer a few times, some of them give in front of Angelina, some put behind her. Transform each layer, rotate, scale, do as you please until you’re satisfied with it. Use the Erase-Tool with a big faded (soft) brush to delete certain pieces and fade the seperate fire layers to look like one peace.

  18. 18

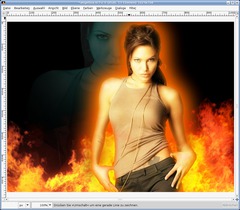
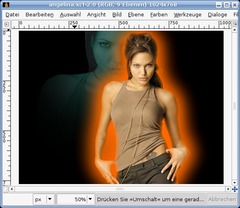
    Finally we want her glow very softly, we want to strenghten the shine.

    - Duplicate the body-layer.
    - Flter / Blur / Gaussian Blur: 40px
    - Set the layer-mode to “overlay”. The layer modes dropdown menu is found top to the opacity-setting in the layers dialog.

    Optinal you can use the selective blur instead of the gaussian to preserve some sharp countours.

    Thats it! ;) Have fun doing your own wallpapers.

Comments

Post your own comments, questions or hints here. The author and other users will see your posting and can reply to it.

Of course, you can also ask in the chat.

Subscription management

Please log in to manage your subscriptions.

New comments are disabled because of spam.

Leo Lunisa
over 11 years ago

awsome

Joel C
about 13 years ago

in gimp 2.6 step 16 is under colors/color to alpha

maija
over 13 years ago

I figured out step 12, no need to worry. :)

maija
over 13 years ago

I had uploaded GIMP few days ago and I'm trying to make hot wallpaper with flames. From steps 1 to 11 went fine but I'm now stuck at step 12 and can't get past it. I can't seem to duplicate Angelina's face and move it to the back. How exactly it works?

hubert
about 14 years ago

Seems like i got no talent at all^^.

akshay
over 14 years ago

good

Darlingpresley member for over 14 years Darlingpresley 9 comments
over 14 years ago

i cant find the colur to transparent ahhhhhhhhhhhhhhggggggg

dominika
over 14 years ago

this is awesome! but i kinda have problem with step 13. i don't know how to scale just face the way you did it. instead i end up scailing the whole body. also on which layer am i supposed to do it on?

fitroh
over 14 years ago

i'am ready

vipin
about 15 years ago

hhhhhhhhhhiiiiiii

Simon
about 15 years ago

im sorry buy i really need help for around step 9 when activate orange layer i click the eye but but my whole back ground and the glow turns orange why???

support
over 15 years ago

did you select the right parts? all but her face? did you do step 14 with the colorization?

xXx
over 15 years ago

stuck at step 13 it wont feather like yours does!! PLEASE HELP!!

triki
over 15 years ago

awesome tut !!!
Could possibly go into tad more detail on the fading option :D
big fan of Angie :D

Bob
over 15 years ago

stuck at step 12...when i scale i get a floating transformation in my layer dialog...wat do i do from here?

Thrrb
over 15 years ago

never mind i figured it out ^____^

Thrrrd
over 15 years ago

im having problem with step 9 inner glow, insted of inner glow i get the background color oransje???

Rhoda
over 15 years ago

hi guyz a got a photoshop but its da old version itz like photoshop 6.0 da pblem is i dnt knw how to use it is it possible if u guyz can help mhe 2 use it? please and thank you@@

timmy332621 member for almost 16 years timmy332621 5 comments
almost 16 years ago

Sorry i already figured out

timmy332621 member for almost 16 years timmy332621 5 comments
almost 16 years ago

Hi
I stuck the hole time at step 10
when i use dropshadow the image becomes bigger but the layers dont do anything

IndianWarrior member for almost 16 years IndianWarrior 1 comment
almost 16 years ago

Great work! I really enjoyed it.

wallpapers member for almost 16 years wallpapers 1 comment
almost 16 years ago

it amazing! really great work!

basi mon
about 16 years ago

i didnt undrstand anythng! plz help me

PhazedReality member for about 16 years PhazedReality 5 comments
about 16 years ago

Man..its impossible to do simple things, iv got to pirate a copy of photoshop, i tried, honest I did.

PhazedReality member for about 16 years PhazedReality 5 comments
about 16 years ago

I still can't get the image by itself, delete and backspace dont work and cut just makes the area white but doesn't actually delete that space from the image.

PhazedReality member for about 16 years PhazedReality 5 comments
about 16 years ago

I found the eye, im slowly getting the hang of this. I scaled a layer to larger than the image fits, how do I fix that :/

PhazedReality member for about 16 years PhazedReality 5 comments
about 16 years ago

Ah well, I figured out the first part, its "duplicate layer" not "duplicate". Still don't have an 'eye' next to layers.

PhazedReality member for about 16 years PhazedReality 5 comments
about 16 years ago

SO, im stuck on #2...
when I duplicate, it opens a new copy of the image, it does not create a new layer. Also, there is no eye next to my layers. Also, I cant remove the selected part on step 5, but lets take this one step at a time. Help please :(

devvv member for over 17 years devvv 1475 comments
about 16 years ago

I've updated step 9. It should now be possible for all ppl to get this right ;)

Ztoph member for about 16 years Ztoph 4 comments
about 16 years ago

really nice tut. but you didnt chance the select/fade thing.

kyu
about 16 years ago

oh my attachment didn't go through apparently, damn, nevermind, the image is at http://i34.servimg.com/u/f34/11/39/20/16/grace_12.jpg

:P

kyu
about 16 years ago

modded it :P just a layers>>colours>>colorize on the flames' and "aura" layers, but imo its damned efficient if you ask me :D

kinds of kills the "hot" part though :)

devvv member for over 17 years devvv 1475 comments
about 16 years ago

not bad at all, kyu ;) a little more time with gimp and your will look fantastic!

kyu member for about 16 years kyu 2 comments
about 16 years ago

@ Rich, you can also skip step 9 and try the method described in step 11 to get the glow :)

(btw @ devvv, nevermind, i found out why my flame looks weird compared to yours :P)

kyu member for about 16 years kyu 2 comments
about 16 years ago

think i got it :) except my flames look kind of weird, but that can be fixed :) nice tut btw ^_^

Rich
about 16 years ago

Hi, I'm pretty new to this and I keep getting stuck on stage 9 - I have tried many time and all I seem to do is shrink the image and fill the rest of the layer orange - so I get left with a slightly shrunken image and an orange screen - any ideas where I am going wrong, I can't work out what I'm doing wrong - I suspect something in layer selection

devvv member for over 17 years devvv 1475 comments
over 16 years ago

make sure you have correctly selected the layer with her body when you make the drop shadow. also make sure that nothing else is selected!

Kenned member for over 16 years Kenned 1 comment
over 16 years ago

Cant get past 10... have tryed 10 times to get the extra glowing effect but when i do as it says it just open a empty Drop Shadow layer..

Sunil
over 16 years ago

i like this v. much

elberry
over 16 years ago

hi good i happy

praKash
over 16 years ago

it's too good

Christian
over 16 years ago

When I am at the step where I click DEL to delete the selected area, it does not work.

Rhoxie member for over 16 years Rhoxie 2 comments
over 16 years ago

a need help plz...i'm trying 2 undersdand diz but it doens't work on mhe....

amirfarahmand
over 16 years ago

okok very good

dch
over 16 years ago

for some reason,when you said to invert and then hit delete,it didn't work for me but I did everything the way you said so what went wrong?

Gimp Noob
over 16 years ago

Step 16. In version 2.2.17 (windows) I tried Layer/Transparency then what is the next choice... None of them seem to give me the shown effect you stated.

devvv member for over 17 years devvv 1475 comments
over 16 years ago

just move the layer tht contains the fire under the layer with her masked body.

lil one
over 16 years ago

ummm im having problems putting the flames behind her.
im kinda new at this.
So any help would be deeply appreciated.
HEEELLLPPP!!!!!!!!

devvv member for over 17 years devvv 1475 comments
over 16 years ago

Ah, my fault - its called Select / Feather. You should have that! Sorry... I changed it in the tutorial now.

Dan
over 16 years ago

Thanks!

One problem for me. I cannot find select/ fade in GIMP. Looked everywhere, all I can find is Fade Outline in Script-Fu, I don't know if that creates the same effect.

cicero
over 16 years ago

Não conseguir fazer o efeito final.preciso de ajudar.

yaser
over 16 years ago

heloo thank you

tyree
almost 17 years ago

wow i always wanted something like this