gimpusers.com logo
German version English version

Not logged in

Sign up! | Lost password?

Latest discussion

  1. gimp-user | yesterday 11:50 PM
    ?? Status of remembering Layers setting for Canvas Resizing -- in most recent version
  2. gimp-developer | yesterday 06:38 PM
    Adding ability to reverse curves dialog
  3. gimp-user | yesterday 06:26 PM
    Enlarge Canvas: Is there a way to do it by dragging? Could/Should there be?
  4. gimp-user | yesterday 05:18 PM
    Text tool options menu, where is it?
  5. gimp-user | yesterday 03:59 PM
    Bug in the Gradient tool ?

External news

Poll

Would you like to be able to use your Google/Yahoo/MSN (OpenID) login on gimpusers, too?

Definately! I would enjoy the possibility to use my OpenID on different websites!

I don't have a special need for OpenID but I think it could be useful

Doesn't matter to me

Never, OpenID is a pain regarding privacy and personal data protection!

No. (please post a comment)

See results

Stats

gimpusers.com RSS feed

RSS feed Retweet this!

17 Jan 2008 08:33 AM, by Kiri (Martin), translated to English by redforce (Richard H.)

How to change a boring sky to a cool cloudy sky

A brief tutorial, to change a boring sky into an interessting cloudy sky. Because no one will believe, that you've got such a fine weather in the alps.

This article has been written using GIMP 2.4.2. It's divided into 7 steps and takes about 5 min to complete for an average user. 11195 times read so far. Category: Photos / wallpapers, required skill: 0 of 5

3 comments have been posted so far.

Available in other languages:

  1. 1
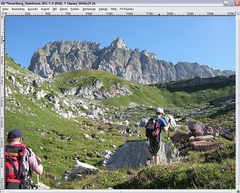
    Select the whole blue sky with the magic-wand-tool. To select the whole sky, move the mouse a little bit to the right side, while you push the mouse-button
    Screenshot of step 1
    Click to enlarge
  2. 2
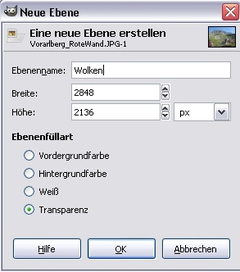
    Add a new, transparent layer from the selection. Entitle this layer „Clouds“. In my example („Wolken“ which is the German word for clouds)
    Screenshot of step 2
    Click to enlarge
  3. 3
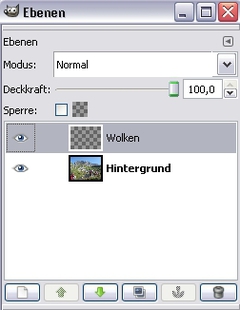
    Call the layer-dialogue (STRG+L). Activate the cloud-layer
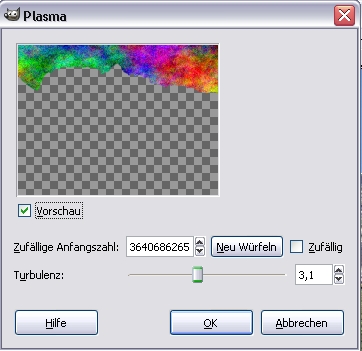
    Screenshot of step 3
    Click to enlarge
  4. 4
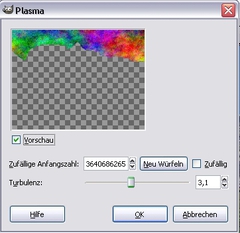
    Apply Filter / Render / Clouds / Plasma.
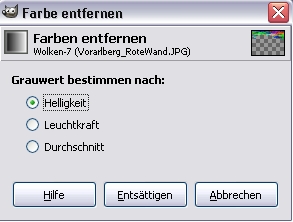
    Screenshot of step 4
    Click to enlarge
  5. 5
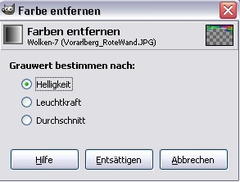
    Colours, Desaturate.
    Screenshot of step 5
    Click to enlarge
  6. 6
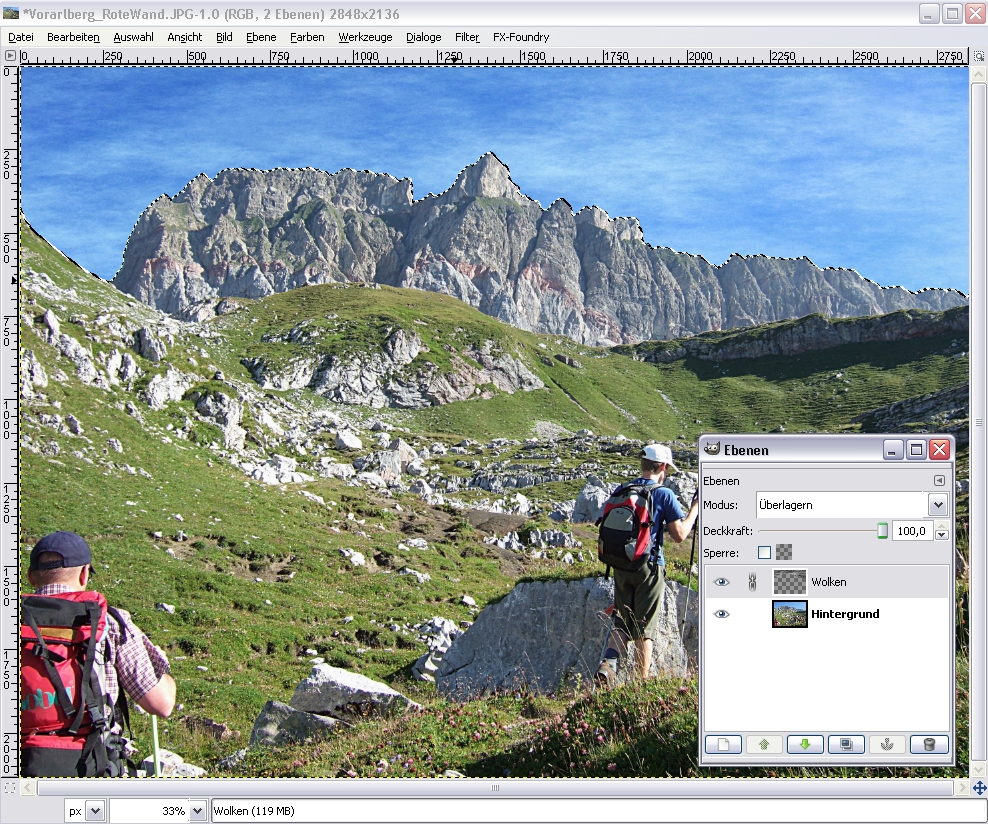
    Now change the layer mode to either:
    „Screen“ or „Overlay“ or „Soft Edges“
    Screenshot of step 6
    Click to enlarge
  7. 7
    Feel free to experiment with the transparency of the layer. Or you can duplicate the clouds-layer to get a stronger look - just as you like!

This article is licensed under the following license: Attribution-Noncommercial 3.0 Austria

Comments

Post your own comments, questions or hints here. The author and other users will see your posting and can reply to it. Of course, you can also ask in the chat.

Comments are chronologically arranged.

  1. http://www.gimpusers.com/tutorials/create-simple-cloudy-sky.html Thu 17 Jan 2008 09:38:37 AM CET jorge adrian krasnopolsky, 17 Jan 2008 09:38 AM

    Simplemente genial!

  2. http://www.gimpusers.com/tutorials/create-simple-cloudy-sky.html Wed 19 Mar 2008 07:05:11 AM CET passing by, 19 Mar 2008 07:05 AM

    fabulous

  3. http://www.gimpusers.com/tutorials/create-simple-cloudy-sky.html Thu 19 Nov 2009 09:51:34 AM CET jorge adrian krasnopolsky, 19 Nov 2009 09:51 AM

    Simply genial! i said years ago and now also.
    Gentlemans have a nice day,please.
    Im studing the GIMP of course...is infinite!

    I need to know more about mixing pictures...
    Some thing like CRAZY BUMP,becouse...I loose it.
    Thank you.

Registered users can log in (top right of the page) to use their profile name to post comments, request email notification on new comments and attach images (e.g. their versions of the effect) to their postings.

Are you human?

Adobe® Photoshop® is a registered trademark of Adobe Systems, Inc. Linux is a trademark of Linus Torvalds. Ubuntu and Canonical are registered trademarks of Canonical Ltd. | Clock times are shown as CET / CEST | Imprint / Privacy policy | powered by bitfire it services