


Tutorial: Intersperse a portrait with text
 is licensed under a Create Commons Attribution-Non Commercial 3.0 Unported license.")

Download GIMP workspace (.xcfbz2) (1.55 MB)
Motivation
This tutorial shows a technique to convert a portrait photo of a person into a text-portrait, where the text itself should act as the silhouette of the person.
Tutorial details
- Category: Photos / wallpapers
- Time to reproduce: ≈20.0 minutes

- Tested with GIMP 2.6
-
1
 nicole_kidman.jpg
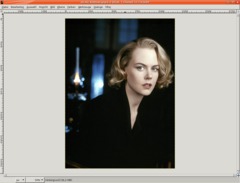
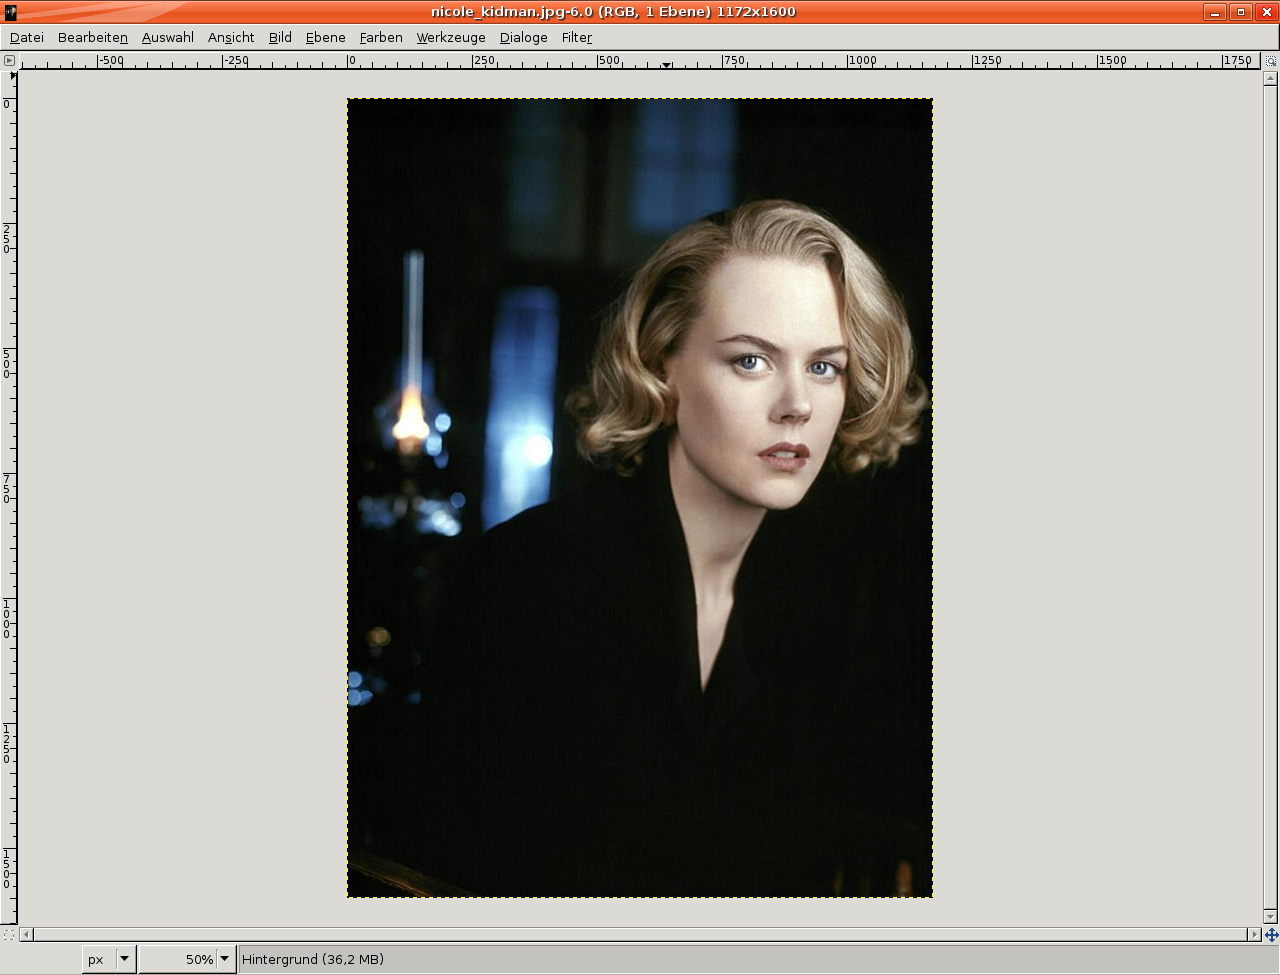
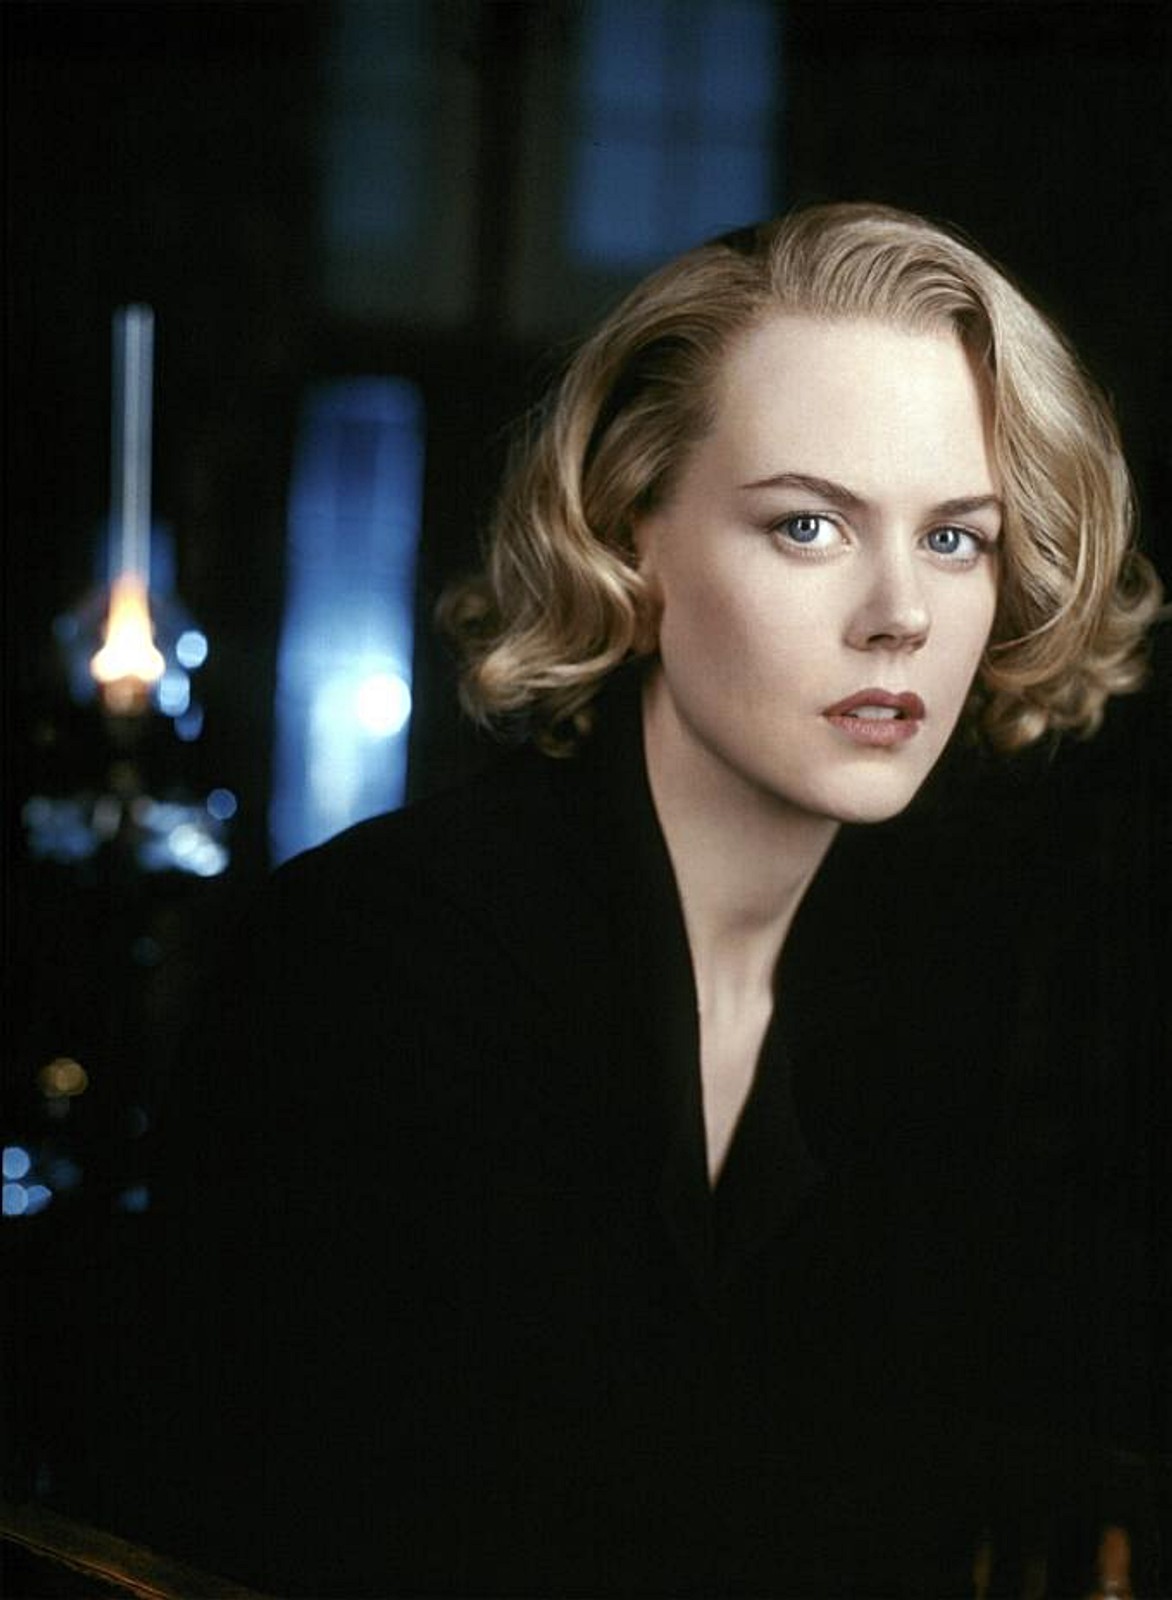
Open an image of your choice (should show a person).
In this tutorial I’ll use the photo of Nicole Kidman that you can download here.
-
2
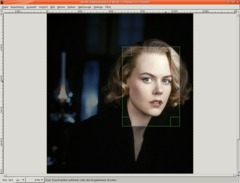
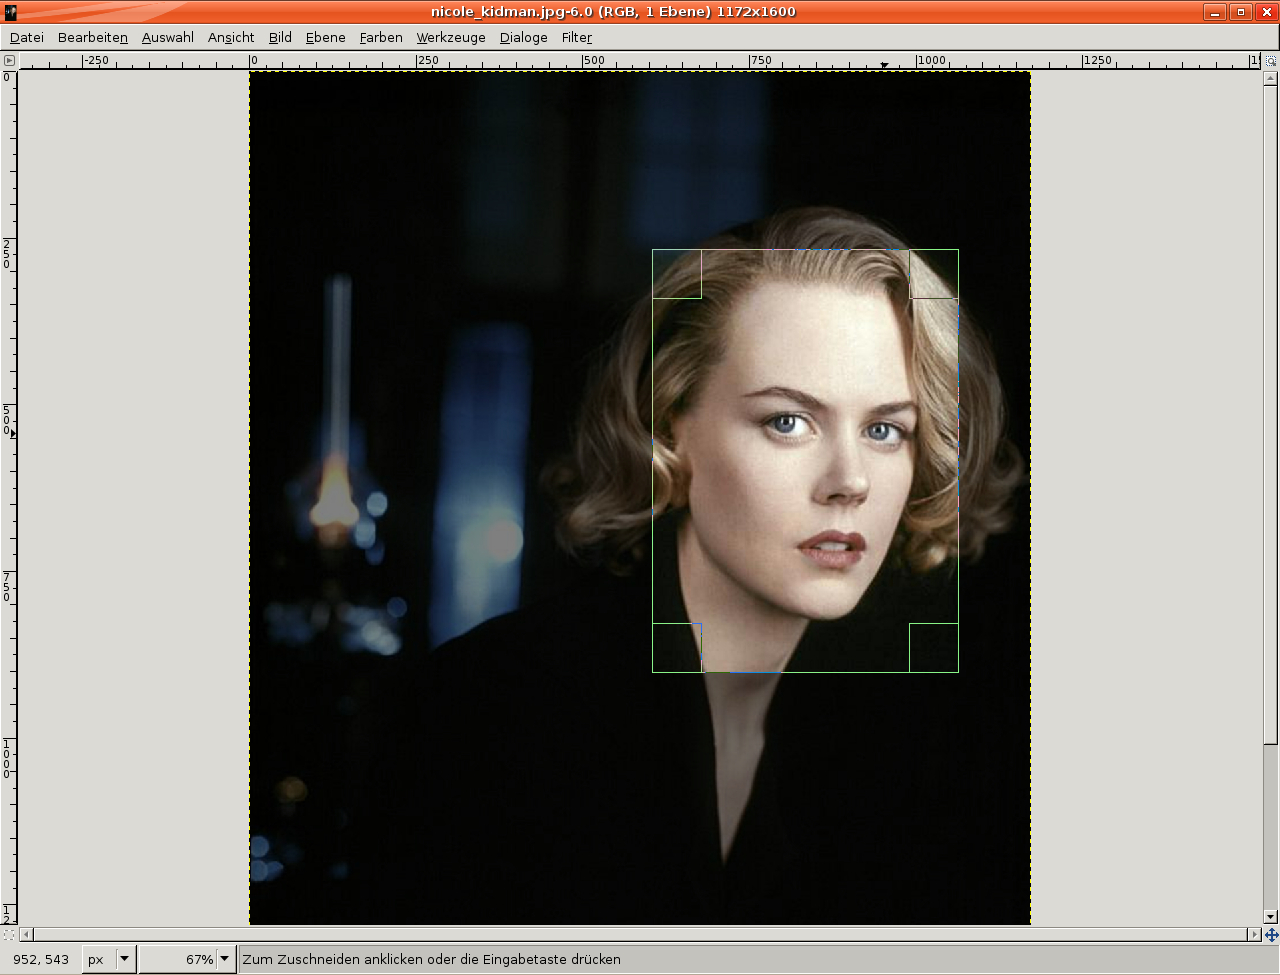
Now let’s cut off the image to get only her face. Select the Crop tool (Shift+C) and drag a selection around her face.
-
3
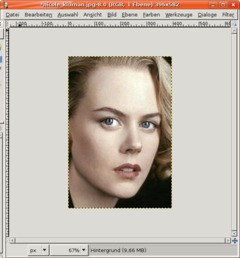
Presse Enter to crop.
-
4
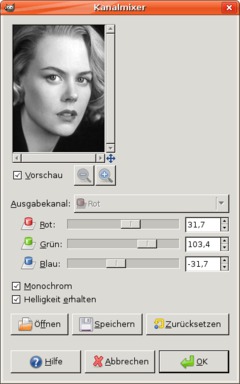
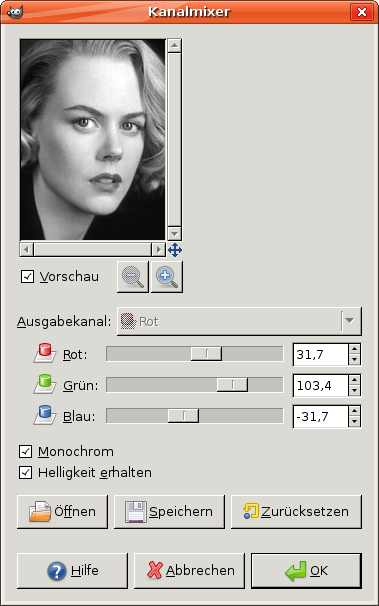
Now convert the photo to black/white by using Colors / Components / Channel Mixer. Check the “Monochrome” box and use the settings from the screen shot. If you use an other image, adjust the settings to conserve the details.
-
5
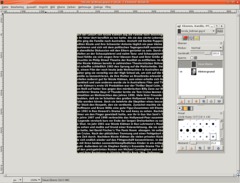
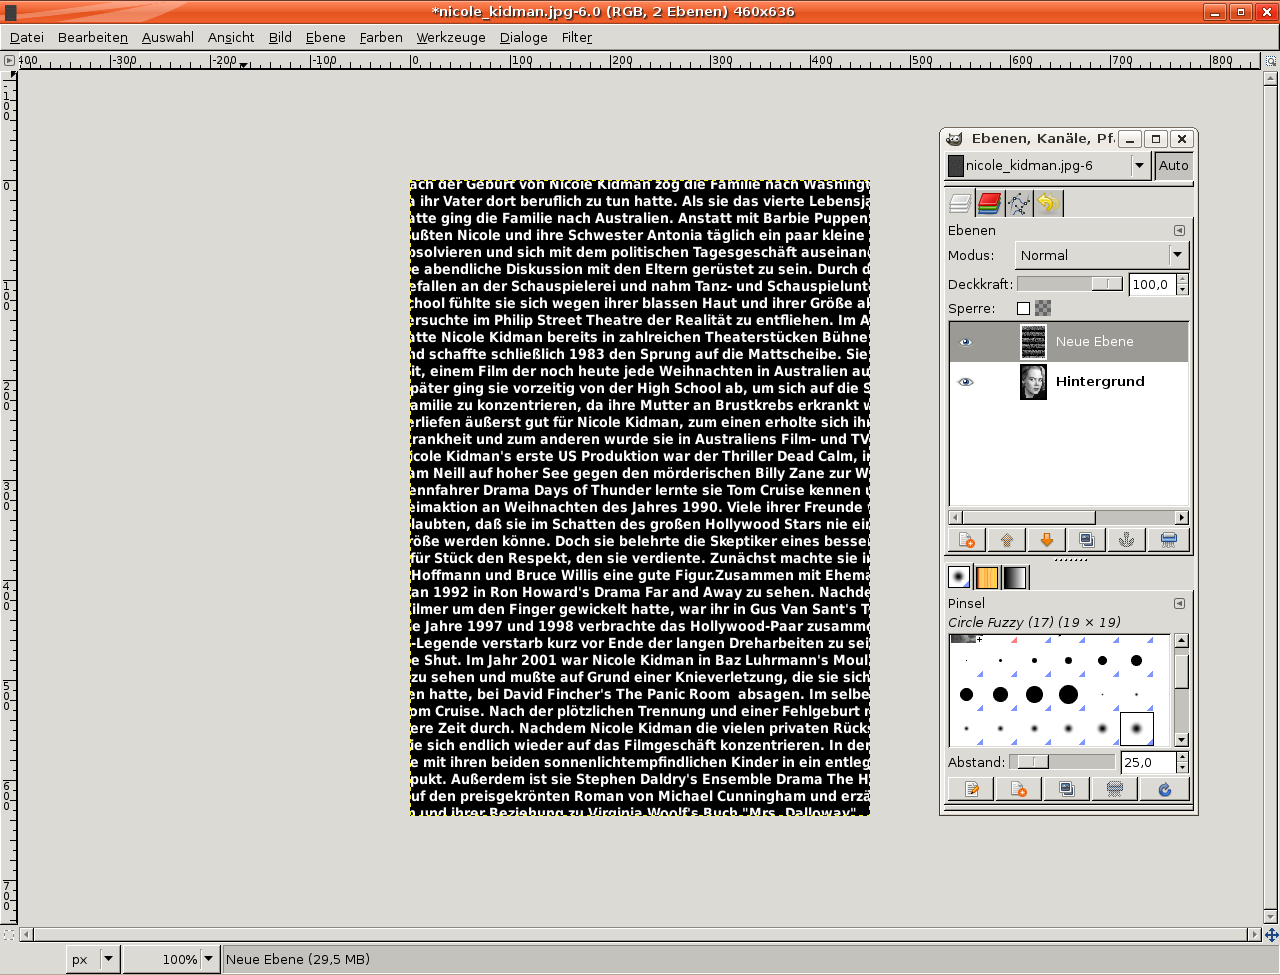
Now create a new black layer in front of the layer with her face.
Then select the Text tool and enter very much text. For instance, search the Internte for “Nicole Kidman bio” and copy the text into the text field. The text layer has to be in front of the (just created) black layer.
Font size: 16, font family of your choice (I suggest a sans-serif font). The whole image should be covered with text or numbers. Text color: white
-
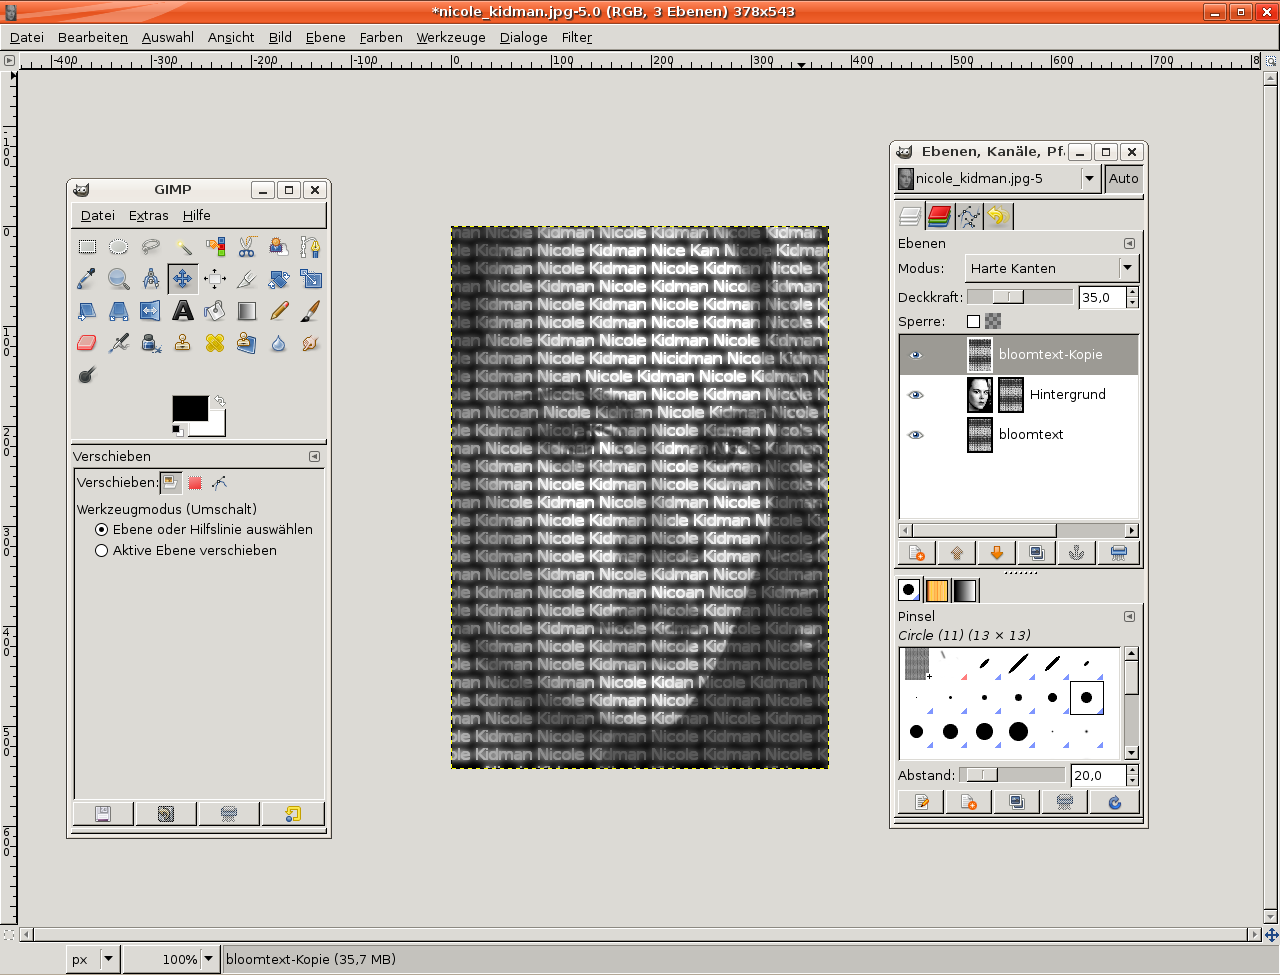
6
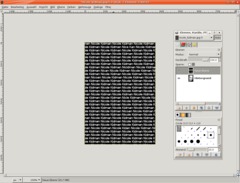
Click on the black layer in the Layers dialog. Then right-click on the text layer and “Merge Down”. You won’t see any changes now, but the text and the black layer are now merged.
Now choose Layer / Layer to Image Size.
-
7
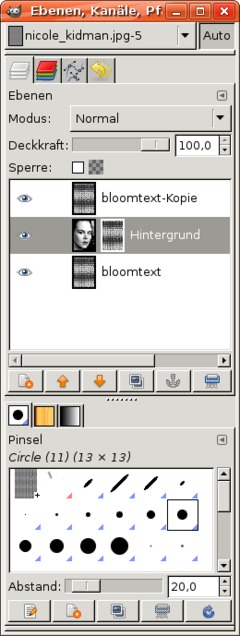
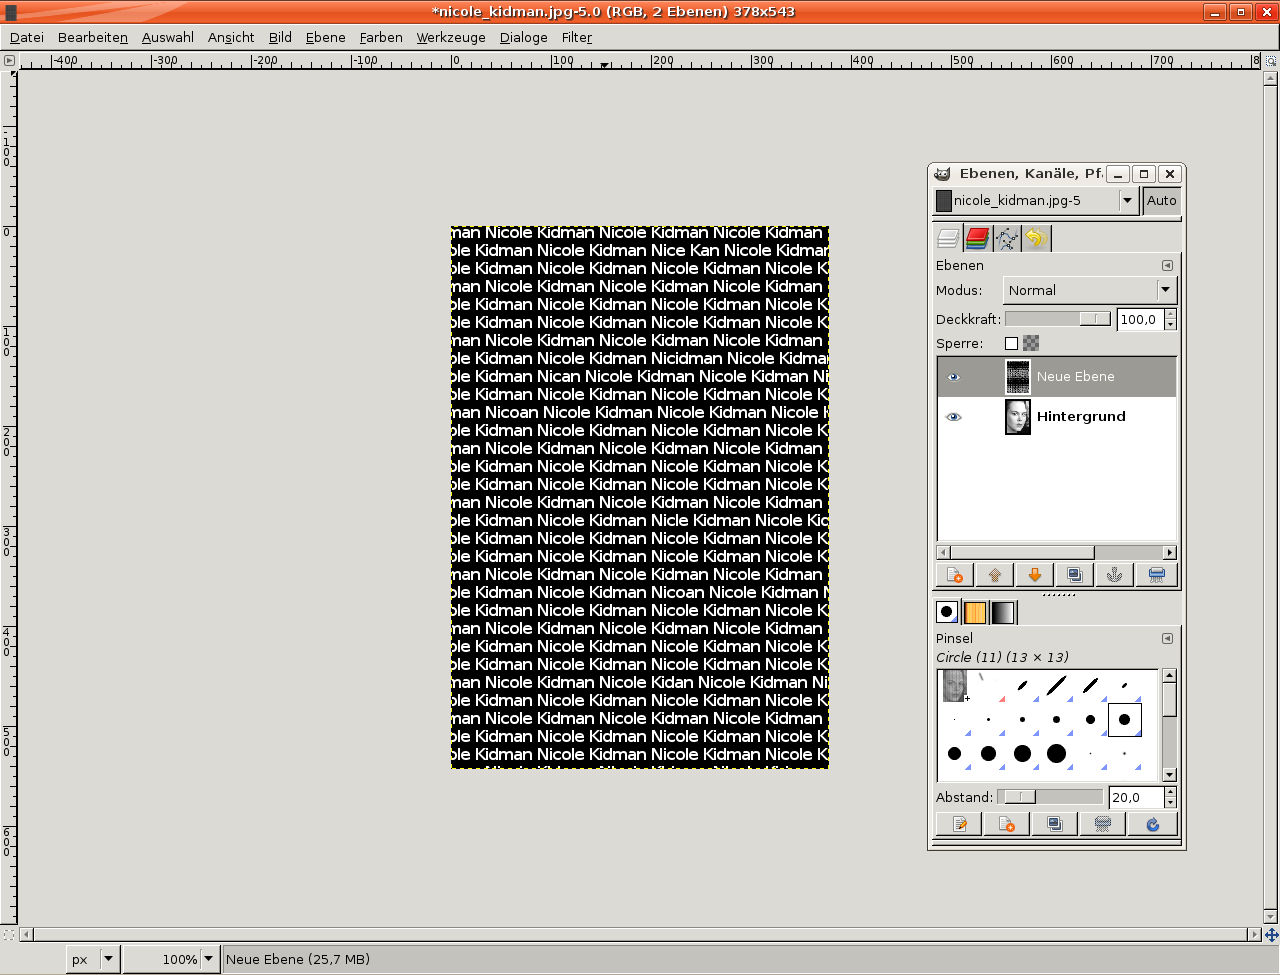
Right-click on the face layer and choose “Add Alpha Channel”.
Activate the rendered text layer again and duplicate it.
Blur the duplicate using Filter / Blur / Gaussian Blur: radius 11.Switch the layer to “screen” mode. Then right-click on the layer in the Layers dialog and choose “Merge down” again.
Duplicate the now merged layer again, set the duplicate to screen like before, change the layer’s opacity to 40% and merge it again with the layer below. Now, the text should have a typical “bloom effect”. Set the layer’s name to “Bloom text”.
-
8
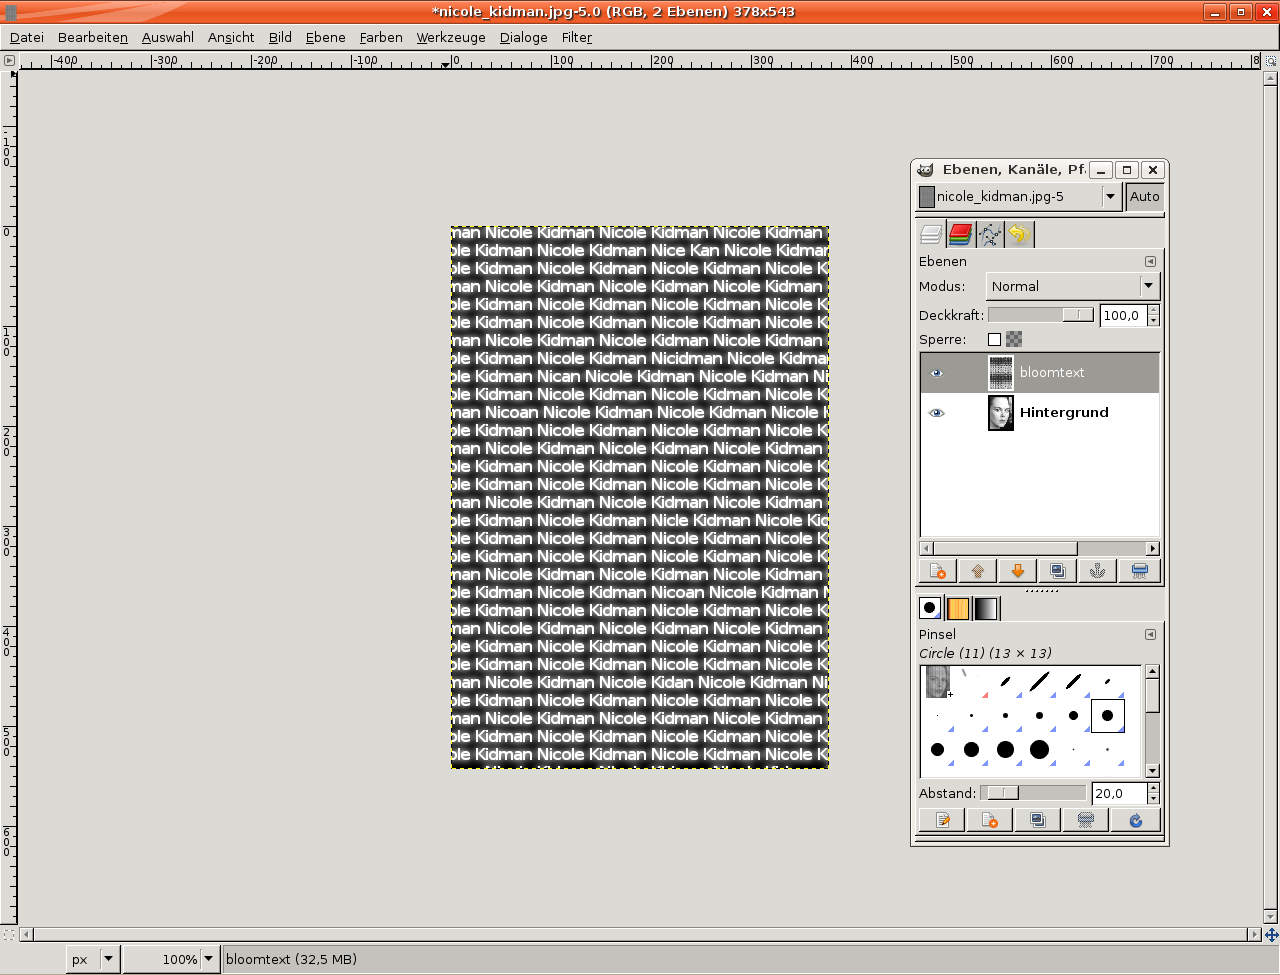
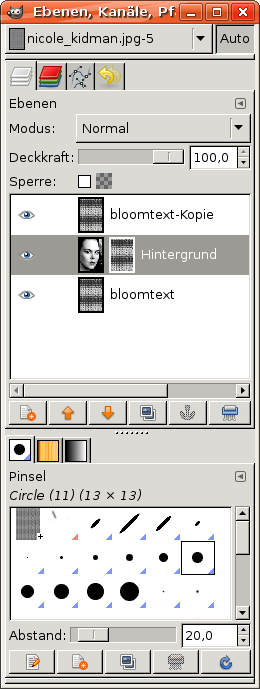
Duplicate the Bloom layer. One of the two layers should be above the face layer, the other below.
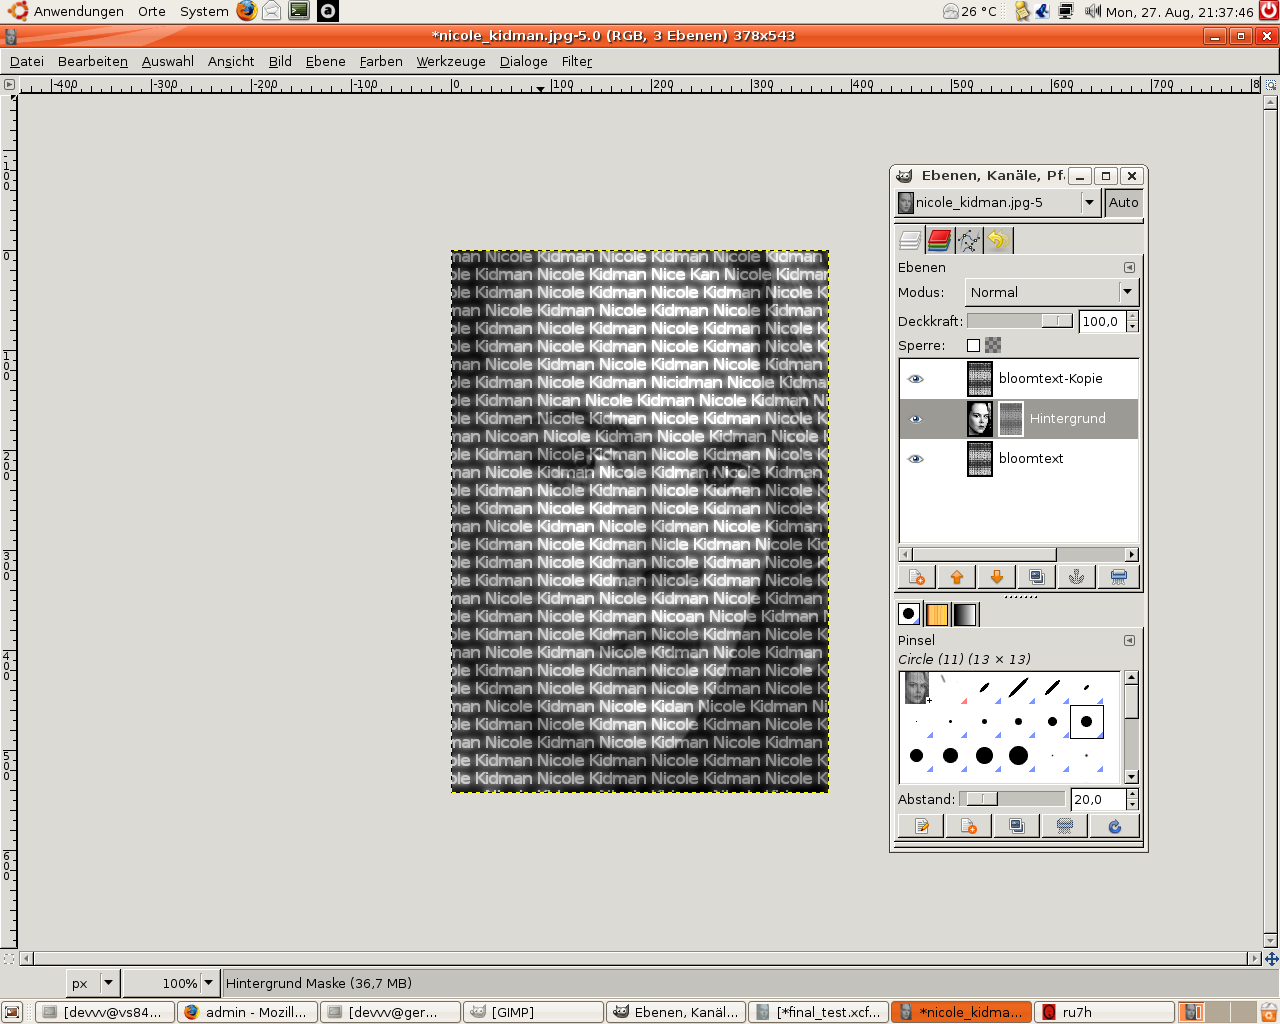
Now let’s use a layer mask to show Nicole’s face only at locations where’s text, too.
Right-click the face layer in the Layers dialog and select “Add Layer Mask” / White.
-
9
Now click a bloom layer and press Ctrl+A or use Select / All. Copy the selection (Ctrl+C). Now switch to the layer mask again (click on the small white area in the Layers dialog to activate the mask).
Now insert the selection with Edit / Paste or Ctrl+V. Then click on the Anchor button at the Layer dialog’s bottom so that the inserted image is placed in the mask.
-
10
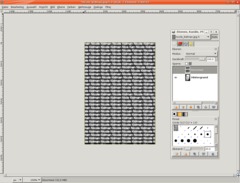
Click on the face layer in the Layers dialog to activate the face (and not the layer mask).
To emphasize the effect, let’s increase the contrast: Colors / Brightness-Contrast: -60 / +50.
Set the bloom text layer’s mode to “Hard light” and the opacity (of the duplicate) to 30%.
You should now be able to recognize the effect in the bright points.
-
11
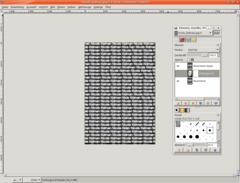
To make the text more visible, let’s do some fine-tuning.
Activate the layer mask, choose Colors / Brightness-Contrast and reduce the contrast by -70.
-
12
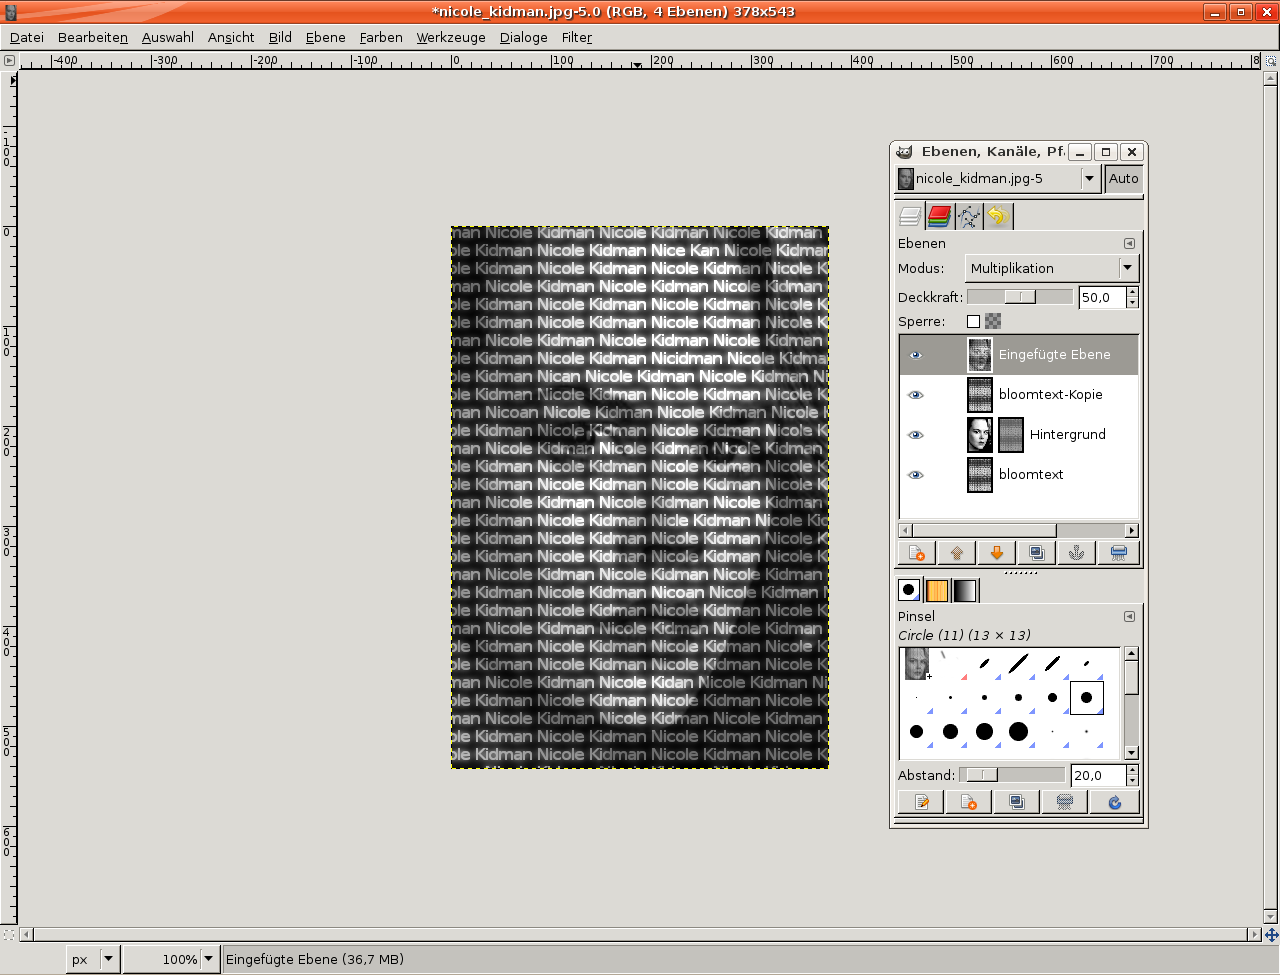
To minimize the minimally brighter points between the lines:
- Edit / Copy visible
- Edit / Paste
- Click on the “New layer” button in the Layers dialog to get the inserted image onto a new layer.Set the mode of this layer to “Multiply” and play around with the opacity until you feel it’s OK.
-
13
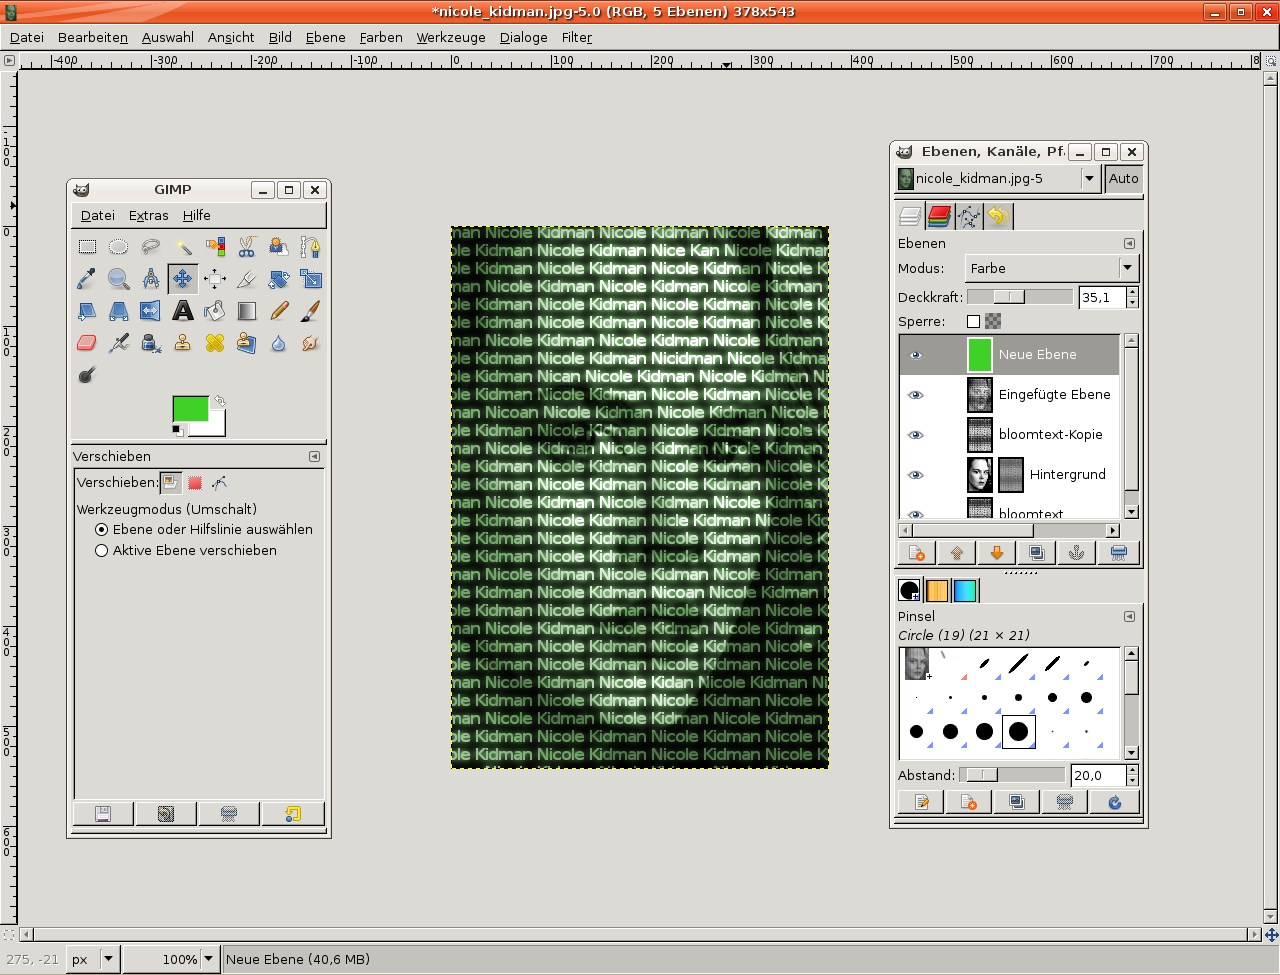
Now it’s time for some color:
- New layer
- Fill with a certain color
- Set layer’s mode to “Color” and adapt the opacity.Have fun!
-
14

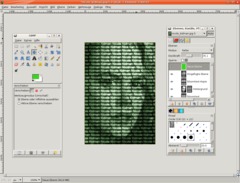
The final image may look like this one:


Comments
Post your own comments, questions or hints here. The author and other users will see your posting and can reply to it.
Of course, you can also ask in the chat.
Subscription management
Please log in to manage your subscriptions.
User rating
This topic (Intersperse a portrait with text) has been rated 5.0/5.0.
New comments are disabled because of spam.