


Tutorial: Create a simple Grunge-Stamp!
 is licensed under a Create Commons Attribution-Non Commercial 3.0 Unported license.")

Motivation
This Tuturial shows you how to make a simple stemp, with a Grunge Effect.
Tutorial details
- Category: Text effects
- Time to reproduce: ≈8.0 minutes

- Tested with GIMP 2.6
-
1
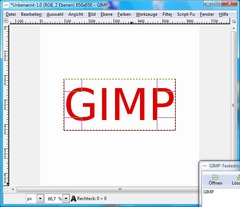
- Create a new picture (e.g. 650×650).
- Choose a color for the stamp text, I have used a red one: #dd0000.
- Now write a text using the text-tool -
2

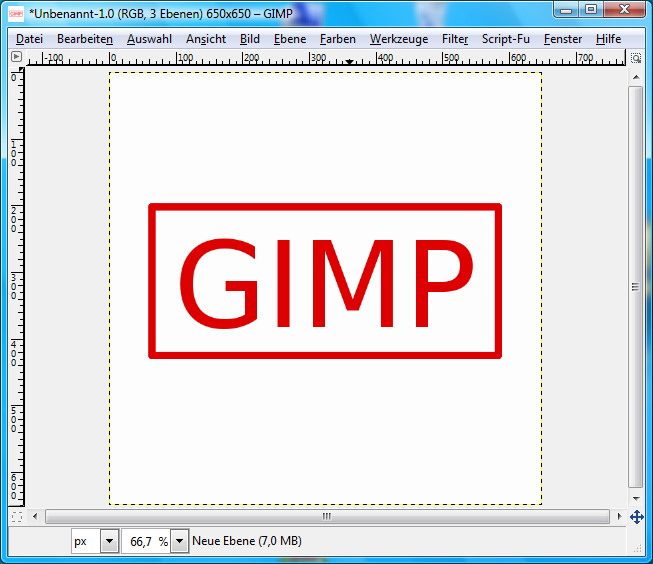
Now we make the text look better by adding a border to it
- Therefore add a new layer and activate it
- Choose the Selection-Tool and drag a border. The distance to each side shoud be approximately the same to look asthetically.
- Select / Border… (5px depending how thick the border shoud be)
- Edit / Fill with FG Color
- Select / NoneIt should look like this:
-
3
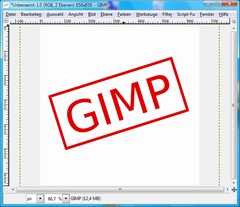
In this step we rotate the picture
- right click the layer and choose “Merge down”
- Choose the Rotate Tool and rotate the picture to a desired position -
4

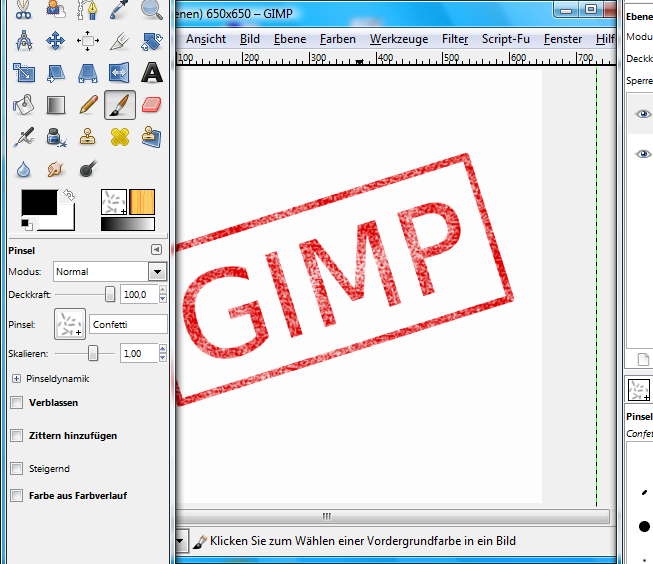
Now we’re coming to the Grunge-Effect:
- Layer / Mask / Add Layer Mask (White)
- Choose Paintbrush (Brushtyp Confetti)
- Reset the color to black (use D on your keyboard)
- Paint at will on the Layer mask (Black becomes transparent, so it looks white) -
5

Second part of the noise:
- Choose Ink Tool
- Opacity: 70-80%
- Size: 6
- Typ: rhombus
- Shape: thin, so you have to drag the pointer a little bit down
- Paint again at will (sometimes a little bit faster and slower)
- Opacity could be change for some strokes to 80-90%, so there is some variety in it
We’re done! I hope you like your newly created stamp ;)


Comments
Post your own comments, questions or hints here. The author and other users will see your posting and can reply to it.
Of course, you can also ask in the chat.
Subscription management
Please log in to manage your subscriptions.
User rating
This topic (Create a simple Grunge-Stamp!) has been rated 4.5/5.0.
New comments are disabled because of spam.