


Tutorial: Create an animated radar with GAP
 is licensed under a Create Commons Attribution-Non Commercial 3.0 Unported license.")

Download GIMP workspace (.xcfbz2) (15.4 MB)
Motivation
GAP stands for "GIMP Animation Package" and like its name says it's a package of plug-ins for gimp to create and work on animations. That's the actual reason for this new tutorial. In Reitermaniac's tutorial the animated parts of the radar are duplicated, organized and rotated manually. No doubt a very exhausting work, which can be done by GAP. Besides it makes it possible to create more frames without any additional effort. This way the animation gets smoother and we can put more effort into the design. Enough of talking! I hope you'll have much fun and motivation in this tutorial!
Tutorial details
- Category: Special FX
- Time to reproduce: ≈90.0 minutes

- Tested with GIMP 2.6 / 2.8
-
1
First you need GAP of course. Linux users usually can install it from their distributions repositories (in Ubuntu it’s the package “gimp-gap”). Windows users will find all needed information at the bottom of the download page of gimpusers.com. Unfortunately I must dissappoint Mac users: I’m not sure if an installation file exists for Mac OS/X. You have to search for solutions on your own. (If somebody finds a good one, please post a comment.)
After the installation you’ll find a new entry in GIMP’s menu: Video
Important: The versions of GAP and GIMP must be equal, otherwise it doesn’t work. That means you need GAP 2.8 for GIMP 2.8.x or GAP 2.6 for GIMP 2.6.×.
-
2
Let’s start!
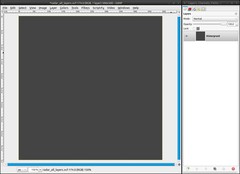
- Create a new image: 500×500 pixels.
- Take a dark grey (#454545) as FG color and fill the image with it. (Edit / Fill with FG color; shortcut: ctrl + ,) -
3
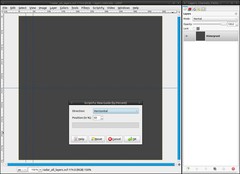
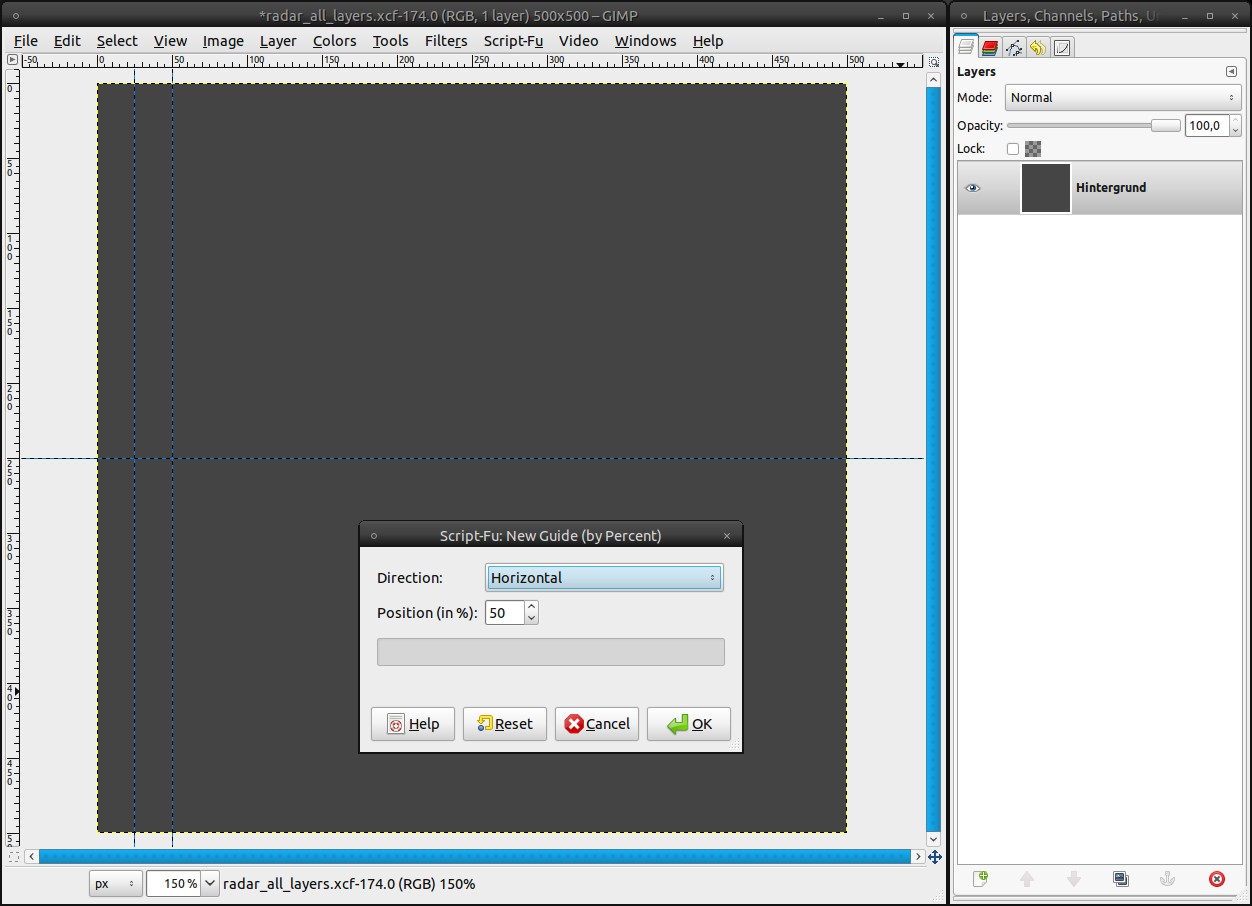
Next we need guides:
- Image / Guides / new Guide (by percent): direction: vertical, position: 5%. Repeat that for 10% and 50%.
The fastest way to open the dialog again is pressing ctrl + shift + f. (It opens the last used plug-in or filter)
- At last insert a horizontal guide at 50% -
4
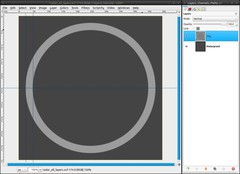
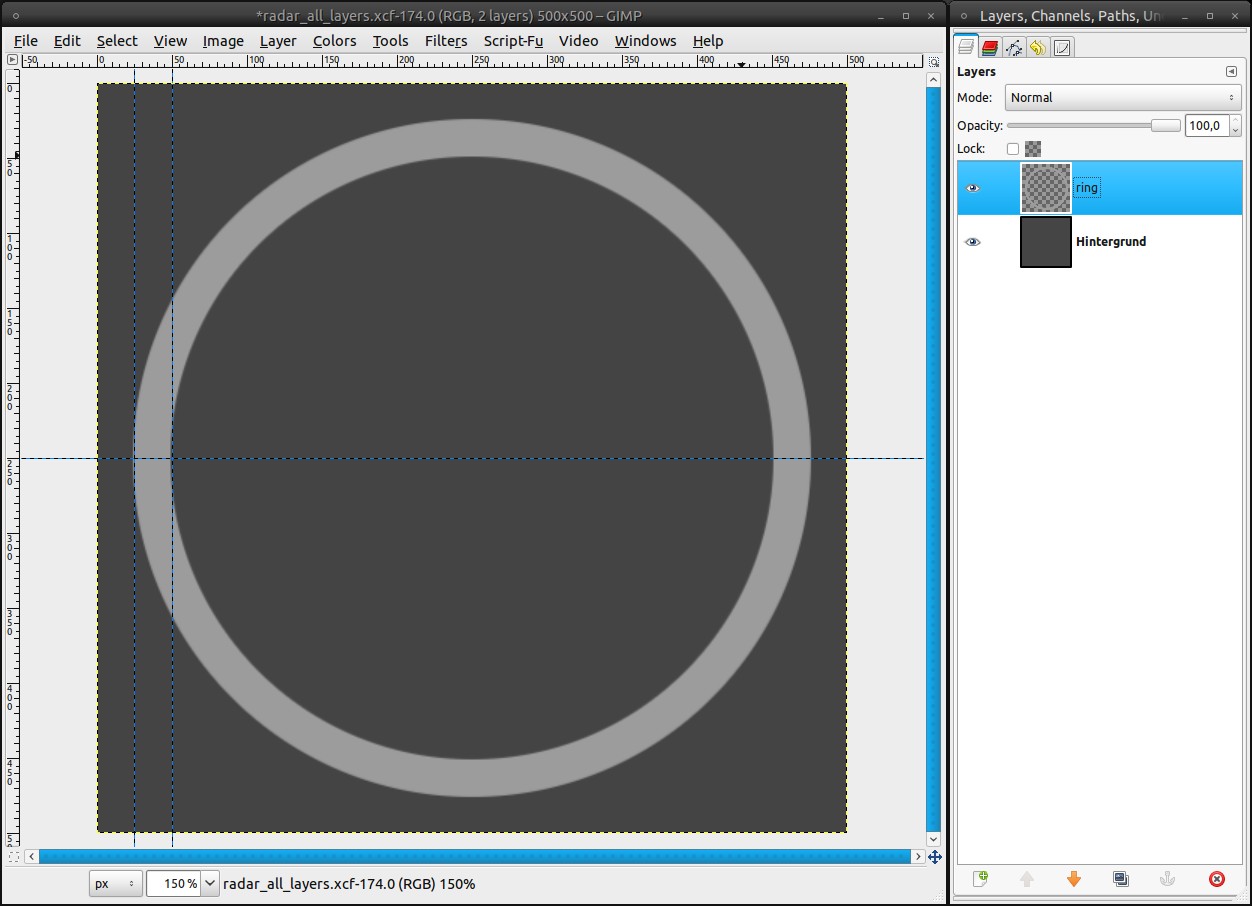
Add a new layer. Name it “ring”
Grab the Ellipse Select Tool. Tick “Expand from center” and choose 1:1 as fixed aspect ratio. Then drag a selection from the middle to the outer guide. The guides will help you to perfectly align the selection to the middle.
- Fill the selection with a medium grey (#9d9d9d) (Edit / Fill with FG color; shortcut ctrl + ,)
- Click in the selection again with the Ellipse Select Tool. Now you can edit the selection. Grab the left edge and drag it to the inner guide.
- Press del to delete the selection.
Because we’ll need this selection many times, we’ll save it in a channel: Select / Save to channel
- Select / None (ctrl + shift + a) -
5
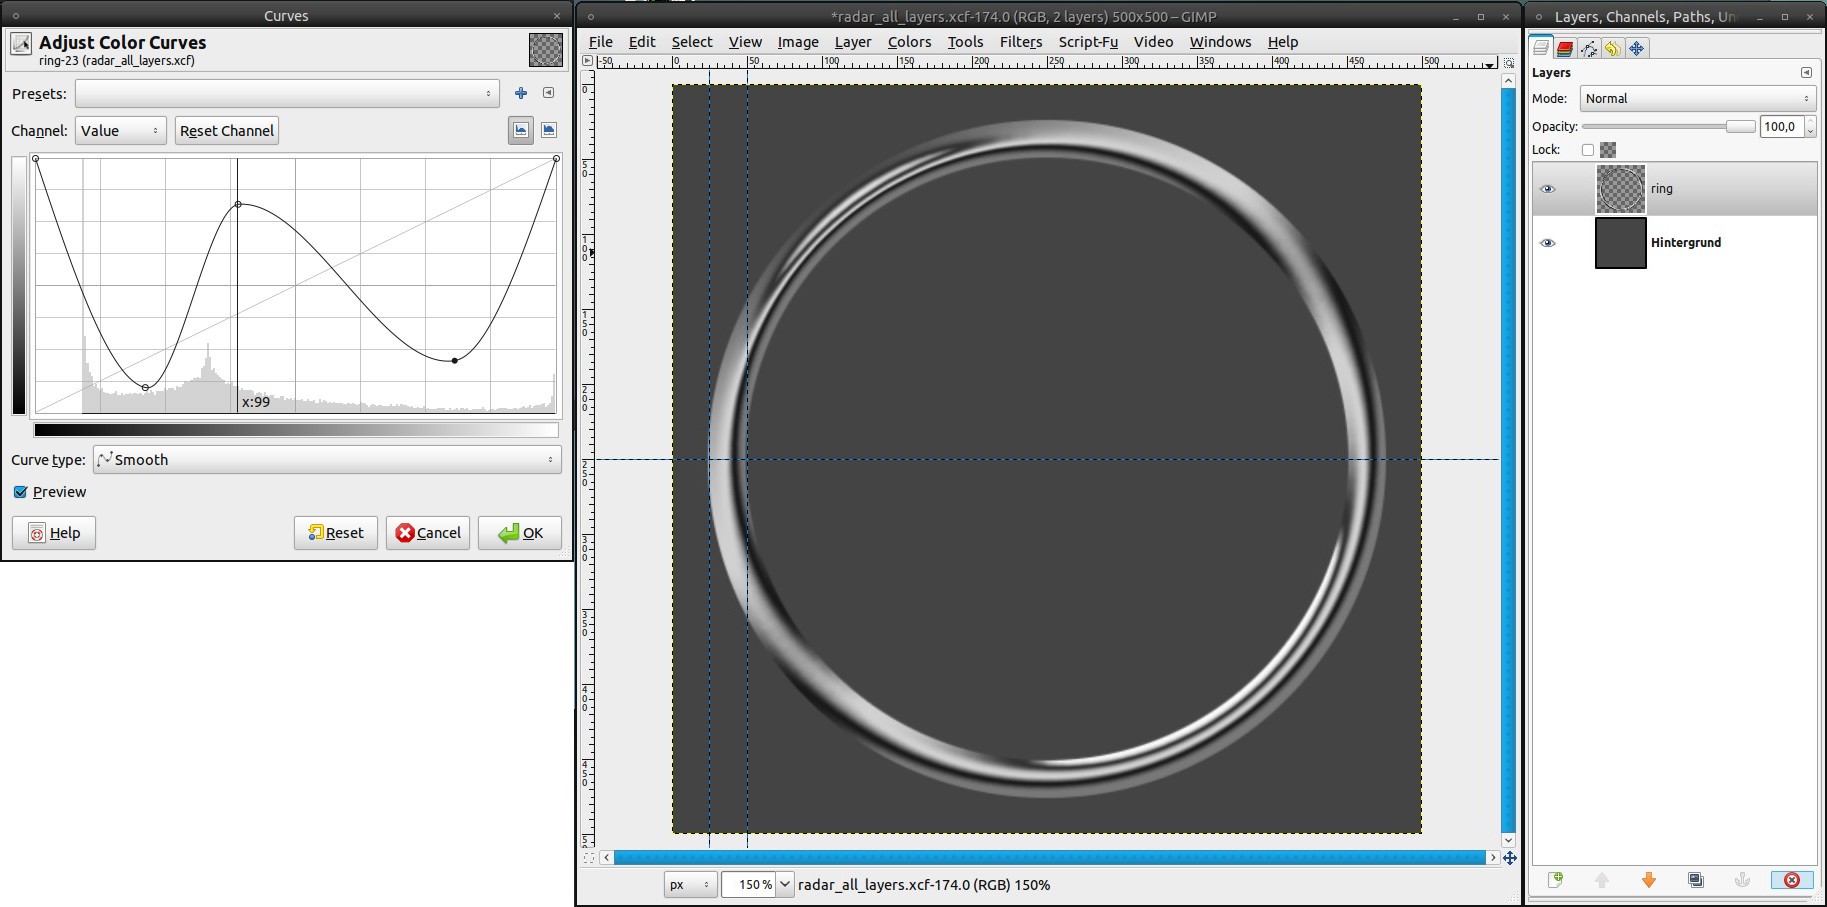
We will turn the ring-layer into chrome now. There’s a nice tutorial by Bernhard Stockmann, that shows how to do that. But since it’s only available on the German gimpusers yet, i’ll sum up the steps, which are most important for our use:
- select the ring-layer
- Alpha to selection
- new channel, tick “initialize from selection”
- Select / None
- ensure that you’ve selected the channel
- Filters / Blur / Gaussian Blur: 25px
- hide the channel, select the ring-layer
- Filters / Light and Shadow / Lighting Effects:Light:
- Type: Directional
- Direction:
- x: -1.60
- y: -1.60
- z: 1
Material:
- Glowing: 0.50
- Bright: 0.50
- Shiny: 1Bump Map:
- Bumpmap image: New Channel (the one you’ve just created)
- Maximum height: 0.03- lock the alpha channel of the ring-layer
- Filters / Blur / Gaussian Blur: 4px (2 times)
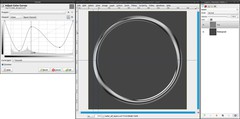
- take the curves tool and apply a crazy curve until it looks like chrome (look at the picture for my curve) -
6
The radar needs a black background:
- add a new layer, name it “radar-bg”
- move it under the ring-layer
- take the Ellipse Select Tool (still with the preferences from step 3) and drag a selection from the middle to the space between the guides
- fill the selection black
- Select / None -
7
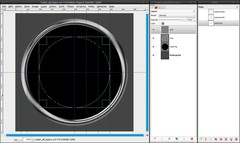
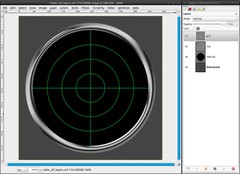
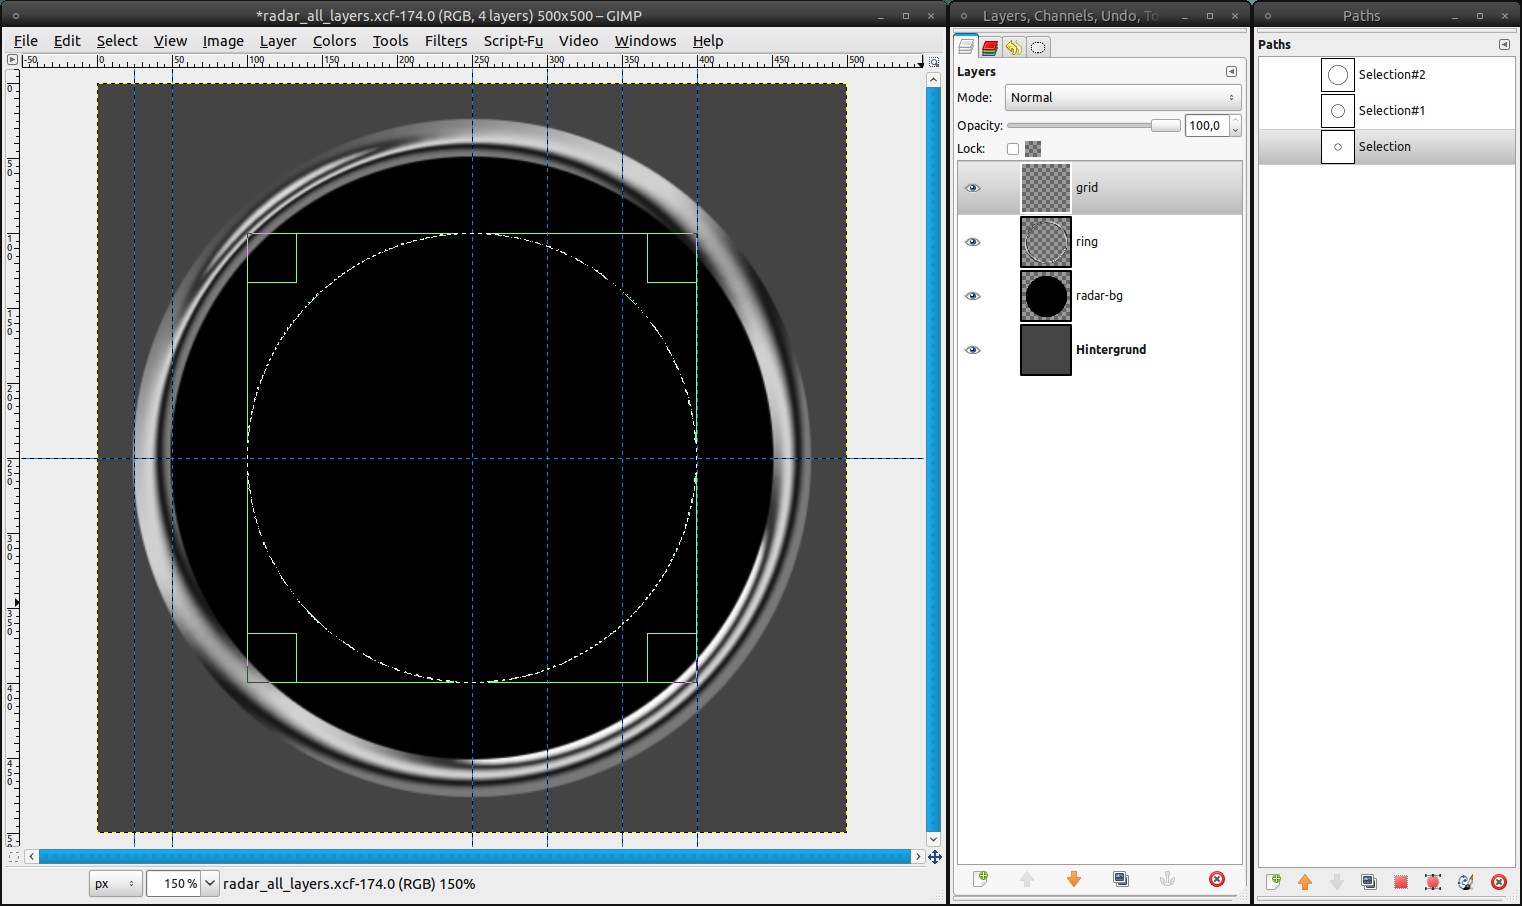
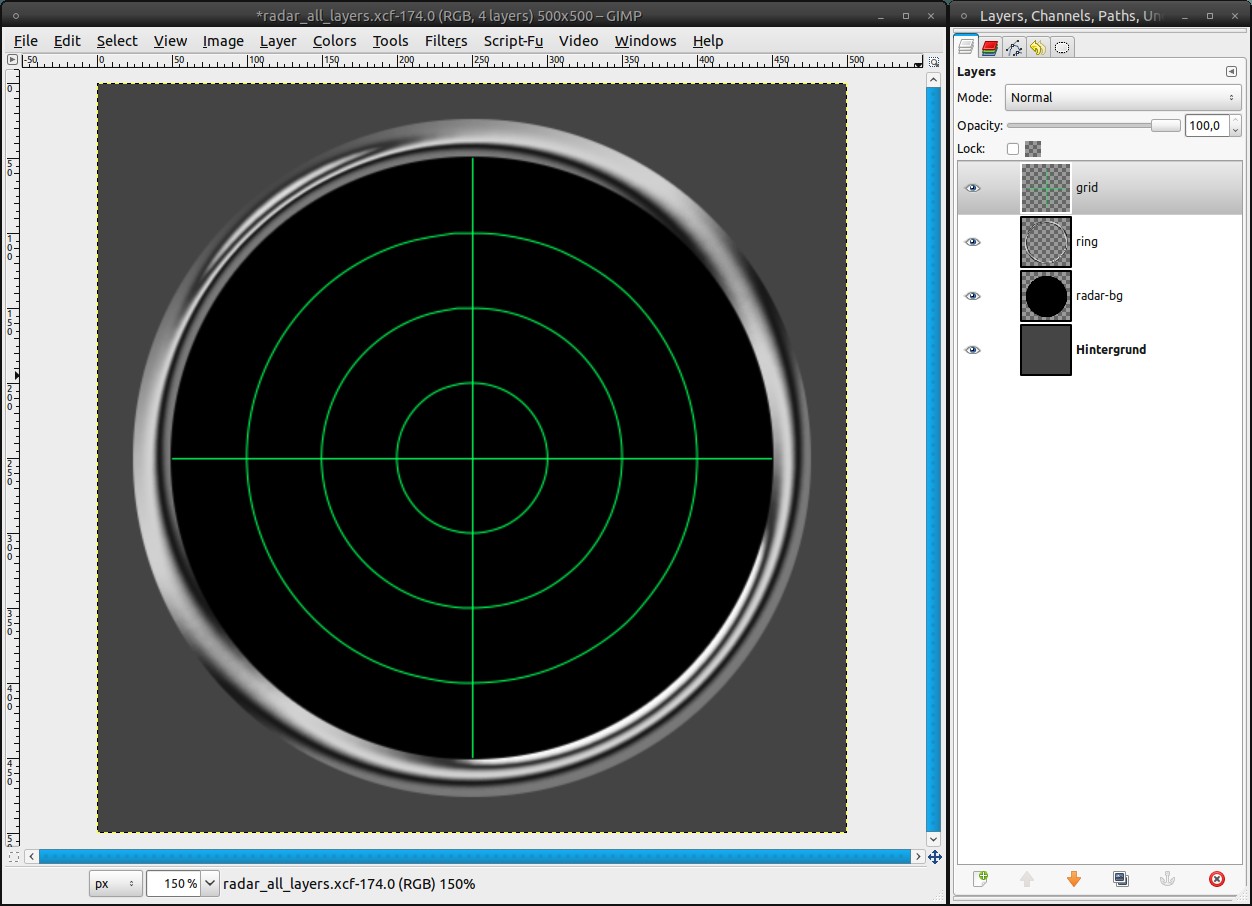
We will add a grid now, like you often see in real radars:
- add a new layer, named “grid”
- Image / Guides / new Guide (by percent): vertical – 60%, 70% and 80%
- drag an elliptic selection (again with the preferences from step 3; we’ll never use other preferences for this tool in this tutorial) from the middle to the 60%-guide
- Selection / To Path
- repeat that for the 70%- and the 80%-guide -
8
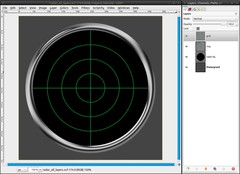
Deactivate the selection (Select / None or ctrl + shift + a). Ensure yourself that the grid-layer is active. Then switch to the paths dialog. You’ll see three paths, which were created out of the selections from step 7.
- set #00ff5a as new foreground color (or any other bright color you like)
- click onto the first path
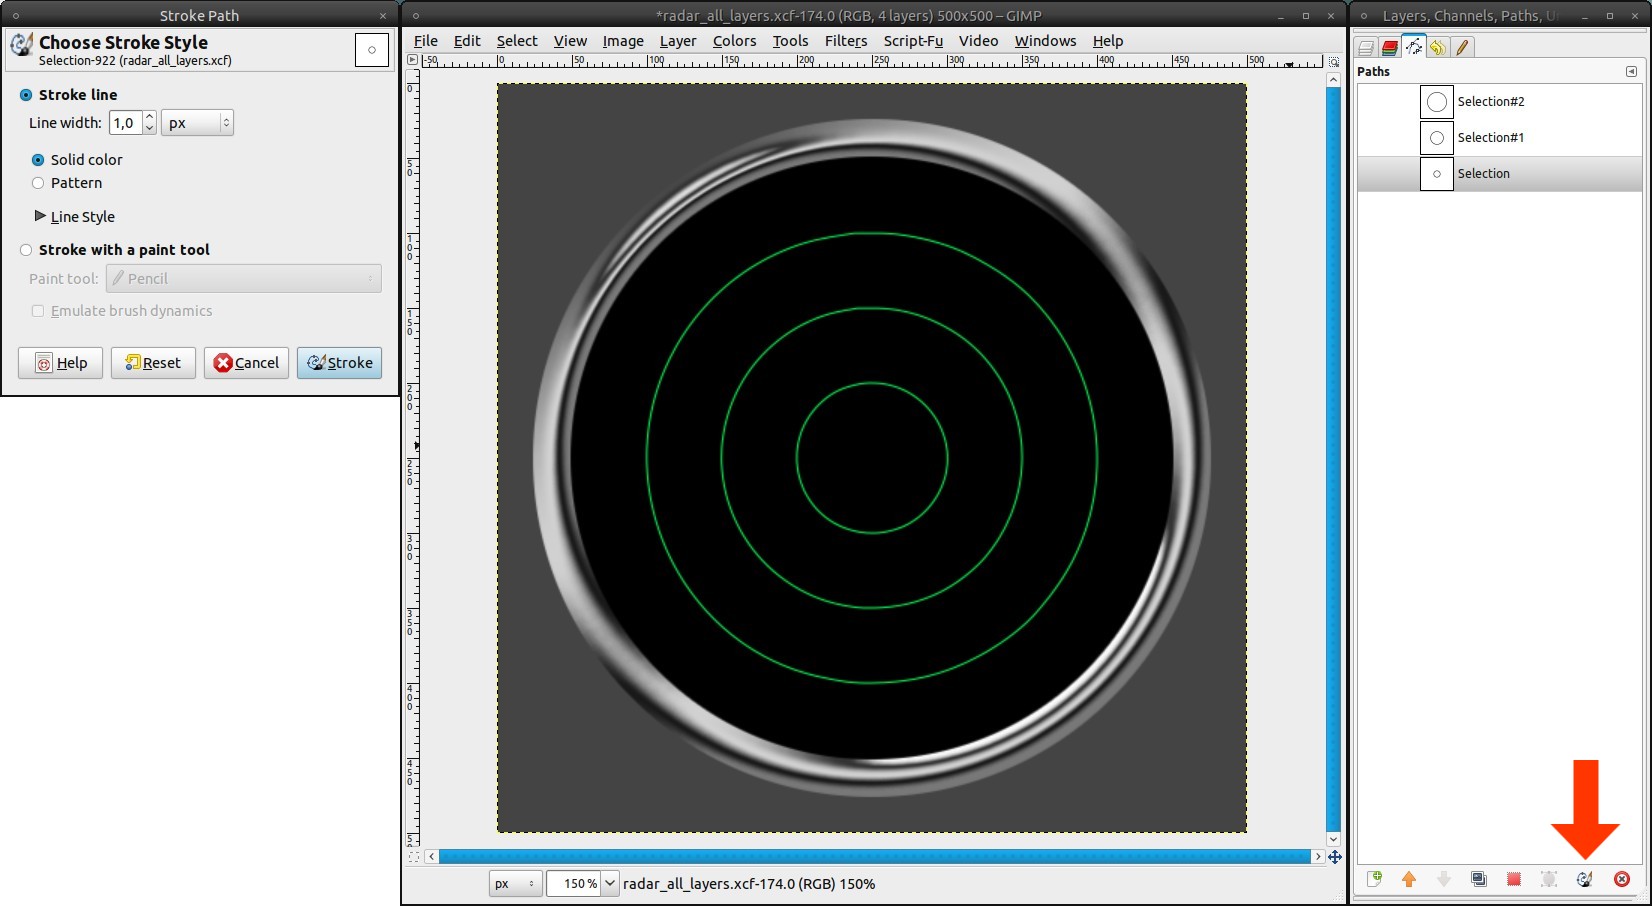
- Edit / Stroke Path (or click the button in the paths dialog): 1px
- repeat that for the other two paths -
9
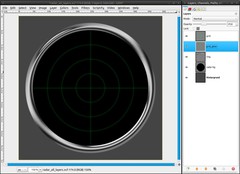
Take the Pencil Tool with a brush of 1px size and draw along the horizontal and the vertical center guide. The easiest way to do this is clicking onto the guide at the border. Then press (and hold) ctrl and shift to draw a straight line unto the opponent border.
If the guides annoy you, you can make them invisible with View / Show Guides or ctrl + shift + t. -
10
If the lines stand out over the ring-layer, you can cut those parts away with the selection, we saved in step 3. Switch to the channels dialog, where you’ll find a channel “Selection Mask copy”. Activate that channel and click the button “Replace the selection with this channel”. The selection is active again. Select / Invert (or ctrl + i). Switch to the layers dialog again and activate the grid-layer. Then delete the parts, which are standing out by pressing del. Select / None
-
11
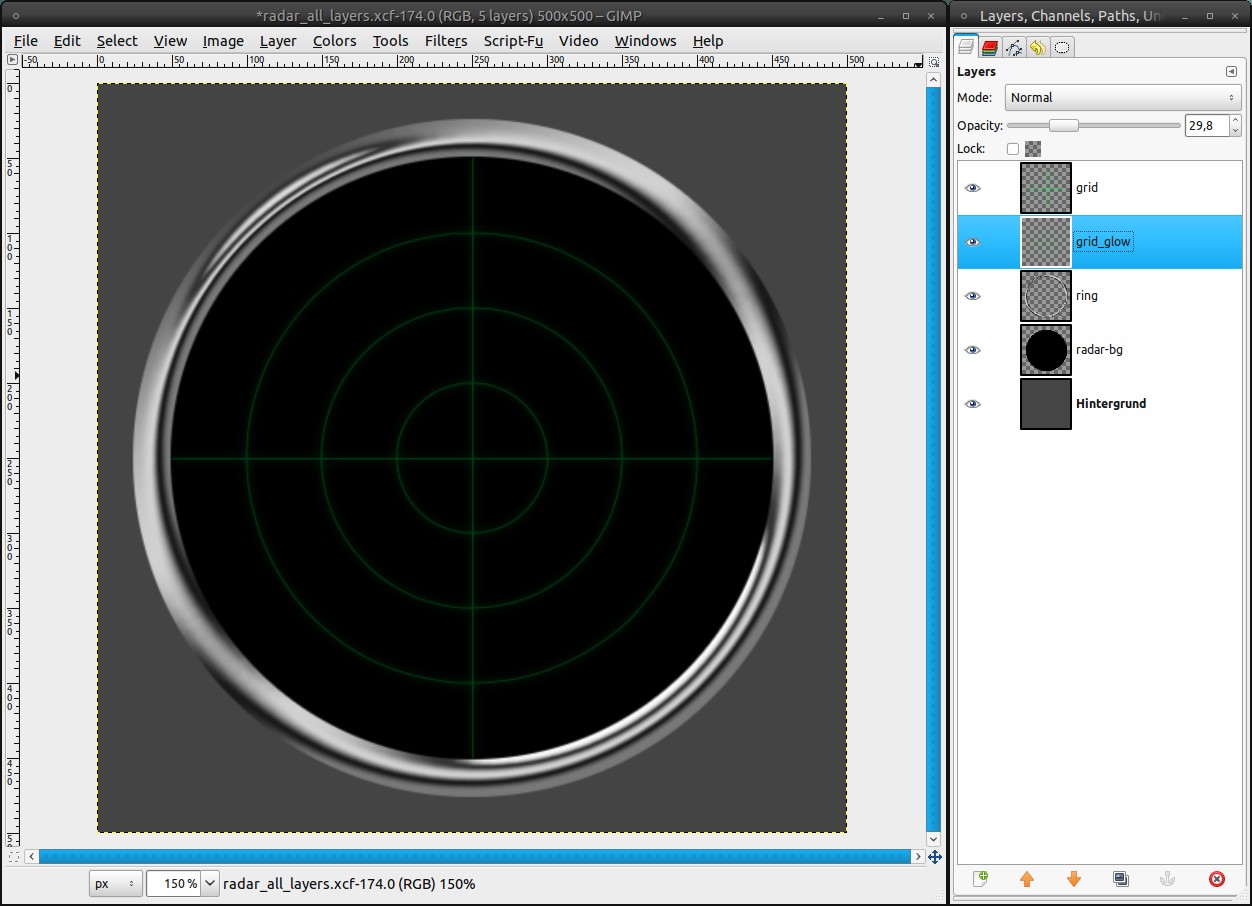
It doesn’t look really good yet. It’s too bright and it needs some glow effect.
- duplicate the grid-layer and name its copy “grid_glow”
- Filters / Blur / Gaussian Blur: 10px
- reduce the opacity:
– grid-layer: 20%
– grid_glow-layer: 30% -
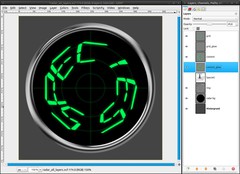
12
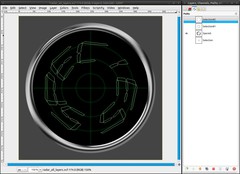
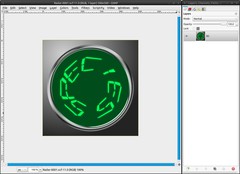
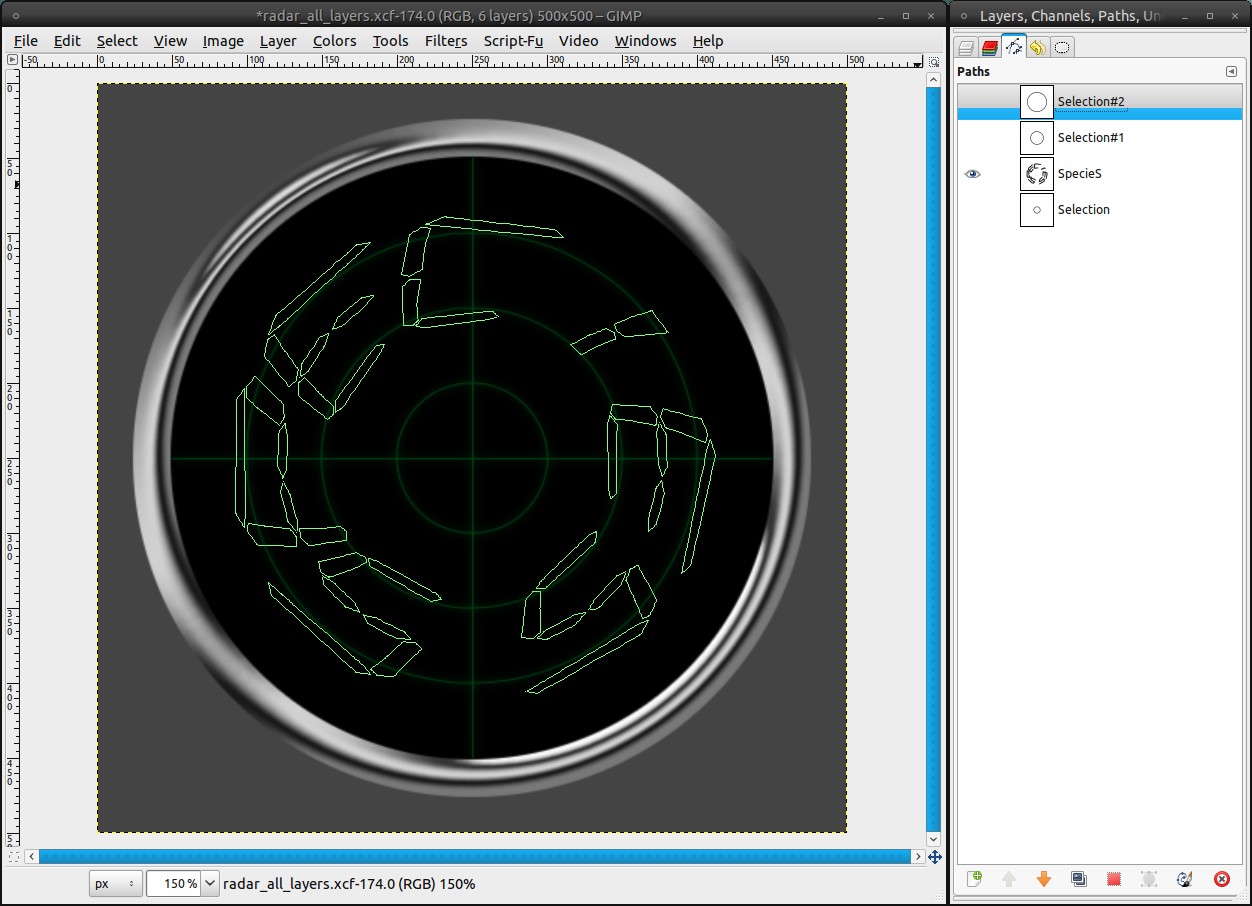
It’s time for some content, which is displayed by the radar. In general you can insert anything you want, as long as it consists only of the radar’s color (here #00ff5a). But I advise not to use too massive images. That’s why I’ll use a curved word.
Drag a selection with the Ellipse Selection Tool from the middle to the space between the 60%- and the 70%-guide. Select / To Path. Select / None. Now use the text tool to write a word, name or whatever you want. The font size should be something near to 100px. Then click “Text along Path” in the “layer” menu. The text will appear now as path bent along the path we made out of the selection. If you don’t like the result, undo the last steps and vary the font size, the letter spacing or if that doesn’t help, vary the the path the text is bent along.
Usually the text isn’t rotated the right way. Use the Rotate Tool to rotate the path to a position you like. You need to choose “paths” in the tool option dialog to do this.At the moment the text path is visible. That could be distorting later. Click onto the eye symbol in the paths dialog to make it invisible. Also the text-layer shouldn’t be visible. Make it invisible, too.
-
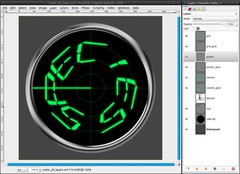
13
As soon as you’re satisfied switch to the paths dialog, choose the text path and click “Path to selection”.
- make a new layer “content” under the grid-layers
- set #00ff5a as FG color
- Edit / Fill with FG color (ctrl+,)
- Select / None (ctrl+shift+a)
- duplicate the content-layer and rename it as “content_glow”
- Filters / Blur / Gaussian Blur: 15px
- reduce the opacity of the content_glow-layer to 50% -
14
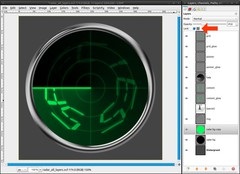
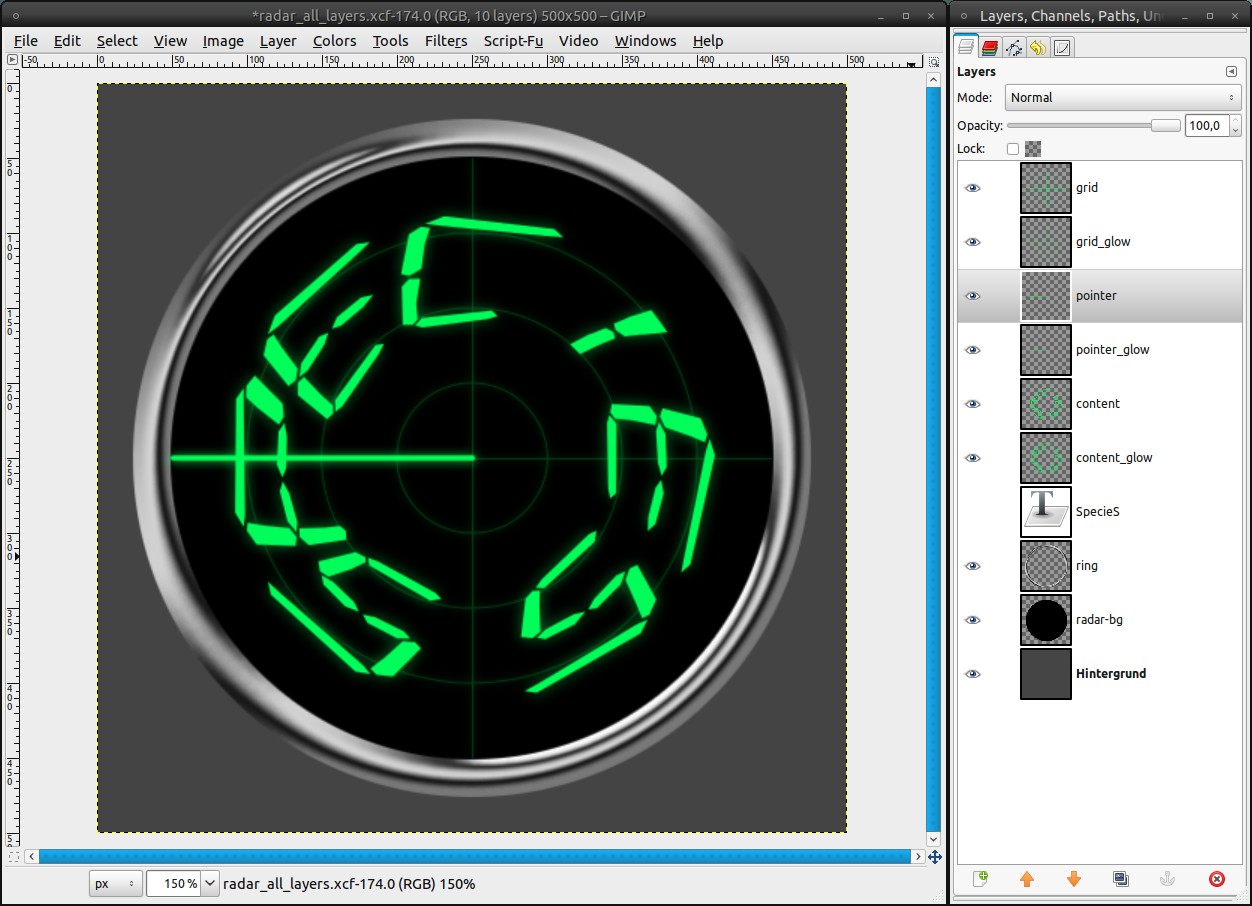
The most important part of the radar is still missing: the “pointer”, that refreshes the screen.
- create a new layer between the grid-layers and the content-layer, name it “pointer”
- Take the Paintbrush Tool with a brush of 3px size and draw a straight line from the center to the left side of the ring. The guides will help you to draw exactly horizontal.
Of course the pointer gets a glow, too:
- duplicate the pointer-layer, name it “pointer_glow”
- Filters / Blur / Gaussian Blur: 10px -
15
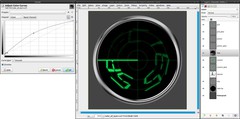
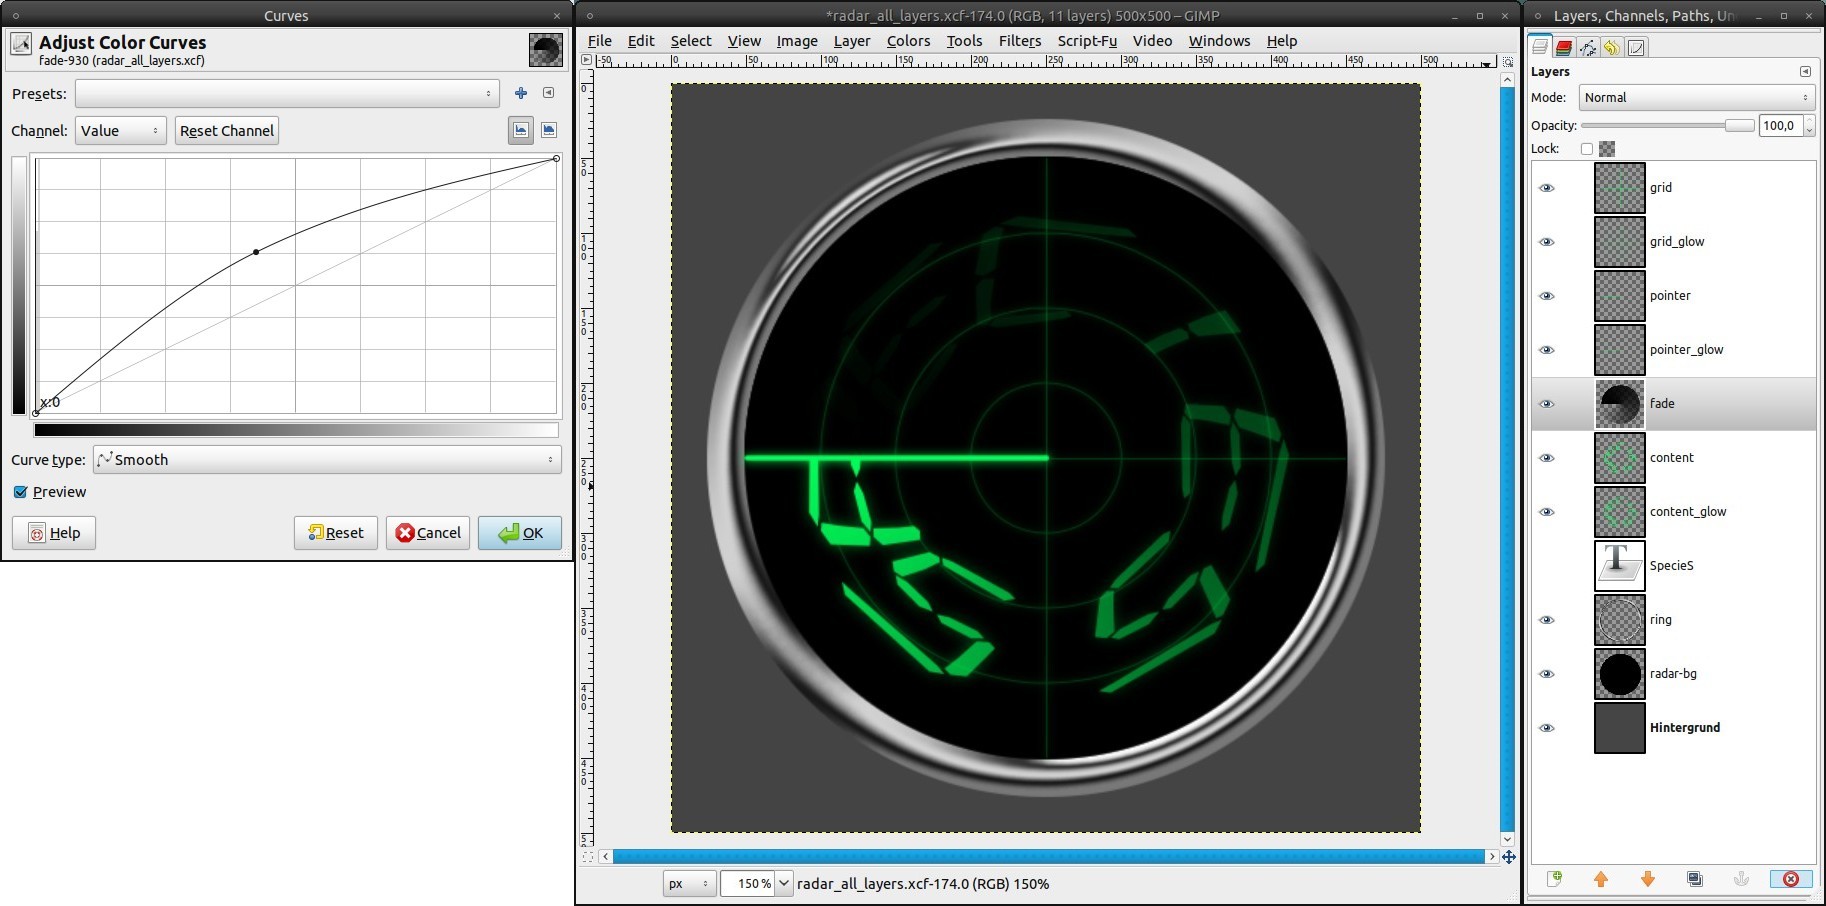
Behind the pointer the screen fades out slowly in a real radar. We will simulate that, too:
- add a new layer “fade” under the pointer-layer.
- set black as new FG color (fastest way to do this is pressing d)
- grab the Blend Tool:
Gradient: FG to Transparent, tick the box to reverse it
Shape: Conical (asym)
- drag the gradient from the center along the pointer to the left border
- reactivate the selection from step 3 (from the channel)
- Select / Invert (ctrl+i)
- press del. to cut away the parts outside of the screen
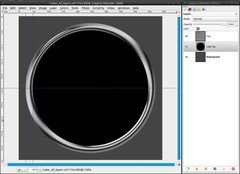
- Colors / Curves: apply a curve as seen in the picture -
16
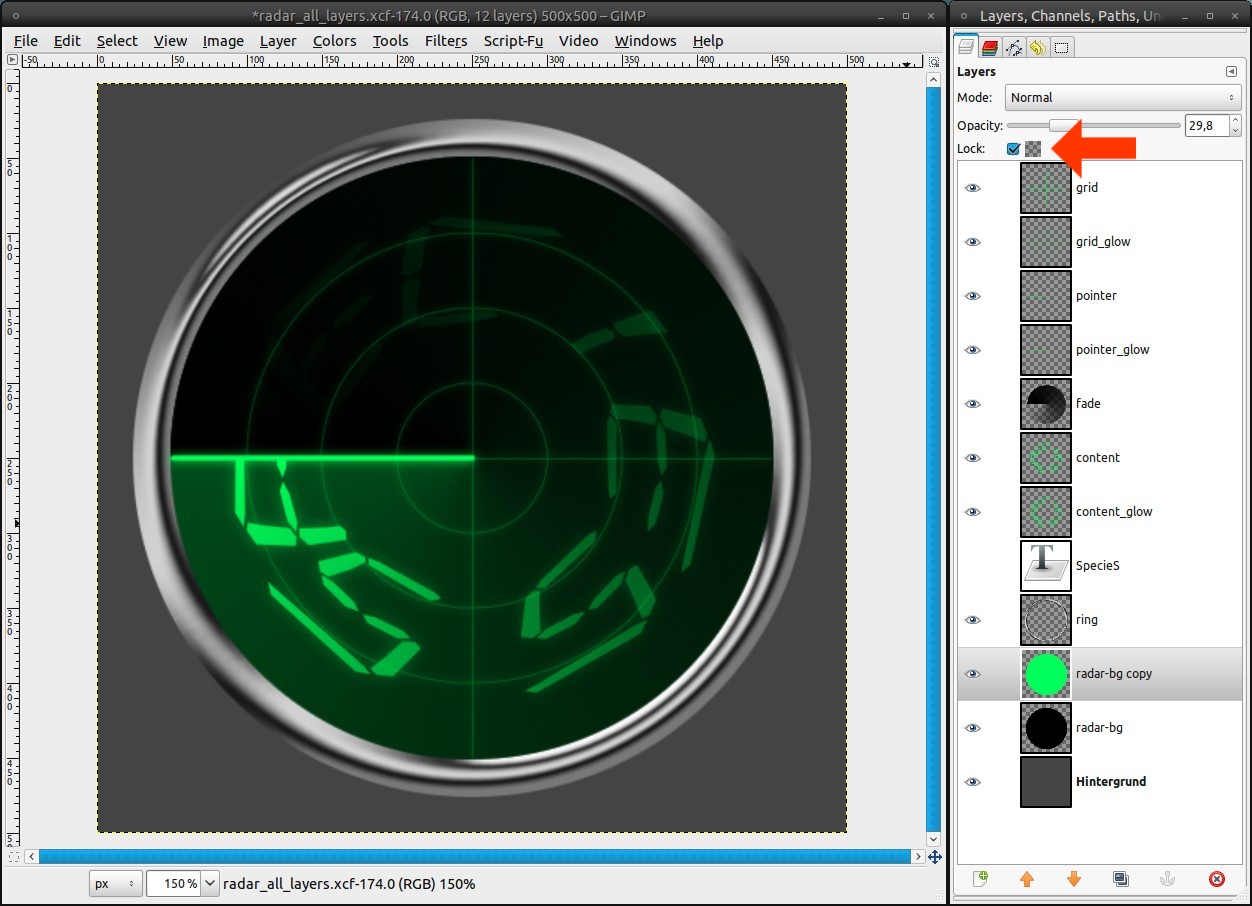
We will add a green glow to the background, that fades out, too.
- duplicate the radar-bg-layer
- lock the alpha-channel (tick the box in the layers dialog)
- choose #00ff5a as FG color
- Edit / Fill with FG color (ctrl+,)
- decrease the opacity to 30%
There’s no need to add a gradient for the fading, the layer from step 15 does that. -
17
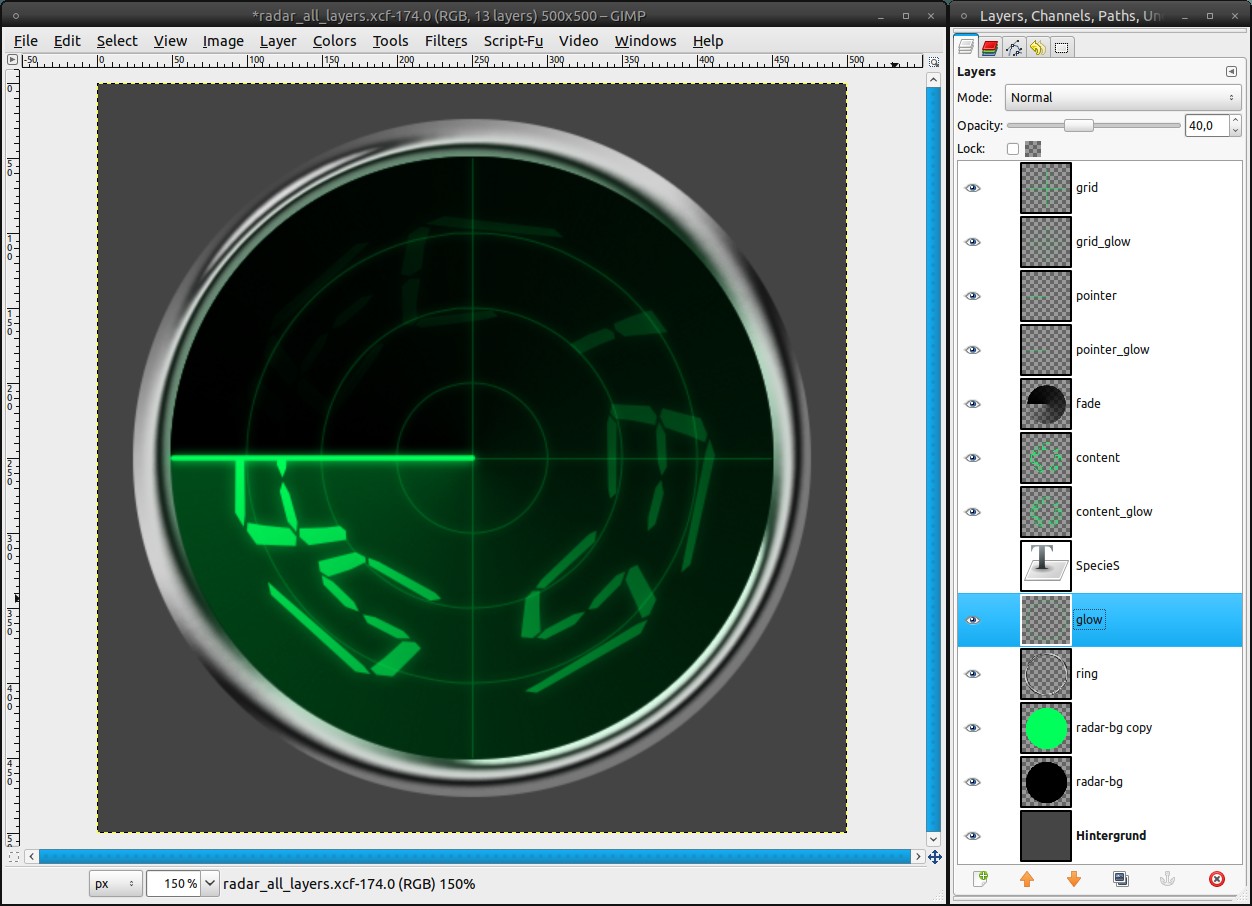
The glow of the screen must be visible on the ring, too:
- new layer “glow”, place it above the ring-layer
- reactivate the selection from step 3
- fill the selection with #00ff5a
- Select / None (ctrl+shift+a)
- Filters / Blur / Gaussian Blur: 25px
- reactivate selection from step 3 again and press delete
- deactivate the selection (ctrl+shift+a)
- decrease the opacity to 40% -
18
The part behind the pointer is brighter than the rest of the screen, that means the glow effect on the ring must be brighter, too:
- duplicate the glow-layer and place it under the pointer-layer
- rename it as “animated_glow”
- Layer / Mask / Add Layer Mask, make sure that the mask is active
- press d to set black and white as FG and BG color
- Blend Tool:
Gradient: FG to BG, tick the box to reverse it
Shape: Conical (asym)
- drag the gradient like in step 15 (center to left border)
- Filters / Blur / Gaussian Blur: 25px
- decrease the opacity of the layer to 75% -
19
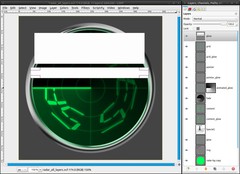
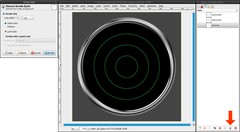
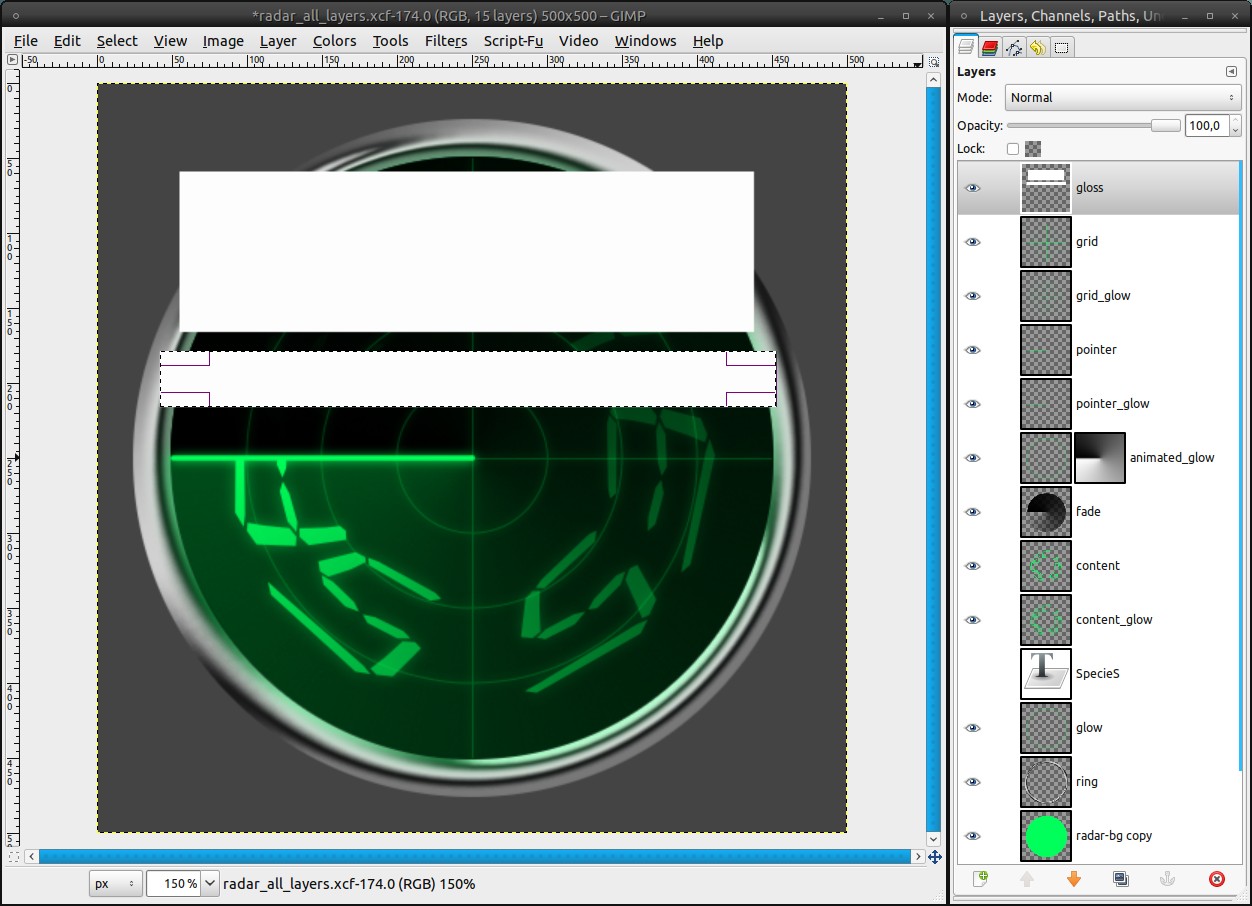
As a final polish we will add a gloss effect:
- new layer on top: gloss
- Make a rectangular selection in the upper part of the screen and fill it white (ctrl+. to fill with BG color)
- repeat that with a thinner selection a bit under the first one
At best you look at the screenshot to see what I mean: -
20

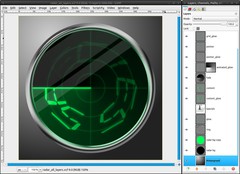
Rotate the gloss-layer like in the screenshot, then reactivate the selection from the channel and invert it with Selection / Invert (ctrl+i). Press delete to cut away the overlapping parts. Finally reduce the opacity to 15%.
-
21
Optional you can create a radial gradient from light grey to dark grey on the Background-layer.
Congratulations if you made it so far. You are now finished with the design of the radar. Animating follows in the next steps.
-
22

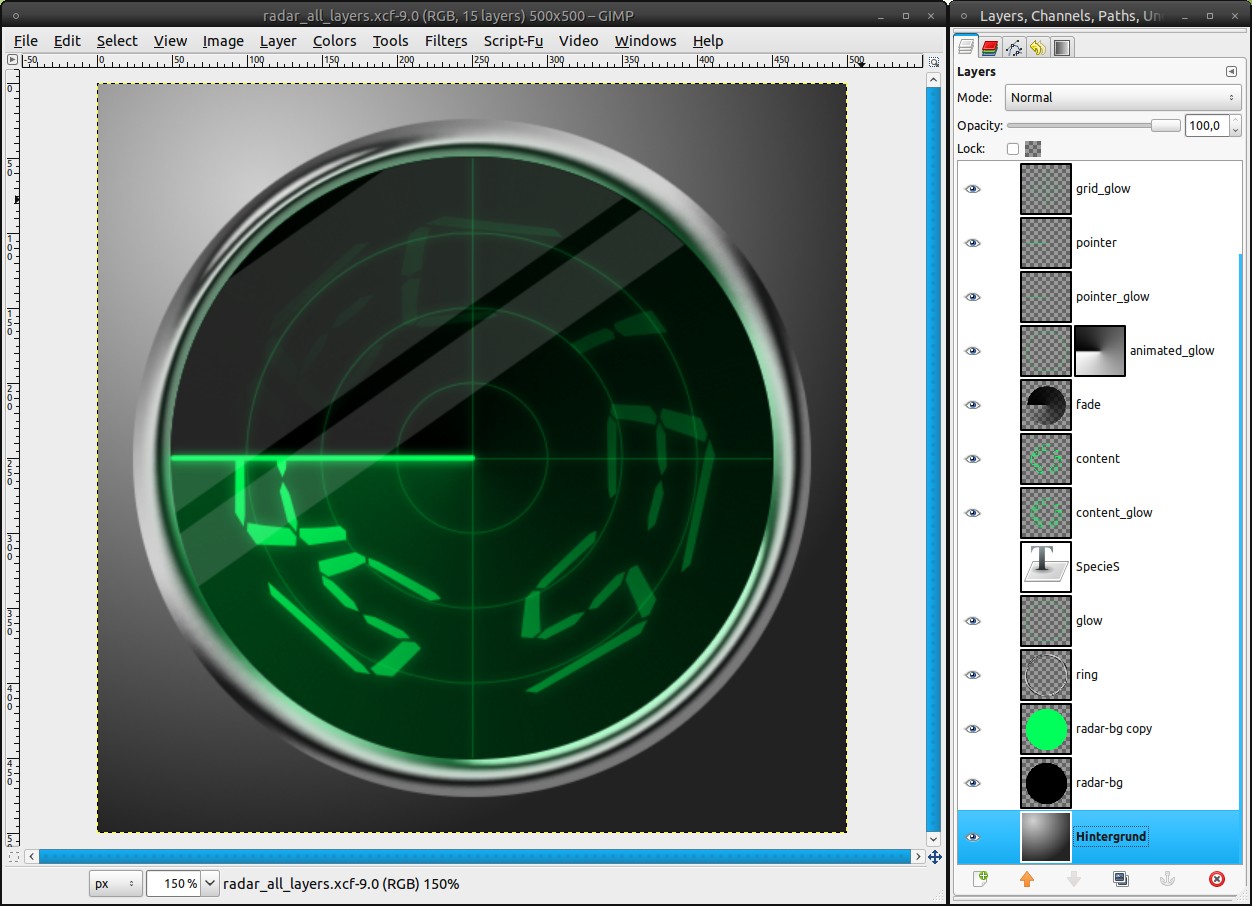
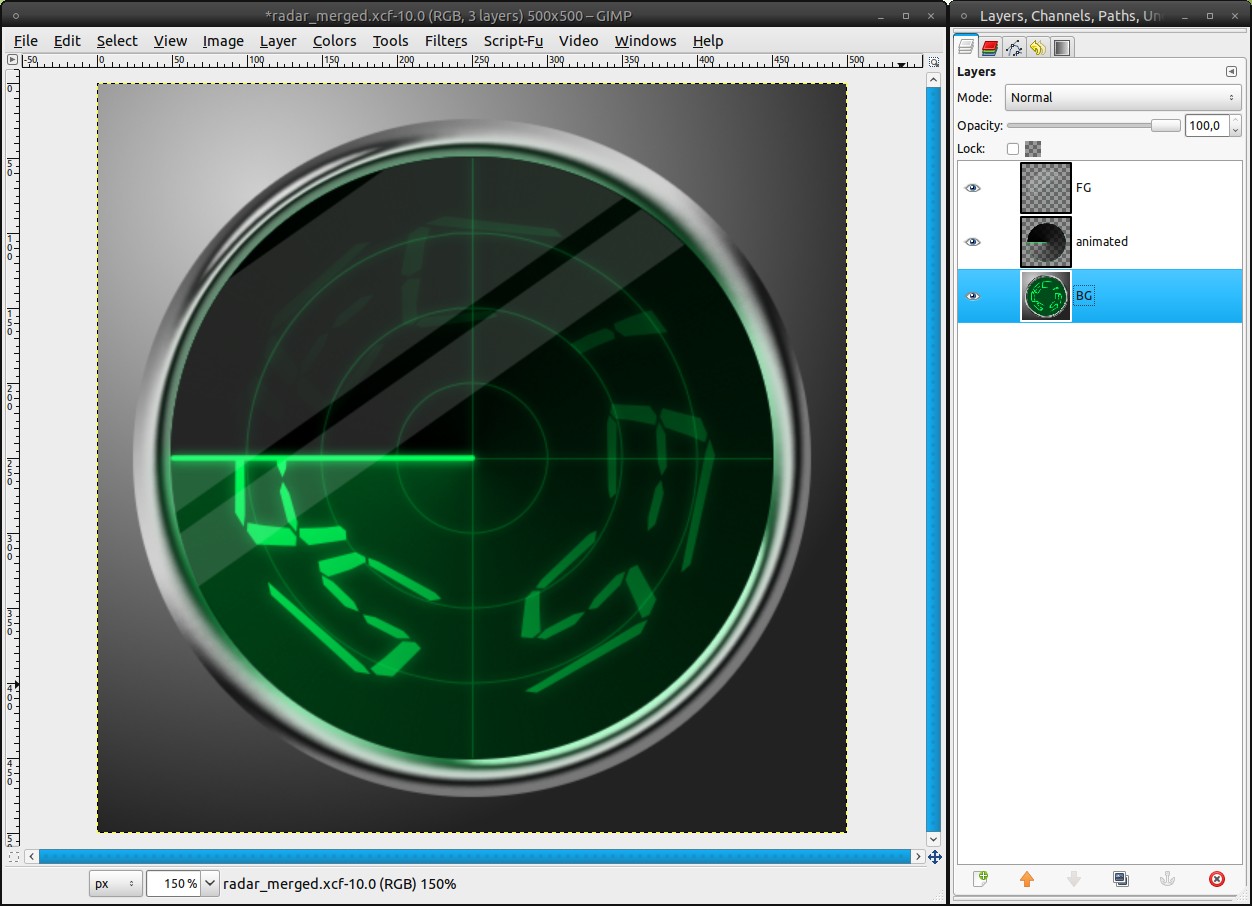
First we need to make some preparations. Save the radar as .xcf at best with the name “radar_all_layers”. Save it a second time as “radar_merged”. Leave the first file as it is. If you want to change something in your radar some time, you can use this file to do that. We will go on with the second one. Merge following layers to:
1. FG:
-gloss
-grid
-grid_glow2. animated:
-pointer
-pointer_glow
-animated_glow
-fade3. BG:
-content
-content_glow
-glow
-ring
-radar-bg-copy
-radar-bg
-BackgroundThe invisible text-layer is deleted
-
23
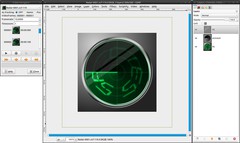
Drag the BG-layer into the Toolbox. That will open it as a new image. Save it in a new directory as “Radar-0001.xcf”. Do not close the “radar_merged” file.
-
24
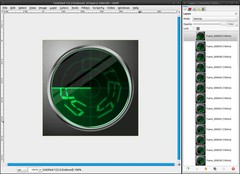
Finally GAP comes into play: Video / Duplicate Frames: 50 times. If you look now into the directory, you’ll see 51 .xcf files (the first + 50 duplicates). Every single file represents one frame.
-
25
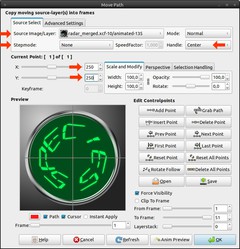
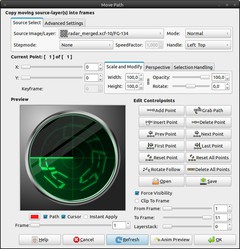
This step is the most important for the animation: Video / Move Path:
Source Image/Layer: radar_merged; animated
Stepmode: None
Handle: Center
X: 250
Y: 250Keep the dialog open for the next step!
-
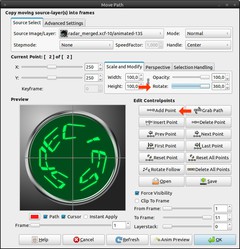
26
Click on “Add Point” and move the “Rotate” slider to the right end (360). Now click OK. This may take some short time until the layer is added appropriate rotated to every frame.
-
27
We can add the FG-layer very simple with the Move Path filter. Video / Move Path:
Source Image/Layer: radar_merged; FG
Stepmode: None
Handle: Left Top
X: 0
Y: 0
Click OK. The layer is inserted in every frame on top. (A second point isn’t required here, because nothing is moved.) -
28
Delete the last Frame by simply deleting the file (Radar-0051.xcf). That frame equals frame 1 and would make the animation run not smooth.
Video / VCR Navigator. Adjust the Framerate to 10. Here you can already preview the animation by clicking the playback button. In the new dialog, that opens, you can tweak the framerate and try out this way what you like most. Just close the VCR Navigator afterwards.
-
29

Video / Frames to Image (just leave the defaults) packs all frames into one image. Save it as “radar_all_frames.xcf”
-
30
For the gif format we have to adjust the mode to indexed. Image / Mode / Indexed. The defaults are fine (255 colors). Unfortunately there is no better file format for animations than gif so far, so we must put up with the loss of quality, when we want animations.
Important: Do not save the file in the indexed mode again, otherwise you’ll have a quality loss in your xcf file, too.
-
31

We will optimize it to save a bit of file size: Filters / Animation / Optimize (for GIF). Now save it as Radar.gif.
-
32
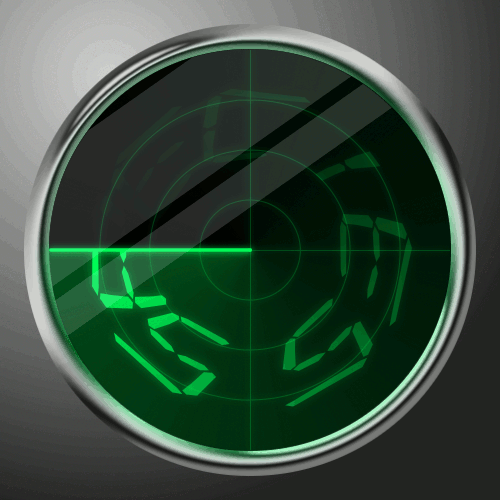
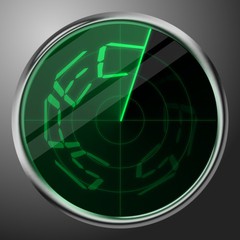 Radar.gif
Congratulations! You made it, your animated radar is completely finished now! I hope you kept up. It was much work, but hey!, look at what you’ve created. Doesn’t it look really good? :)
You can watch my animation in your browser by viewing the download link in this step!


Comments
Post your own comments, questions or hints here. The author and other users will see your posting and can reply to it.
Of course, you can also ask in the chat.
Subscription management
Please log in to manage your subscriptions.
User rating
This topic (Create an animated radar with GAP) has been rated 2.0/5.0.
New comments are disabled because of spam.