


Tutorial: Create a shield symbol
 is licensed under a Create Commons Attribution-Non Commercial 3.0 Unported license.")

Motivation
In this user tutorial our user myke shows you how you can create a shield symbol/icon for (e.g.) all kinds of security issues.
Tutorial details
- Category: Buttons, icons, web
- Time to reproduce: ≈10.0 minutes

- Tested with GIMP 2.3.19
-
1
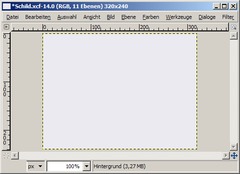
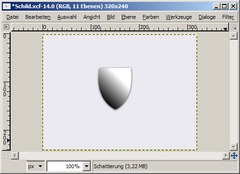
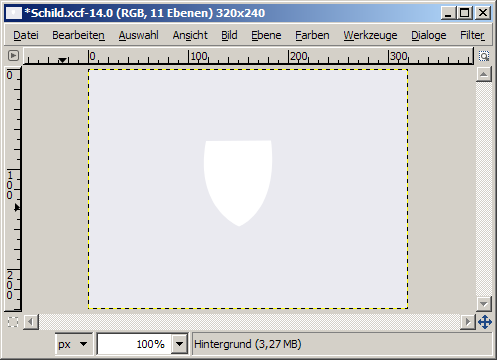
Create a new picture in a size of 320×240 und fill it with a light grey (e.g. #eaeaf0).
-
2
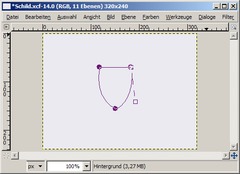
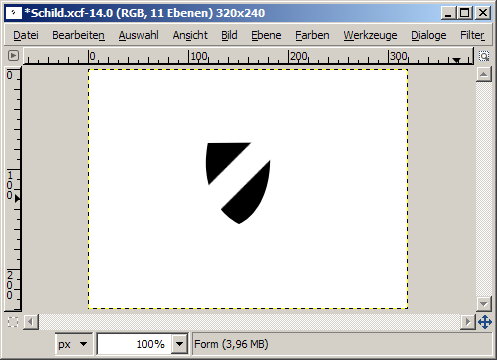
Choose the paths tool and create three points like in the picture. Take the two points on the top and drag them while pressing the Ctrl key into the right positions.
-
3
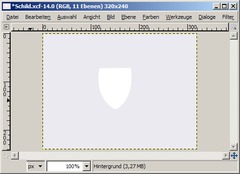
Choose the selection from the path and create a new layer. Then fill the selection with white and rename the layer to “Basic form”.
-
4

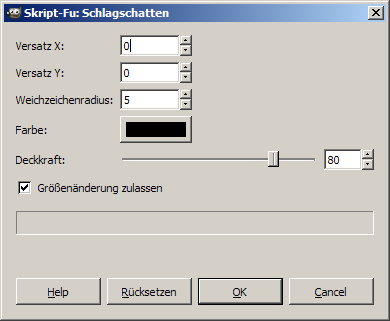
Now add a shadow in Filter → Light and Shadow → Drop Shadow. Choose these settings:
0, 0, 5, black, 80
-
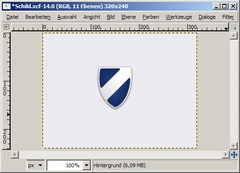
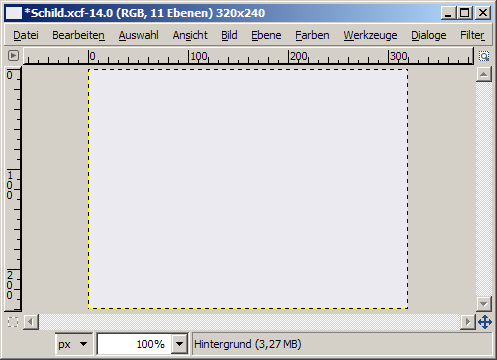
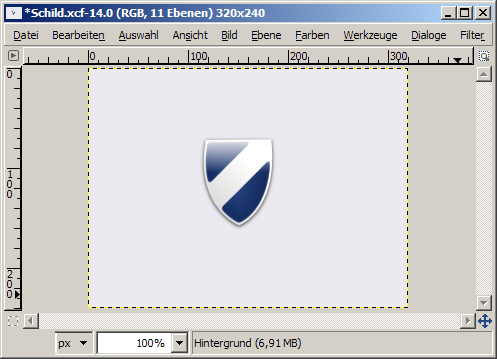
5
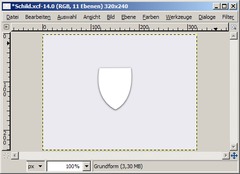
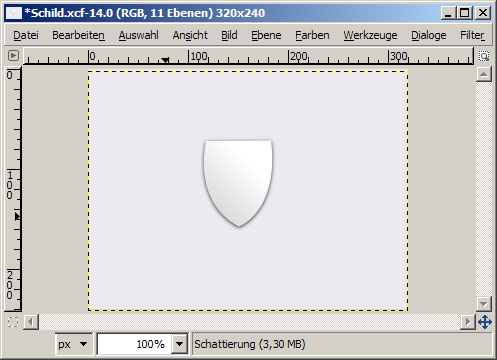
The picture will look like this:
-
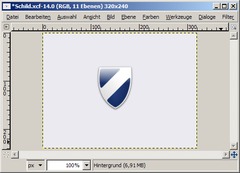
6
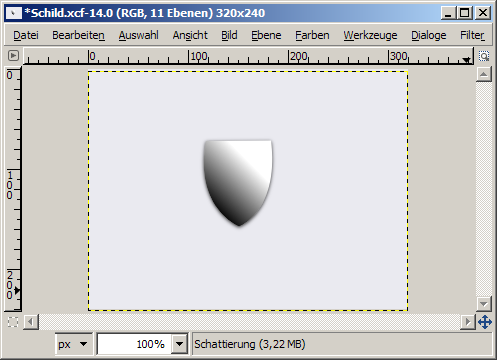
Let’s make the image more like 3D. Add a new layer named “Shadow” and add a black layer mask. Then choose the “Basic form” layer, get the selection of the alpha channel (to do that right click the layer in the layers dialogue and choose “Alpha to Selection” or “Selection from Alpha”) and fill the selection in the mask with white (click the black layer mask in the layers dialogue to work on it – then use set white as foreground color and choose from the main menu: “Edit” → “Fill FG color”;).
Deactivate the selection (Select / None) and click the shadow layer in the layers dialogue. Now set black as your foreground color and set the “Mode” option of the blend/gradient tool to “GC color to transparency”. Now drag the gradient like in the picture.
-
7

Set the opacity of the layer between 30% and 10%. I have chosen 15%.
-
8
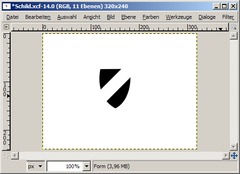
Creating the shape of the shield: Add a new layer named “Form” and fill it white. Select again the alpha channel of the “Basic form” layer and shrink the selection by 2 pixels. Fill the selection with black, unselect it and draw a white line through the form. For straight lines hold the Shift key.
-
9
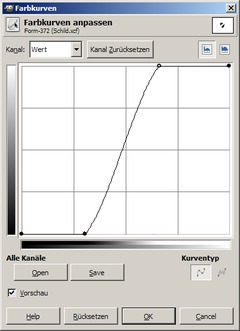
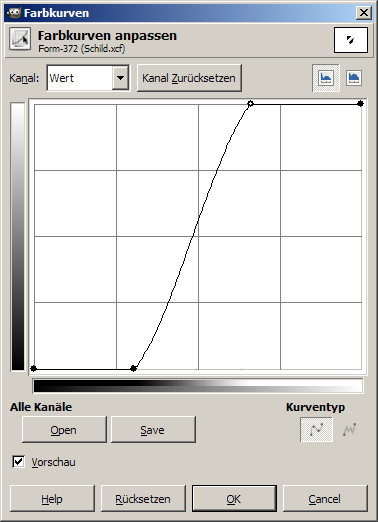
Make the border softer: Use the Gaußian blur and radius 5 and choose the Curves tool (Colors → Curves). Adjust the curve as to see in the screenshot and press OK. Remove the white color by clicking Colors → Color to Transparency → White. Hide the layer.
-
10
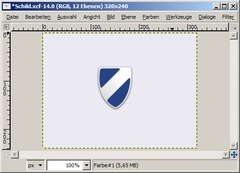
Copy the layer, show it and rename to “Color”. Lock the alpha channel and fill with an appropriate color (e.g. #274383). The lock icon can be found atop all layers in the layers dialog (next to the transparency).
-
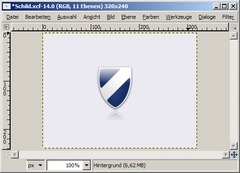
11
Create a new layer, name it “Shadow Color”, select the alpha channel of the “Basic form” layer and shrink the selection by 2 pixels. Choose a darker color as the previous one (e.g. #13295a), set the blend shape to “Shaped (angular)” and activate “reverse”. Create a new blend by dragging. Add a black layer mask, choose the alpha channel of the form layer and fill it with white.
-
12
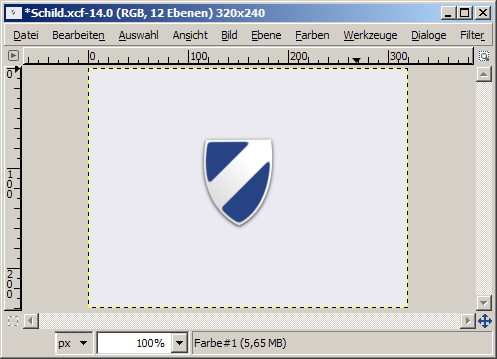
Duplicate the layer “Shadow”, delete the content, move it to the top of the layer list in the layers dialog and set the opacity to 100%. Drag a linear blend (White to Transparency) like shown in the image and move the layer to the top of the layer list.
-
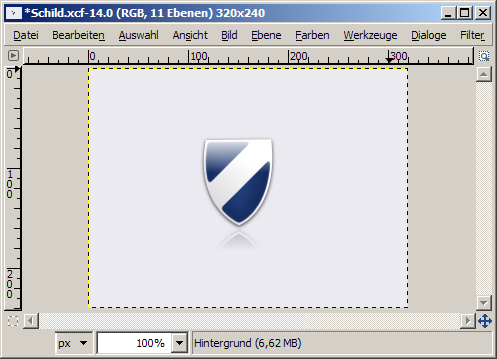
13
Create a mirror effect by hiding the background layer and clicking Edit → Copy Visible. Edit → Paste => new layer (click the new layer button in the layers dialog to get this on a new layer). Flip the layer vertically and move it downwards. Add a layer mask and drag a blend (White to Black) from top to down. Name the layer “Mirror” and set the opacity to 30%. Show the background layer.
-
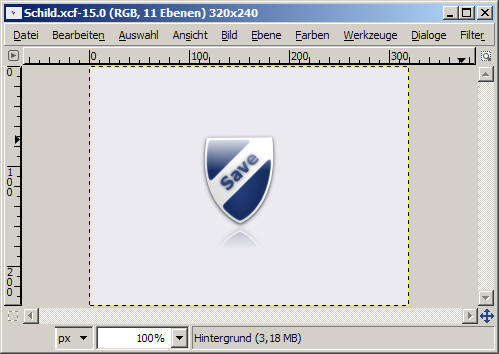
14
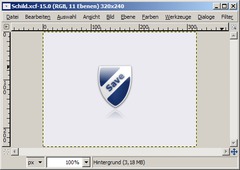
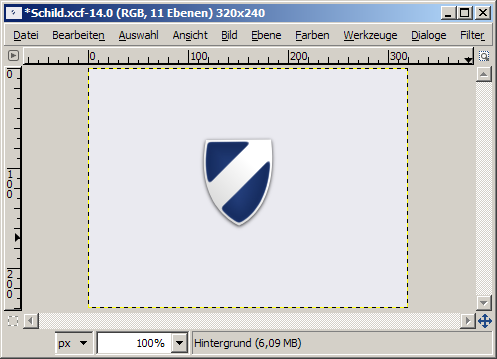
Add a short text in the light color and rotate it by -45°. Move the layer in the middle of the shield and add a shadow (radius 5). You’re done.
-
15
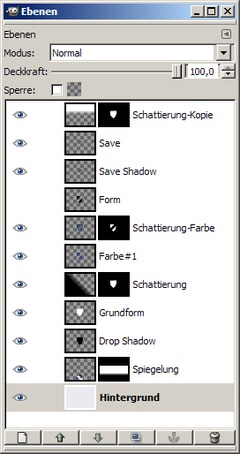
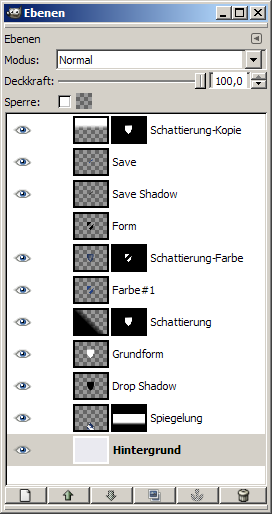
The layers dialog list:
In the picture some layer names are German:
“Spiegelung” is our “Mirror”-layer
“Grundform” is our “Basic form”-layer
“Schattierung-Farbe” is our “Shadow Color”-layer. -
16
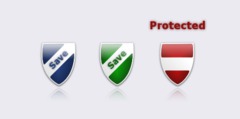
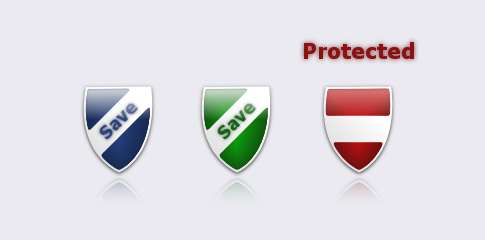
Some variations I made:
-
17
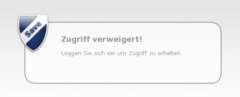
And another possible use:


Comments
Post your own comments, questions or hints here. The author and other users will see your posting and can reply to it.
Of course, you can also ask in the chat.
Subscription management
Please log in to manage your subscriptions.
User rating
This topic (Create a shield symbol) has been rated 3.8/5.0.
New comments are disabled because of spam.