


Tutorial: Create sweet candy text!
 is licensed under a Create Commons Attribution-Non Commercial 3.0 Unported license.")

Download GIMP workspace (.xcfbz2) (625 KB)
Motivation
The goal of this tutorial is to create realistic letters in a candy-style way. Everyone knows these sweets / candypop with their typical stripes. Maybe useful just now in the christmastime or for a children party. So, let`s go!
Tutorial details
- Category: Text effects
- Time to reproduce: ≈30.0 minutes

- Tested with GIMP 2.6
-
1
 candy.svg
Use a round and smooth font like this. The example in this tutorial was an rendered SVG made with Inkscape. You can rightclick the attachment to this step, svae and import it into GIMP.
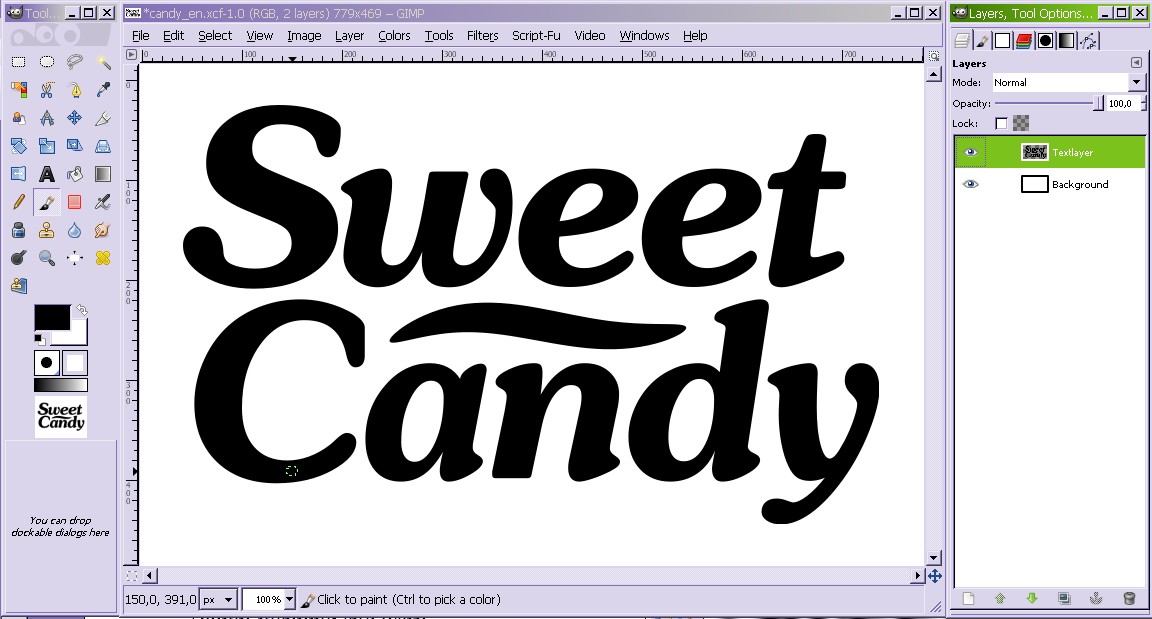
Lets go!
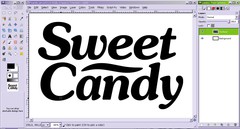
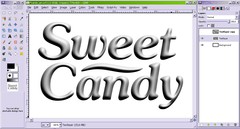
Create a white background layer and an other one for your text. Write your text or import a simple graphic.
-
2
Copy the textlayer and remove the Alpha Channel (To do that rightclick the layer in the layers dialogue and choose “Remove Alpha Channel”.
Background color should be set to white. We will make use of this layer later on when coming to the Bump-Map and Distorts.
-
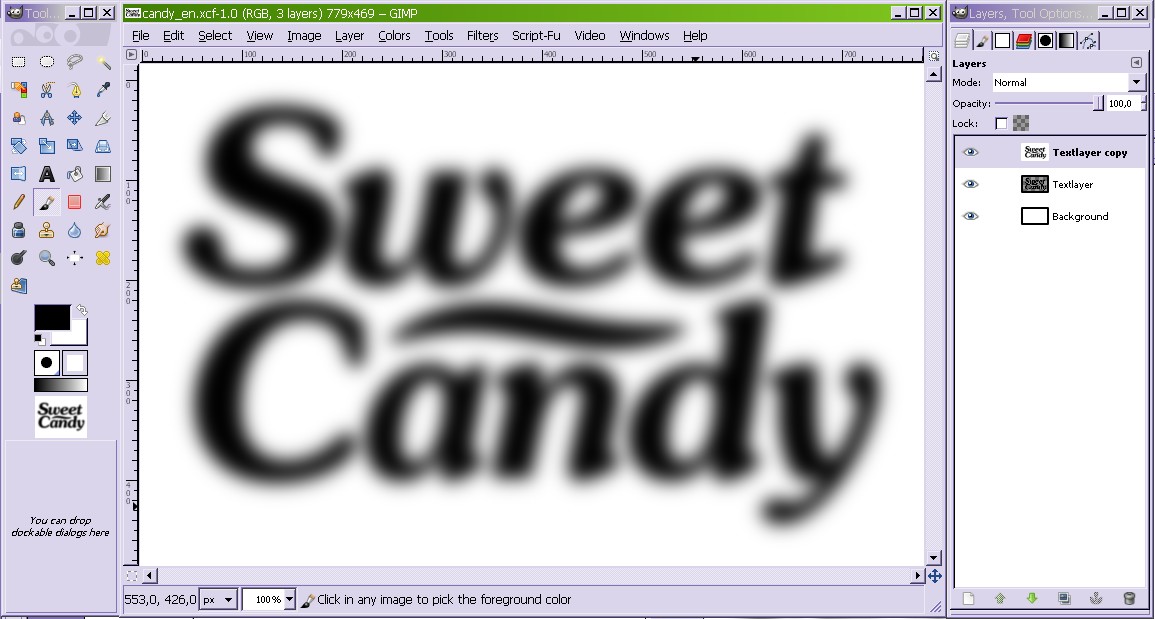
3
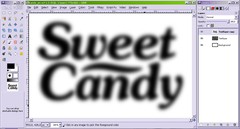
Now use the gaussian blur (Filter / Blur / Gaussian Blur). Radius: 30
It could be more or less. Important is, that you get a nice round 3d look for the text.
Make this layer invisible then by clicking the eye icon in the layers dialogue. -
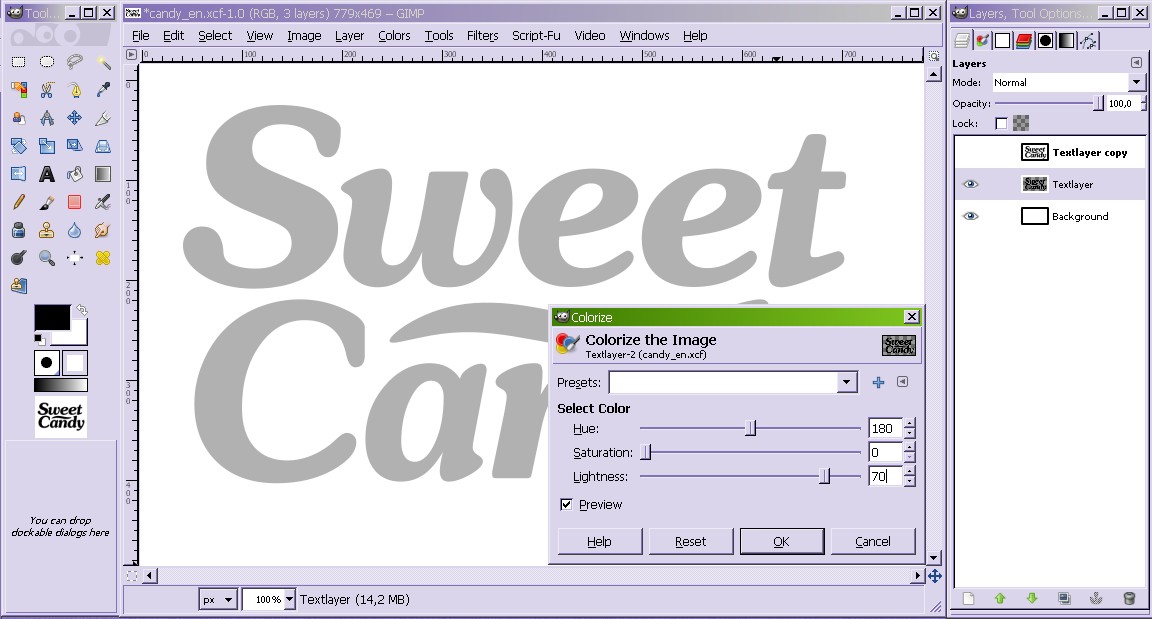
4
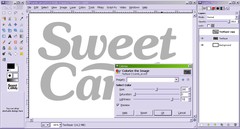
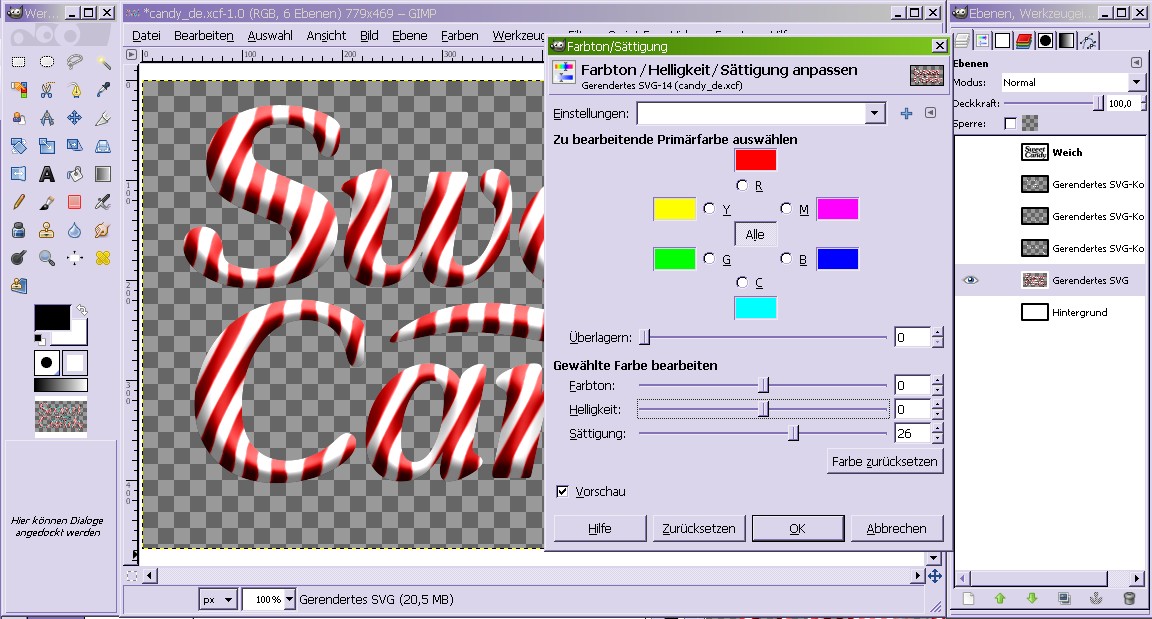
Colorize the Textlayer to gray (Colors / Colorize).
Saturation 0, Lightness 70 -
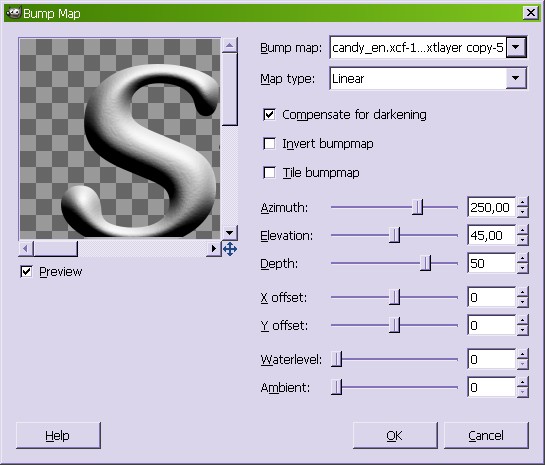
5
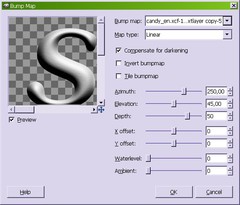
Now use the Bump-Map (Filter / Map / Bumpmap). Souce is the blured layer
Azimuth 250, Elevation 45, Depth 50, Rest 0 -
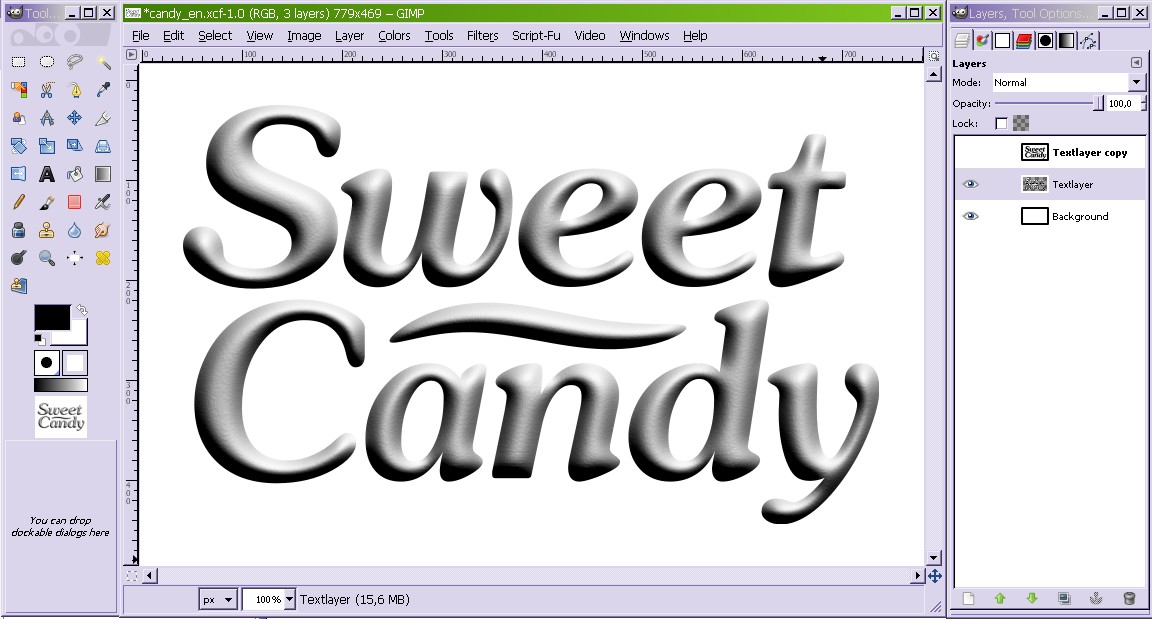
6
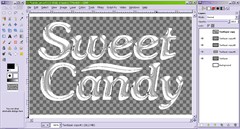
Now the text have the wished 3d look, however with some ugly artifacts seen inside. We want to get rid of them now
-
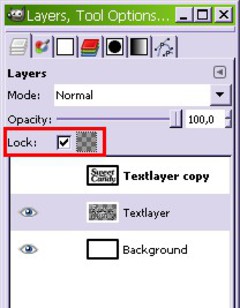
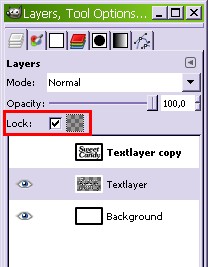
7

Lock the Alpha Channel (the icon for this is found right beside the opacity ruler in the layers dialogue) and use the gaussian blur again.
Radius: 5.0 should be enough -
8
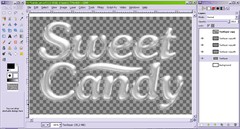
Here you can see the difference.
(keep in mind that you could use these errors and artifacts as a style element too, if you like it.) -
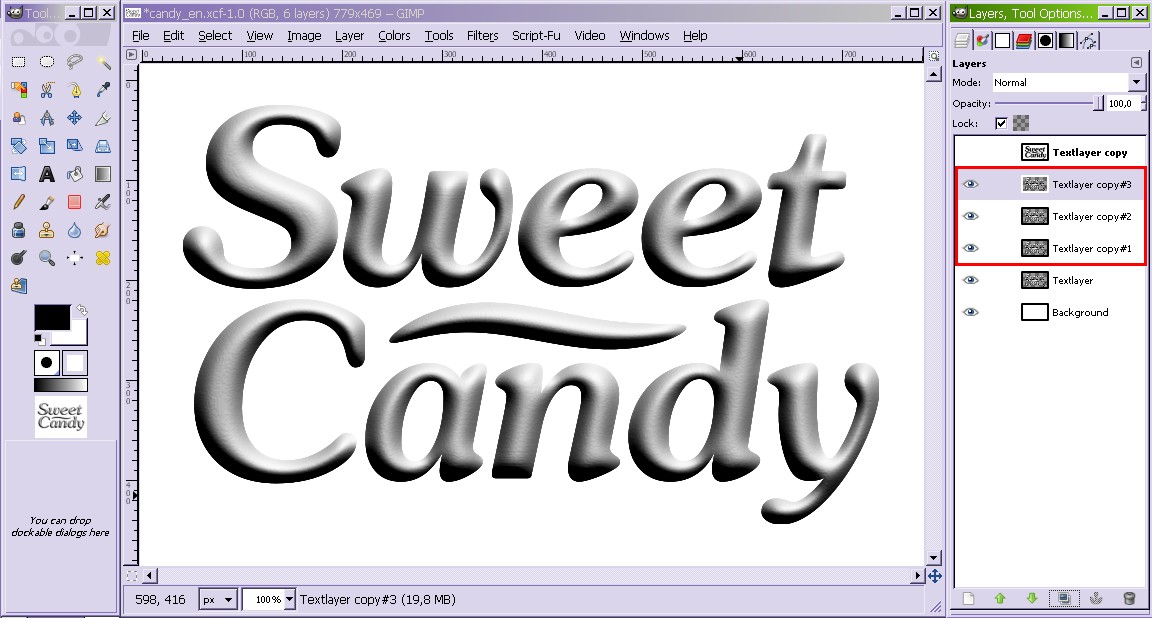
9
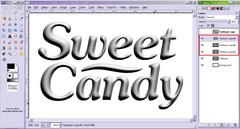
Now we create the reflections.
Unlock the Alpha Channel and copy the text layer three times. -
10
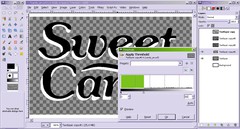
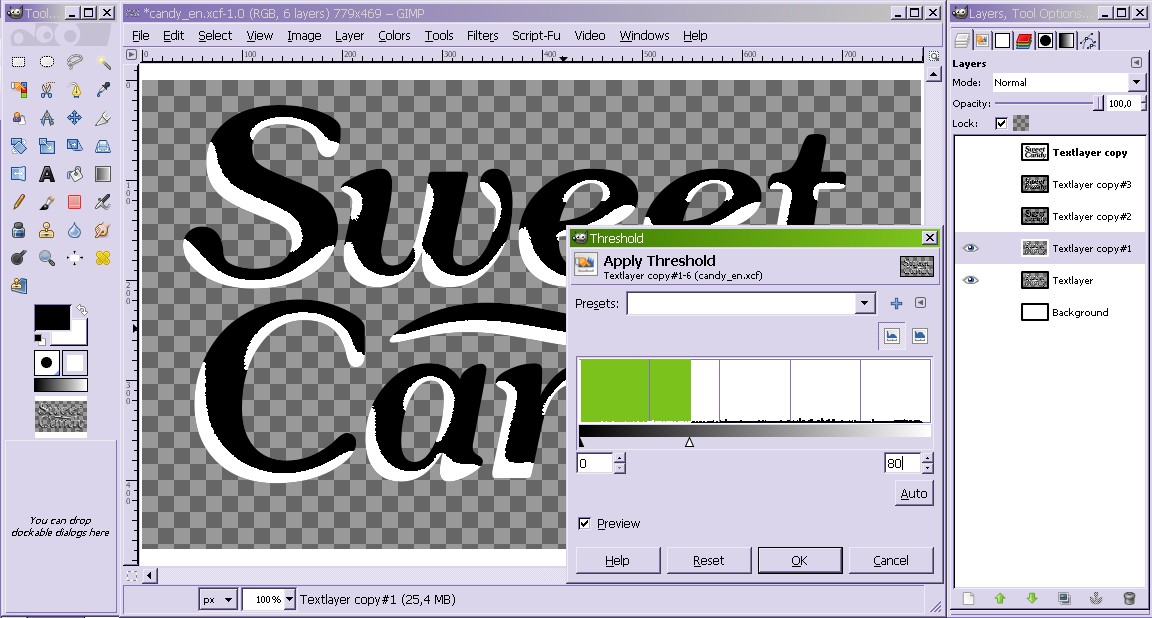
Apply the Treshold for each layer by using Colors / Threshold
For Copy #3: 200 / 255
Copy #2: 100 / 130
Copy #1: 0 / 80 -
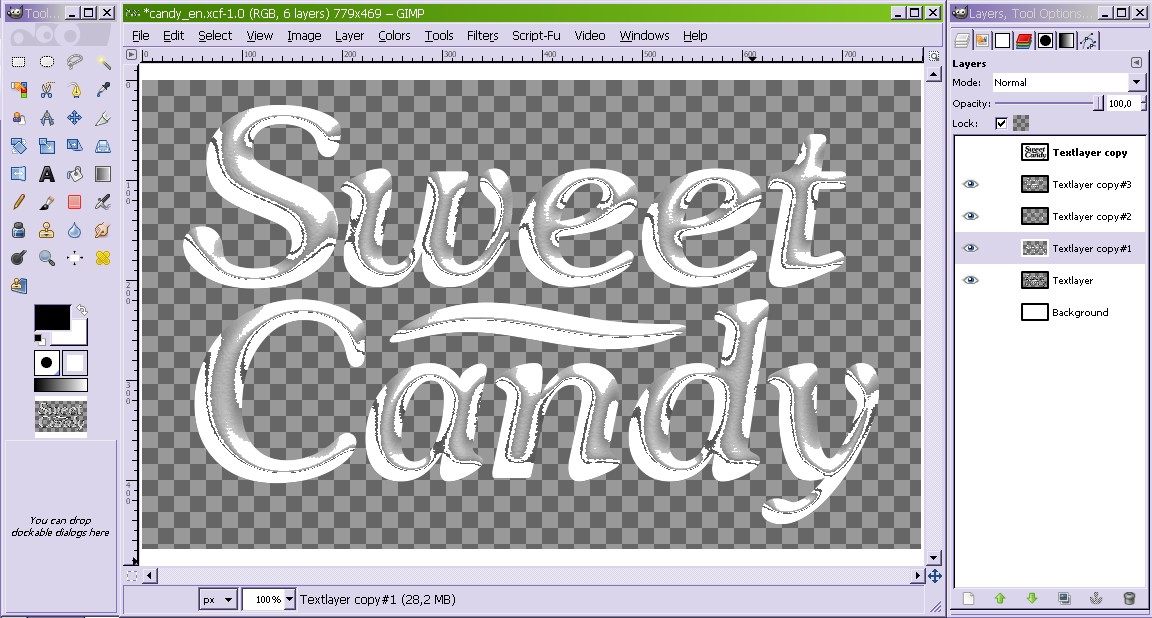
11
- Color / Color to Alpha.
In hexcode enter: 000000 which is pure black.
-
12
The contour is too hard and the form to exact. Use the gaussian blur.
Copy #3 and #1: 15.0
Copy #2: 8.0 -
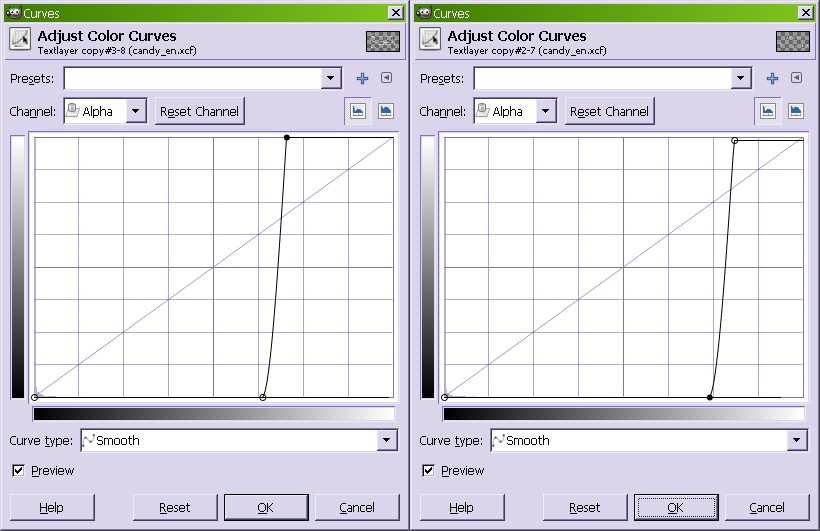
13
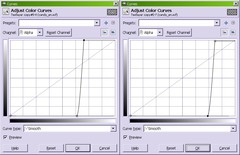
Now use the curves (Colors / curves) to sharpen the edges, but don’t do it too much. Use channel: Alpha
Curves like shown in these images:
-
14
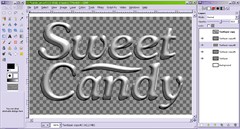
Change the Opacity:
Copy #3: 70
Copy #2: 60
Copy #1: 30
Now these are really nice reflections. -
15
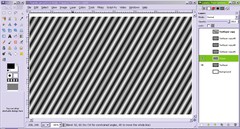
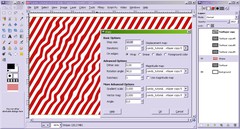
Lets get to the stripes now.
Make the reflection layers invisible and create a new layer under the reflections layer. Simply use the blend tool with the gradient „Four bars“ from the drop down menu. Dont forget to set it to Repeat!
-
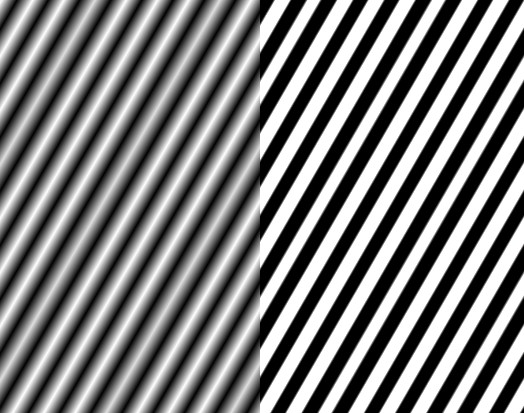
16
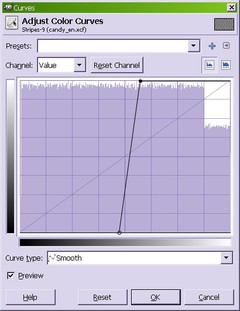
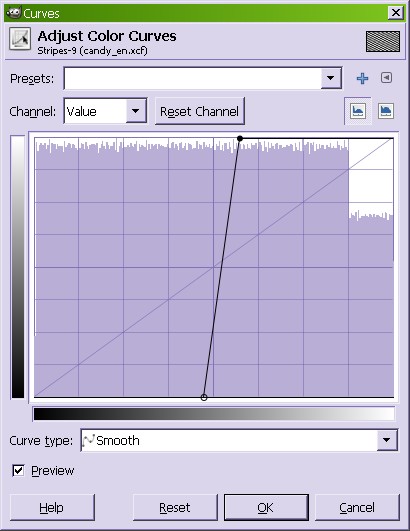
Edit the layer where the gradient is: Color / Curves to get nice stripes.
The channel is set to: Value -
17
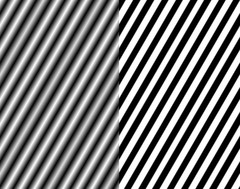
The stripes should look like the right image:
-
18
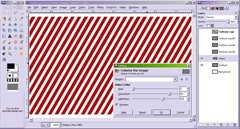
Colorize the stripes now as shown here:
-
19
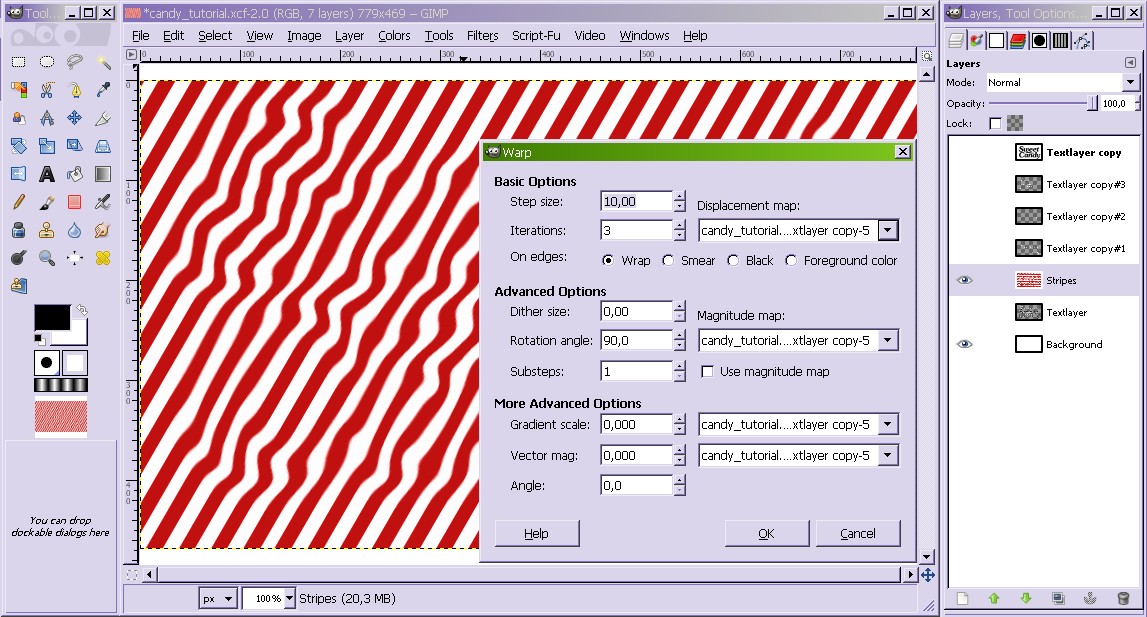
The stripes should be warped onto the text.
Filters>Map>Warp
Souce is the blured layer.
Step size: 10
Interations: 3
On Edges: Warp -
20

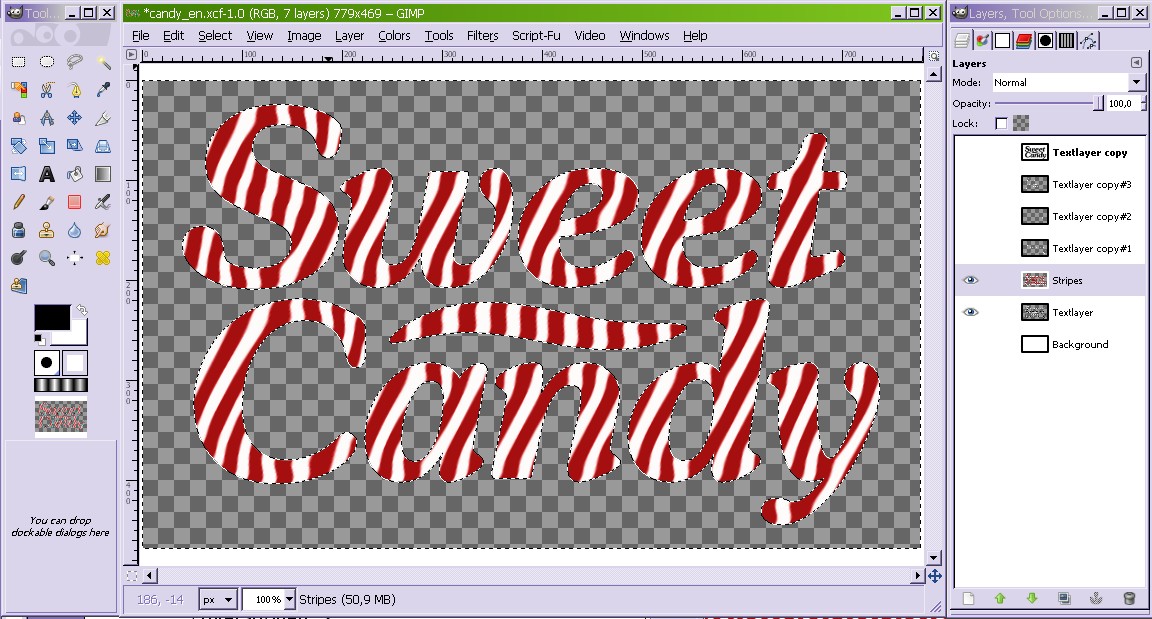
Then activate the textlayer and rightclick in the layer dialogue on „ Alpha to Selection“.
Invert the selection with the key Ctrl+I (or just use Selection / Invert) and swich to the Stripelayer. Delete the selected part. -
21
Change the layermode to „Grain merge“
-
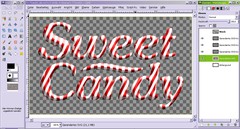
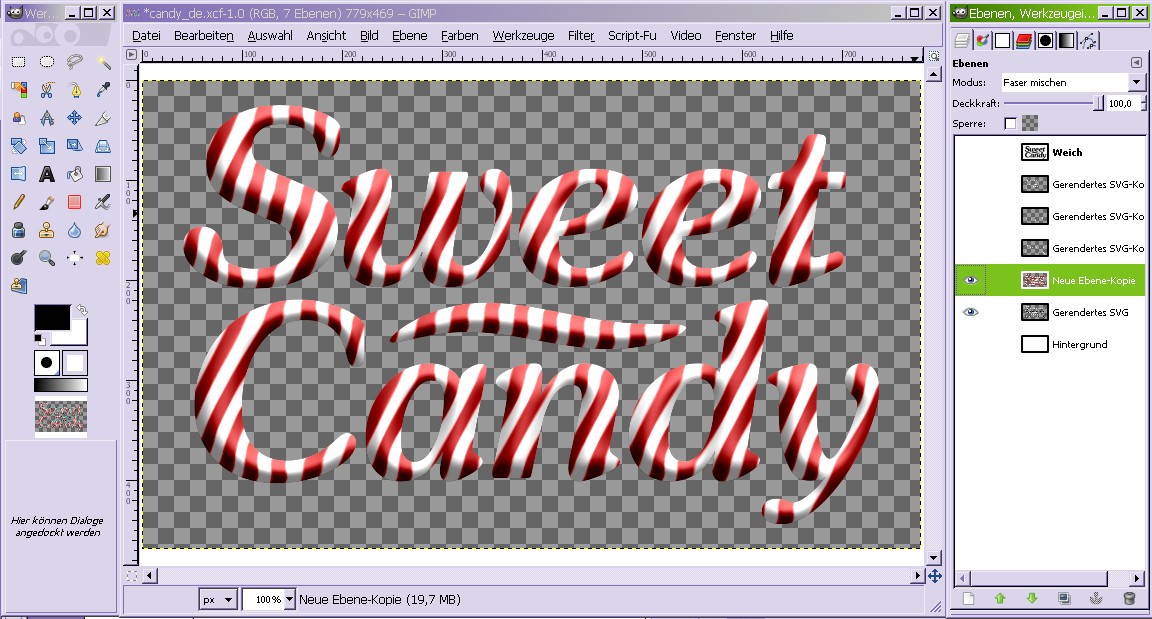
22
Put the stripes together with the textlayer: In the layers dialogue: rightklick > Merge Down and if you like, you can give it more saturation using Colors / Hue&Saturation.
-
23
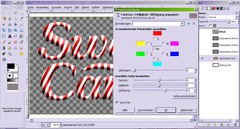
Make the reflections visible again.
You can add a drop shadow for the textlayer by choosing:Filters>Light and Shadow>Drop Shadow
-
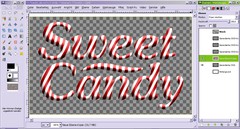
24

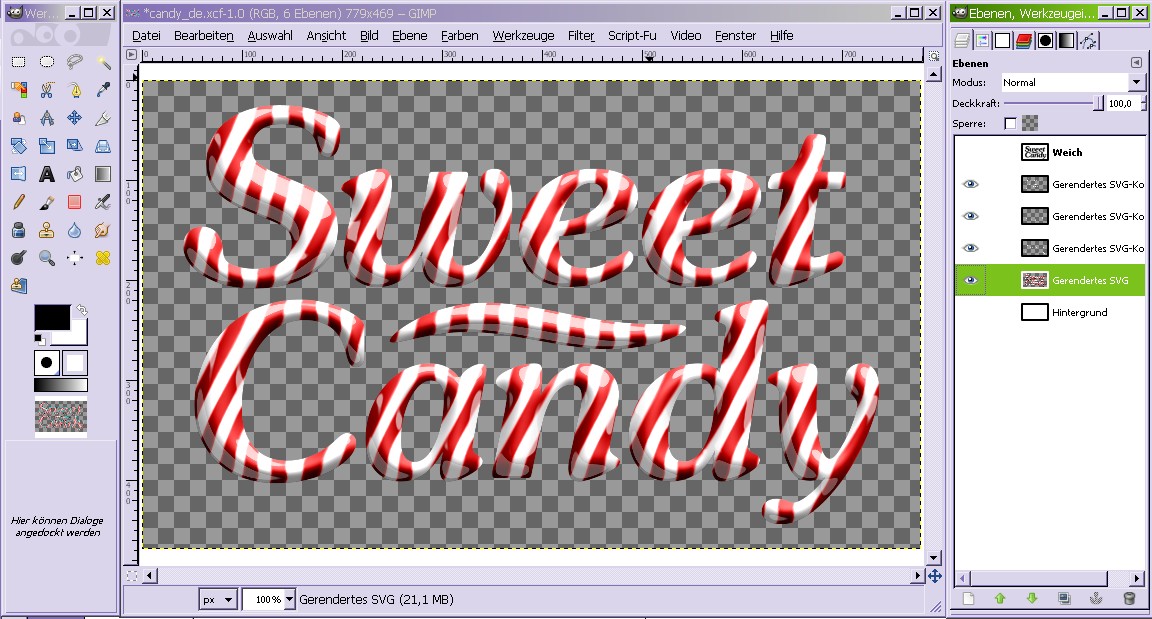
Make the white background visible and the sweet Candy Text is finished!
Delicious, isn’t it? -
25
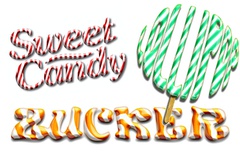
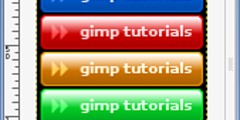
Here is a small collage with where I put together some other candy stuff you can make using this technique ;) Hope you enjoyed the tutorial!


Comments
Post your own comments, questions or hints here. The author and other users will see your posting and can reply to it.
Of course, you can also ask in the chat.
Subscription management
Please log in to manage your subscriptions.
User rating
This topic (Create sweet candy text!) has been rated 4.0/5.0.
New comments are disabled because of spam.