


Tutorial: Turning people into stone
 is licensed under a Create Commons Attribution-Non Commercial 3.0 Unported license.")

Links
Motivation
It is a very very hard thing to turn people to stone and make it look real. Not every picture can be used and there is a lot of fine-tuning necessary. If the effect is not working well just give it a new title: "Turning people into a zombie" ;)
Tutorial details
- Category: Photos / wallpapers
- Time to reproduce: ≈45.0 minutes

- Tested with GIMP 2.3.18
-
1
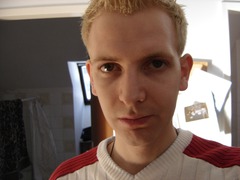
Open up an image that shows a person that you want to turn into stone.
The next action is not needed if you want to print the picture: Go to Image / Scale: 1024 × 768.
-
2

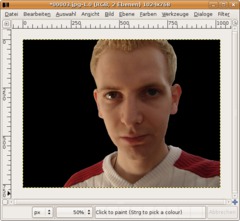
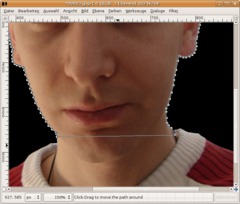
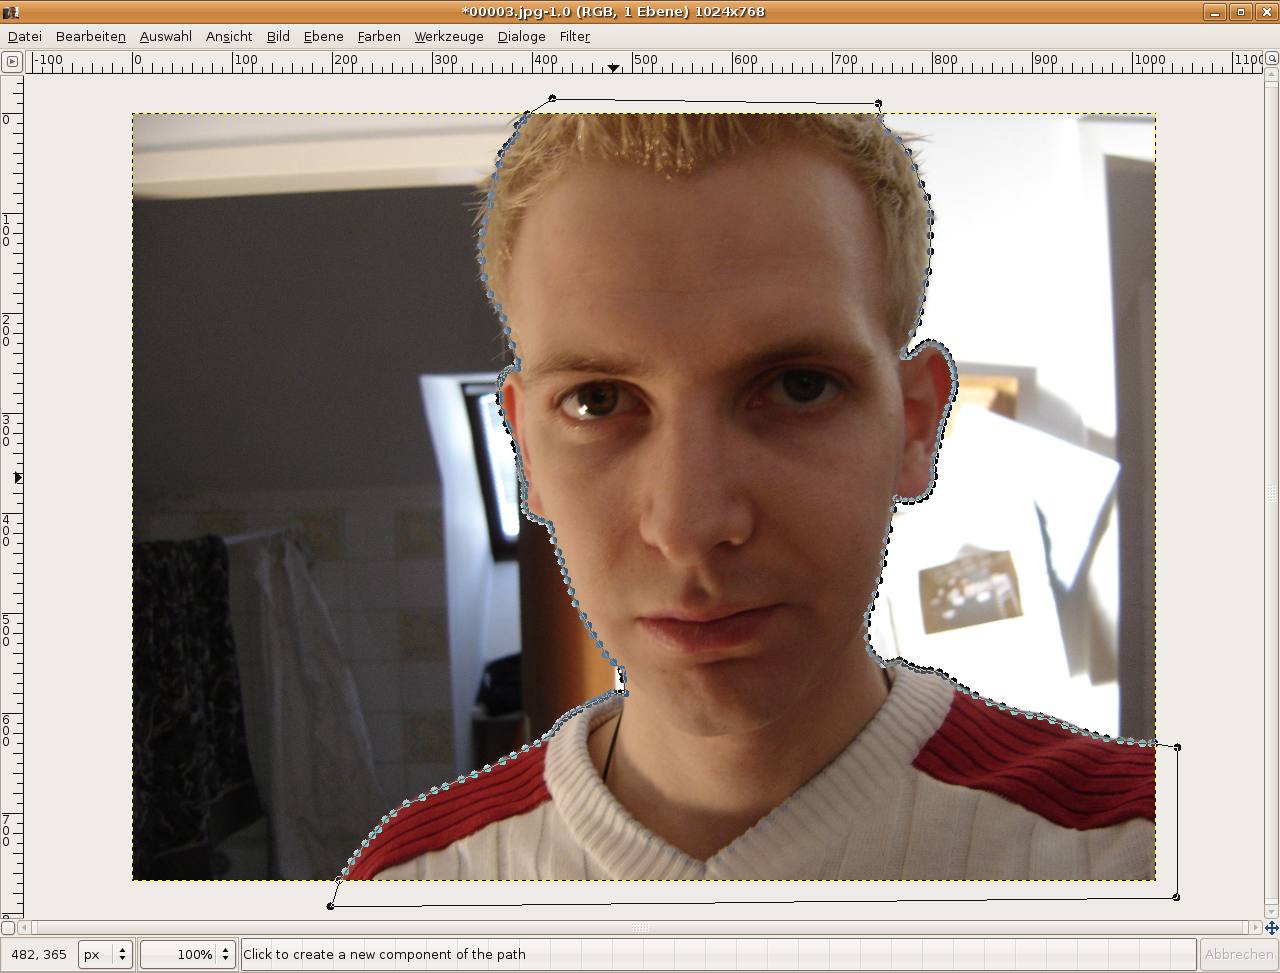
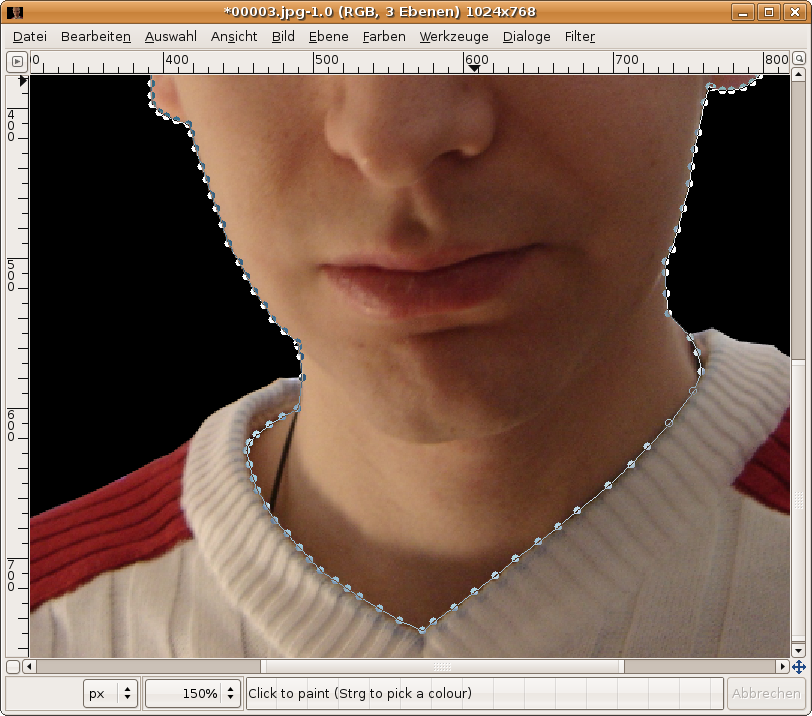
The first step is to free the person/the face of the person from the background. Use the paths-tool and set points along the outline of the person. Do this as long as you have come around the whole face. Then connect the last point with the first one by holding down CTRL when clicking the first point.
-
3
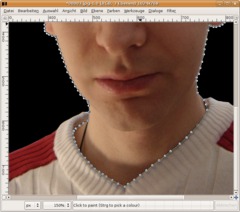
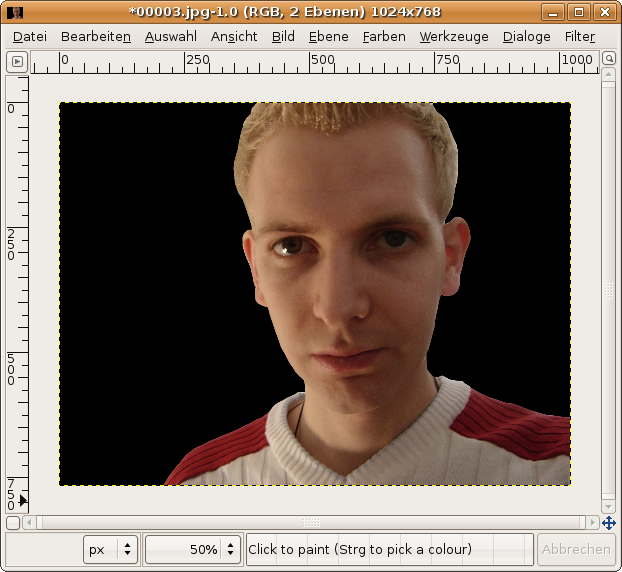
Now press ENTER. You’re getting a selection then. The next step is to add a layer mask. Right click the layer in the layers dialog and choose “Add layer mask”. Choose “selection” from the popping dialog. The person is now masked.
Now add a new layer, fill it totally black. Move this layer down to the very bottom.
-
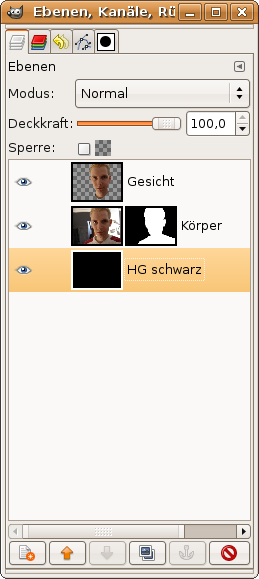
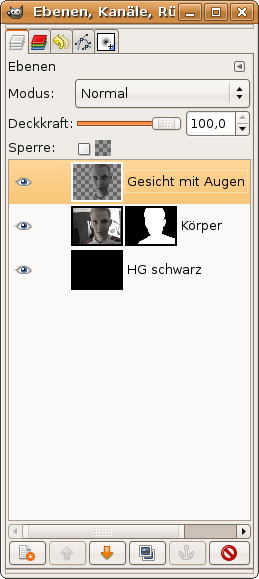
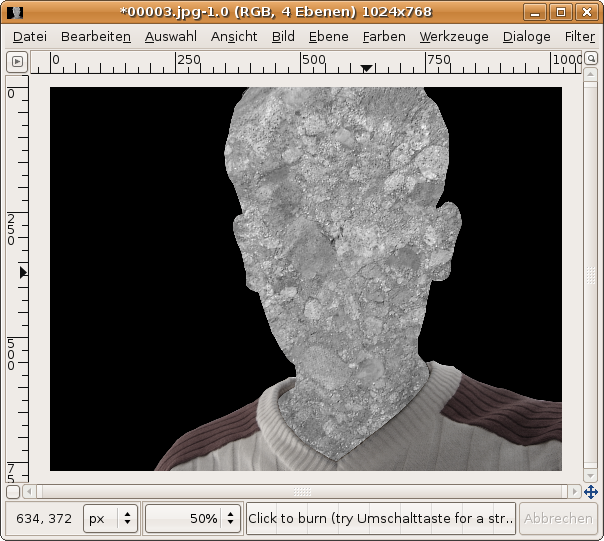
4
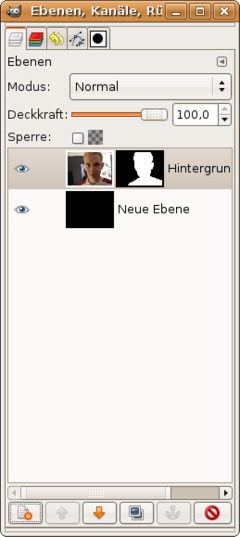
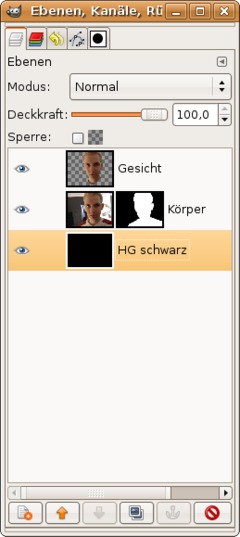
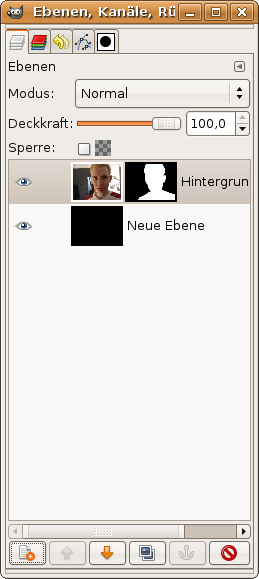
My layers look like this now:
-
5
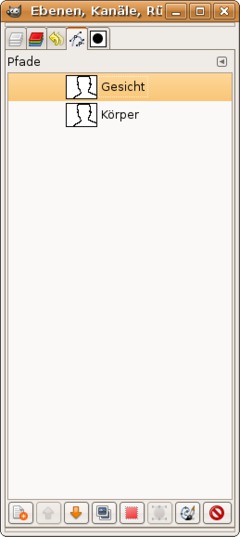
The next step is to get a selection of the face itself. Because we worked with the paths-tool (…and paths are automatically saved…) we save a bit of time using an existing path and alter it.
Dialog / Paths. In the dialog duplicate the existing path, name it “Face” (= “Gesicht” on the image). Double click the path. This activates the paths-tool and shows the existing path.
Switch to the layers dialog and click the layer with the body.
-
6
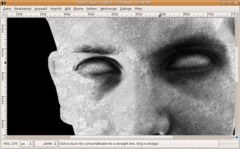
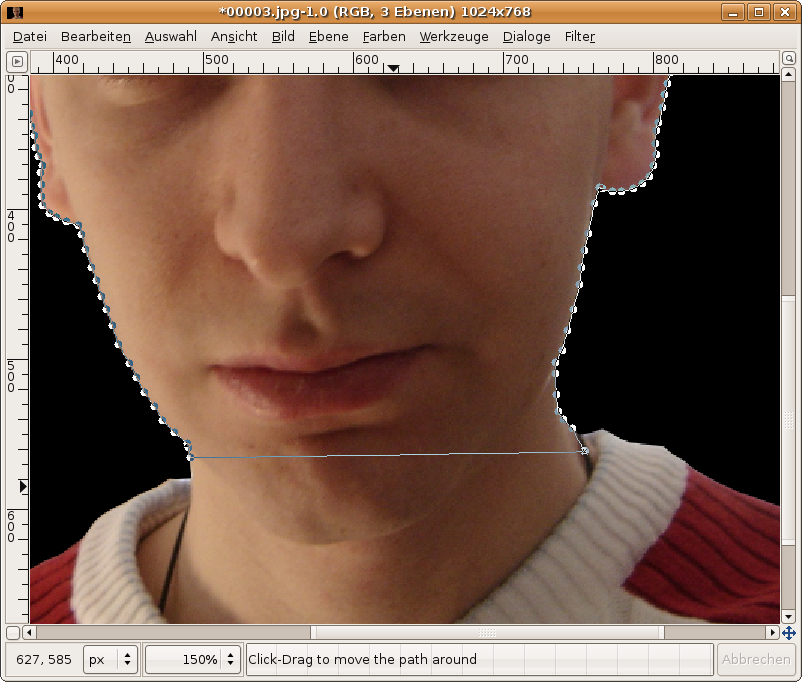
Click the bottom edges now and press backspace on your keyboard to delete a point. Our goal is to (in my picture) seperate the cloths from the face.
Repeat the deletion of the points until you’re having a line between the left and the right side of the face. See the picture to understand what i mean.
Now choose “Edit” in the preferences of the paths tool.
-
7
Then click the long line and move it down so border where skin ends and is covered by the cloths. Repeat this step until you get a nice completed path.
-
8
Press ENTER when done and CTRL+c to copy, CTRL+v to paste. Click the “Add layer”-button to get the pasted onto a new layer.
Press M to select the Move-tool. The path should disappear.
-
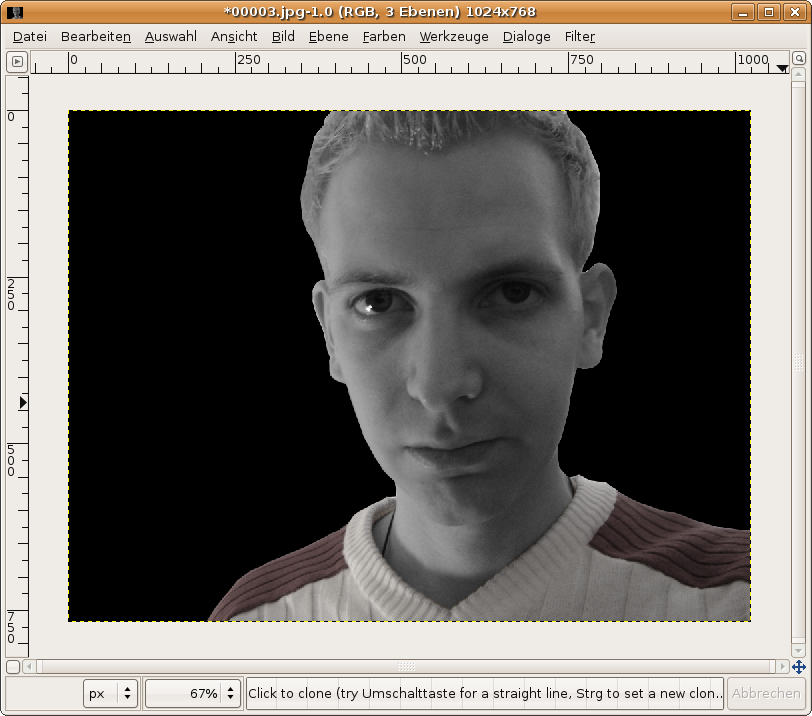
9
We are now prepared to start the stoney part.
2 easy steps follow:
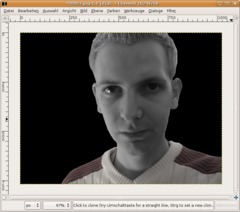
- Activate the Body-layer
- Colors / Colors&Saturation – the saturation option move to the left to -75.
- Activate the Face-layer: Colors / Desaturate. -
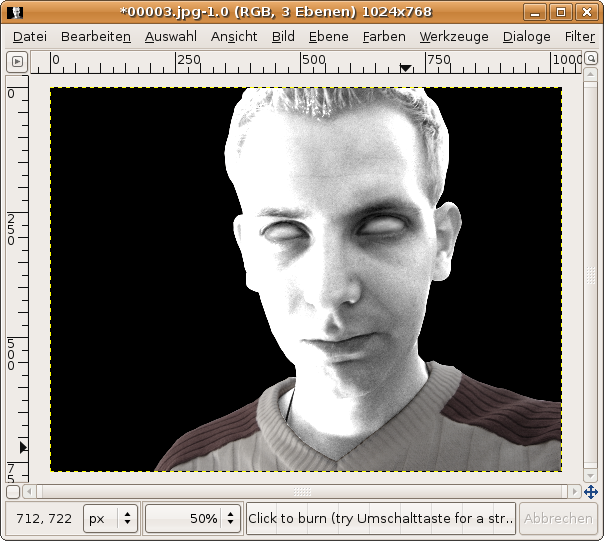
10
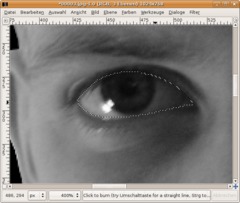
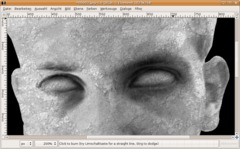
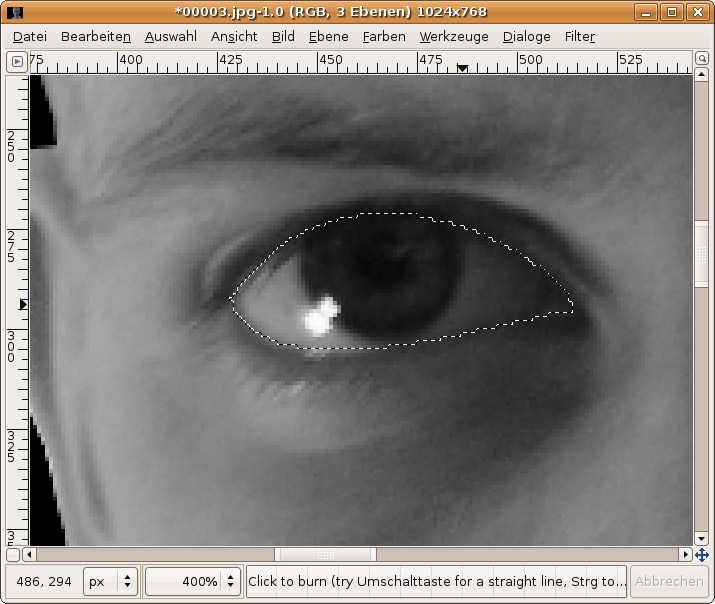
Now follows an important part for the eyes so that your stoney face gets a realistic look.
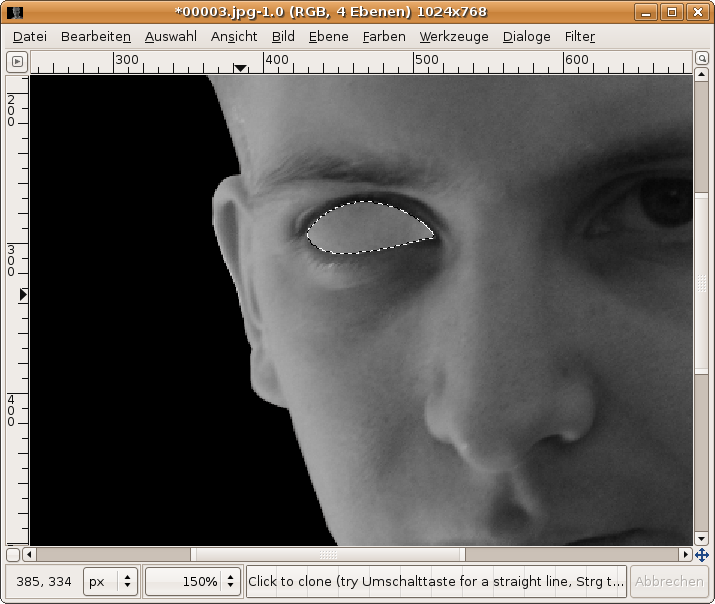
Use the paths tool again. Make a nice selection around the left eye. It should be very nice detailed and then press ENTER to get a selection of it.
-
11
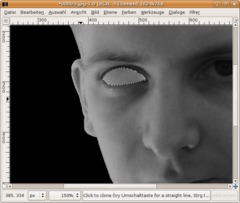
Choose the clone-tool now and take a soft brush (17). Hold CTRL down and set the point from which you want to start your cloning. You’ll maybe want to select a part on the forehead. Release CTRL then.
Leave the selection active. Now add a new empty layer. On this layer clone the skin of your front over the eye.
-
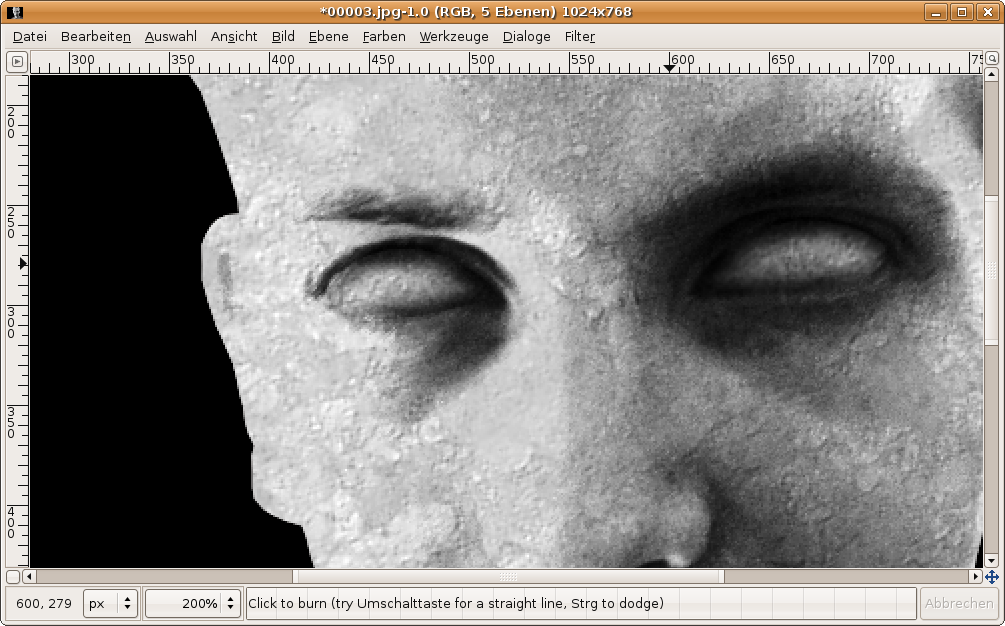
12
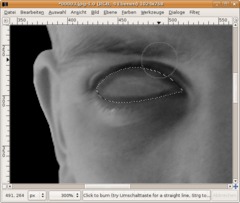
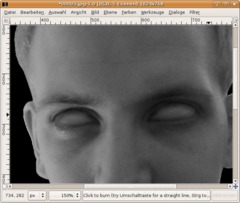
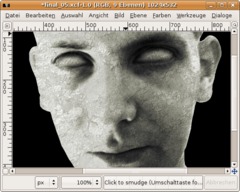
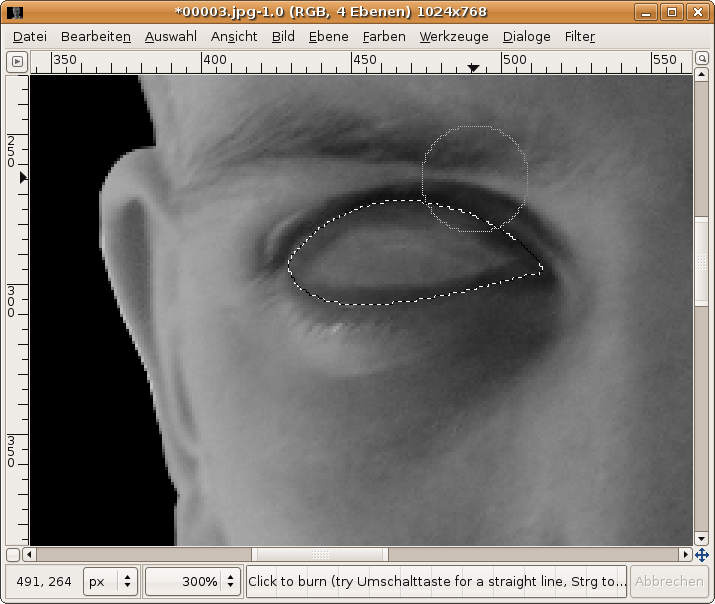
Let the selection active and activate the dodge/burn-tool. Set “Burn” as option and use a soft brush to paint along the border of the eye. Burn the borders of the eye until the darkness is pretty much the same as in the corner of the eye. See my image to get a feel for this.
-
13
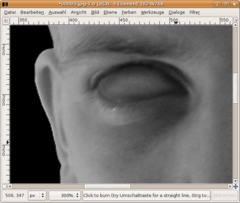
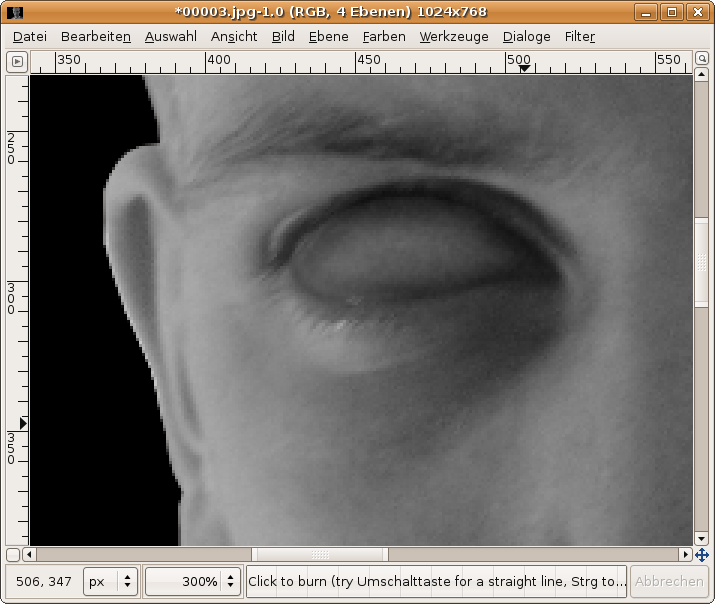
With the selection active go to Filter / Blur / Gaussian Blur: 8px. Deactivate the selection.
To get some structure/pattern we add noise now: Filter / Noise / HSV: 3 | 0 | 0 | 15
Then use the Gaussian Blur again: 1px.
-
14
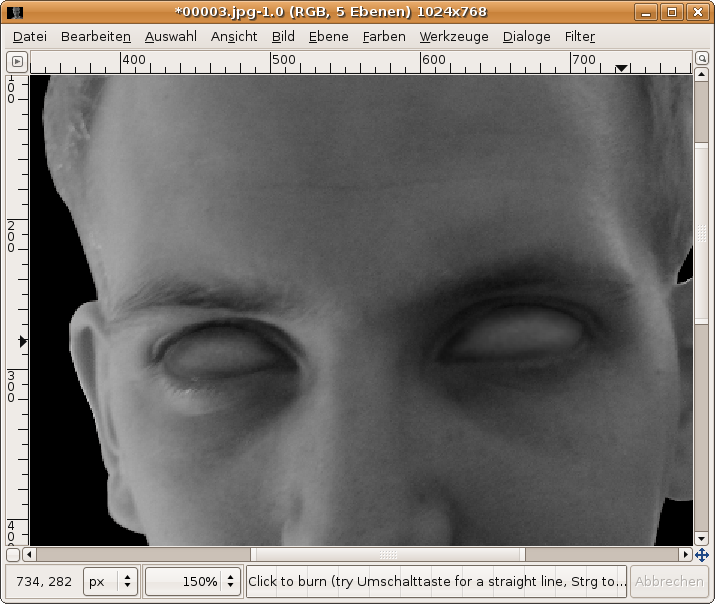
Repeat the steps for the eye on a new seperate layer.
-
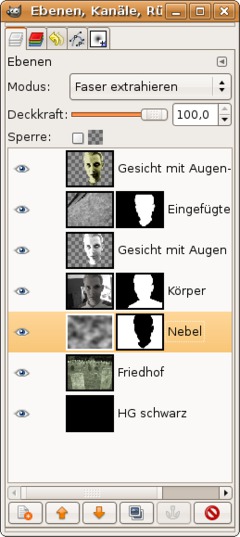
15
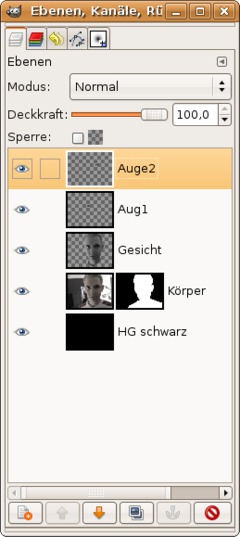
My layers look like this now:
-
16
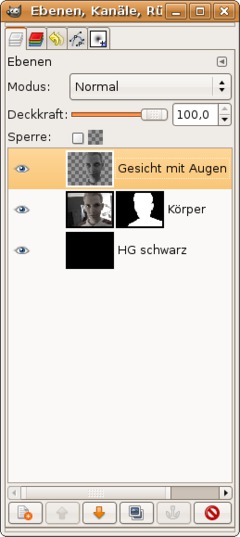
Merge the two layers with the eyes and the face-layer now: (use “Merge down” from the right click context menu of the layers dialog). Eyes and face should now be on a single layer.
-
17
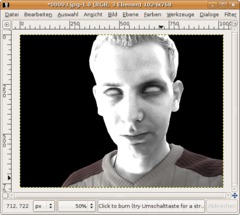
Colors / Brightness & Contrast: 90/90
-
18
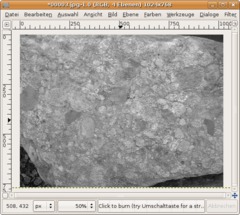
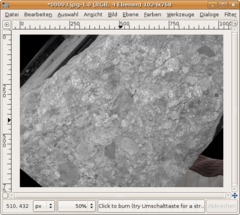
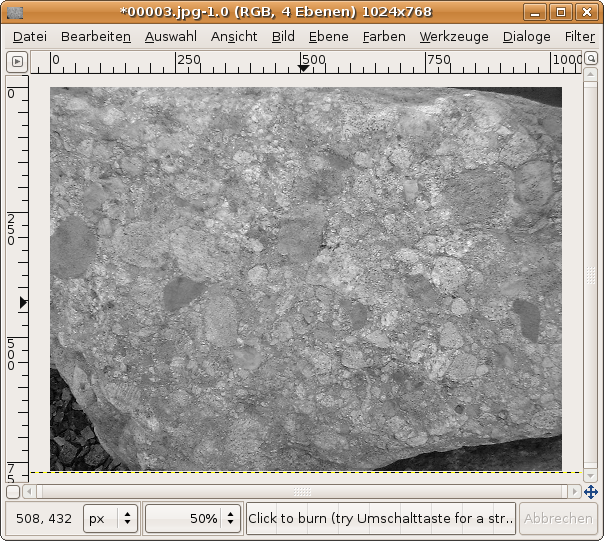
Download the “Stone-Texture” from the top right of this tutorial.
Click File / Open as new layer and choose the location of the texture.
Desatuarte using Colors / Desaturate. The layer should be atop all other layers.
-
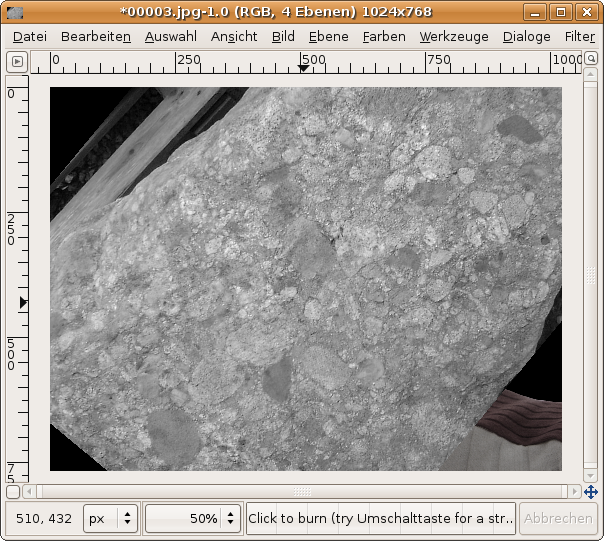
19
Now move the texture layer at a position where it coveres the whole face. Use the Rotate-tool to cover more of the face.
-
20
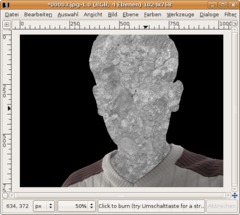
Next step is to activate the face layer. In the layers dialog click right and choose “Selection from Alpha”. Activate the texture layer again and add a layer mask. Choose “Selection” from the popup-dialog. Now the stone should have the shape of the face.
- Selection / None
-
21
Set the layers mode to “Multiply”, lower the opacity to 60% and apply Filter / Enhance / Sharpen: 45px.
-
22
To get more depth we duplicate the layer with the face. Move the duplicate to the very top of all layers.
Colors / Brightness & Contrast: -90/+50 and set the layers mode to Overlay. Opacity to 60% again.
-
23
Because stone is never totally grey we need to colorize it a little bit. A soft yellow-green or yellow-red would be nice: Colors / Color Balance:
Mids: 45/45/-45
-
24

And because we masked our body at the beginning we can now easily put our stoney face to a more attractive background (I tried google image search for “graveyard”). Open the picture as new layer and put it above the black background layer like i did here:
-
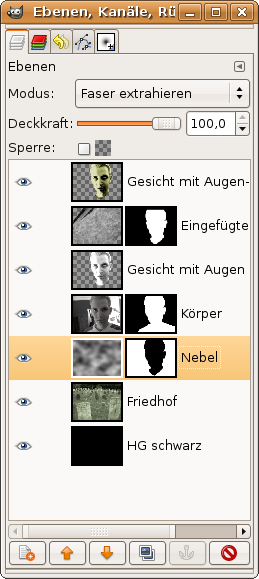
25
Here you’ll see my final layers:
-
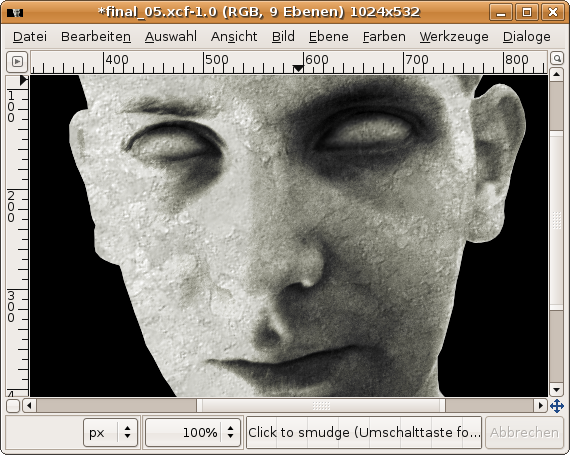
26
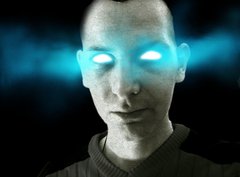
And this is just another version i played with. It reminds me of Warcraft 3 (The undead cd cover ;))


Comments
Post your own comments, questions or hints here. The author and other users will see your posting and can reply to it.
Of course, you can also ask in the chat.
Subscription management
Please log in to manage your subscriptions.
User rating
This topic (Turning people into stone) has been rated 5.0/5.0.
New comments are disabled because of spam.