


Tutorial: Generate a cool tech pattern
Written by devvv ·
Created on Jul 07, 2007, last updated over 14 years ago
 is licensed under a Create Commons Attribution-Non Commercial 3.0 Unported license.")

Links
Motivation
Someone often needs a cool pattern that can be used for a forum signature, a banner, a wallpaper or something else. This simple technique shows you how to make such "tech" pattern.
Tutorial details
- Category: Simple effects
- Time to reproduce: ≈5.0 minutes

- Tested with GIMP 2.3.10
-
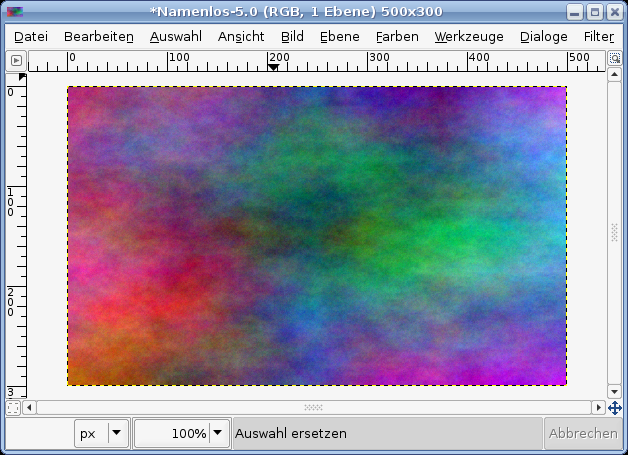
1
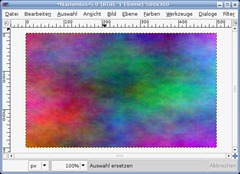
File / New: 500×300px. You can just work on the background layer. The color is irrelevant for this. Filter / Render / Coulds / Plasma. Choose any values.
-
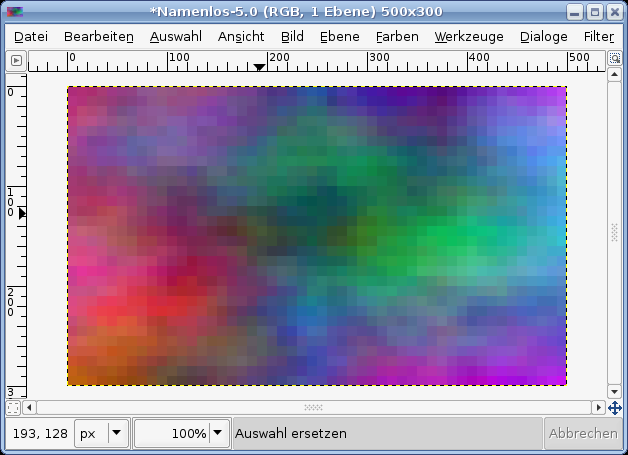
2
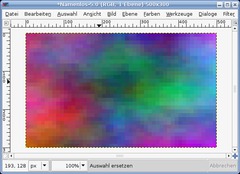
Filter / Blur / Pixelize: X:10 | Y:10
-
3
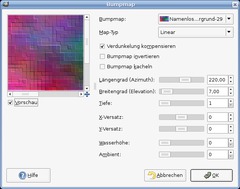
Filter / Map / Bumpmap and enter the values of image below:
-
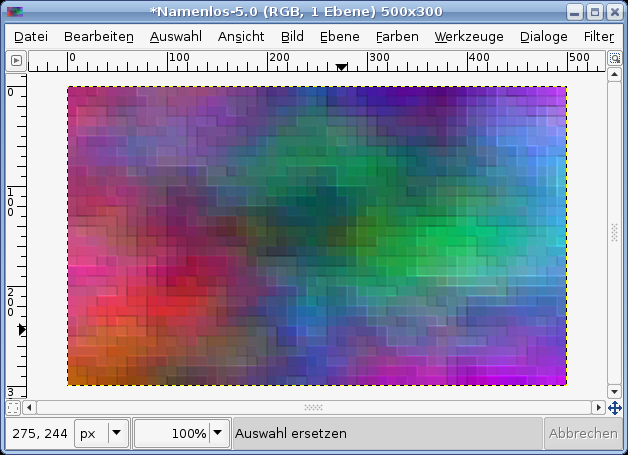
4
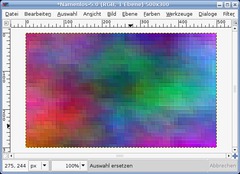
You should get something like this:
-
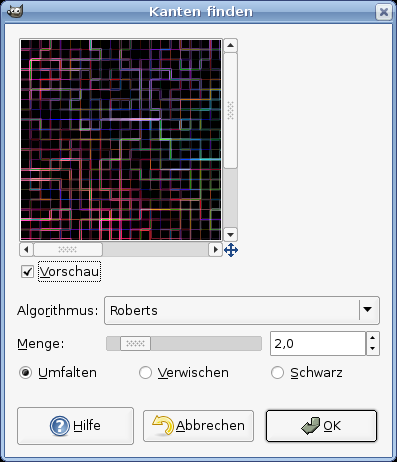
5

Next apply: Filter / Edge-Detect / Edges:
Algorithm.:Roberts
Amount: 2
Wrap -
6

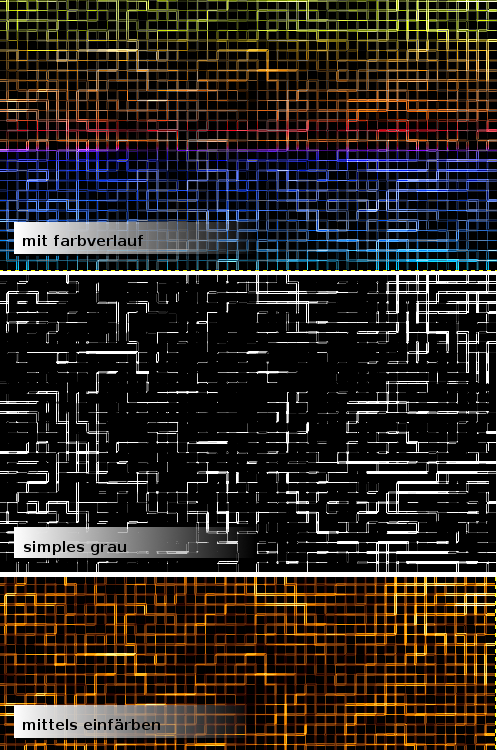
You can of course apply Colors / Brightness & Contrast to get some personal fine tuning. And also consider Filter / Enhance / Sharpen which looks cool too if you sharpen the image a bit.
Below you see 3 different versions of this and how it could look like!


Comments
Post your own comments, questions or hints here. The author and other users will see your posting and can reply to it.
Of course, you can also ask in the chat.
Subscription management
Please log in to manage your subscriptions.
New comments are disabled because of spam.