


Tutorial: Create a cool starfield
 is licensed under a Create Commons Attribution-Non Commercial 3.0 Unported license.")

Motivation
This is maybe one of the oldest desktop wallpapers - nevertheless it is still a great motive! In this tutorial I'm gonna show you how you create a cool very realistic starfield with all the little details.
Tutorial details
- Category: Photos / wallpapers
- Time to reproduce: ≈15.0 minutes

- Tested with GIMP 2.3.13
-
1
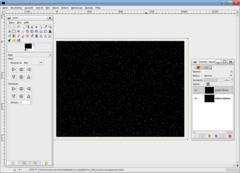
Create a new document: 1024×768 px (or any other size – just as you wish).
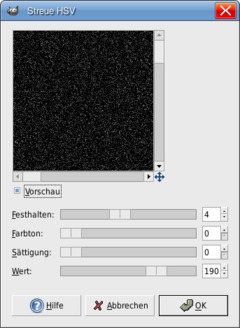
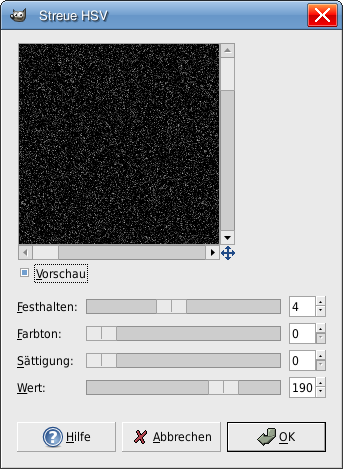
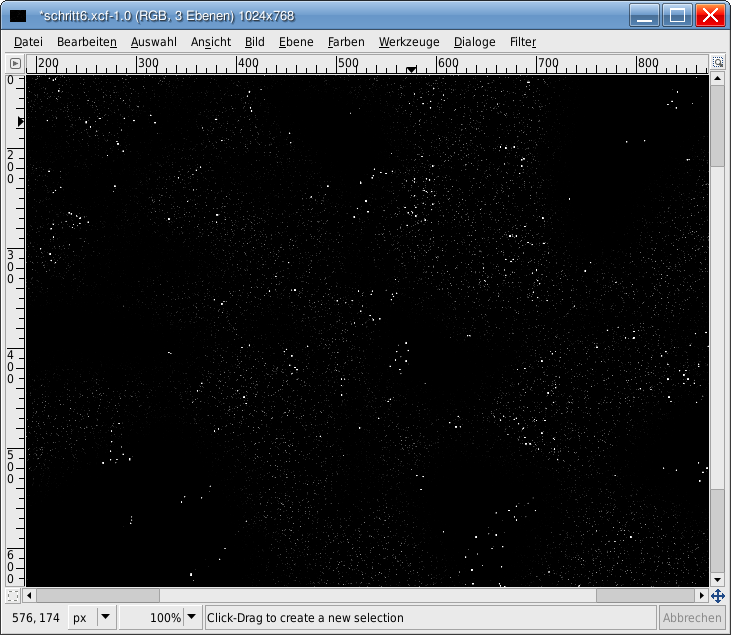
Fill the background layer black. Go to Filter / Noise / HSV-Noise. Look at the picture and use these values
-
2
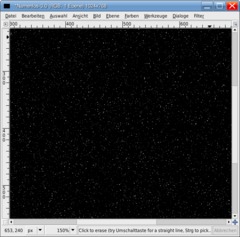
- Colors / Brightness & Contrast -25 / +55.
You should get some whie dots on a black background. Name this layer “small stars” or “kleine Sterne” (as me).
-
3
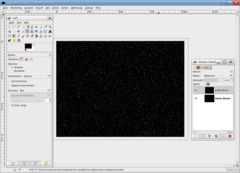
Duplicate the layer (the background-layer), name it “big stars” or “große Sterne” (as i did).
Again choose Brightness & Contrast from the colors menu: -70 / +40.
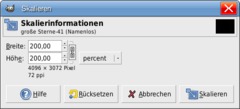
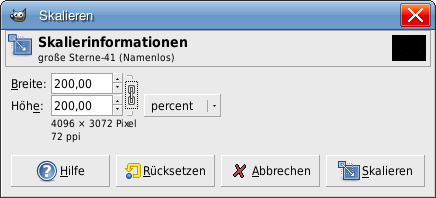
Now we have to enlarge this layer by doubling the size. That helps us to make the small stars on this layer even bigger so that they become bigger ones. Press SHIFT+T (or use the scale tool) and enter 200% as value.
-
4
We’re going to enhance these stars to make them better visible.
- Invert the layer by Color / Invert. That is to see the stars better.
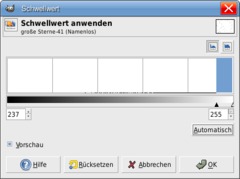
- Colors / Threshold. Click the “automatic”-button to the right. Our dots should now be much better visible. -
5
Now invert the layer again (Colors / Invert) to see a black layer again. Scale the layer back to its almost original size. Press Shift+T and enter 53%.
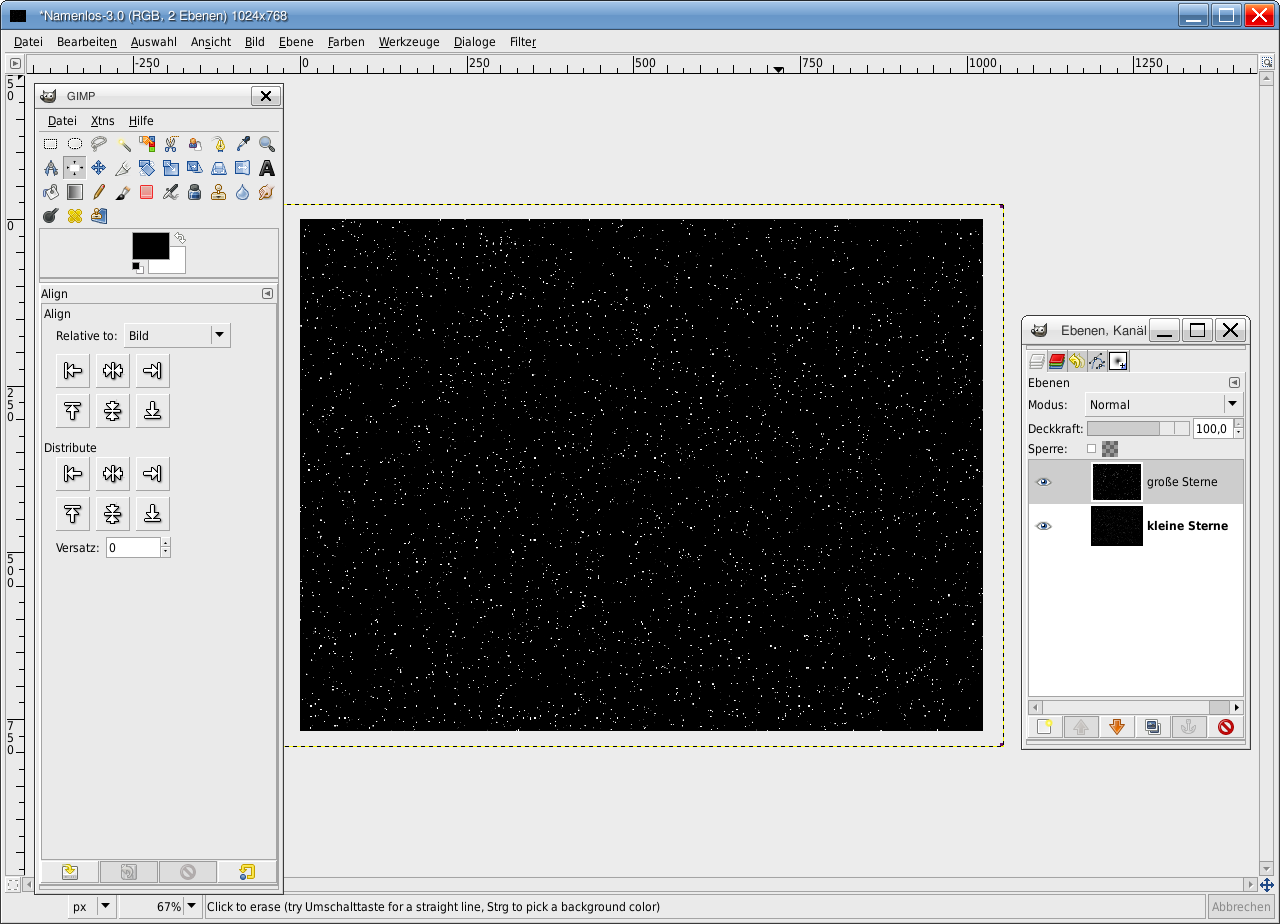
Position the layer in the middle of the image. The easiest way to do this is to use the alignment-tool (which is a new tool since GIMP 2.3.x series).
To use the alignment-tool do the following:
- Click the tool to activate it
- Click the layer in the image (that should be the big stars)
- The preferences of this tool should become active now.
- Choose “relative to image/picture”
- Then click both middle icons in the preferences to position your layer exactly to the middle of the screen.The whole thing should look like this now:
-
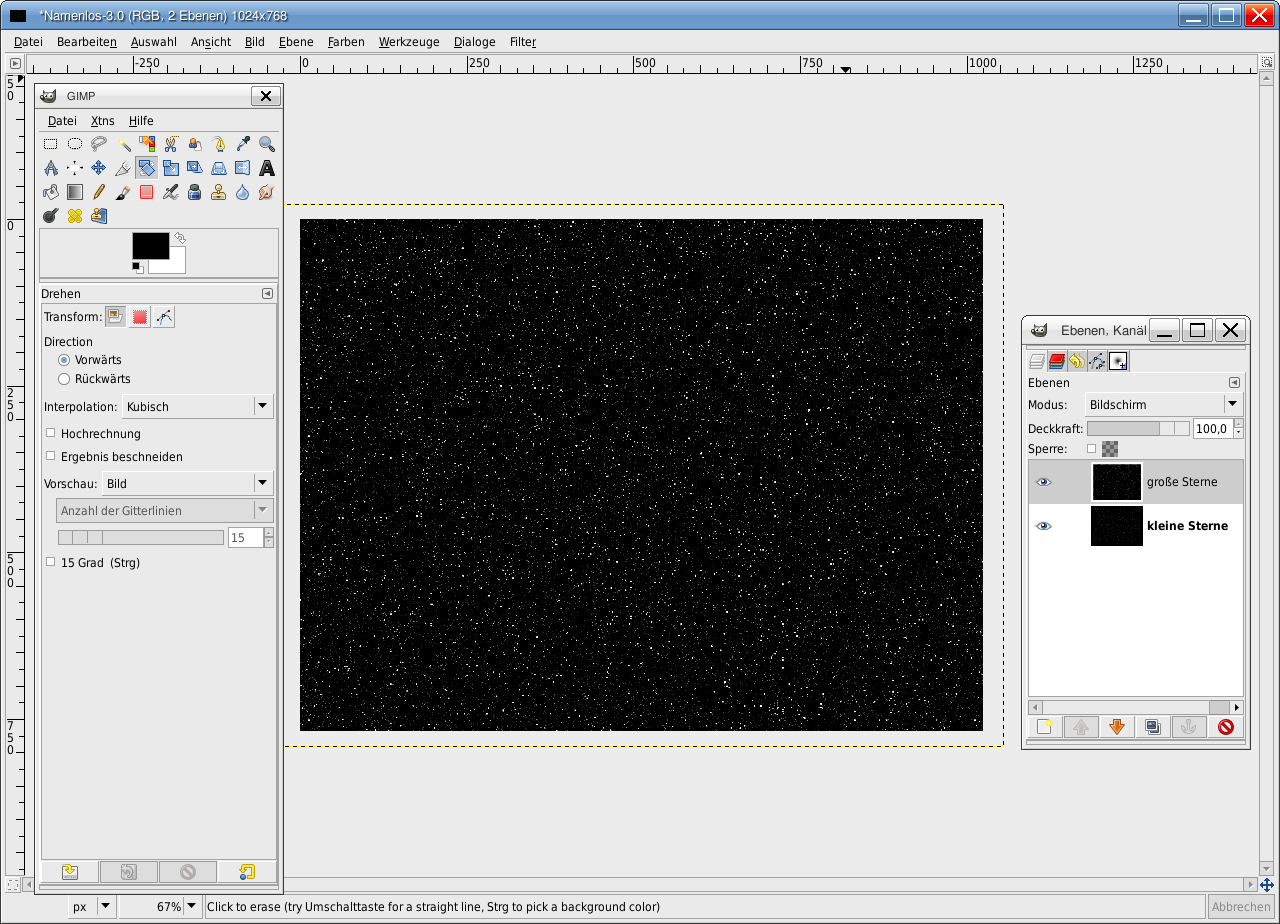
6
In the layers-dialog choose “Screen” in the layers mode dropdown menu. Now we have a zoom or echo-effect. To avoid this we simply rotate the layer by 180°. (Shift+R to use the rotate tool: enter 180°).
-
7
Save your result.
We’re nowgetting to the point in which we give our plain starfield some live.
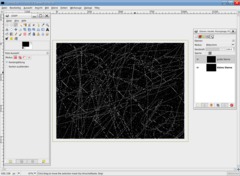
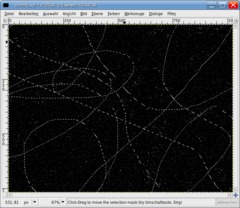
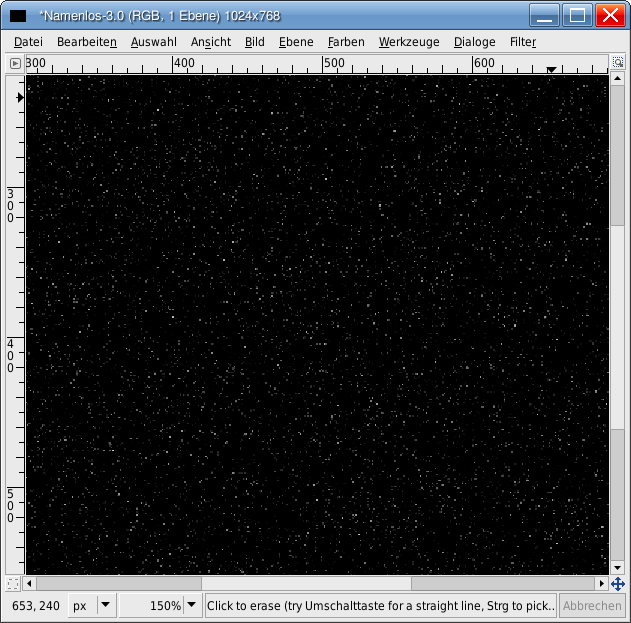
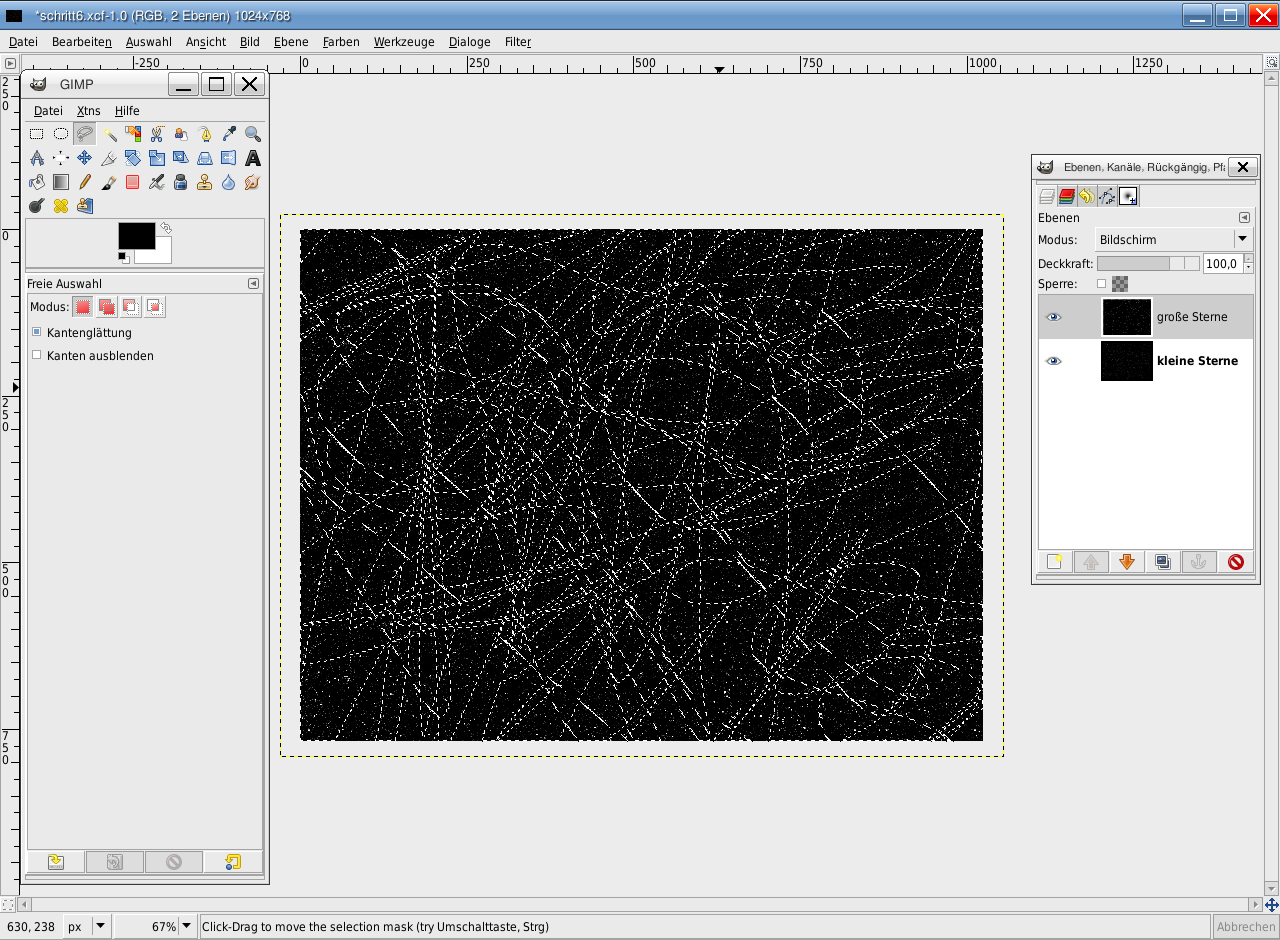
Use the free selection tool (F) and select randomly all over the layer. This is a wild action ;) View my picture to see what i mean.
-
8
Grow the selection (Selection / Grow: 8px) and after that delete the selected parts in the picture by pressing DEL (or CTRL+K if you still use GIMP 2.2).
There should be only some big stars left in the image.
-
9
Create a new layer below the “small stars” layer (“kleine sterne”). Fill this layer totally black.
Now lets activate our small stars layer. Right click the layer in the layers dialog, choose “Add alpha channel”.
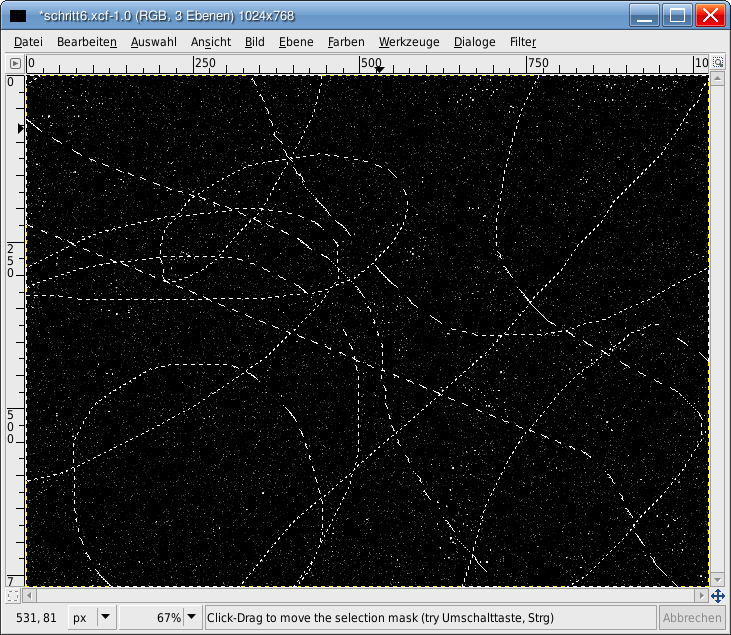
Again use the free selection tool to select some parts of the image by random move the selection tool all over the layer, but it should be much less than the wild selection in step 7.
-
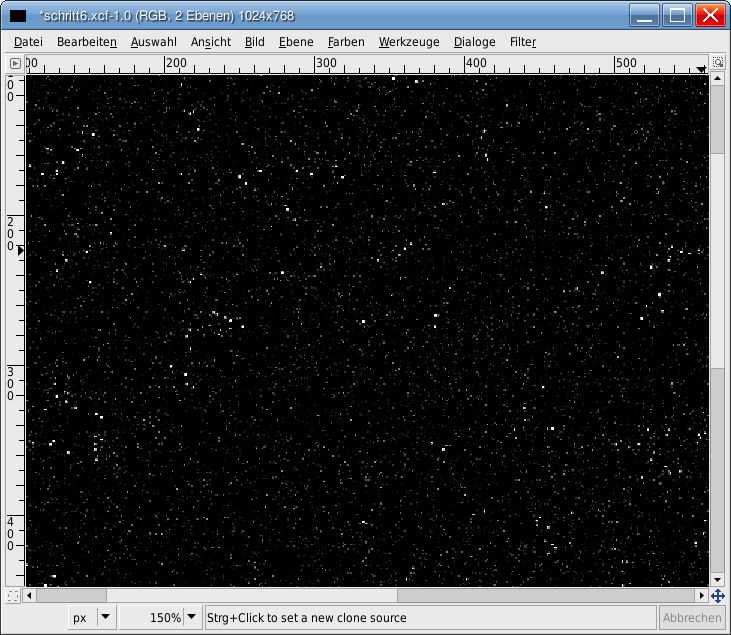
10

Selection / Feather: 50px. Remove the selected area by pressing DEL. The small stars should be still crearly visible but some parts are darker or completely black.
-
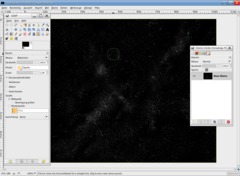
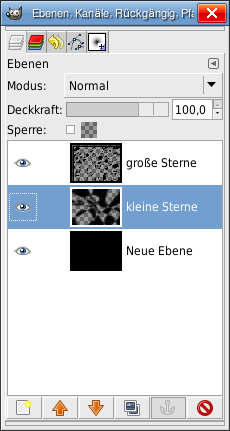
11

To see what my layers look like:
-
12
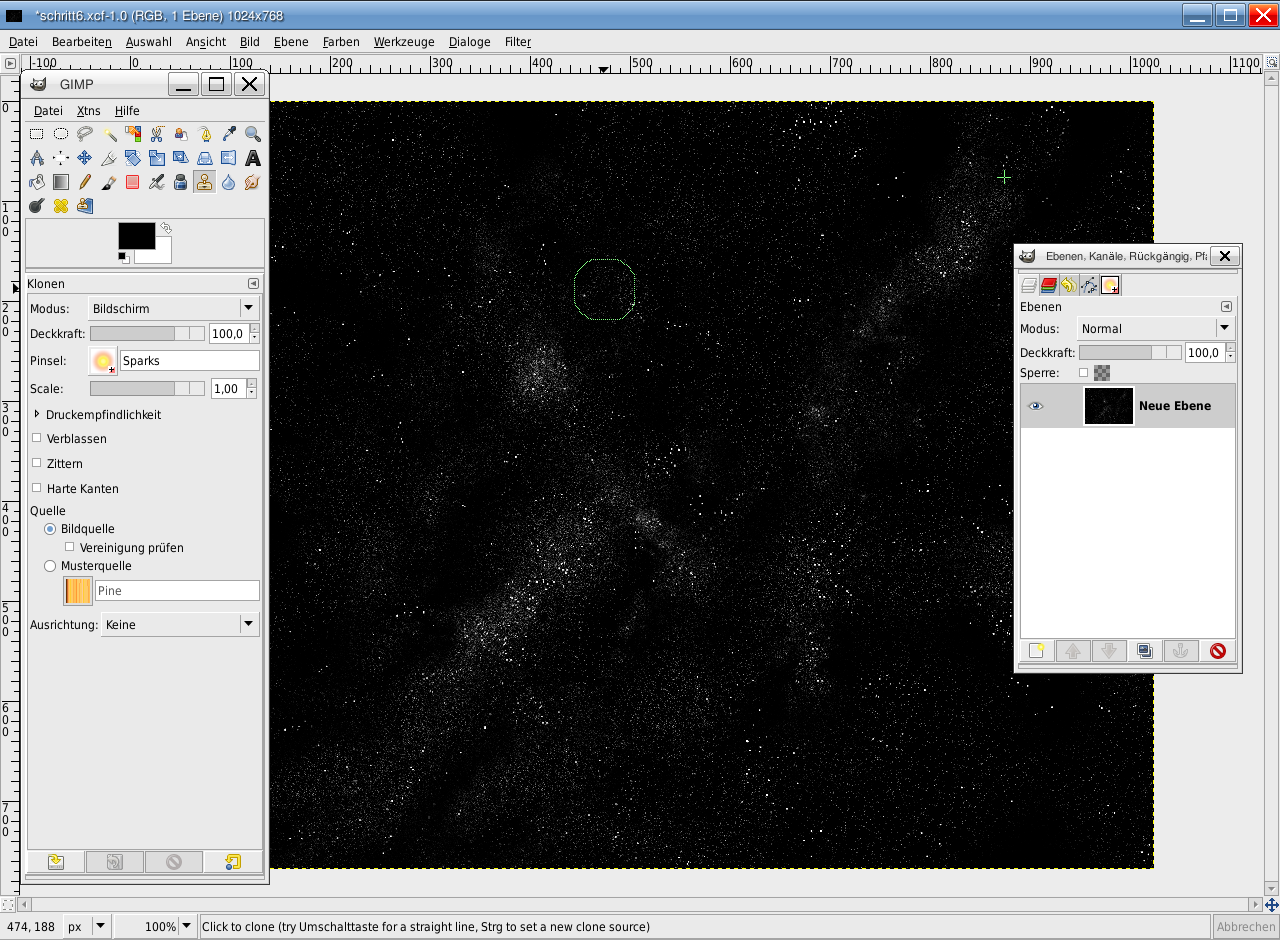
The next step is pretty easy: Image / Merge Image. Name this layer “Stars”.
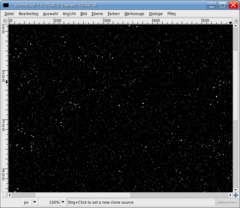
Now use the clone-tool, in the preferences choose “Screen” in the layers mode drop down. Now use the “Sparks”-Brush (the yellow one).
We’re randomizing our stars now so that they look real. This step is easily done. Set a starting-point by holding down CTRL and click a part in the image. Then simply paint at any other part of the image. The area is then copied all over and added to the current position. They’re added because we use the “screen”-mode in the preferences. That means that our stars never become less – the become more all the time. If you want lesser stars in an area you need to change the mode back to “normal” and clone a region that contains only few stars.
Lots of text ;) now just start to give your space live! and repeat the action of cloning.
My result looks like that:
-
13

Duplicate the layer. Name it “Stars glow” or “sternen glühen” as me.
- Filter / Blur / Gaussian Blur: 15px
- Colors / Color Balance:Shadows: -100 / 0 / 40
Mids: -100 / 30 / 40
Highlights: -100 / 30 / 40- Set the layers mode to “addition” or “screen”.
Your starfield should now glow blueish. If you want to have it glow even more just duplicate the glow layer.
-
14
Now some rather small steps follow to give our picture more cool details. We will make some bright glowing stars.
Create a new layer: fill it black.
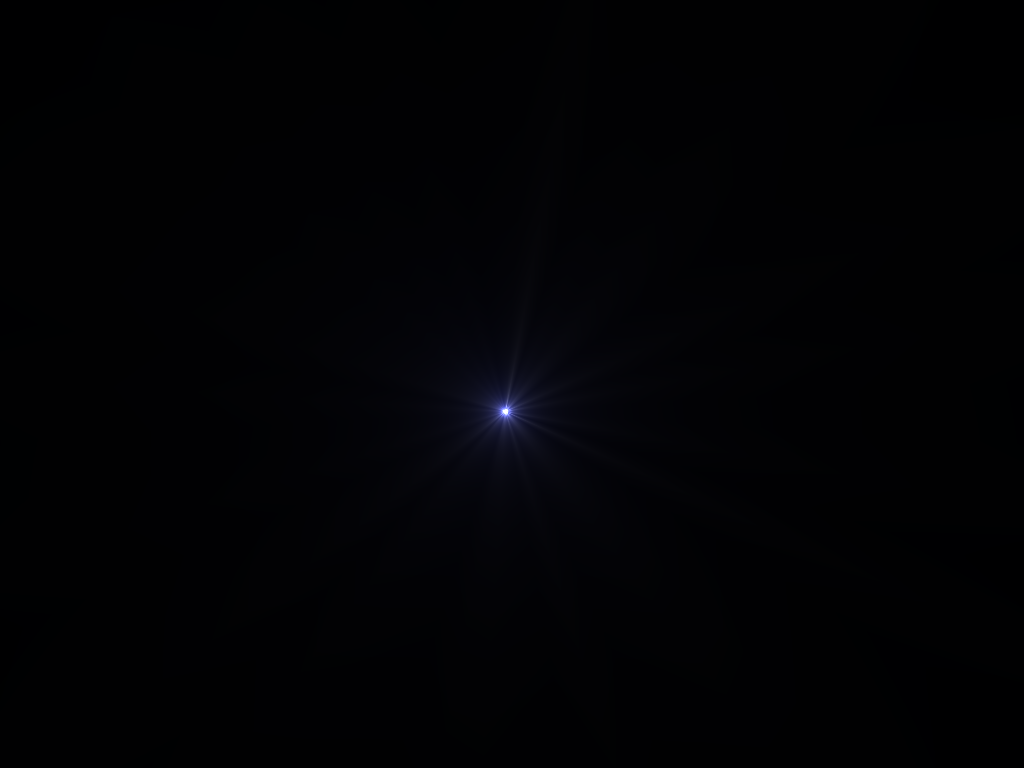
- Filter / Light and Shadow / Supernova
Having the filter dialog open enter any values you like to create you shining star. But don’t make it too big for the first time and place it in the middle. -
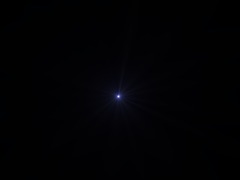
15
Set the layers mode to “Addition” and move the layer to any position you want to have the star. Duplicate it, scale it (SHIFT+T) to a smaller or bigger size and move it to any other position.
Repeat this until you are satisfied with the result.
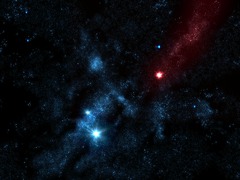
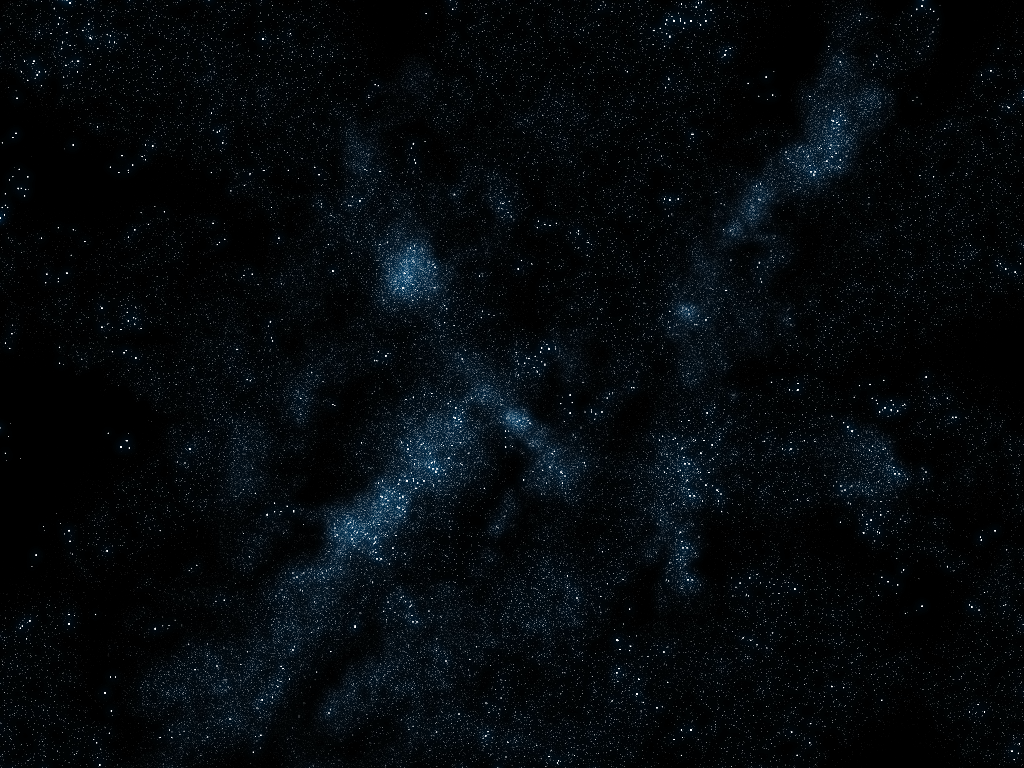
Optional: You can add some more color if you like. To do so you simply have to select the appropriate area in the “stars glow” layer with the free selection tool, feather this selection, and the apply Colors / Colorize to change the color of that area.
My final starfield looks like this. Have fun creating you very own starfields ;) This can also be nicely used as a wallpaper.


Comments
Post your own comments, questions or hints here. The author and other users will see your posting and can reply to it.
Of course, you can also ask in the chat.
Subscription management
Please log in to manage your subscriptions.
User rating
This topic (Create a cool starfield) has been rated 5.0/5.0.
New comments are disabled because of spam.