


Tutorial: Spicing up black/white images
 is licensed under a Create Commons Attribution-Non Commercial 3.0 Unported license.")

Links
Motivation
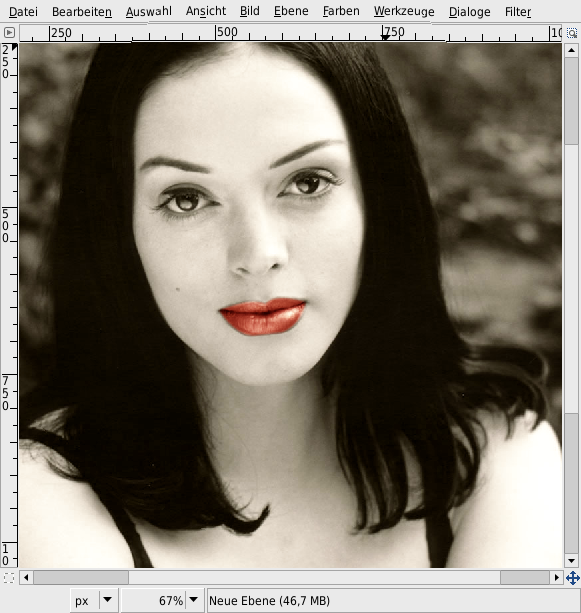
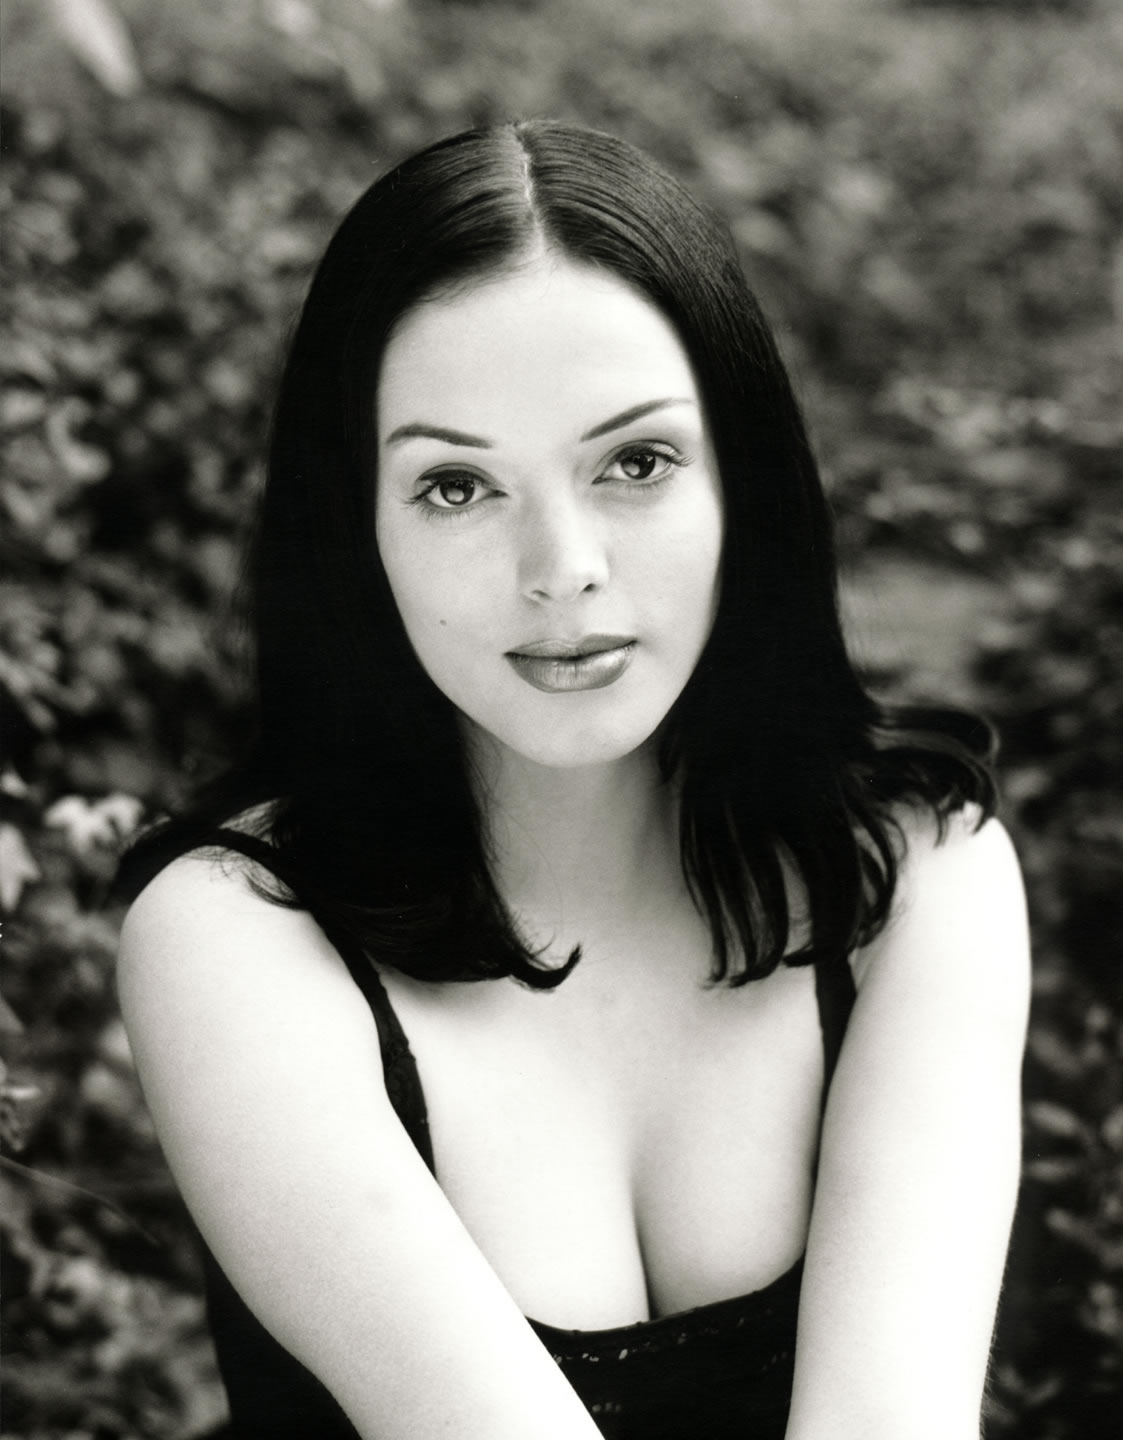
Today we try to spice up a grayscale image by coloring some parts. We use a photo of Rose McGowan (known from the TV series Charmed where she plays Paige Halliwell) as the original, color the whole image and especially point out the lips and eyes.
Tutorial details
- Category: Photos / wallpapers
- Time to reproduce: ≈15.0 minutes

- Tested with GIMP 2.4
-
1
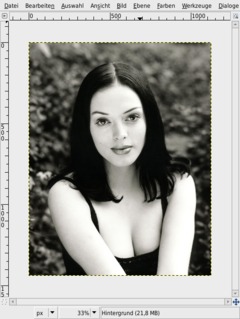
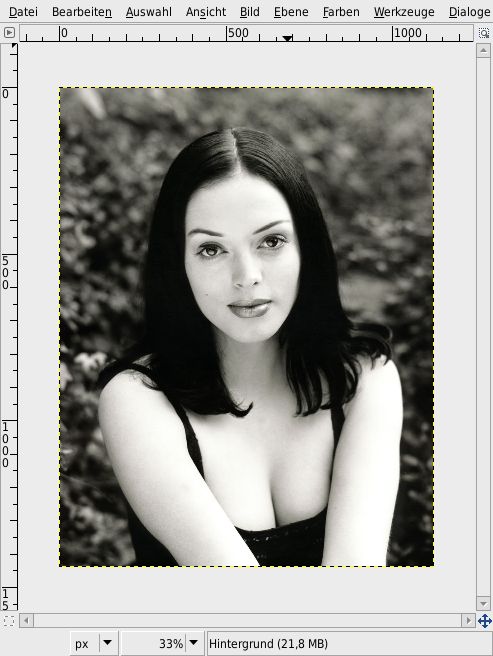
Save the image “Rose McGowan” (link is on the right side, below the tutorial details) and open it with GIMP.
Make sure that Image / Mode / RGB is selected. Otherwise you won’t get colors in the next steps.
-
2
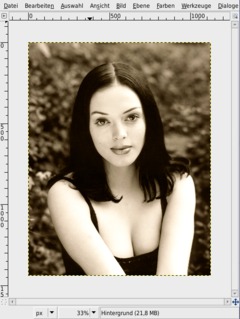
To bring a minimal touch of color into the image, use Colors / Color Balance with these values:
Shadows: 5 / 0 / -5
Midtones: 0 / 0 / 0
Highlights: 5 / 0 / -5The image should now have a very slight red-yellow tint.
-
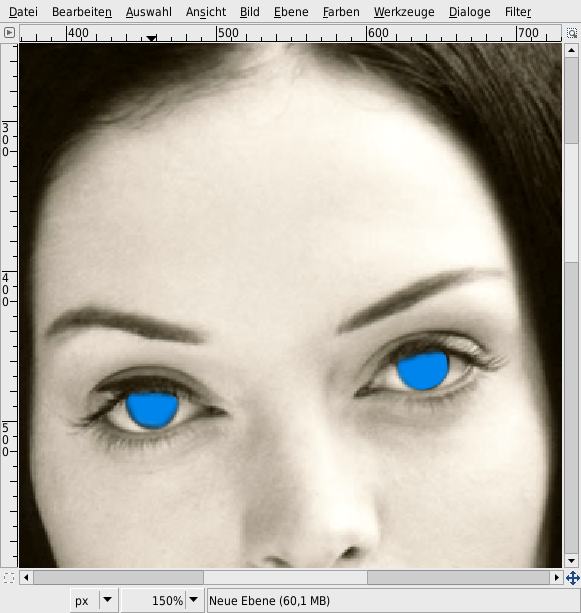
3

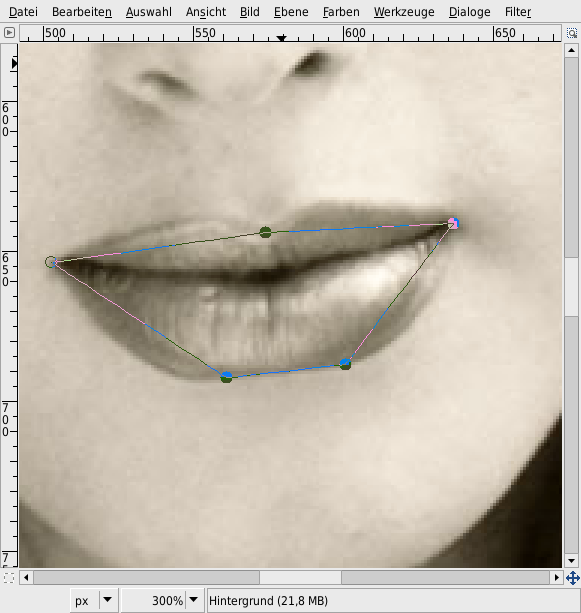
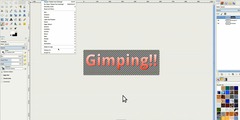
Enlarge the image to 200%. Now we want to color the lips red:
Choose the paths tool and start on left corner of the mouth by setting a point. Set further points like shown in the picture. Connect the last point with the first one by pressing CTRL.
-
4
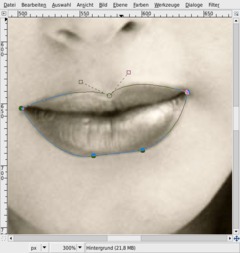
In order to get nice curves (we have to fit the lips with our selection), press and hold CTRL and click into the middle top point, hold the mouse button and drag the line to the left. So you can define the bending of the curve. Repeat this with the other points until the lips are selected correctly.
Hit ENTER to create a selection from the path.
-
5
- Create a new layer.
- Choose Select / Shrink, value: 5px.
- Fill the selection with color #c60000.
- Select “Soft light” as the layer mode. -
6

The next step is for the eyes: We will color them blue (although she has brown eyes in reality):
- Create a new layer again.
- Select the paintbrush tool, some blue (for instance #0085ec) as foreground color and paint over iris and pupil. Use the eraser tool to erase everything that is too much. -
7
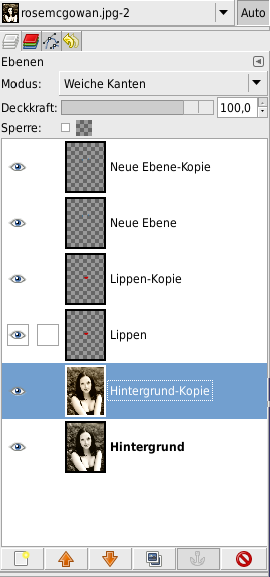
Again, set the layer mode to “Soft light”.
Duplicate the background layer. Apply Colors / color Balance (same values as in step 2) to the duplicate.
Then apply Filters / Blur / Selective Gaussian Blur: blur radius: 5 / max. delta: 20. Set the layer mode to “Soft light”. This steps accents the bright areas some more and generally makes areas smoother without blurring the edges.
If you want to point out the colors some more, you can simplify duplicate the lips or eyes layer.
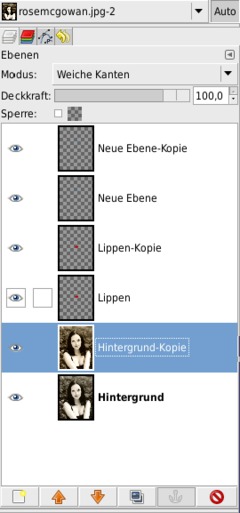
At the end, my layers look like this:
-
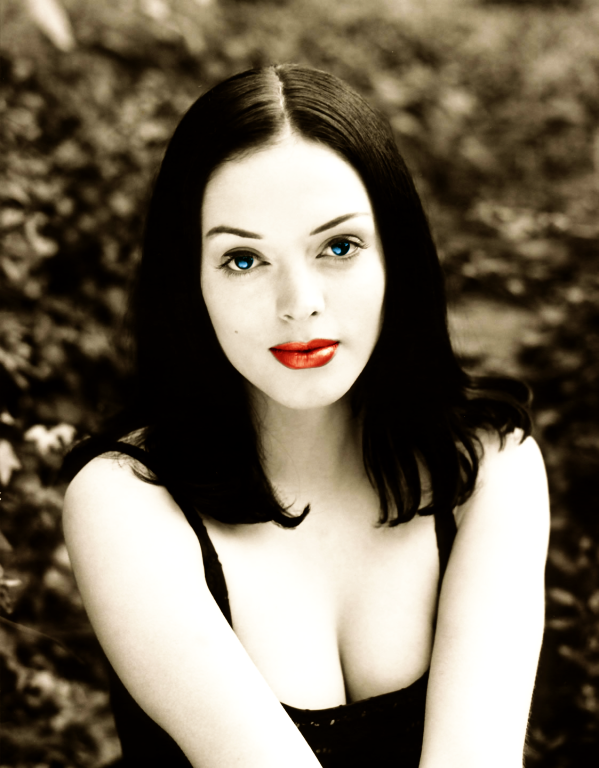
8
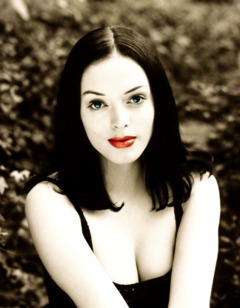
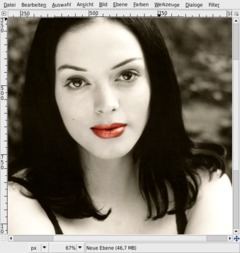
After our little image adaption, Rose McGowan looks like this:


Comments
Post your own comments, questions or hints here. The author and other users will see your posting and can reply to it.
Of course, you can also ask in the chat.
Subscription management
Please log in to manage your subscriptions.
User rating
This topic (Spicing up black/white images) has been rated 4.2/5.0.
New comments are disabled because of spam.