


Tutorial: Create sparkle on any object!
 is licensed under a Create Commons Attribution-Non Commercial 3.0 Unported license.")

Motivation
You all know these exaggerated advertisments where objects glitter very clearly. I.e. think about a dishwasher commercial where the glasses sparkle in an extreme way after the washing. It is pretty easy in GIMP to accomplish this effect - you only have to know how you do it ;)
Tutorial details
- Category: Techniques
- Time to reproduce: ≈10.0 minutes

- Tested with GIMP 2.6
-
1
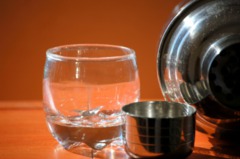
Open up any image that you want sparkle on. That could be text, a photo or something else.
I’m using a cocktail glass photo in this tutorial.
-
2
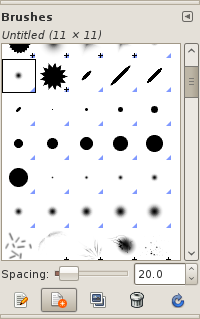
We’ll need to create a special brush ourselves.
Open the brush dialog: Window / Dockable Dialogs / Brushes or simply press SHIFT+CTRL+B.
-
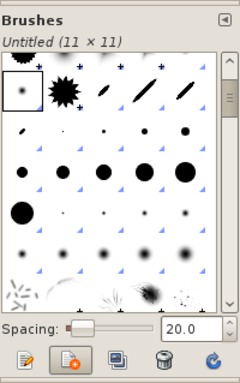
3

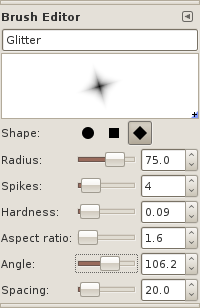
Click “New Brush” at the bottom of the dialog – name it “Glitter”.
As FORM use the third option.
The radius depends on the size of object you want the glitter to be on.
I use ~75 – thats a good value for most objects.
Use the values of the screenshot below:SPACING is not important for us in this case because we only apply a single sparkle at a time.
-
4
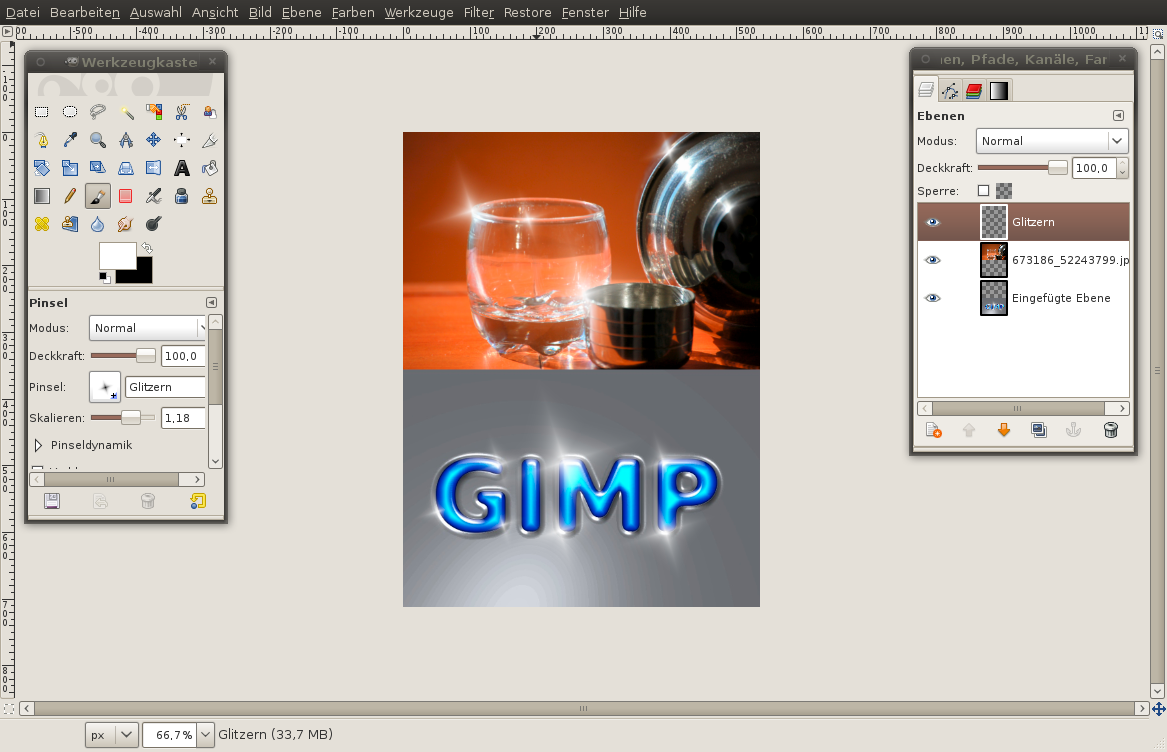
Now choose the paintbrush tool. The “Glitter” brush should be active automatically. If not please choose it from the dropdown where you can assign the brush.
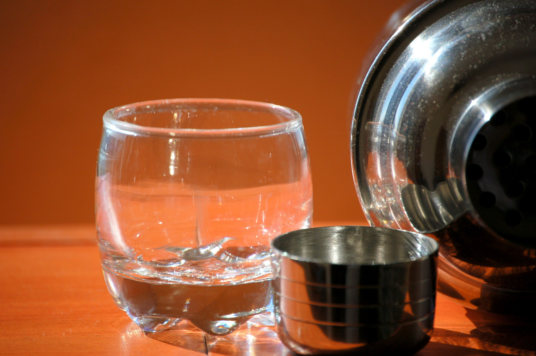
- Create a new transparent layer. Press at different places in the picture preferably at bright/highlighted areas.
Tip: While applying the glitter also change the size of the brush using the brush scale option in the tool prerferences. You’ll get a more appealing look if the sparkle is not always the same size.
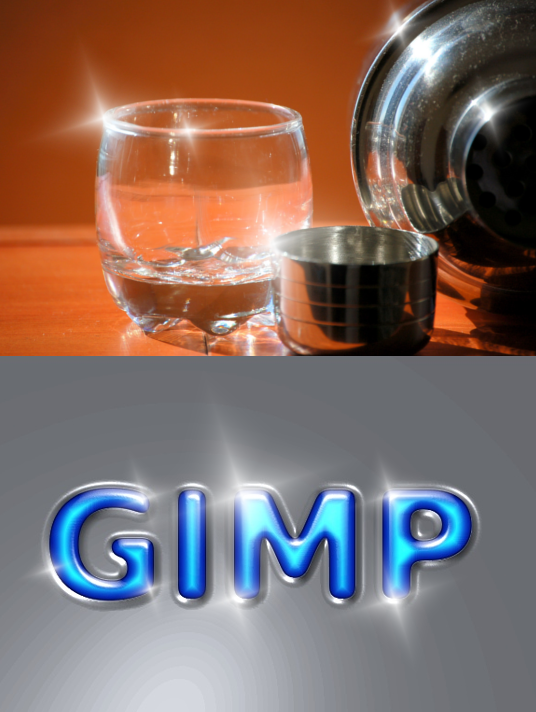
You can apply that sparkle to almost everything. Please don’t use too much of it or you’ll lose the effect!
-
5

Tip #2: If you want to refine the sparkle effect:
- Duplicate the layer with the sparkle
- Set layers mode of the duplicate to “soft edges”
- Move the duplicate below the original sparkle layer. After that the sparkle is shining a bit more.


Comments
Post your own comments, questions or hints here. The author and other users will see your posting and can reply to it.
Of course, you can also ask in the chat.
Subscription management
Please log in to manage your subscriptions.
User rating
This topic (Create sparkle on any object!) has been rated 5.0/5.0.
New comments are disabled because of spam.