


Tutorial: Simple Scanlines
Written by devvv ·
Created on Apr 04, 2007, last updated over 14 years ago
 is licensed under a Create Commons Attribution-Non Commercial 3.0 Unported license.")

Motivation
The effect of scanlines is pretty popular, mainly for forum-signatures. This tutorial shows probably the easiest way to do this simple effect in the GIMP, in just 4 very short steps!
Tutorial details
- Category: Photos / wallpapers
- Time to reproduce: ≈5.0 minutes

- Tested with GIMP 2.3.15
-
1
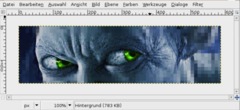
Open up a photo, or something else that you want to provide with scanlines. If you just want to test this tutorial download my sample-signature from the right and open it.
-
2
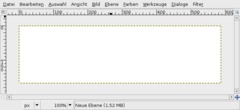
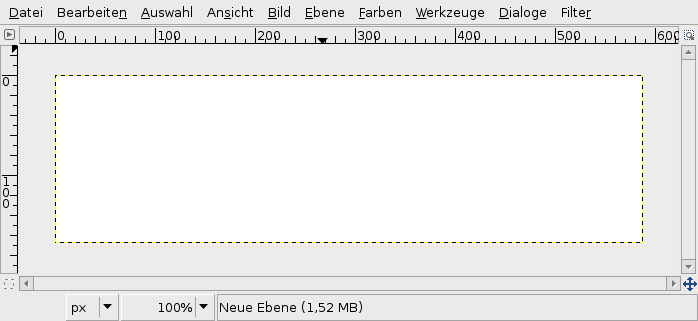
Create a new empty layer. Take the Bucket Fill-Tool, choose white as foreground color and then fill the layer with it.
-
3
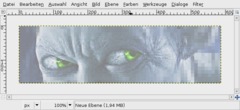
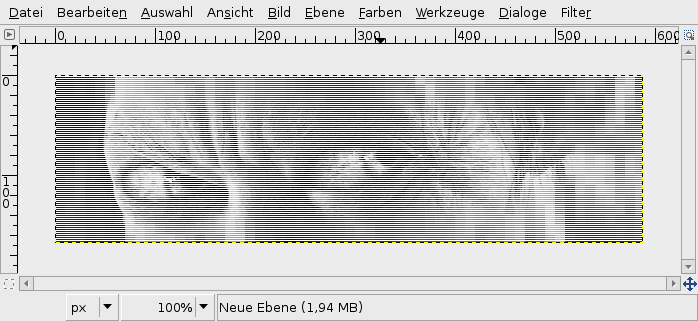
Now apply Filter / Distorts / Erase every other row and just click OK. The lines are divided already, but the effect is not clearly visible. Click the picture to see what i mean.
-
4

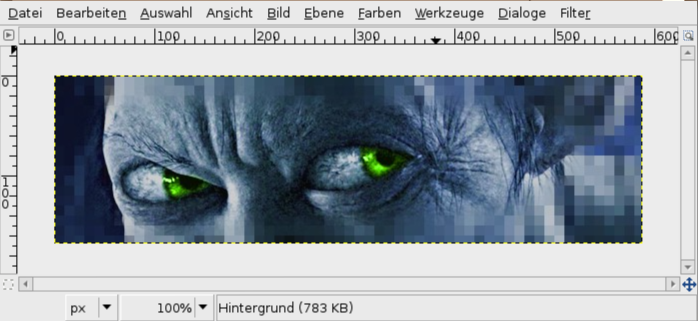
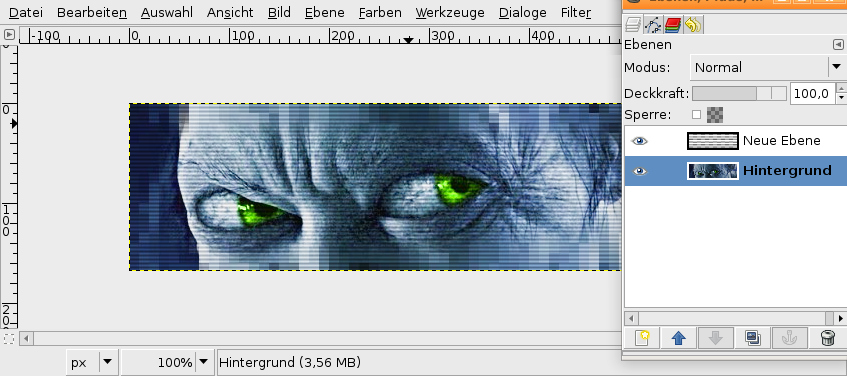
We’re going to enlarge the layer.
Take the Scale-Tool. Click the layer. In the upcoming dialog choose 200 “Percent” as Value for height and width. Click OK.
Now set the layer mode to “Overlay”.
Done, enjoy the effect ;)


Comments
Post your own comments, questions or hints here. The author and other users will see your posting and can reply to it.
Of course, you can also ask in the chat.
Subscription management
Please log in to manage your subscriptions.
User rating
This topic (Simple Scanlines) has been rated 5.0/5.0.
New comments are disabled because of spam.