


Tutorial: Old Parchment Paper
 is licensed under a Create Commons Attribution-Non Commercial 3.0 Unported license.")

Motivation
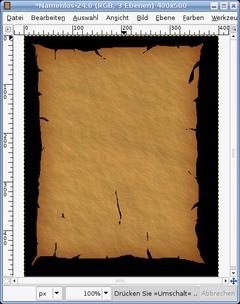
This tutorial is a bit aimed on fantasy-fans! I will show you how to generate an old parchment paper. You can than add an old map, a photo or just plain text to it!
Tutorial details
- Category: Special FX
- Time to reproduce: ≈25.0 minutes

- Tested with GIMP 2.3.11
-
1
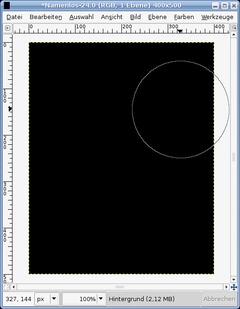
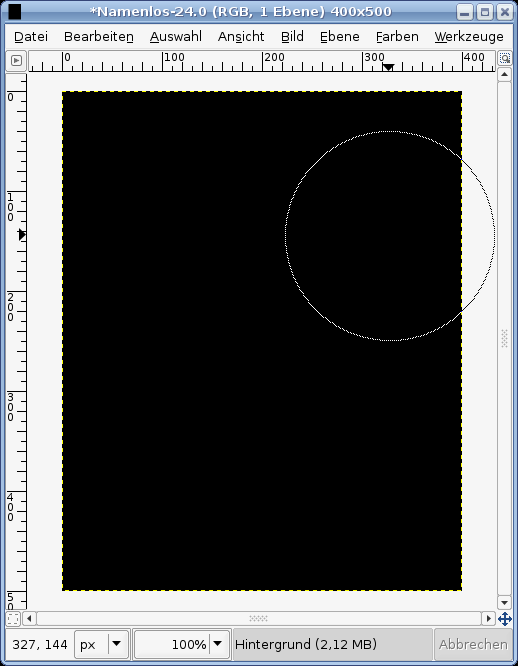
Open a new file: 400×500 px and set the background color to black.
-
2
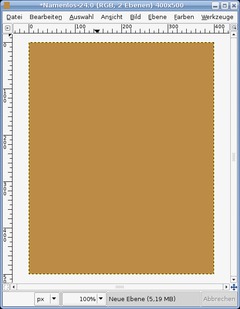
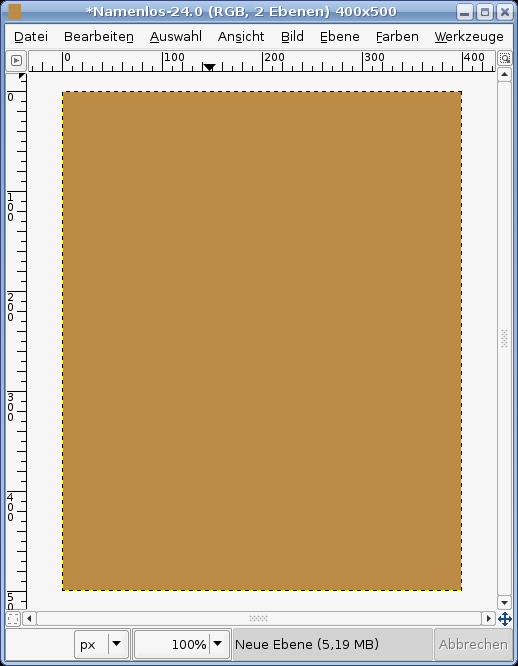
Create a new transparent layer, fill it with #bc8b46.
-
3
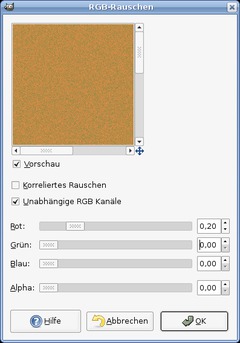
Go to Filter / Noise / RGB Noise and use these values as input:
Independent RGB Channels: checked
RED: 0,20
GREEN: 0
BLUE: 0
ALPHA: 0 -
4
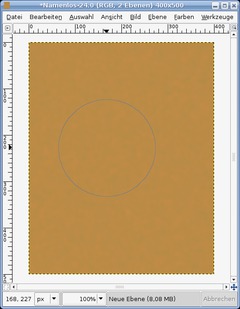
- Filter / Blur / Gaussian Blur: 10px.
The noise-effect should be still very little visible-
-
5
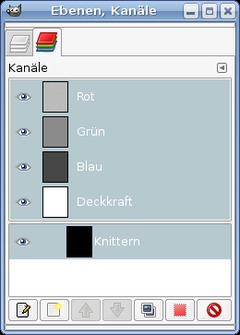
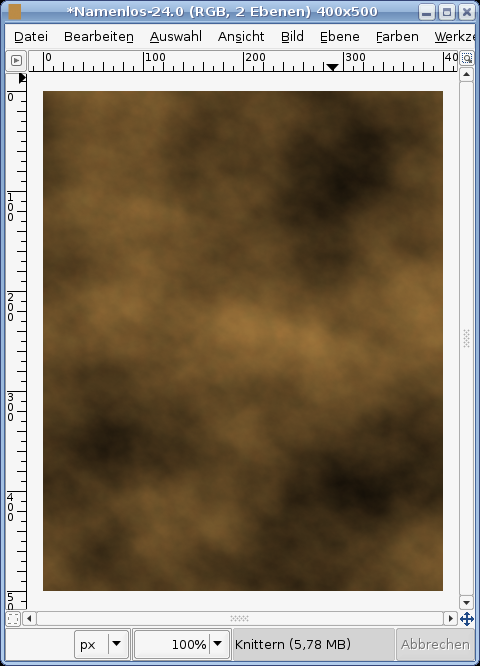
Now, we’re going to bring some depth into play. Open the channels tab (Dialogs / Channels). Create a new channel there, name it “knittern” or “crinkle” which is the english word for this.
Opacity to 100%.
-
6

Click the just created channel to make it active.
Apply Filter / Render / Plastic Noise. Activate “Random”.
Values:
-——-
Random: on
X: 2,3
Y: 3,3
Details 15.You get this kind of picture:
-
7
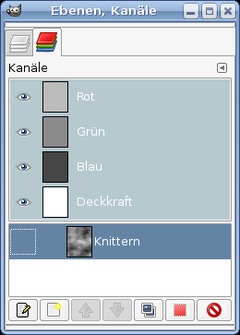
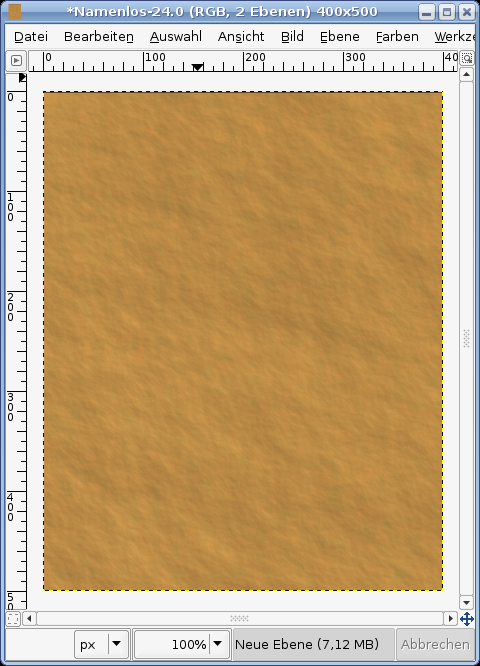
In the channels tab deactivate the eye-symbol to make it invisible.
-
8
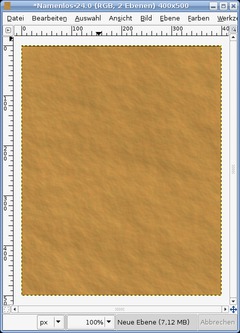
Change to the layers-tab and click the brown layer to make it active. Now apply Filter / Light and Shadow / Lighting Effect. In the tabs of the filter enter these values
Options:
(optinal) Distance: 2000Light:
-—-
Light1:
Type: Directional
Color: White:
Direction: X: -2,25 Y: 1,75 Z: 1Material:
Glow: 0,5
Bright: 0,75
Shiny: 0,12
Polished: 20Bumpmap:
use the “crinkle”-Channel
Max Height: 0,01 -
9
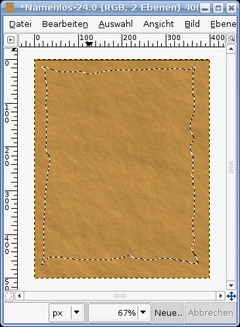
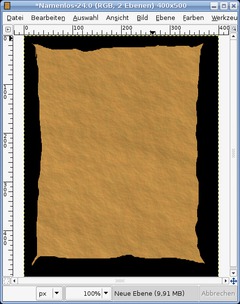
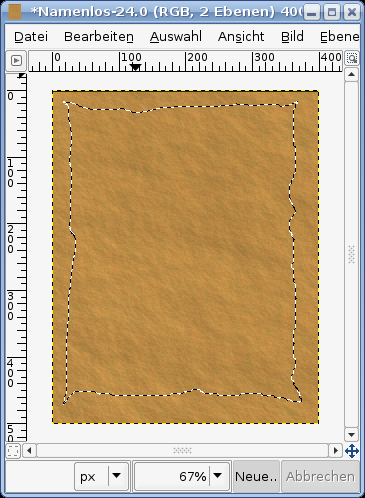
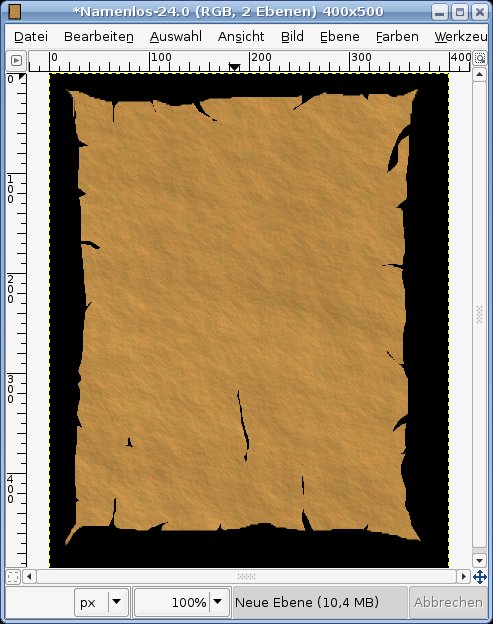
- Filter / Enhance / Sharpen: 60.
After that choose the “Free selection”-tool. Draw a selection as seen on the picture.
-
10
Now choose Selection / Invert. Cut that part or just delete it using DEL (or CTRL+K in GIMP 2.2).
Deactivate the current selection by pressing CTRL+SHIFT+A or Selection / None -
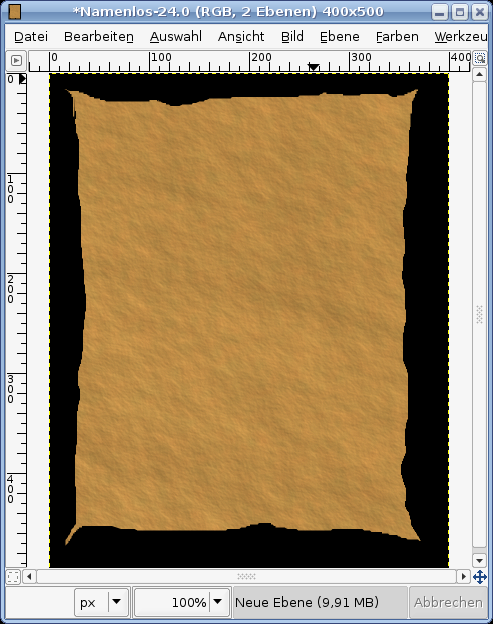
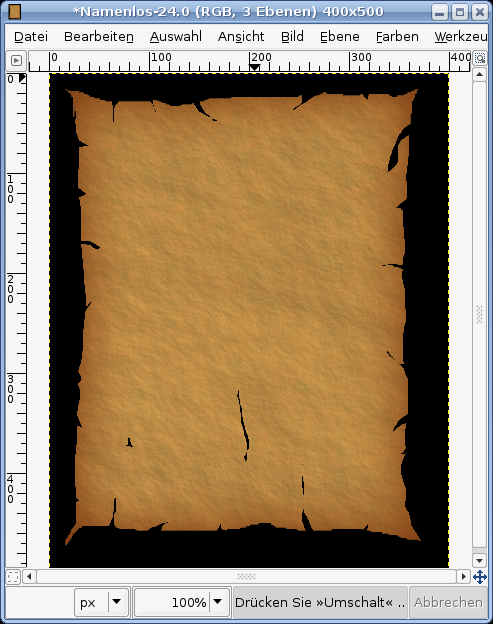
11
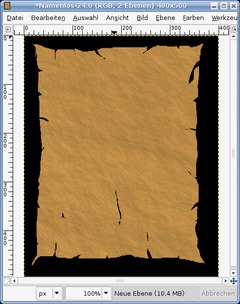
The next step is to create some more cuts into the parchment. Use the free selection tool for this again. Cut many small cranks into the parchment. You can also do small very thin ones in the middle.
-
12
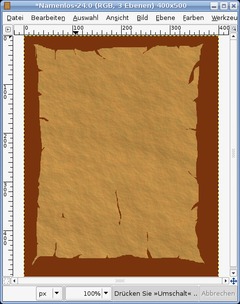
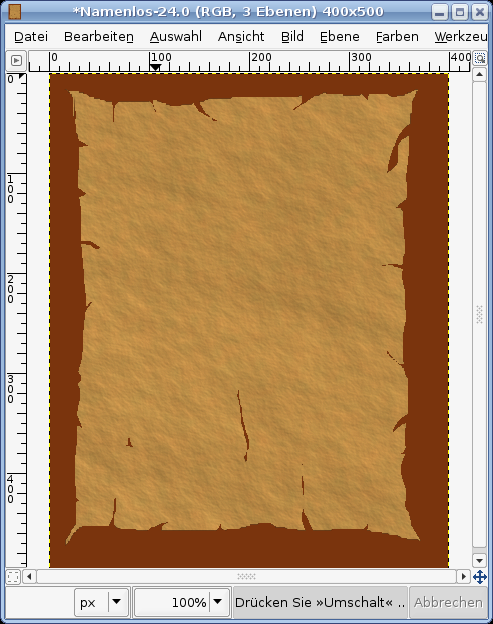
Now we’re adding a darker border to it.
- Right click in the layers dialog. “Alpha to selection”. This gives us a perfect selection of the layer.
- Add a new empty layer
- Selection / Invert
- Fill this selection with #7a340d
- Selection / None -
13
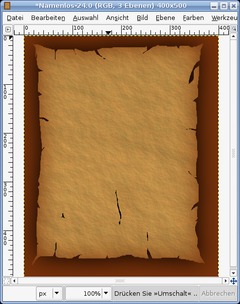
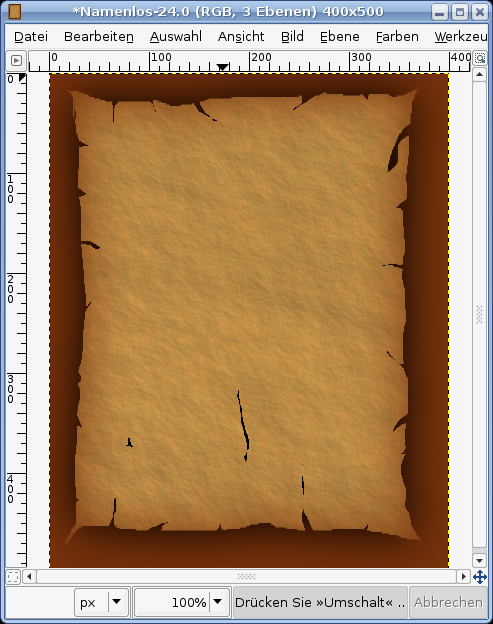
Apply Filter / Blur / Gaussian: 75.
-
14
Activate the parchement layer. Choose “alpha to selection” from the right click context menu of the layers dialog again.
Activate the just blurred layer. Press CTRL+I to invert the selection and the press DEL to delete the unwanted parts. The brown inner shine should be visible now.
The hard part is done ;) Now you can finetune your parchment paper by using Brightness and Contrast. Or you can apply the depth-effect again if you want more crinkle! Feel free to play around with it.
-
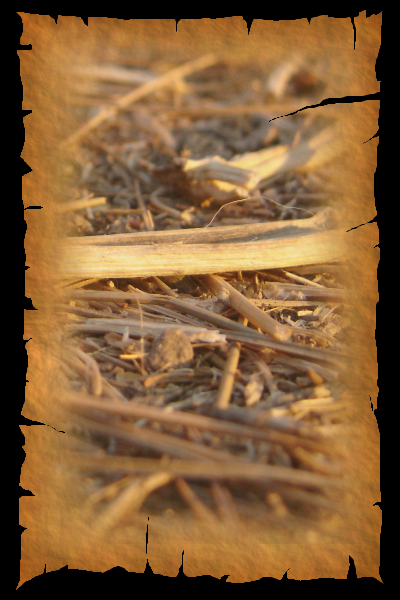
15
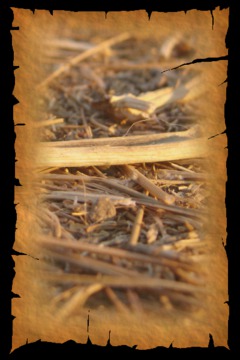
You can the add a photo to it or write some text or you can also add an old map to make your own treasure map! Have fun!


Comments
Post your own comments, questions or hints here. The author and other users will see your posting and can reply to it.
Of course, you can also ask in the chat.
Subscription management
Please log in to manage your subscriptions.
User rating
This topic (Old Parchment Paper) has been rated 5.0/5.0.
New comments are disabled because of spam.