


Tutorial: Generate a stripe-like texture
Written by devvv ·
Created on May 14, 2007, last updated almost 15 years ago
 is licensed under a Create Commons Attribution-Non Commercial 3.0 Unported license.")

Links
Motivation
You'll often need some short techniques to create a website banner, a forum signature or wallpapers. In this tutorial I'll show you how to create such a simple "texture" in less than five minutes!
Tutorial details
- Category: Simple effects
- Time to reproduce: ≈5.0 minutes

- Tested with GIMP 2.3.10
-
1

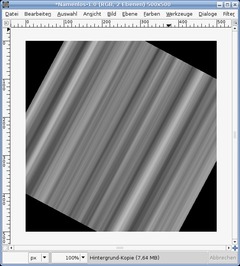
Open up a new file: 500×500px.
Add a new empty layer.
Choose Filter / Render / Clouds / Solid noise.
Choose the values shown in the picture below:
(x:0.1, y:16, random) -
2
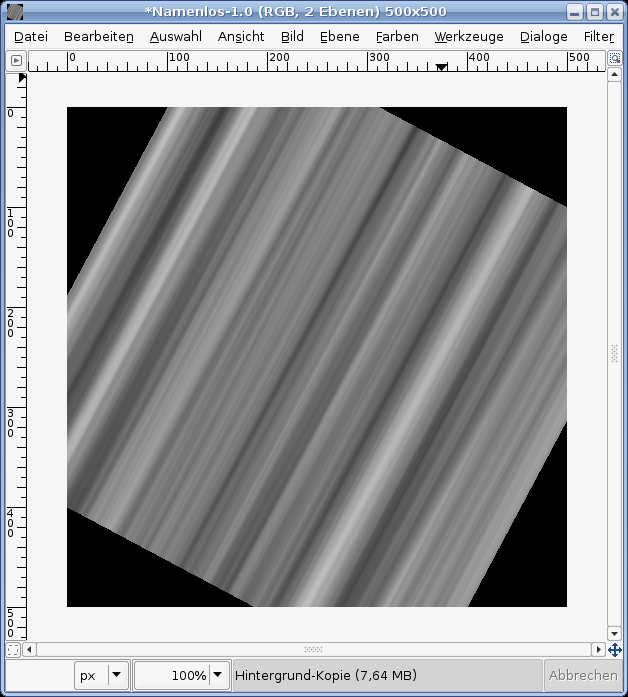
Go to: Layer / Rotate Layer or just press SHIFT+R. Rotate it for 25°
-
3
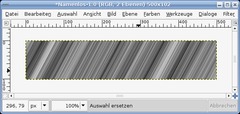
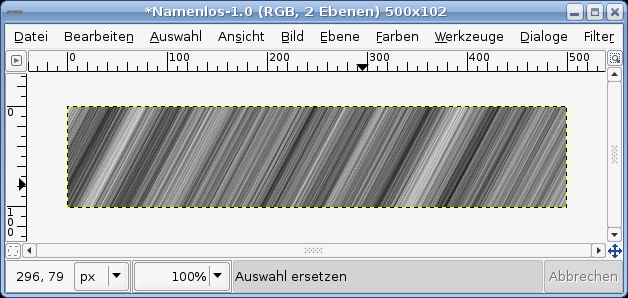
Choose the crop tool, adjust it to a certain part of the picture so that everything inside the selection is covered by the texture. Press ENTER.
Optional: Filter / Enhance / Sharpen if you want to see more detail in your texture.
-
4
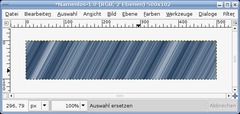
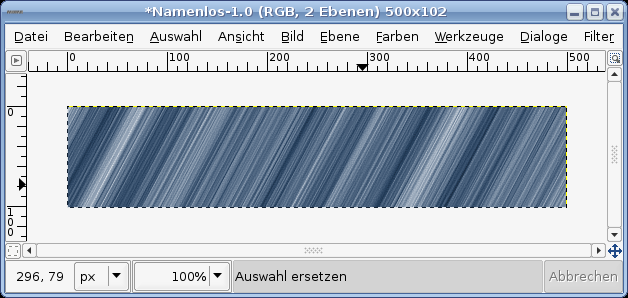
Now choose (in GIMP 2.2: Layer /) Colors / Colorize.
Move the brightness up a bit and take a color of your choice! I’ve taken a soft blue.Thats it!


Comments
Post your own comments, questions or hints here. The author and other users will see your posting and can reply to it.
Of course, you can also ask in the chat.
Subscription management
Please log in to manage your subscriptions.
User rating
This topic (Generate a stripe-like texture) has been rated 5.0/5.0.
New comments are disabled because of spam.