


Tutorial: Create futuristic looking tech pattern
 is licensed under a Create Commons Attribution-Non Commercial 3.0 Unported license.")

Motivation
This is one of these simple to do tutorials, but the effect just looks cool and pretty futuristic. So I've written a tutorial for it. Enjoy!
Tutorial details
- Category: Simple effects
- Time to reproduce: ≈15.0 minutes

- Tested with GIMP 2.4.4
-
1
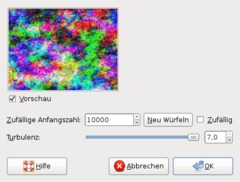
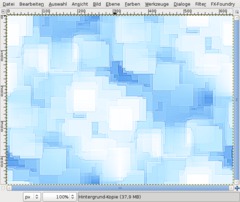
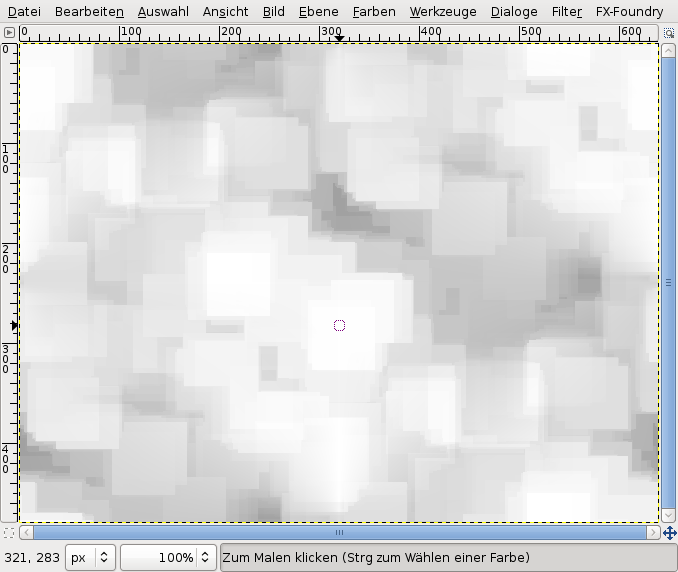
Create a new image: 640×480 px. The Background should be plain white. Now choose Filters / Render / Clouds / Plasma.
Take these values: 10.000 / tubulence: 7
-
2
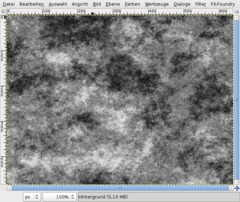
Go to Colors / Desaturate: Brightness and choose OK.
-
3
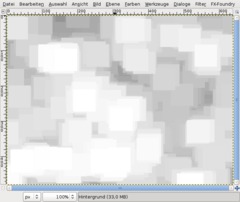
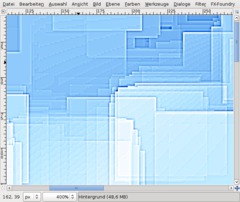
Now we’re giving our pattern the special look which it will have at the end. We’re using the Dilate filter, a very simple filter that smallens the dark areas in an image. Don’t be confused if you look at the quick description when hovering the entry in the filter menu – I think currently in Gimp 2.4.4. this is a wrong description.
Choose Filter / General / Dilate.
After this repat that filter 30 times. Use CTRL+F to repeat the filter quickly.
-
4
Got to Filter / Map / Make seamless.
-
5
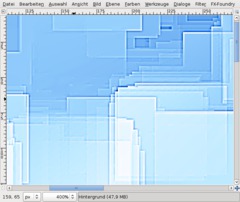
Sharpen the picture now using Filter / Enhance / Sharpen: ~85.
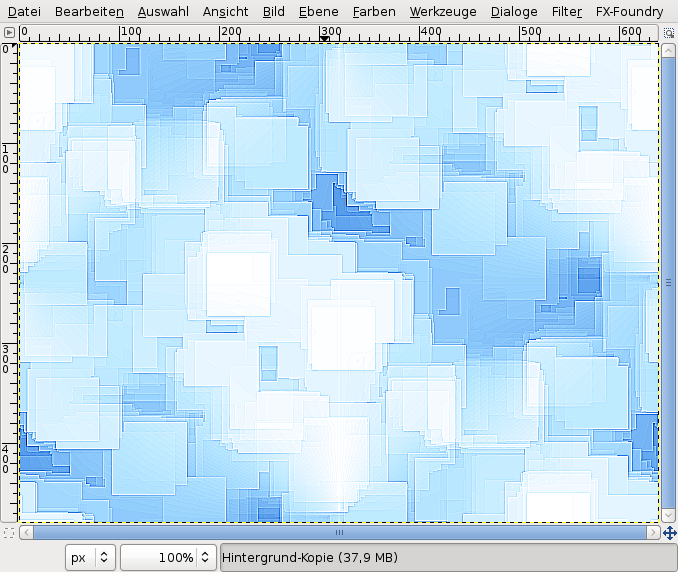
Now we’re giving our picture some color: Use Colors / Color Balance
Shadows: -50 | 30 | 30
Mids: 0 | 30 | 50
Highlights: -65 | -40 | 20 -
6
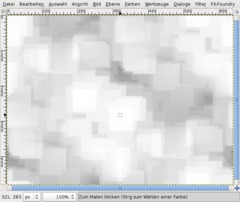
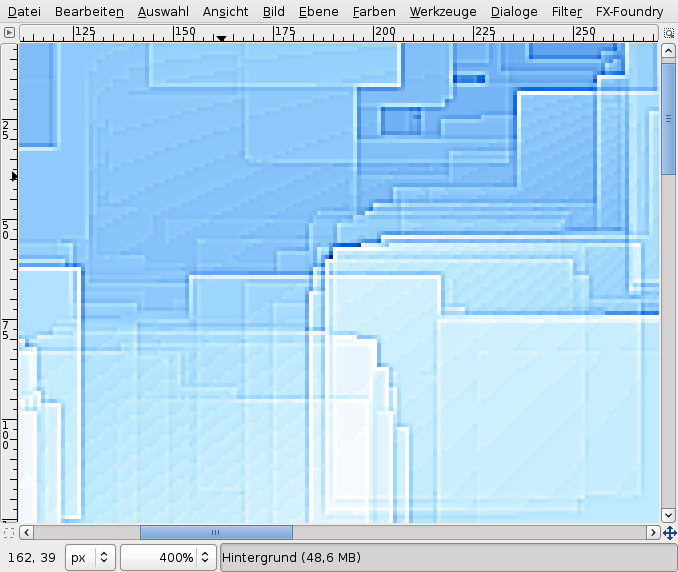
If you zoom into the image very closely you’ll notice some gradients that are not very nice looking.
-
7
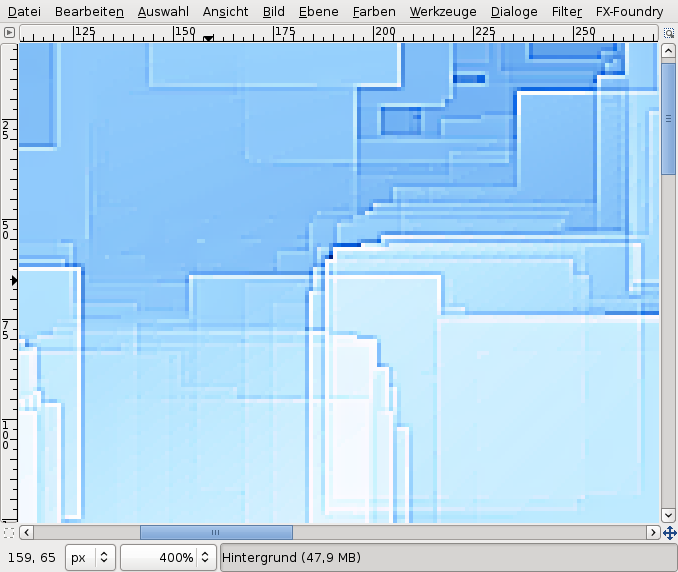
To get rid of this we use Filter / Blur / Selective Gaussian Blur.
Values: 5 / Max Delta: 13
-
8

Now we want to have some cool glowing edges so that everything look really future style like.
Zoom back to 100% (do this fast by clicking the “1”-key).
Click “duplicate layer” in the layers dialog or just use the hotkey: CTRL+SHIFT+D
On the duplicate use Filter / BLur / Gaussian Blur: 10.
Set the layers mode (directly above the opacity ruler in the layers dialog) to “Lighten only”.
-
9
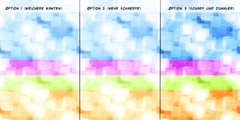
Thats all, we are finished! The softer result is in the left part of the picture below.
Option 1: If you want your edges to be sharper and more clearly looking use Filter / Enhance / Sharpen (40/50) again on the background-layer.
Option 2: If you want the whole picture a bit darker (less white glow and more saturated colors) simply create a new totally black layer above all layers and set the layers mode to “Overlay”.
Have fun with this ;) Hope you enjoyed this easy tutorial.


Comments
Post your own comments, questions or hints here. The author and other users will see your posting and can reply to it.
Of course, you can also ask in the chat.
Subscription management
Please log in to manage your subscriptions.
User rating
This topic (Create futuristic looking tech pattern) has been rated 5.0/5.0.
New comments are disabled because of spam.