


Tutorial: Exploding Planet
 is licensed under a Create Commons Attribution-Non Commercial 3.0 Unported license.")

Links
Motivation
Various special effects are just there to get to know some techniques that you might need once. The result of this tutorial will probably not be further used, but it still looks cool ;)
Tutorial details
- Category: Special FX
- Time to reproduce: ≈15.0 minutes

- Tested with GIMP 2.4
-
1
Like some others, this tutorial is an implementation of an existing Photoshop tutorial.
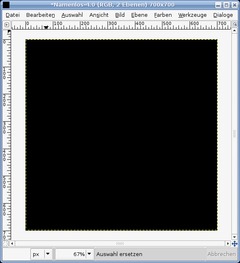
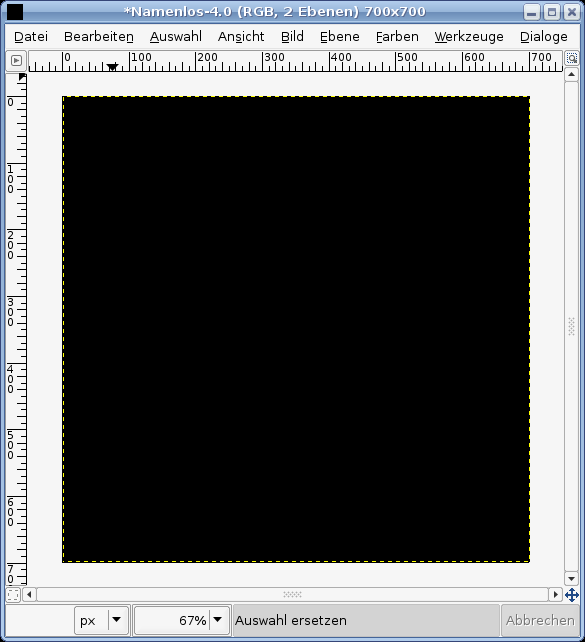
Create a new image (700px * 700px) with a black background colour.
-
2
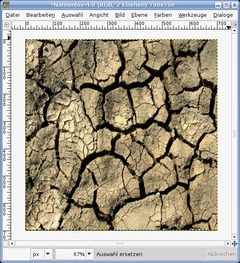
Download the attachment to this tutorial (right), open the JPG and copy the cracked soil (ctrl+c) into your new GIMP-File onto a new layer. Press CRTL+T to transform and type in 700×700 pixels. Now move the layer into the middle, so that everything can be seen.
Optional: To achieve an exact positioning, you can also use the alignment tool. Click the tool, click on the layer with the cracked soil. Now go to: “Relative to:”. Then click the icon for the horizontal and vertical middle each once – your layer should now exactly fit in the size of the image!
-
3
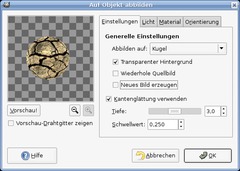
Now, stretch the active layer on a ball: Go to Filters / Map / Map object and select “sphere”. See the settings in the picture below. In the “light” tab select: No light.
-
4
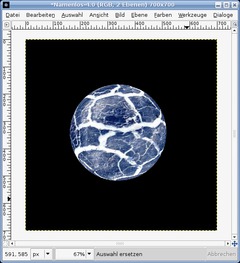
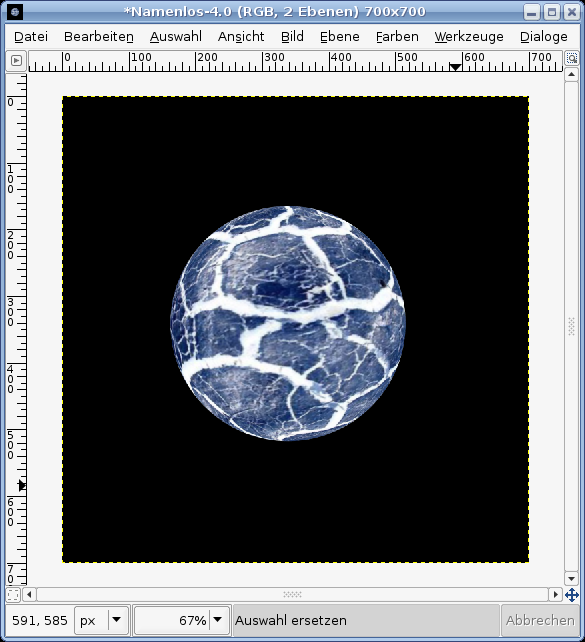
Invert the colors (Color / Invert). You will get a blue and white sphere:
-
5

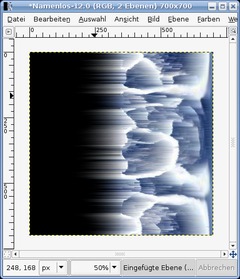
We will now add the exploding rays. For this we first need the sphere streched on the layer: Filters / Distorts / Polar coords. Disable the bottom-right checkbox “To Polar”. Click OK.
Then go to Image / Transform / Rotate 90° CW.
-
6
Click Filters / Distorts / Wind with the values:
Wind
Direction: Right
Edge affected: Leading
Threshold: 5
Strength: 37Use the filter again by pressing CTRL+F.
-
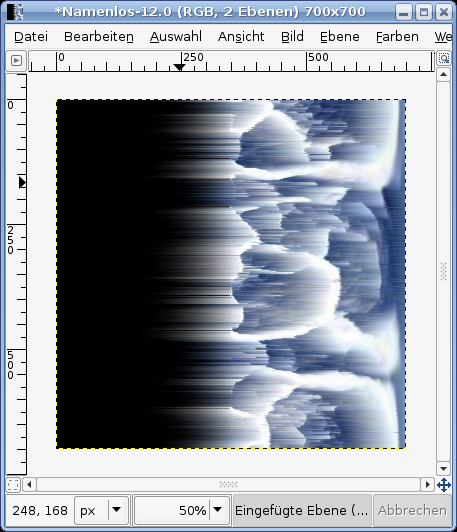
7
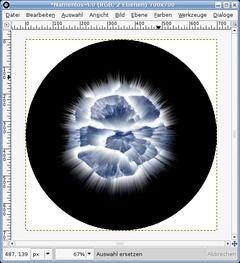
Now we must undo the stretching from before to get our sphere:
- Turn the Layer by selecting Layer / Transform / 90° CCW. It should now be on the top side.
- Now select Filters / Distorts / Polar coords. Check the box for “To Polar” again. -
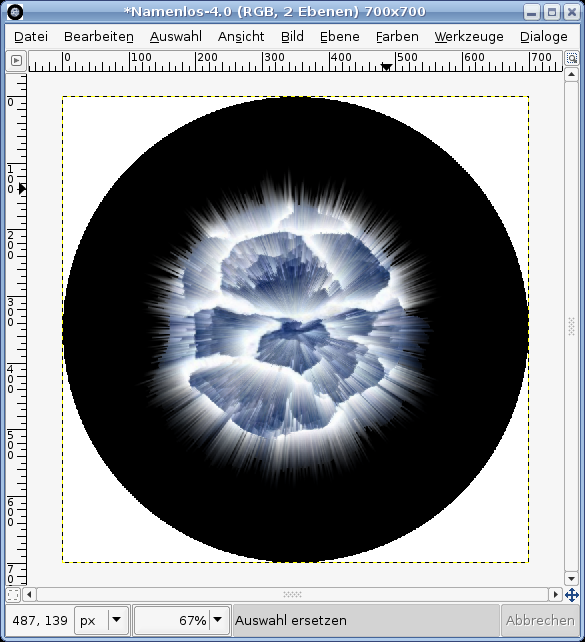
8

Then it looks quite cool. Take the Select Eliptical Regions tool (Key E) make a selction around the planet – invert this and cut the white edge away.
After that go to Select / None to make the existin selection dissappear.
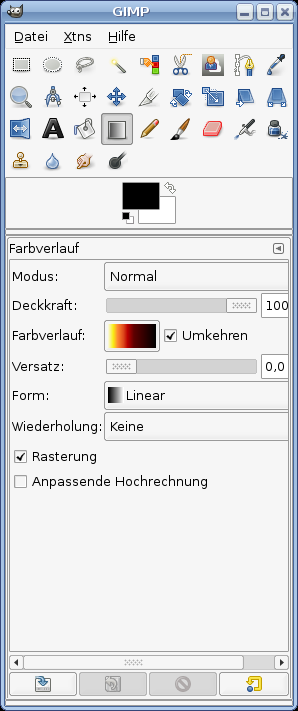
Press CRTL+B to make the tool window appear – then L to activate the Gradient tool. Search for the gradient seen on the picture.
-
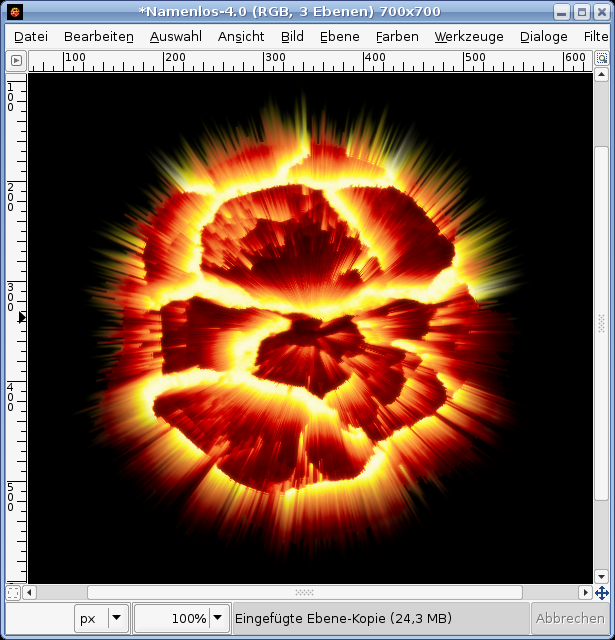
9
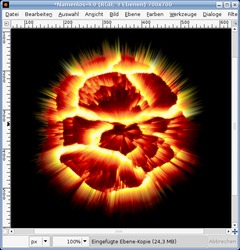
Turn it around and go to Colors / Map / Gradient Map and you have your exploding planet!
Optionally, you could duplicate the planet layer. Soften this layer with the value 11, turn the transparency of the layer to 65% and change the layer mode to “screen” or “color”. Thus, it reached a little more color intensity and softer transitions. Have fun with it.


Comments
Post your own comments, questions or hints here. The author and other users will see your posting and can reply to it.
Of course, you can also ask in the chat.
Subscription management
Please log in to manage your subscriptions.
User rating
This topic (Exploding Planet) has been rated 4.7/5.0.
New comments are disabled because of spam.