


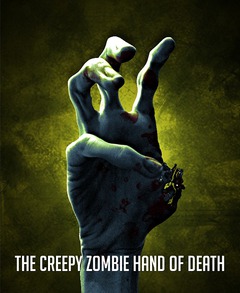
Tutorial: The creepy zombie hand of death!
 is licensed under a Create Commons Attribution-Non Commercial 3.0 Unported license.")

Motivation
In this tutorial I show you how to transform your own hand into a creepy zombie hand of death that is full of blood! I love to think about such cool looking titles ;) Enjoy the tutorial!
Tutorial details
- Category: Photos / wallpapers
- Time to reproduce: ≈45.0 minutes

- Tested with GIMP 2.7
-
1
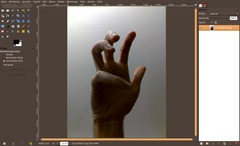
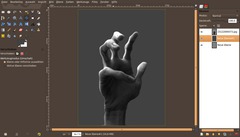
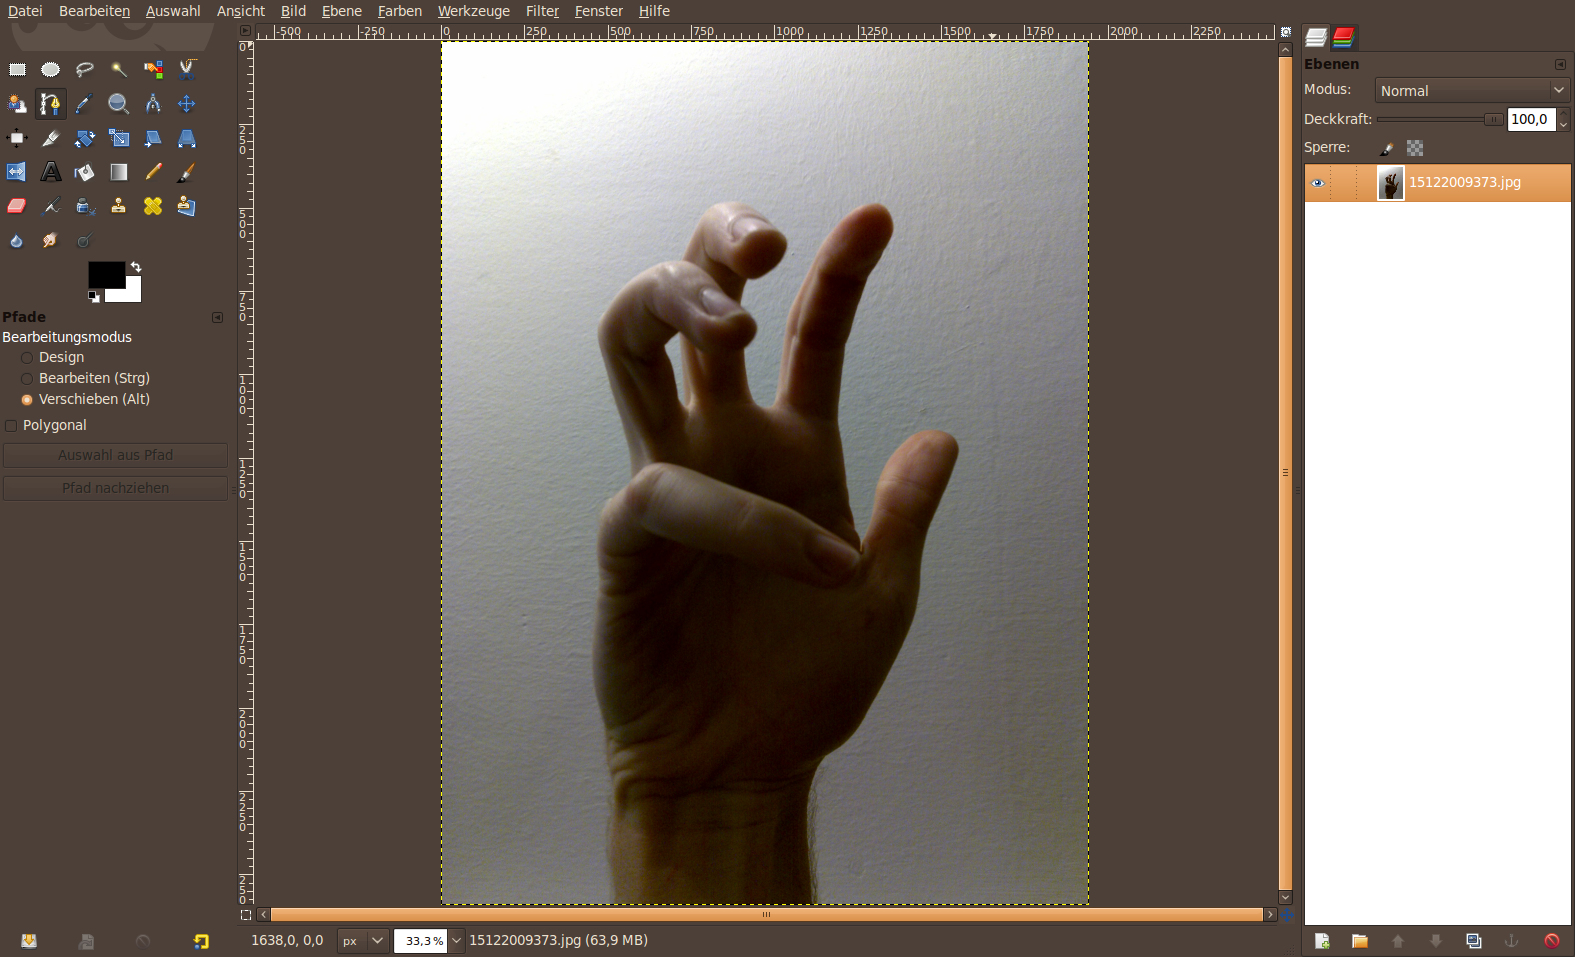
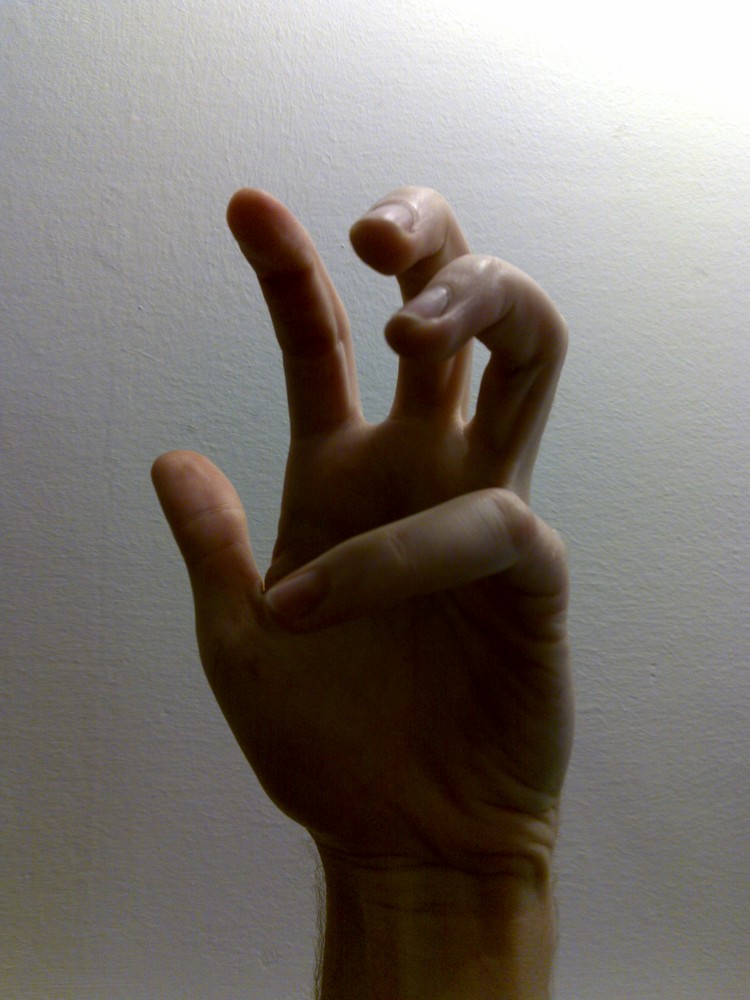
Make a photo of your own hand against a single colored baclground. Crank your hand and be sure that all single fingers are well viewable not overlapped.
-
2
Scale the Foto to app. 1000px height. Mask your hand. You can use the paths tool very good for this. Click aside your hand – the advantage of the paths tool in this specific case is that you can use curves for some parts of the fingers. You can save alot of clicking when using curves.
Don’t forget about the in-between areas.
-
3

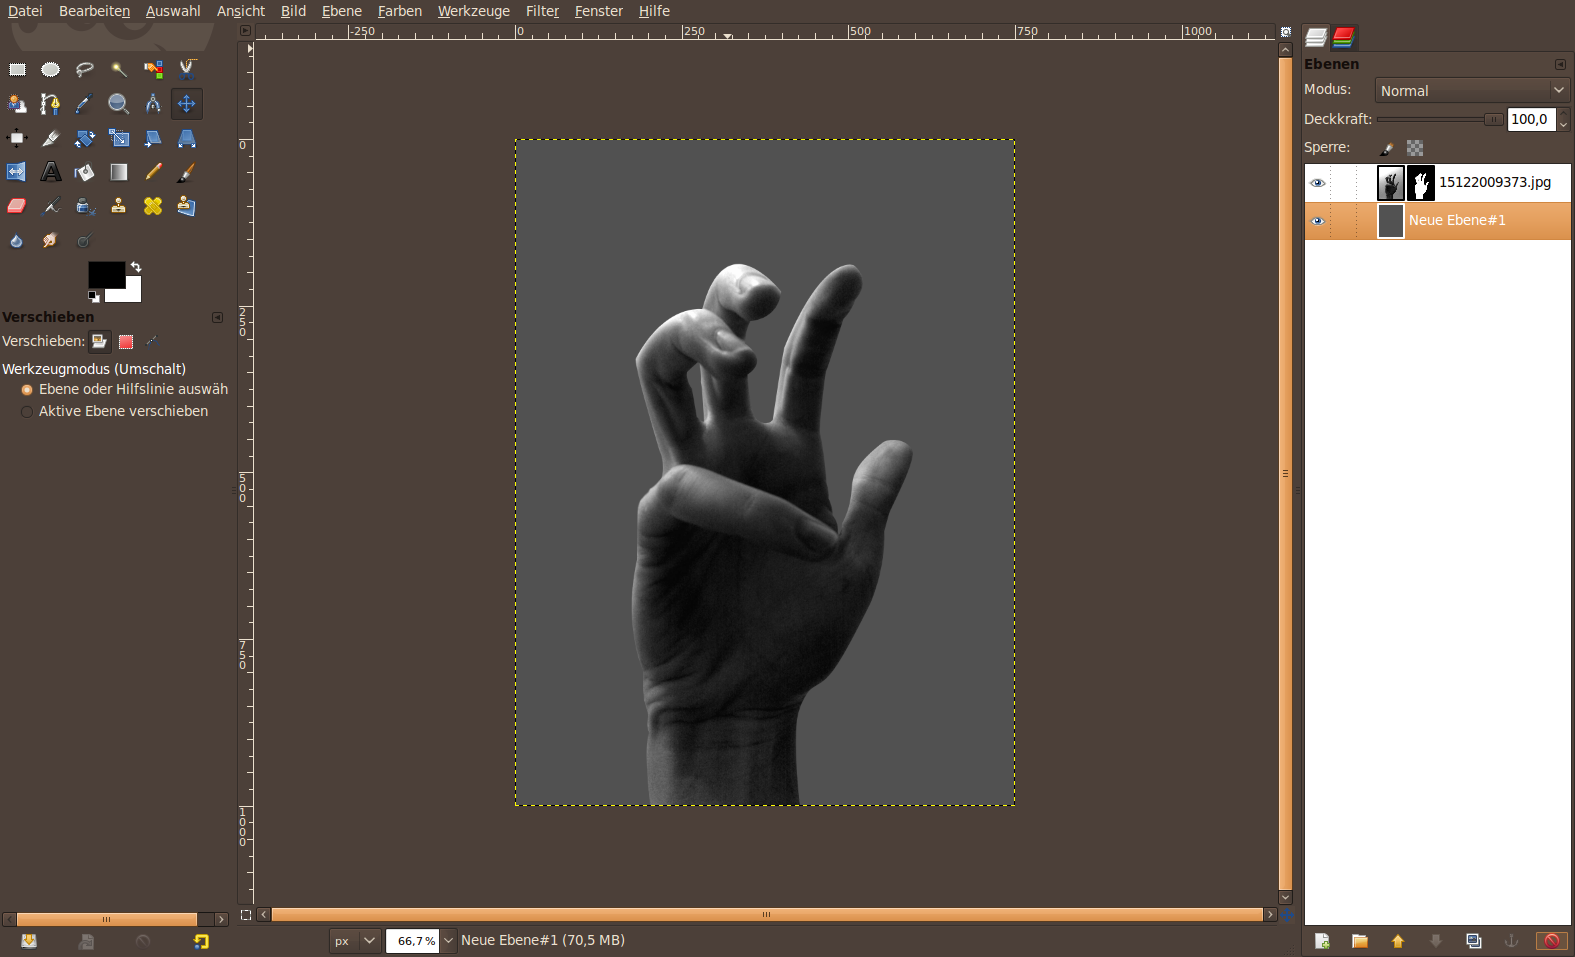
So far, so good. We’ve now got a hand on a transparent background. Create a new layer and fill it with any dark gray.
-
4
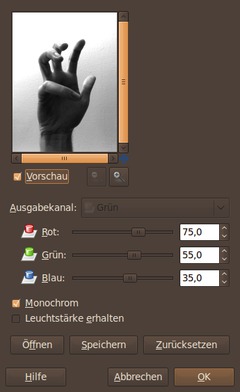
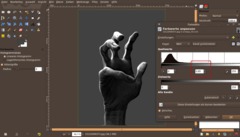
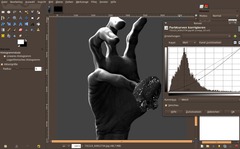
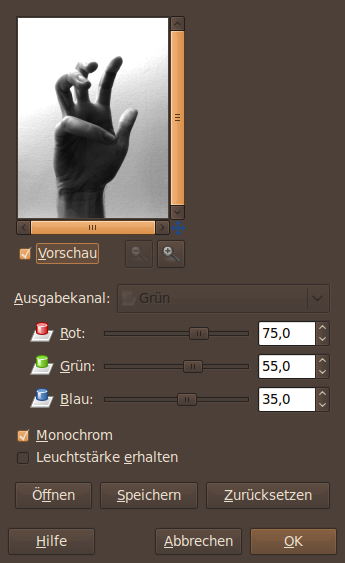
Now we’re desaturating the hand using the channel mixer.
- Go to Colors / Components / Channel Mixer.
- Set to “monochrome” at the bottom of the dialog.Choose the values from below. The aim of this step is to get a nice contrast in the end. But make sure you don’t create too much plain white or plain black.
-
5
NExt we’re transforming the hand a little bit to look more zombie-like. We’re squeezing the single elements of your fingers.
(optional: if you have masked the hand using a layer mask like me, please click right on the layer in the layers dialog and choose “Apply layer mask”.)
- Filter / Distorts / IWarp
Set the deformation radius to 40 und the deformation to 0,3. The plan is to squeeze the fingers (especially the phalanx). Work in the IWarp preview window and move the fingers together from outside. It is legitime that it may look a bit unnatural.
-
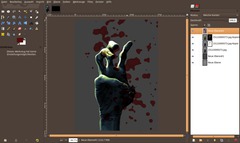
6
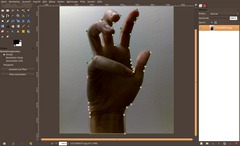
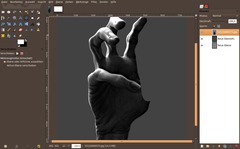
The hand should look like this now:
-
7

We make it look a little more creepy by emphasize the crinkles:
- Filter / Enhance / Unsharp mask: Choose 10 / 0.75 / 0 as values.
-
8
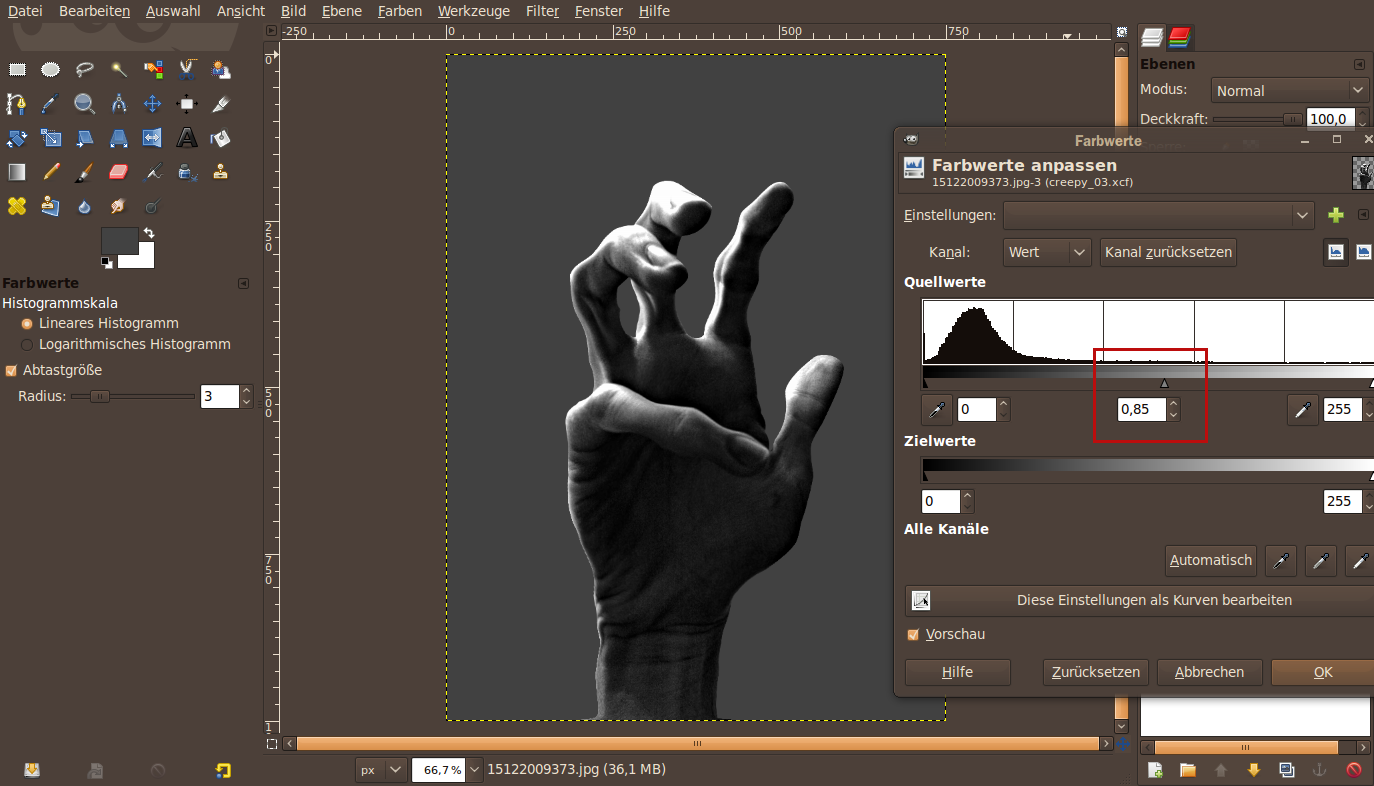
Now darken the already dark parts of the hand a bit.
i.e. use Colors / Levels to do it like shown in the picture below. Set the mid tones to 0.85
-
9
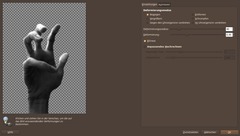
Next we get rid of the thumb. Use the free selection tool and cut it as shown on the picture:
-
10
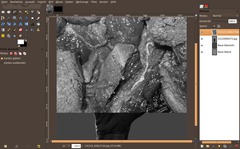
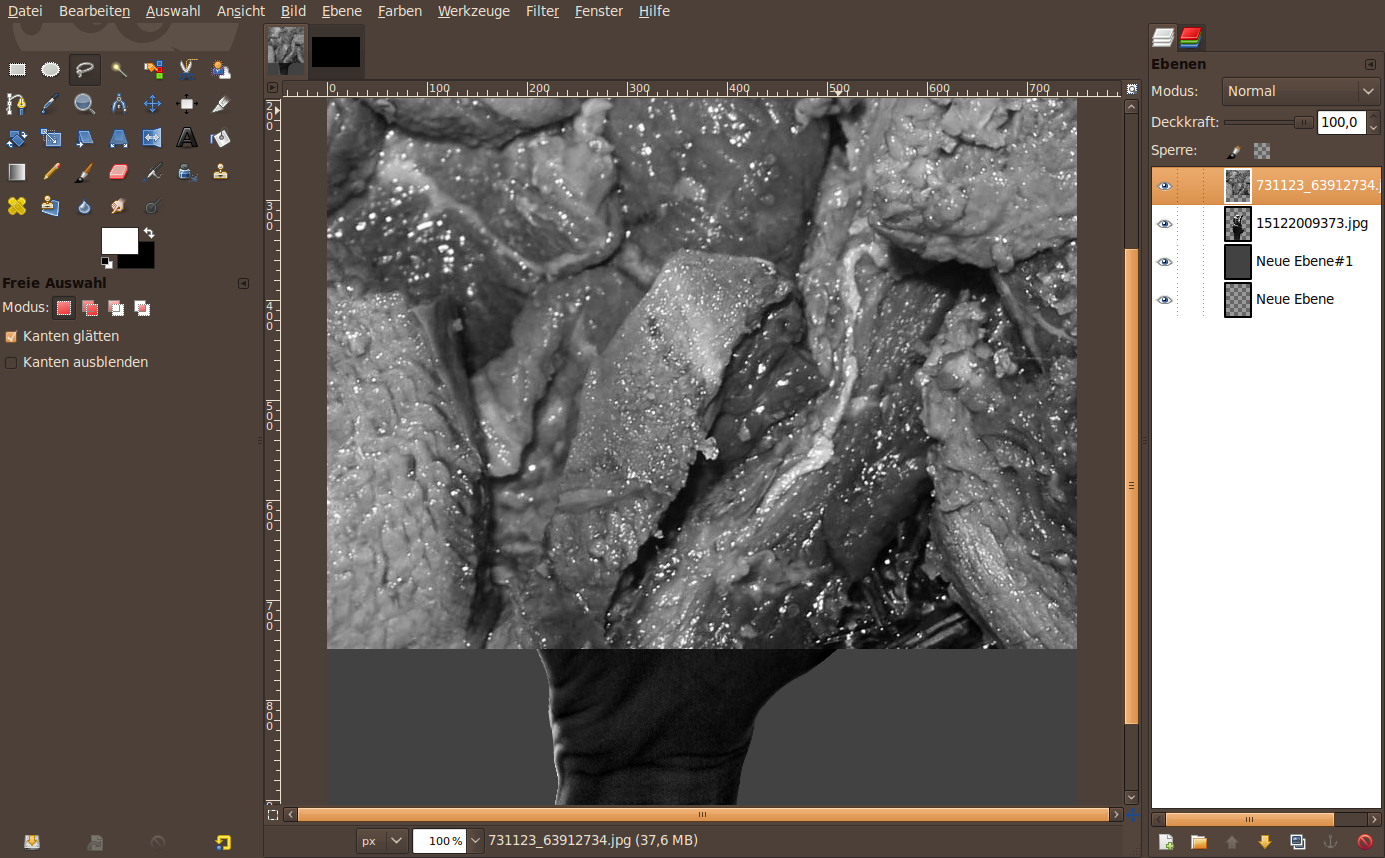
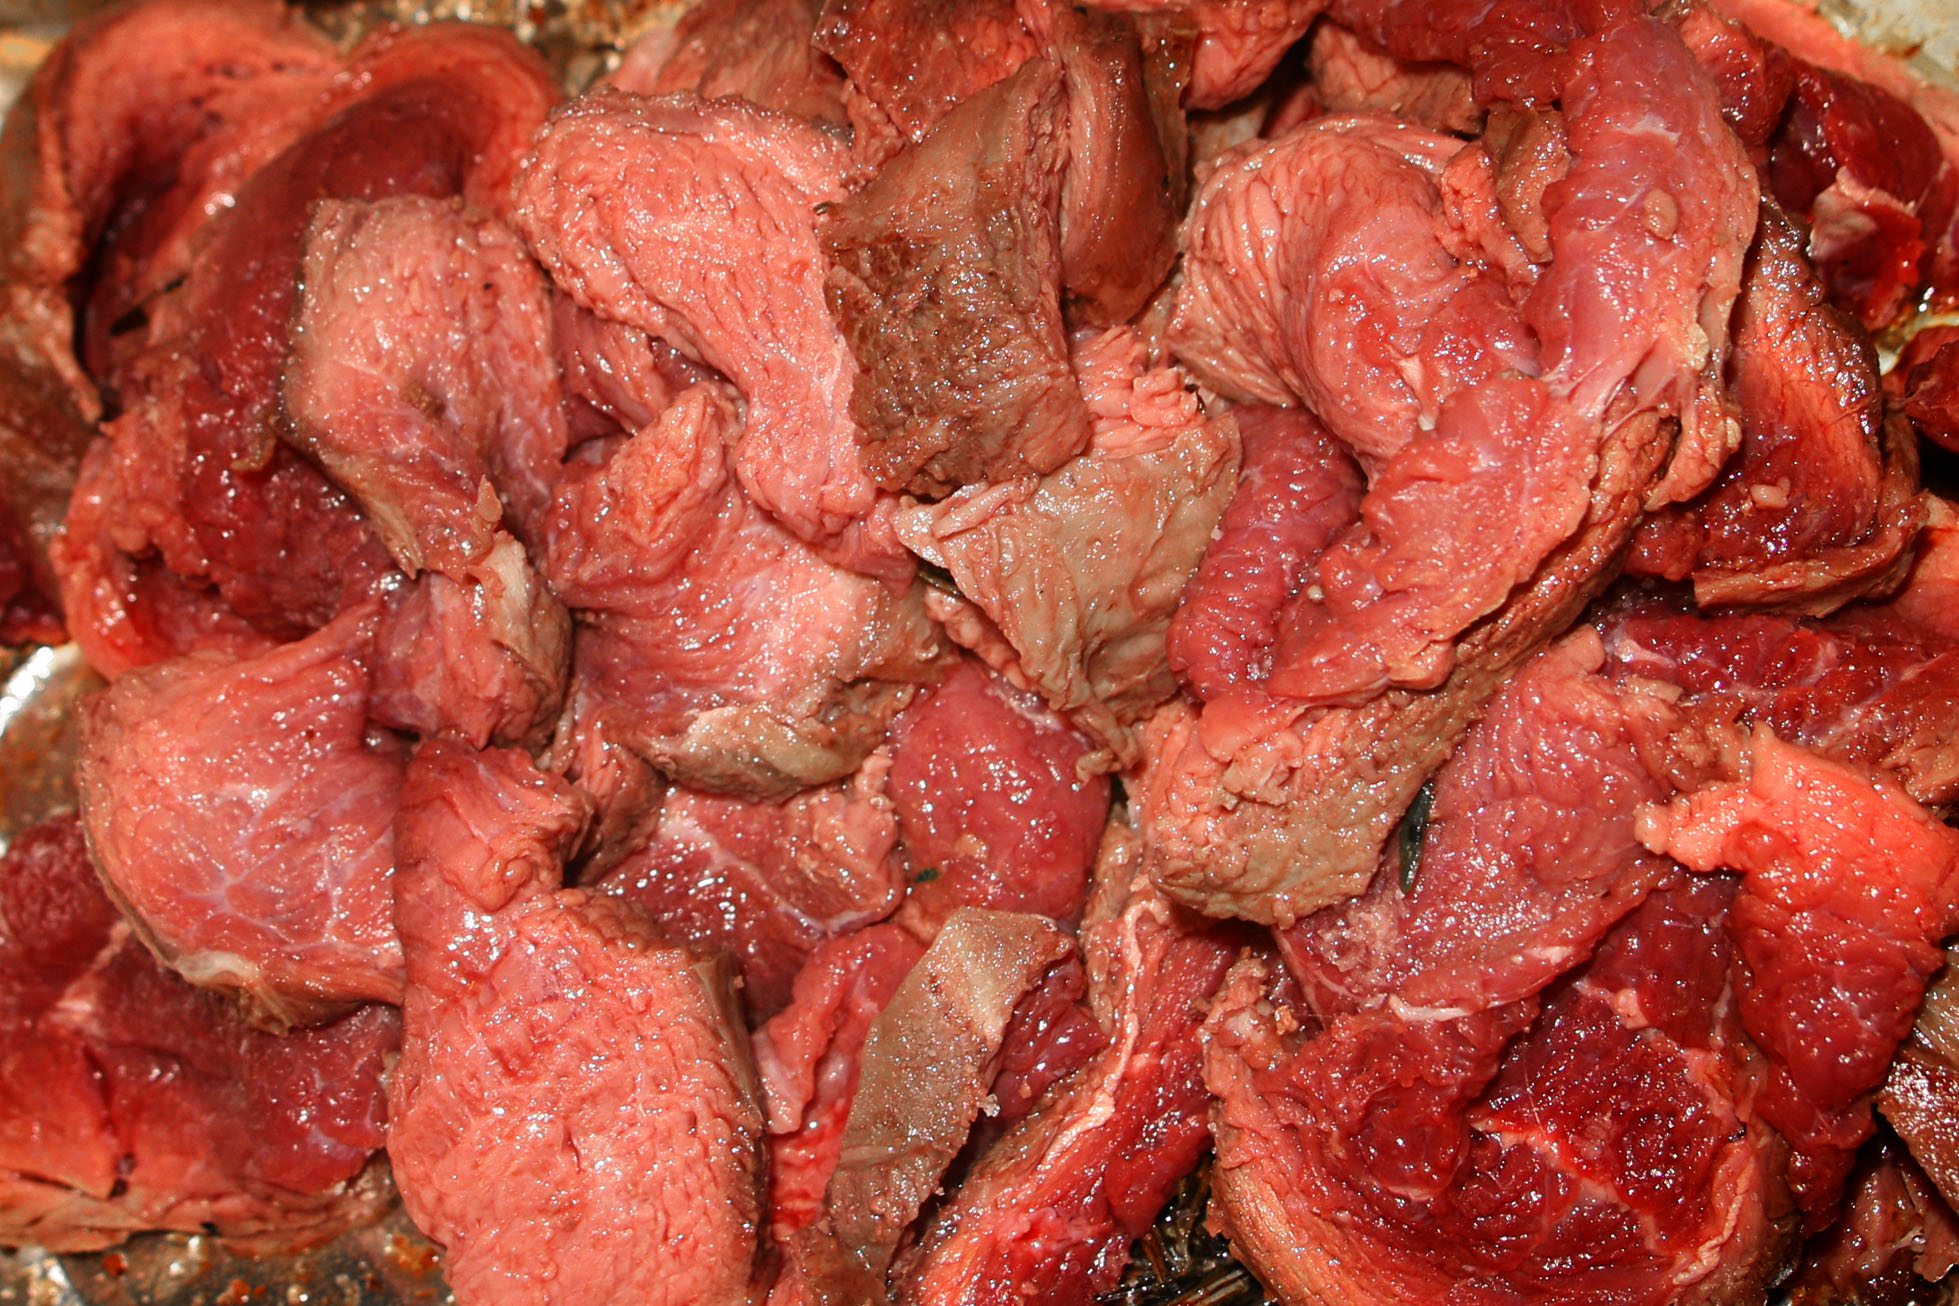
Download the meat photo (on the top of the tutorial) and load it into the image using File / Open as layers. I’ve chosen a nice part of the meat that I want to use to join the cut part of the thumb.
- right click the layer in the layers dialog: “Add Alpha channel”.
- Colors / Desaturate / Luminosity -
11
Take your time to find a nice part! I tried it some times too to find a suitable one! Now cut out the part of the meat.
Darken it using Colors / Curves (move the curve down a bit) so that it looks more like the gray tone of the hand.
-
12
I rotated it a bit and used the rfee selection tool to make it a little more uneven (i cut out some small parts).
-
13
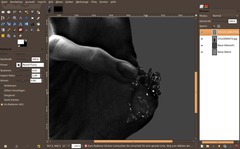
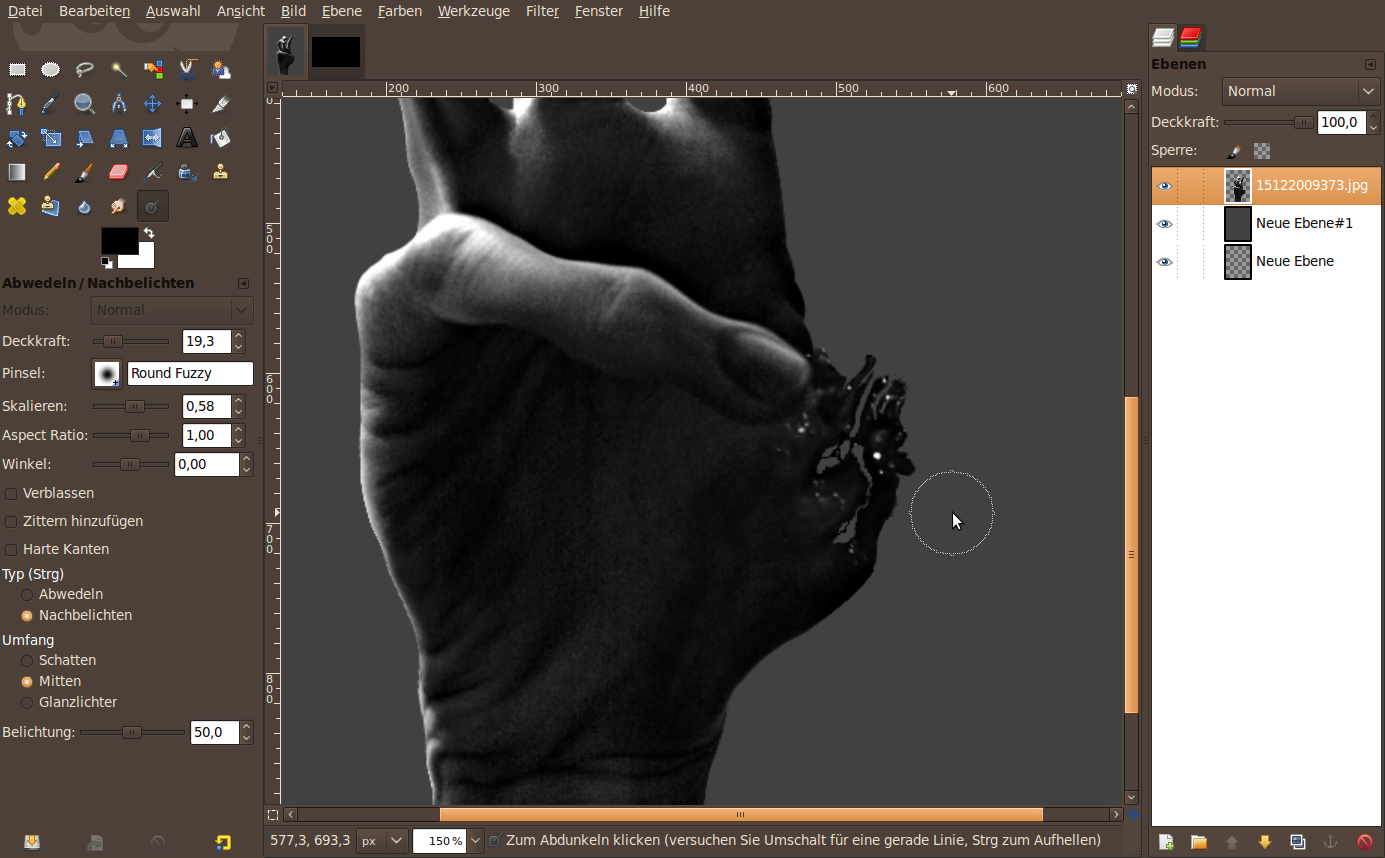
Now merge the flesh with the hand layer. Use a right mouse click on the flesh layer in the layers menu: “Merge Down”.
Now use the Dodge/Burn-tool to darken some parts that do not fit the correct gray tones. Please set the tool to only 30% opacity and use a smooth brush. Also cut some holes into the flesh to look more realistic. I used the eraser tool to make the little holes. Darken the area around the holes using the burn/dodge tool.
-
14
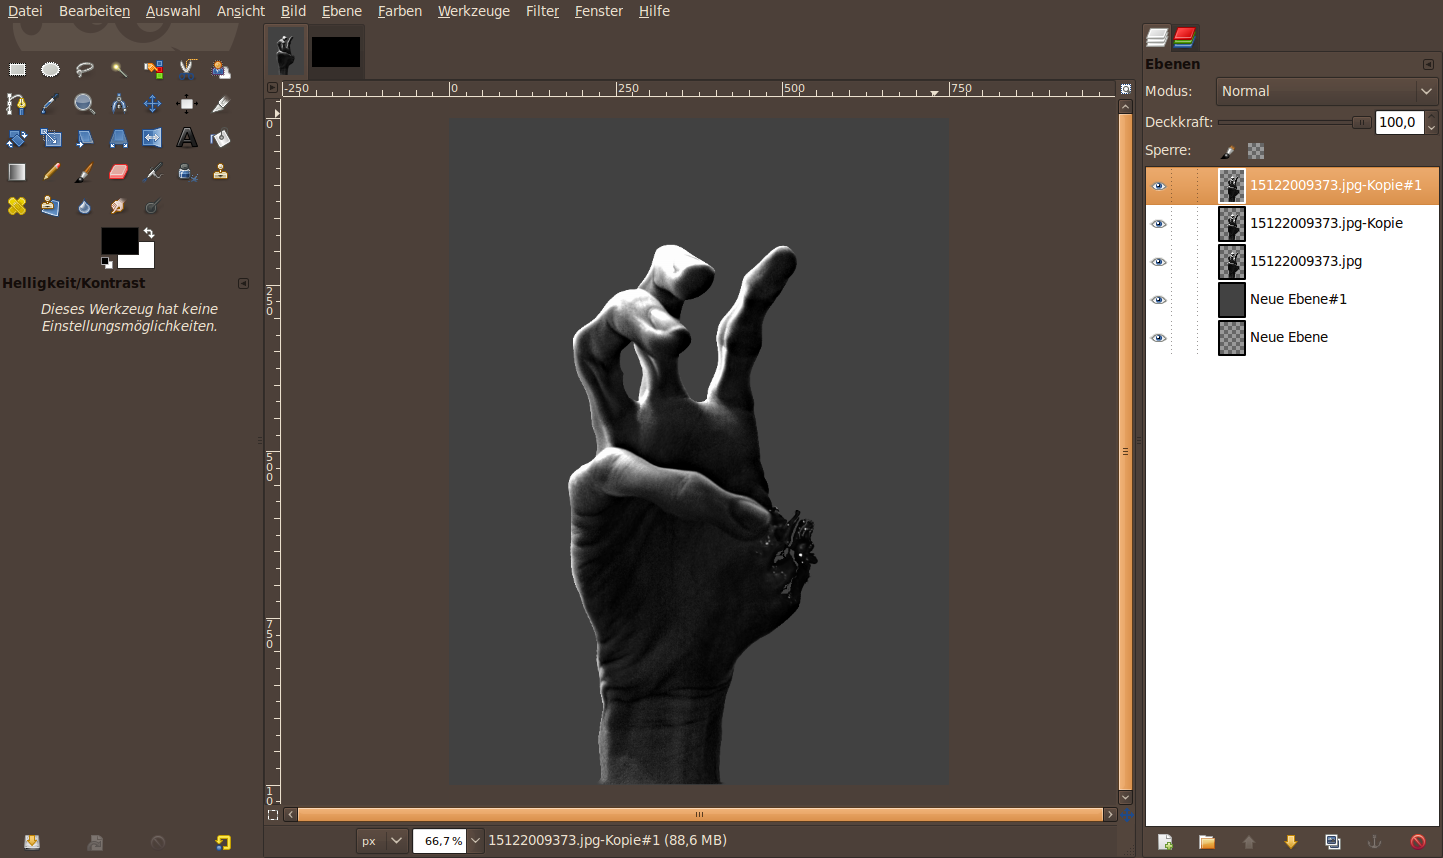
Now we’re getting to the colorize part. It is important to get two sligtly different colors into the image because it will look cooler then. Our aim is to use 2 duplicated layers of the hand and add different layer masks to them. One mask will focus on the bright parts another on the dark parts of the hand.
- Duplicate the hand layer 2 times.
-
15
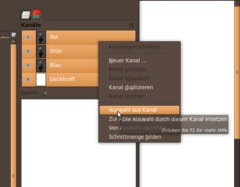
Open the channels dialog. The bright parts of the image are found alsmost in the red channel of the image. Right click the red channel and choose “Selection from Alpha”. Make sure that all of the channels are still active and selected, not that you misleadingly deselected one of them.
-
16
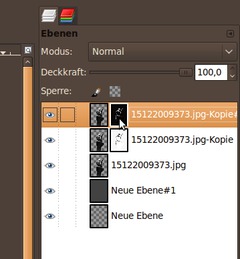
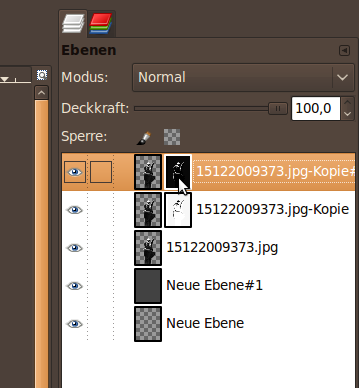
Change back to the layers dialog. Click and activate the top layer duplicate. Add a layer mask to it and in the pop up dialog choose “Selection”.
Change to the layer below, add a mask too. This time use selection too, but don’t forget to choose the “invert mask” option on the bottom of the dialog. This will invert the mask after clicking ok.
Stay on the layer mask and choose Colors / Brightness&Contrast. Set Contrast to +50.
Do the same for the other layer mask you just created on the other layer.
-
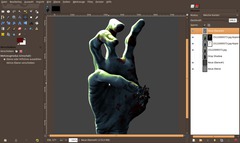
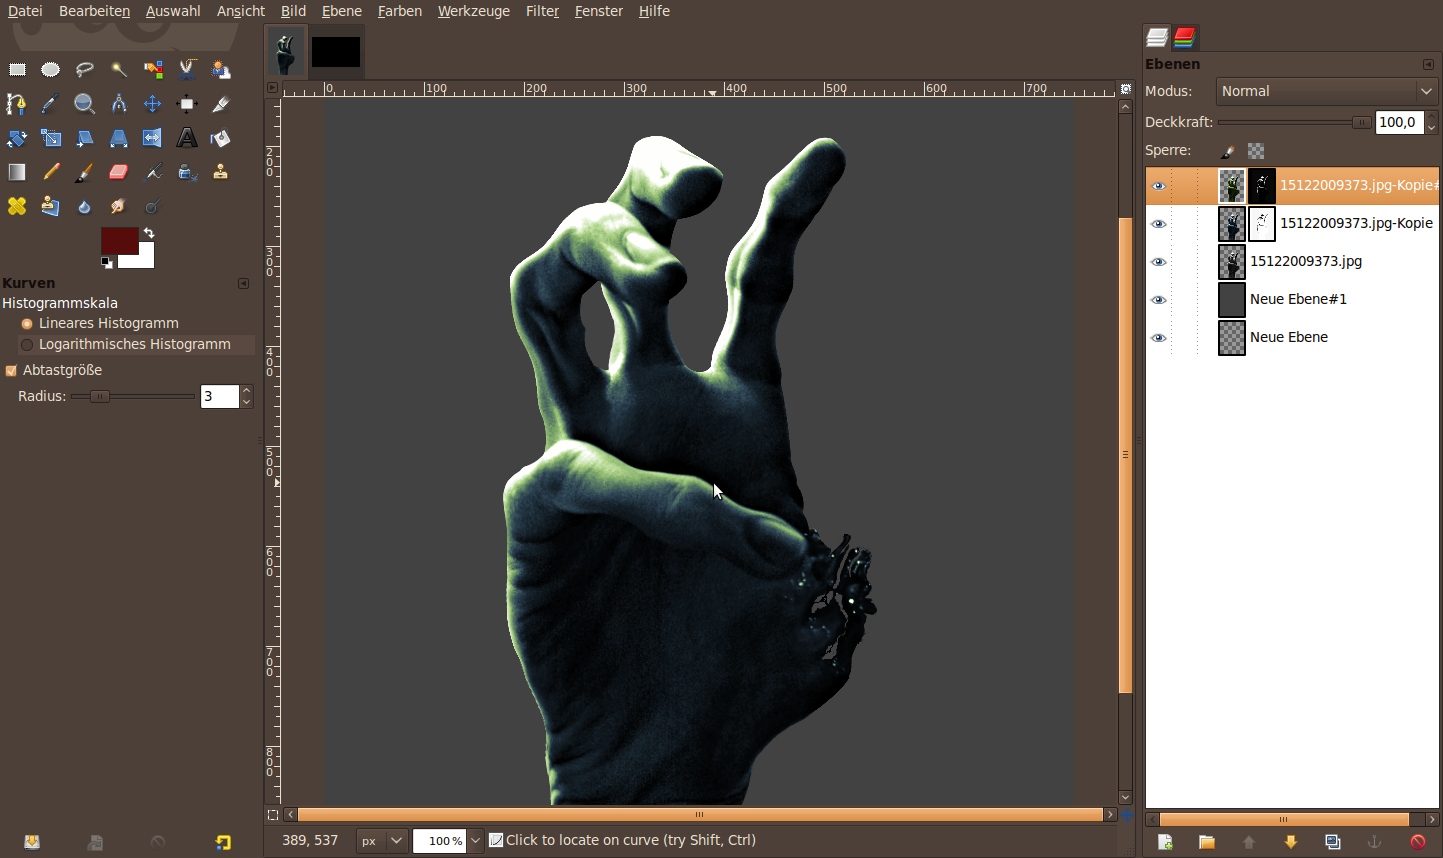
17
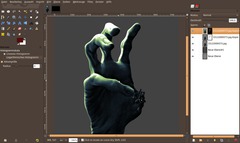
Choose the layer where the bright parts are selected. Now use Colors / Colorize: 90 / 50 / 0 to get a green tone. Switch to the other layer and repeat Colorize using these values: 205 / 30 / 0. This will give the dark parts a colder, more blueish tone.
-
18
We’re getting to the end of the tutorial.
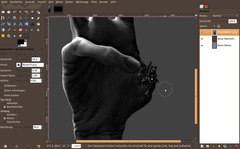
Now we need some blood.
- create a new transparent layer.
- choose the brush tool. use the sparks brush and use the jitter-option. Set it to 3 and scale the brush to 2.5. Paint some chaos on that new layer. -
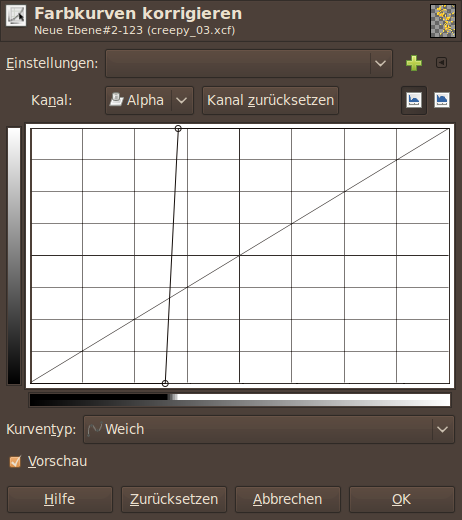
19
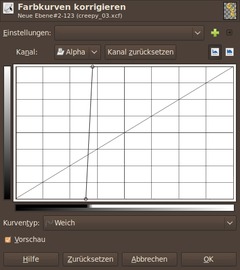
- Colors / Curves. Move the points together as seen on the picture.
-
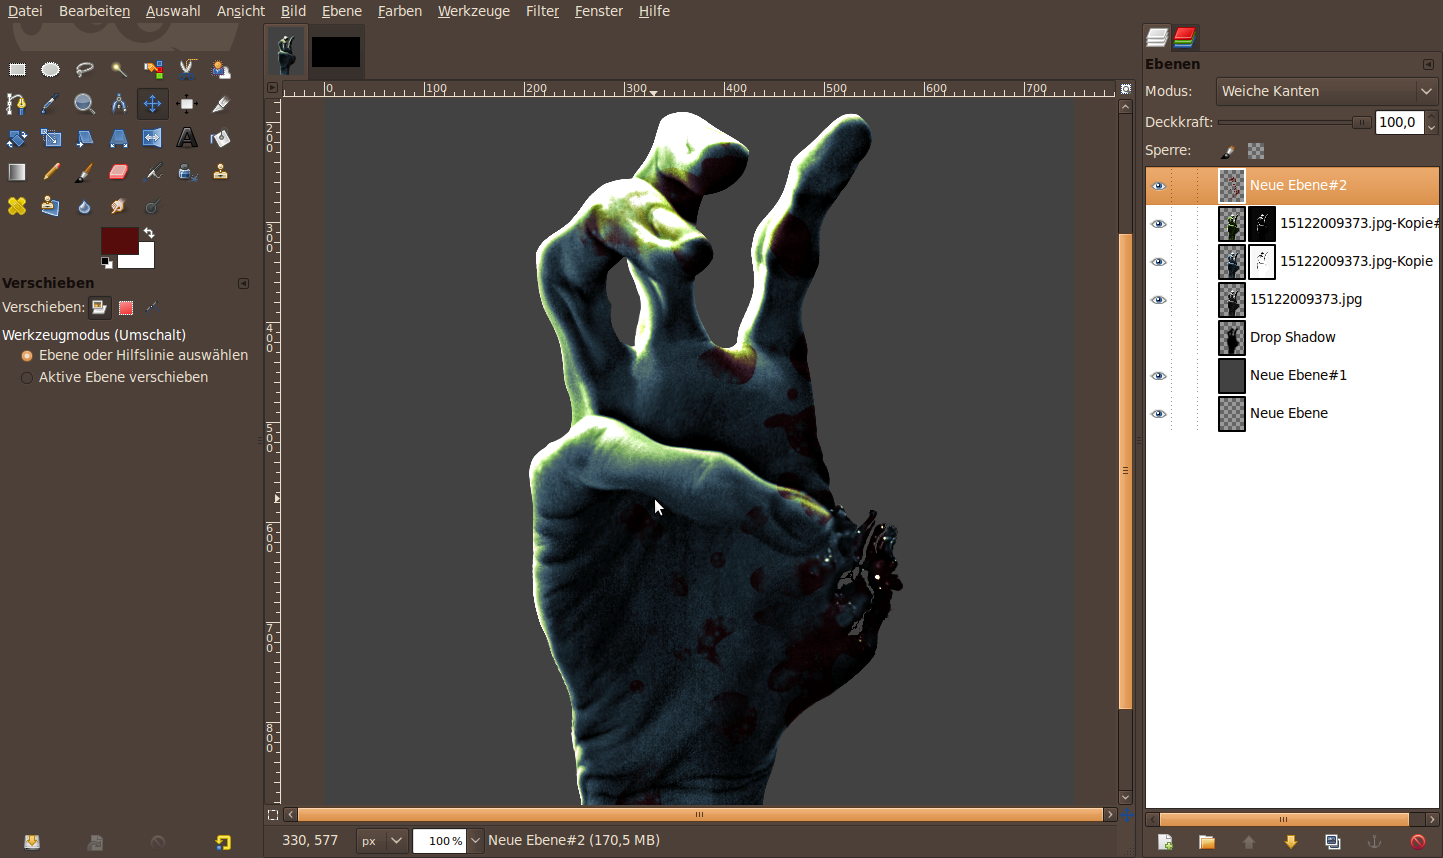
20
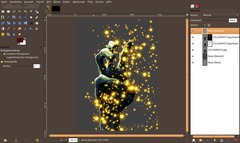
Go to Colors / Colorize again: 0 / 100 / -75. Set the layer mode to “Soft light” afterwards.
-
21
Get rid of the blood that is outside the hand now. Choose “Selection from Alpha” from any hand layer to get the selection. Use Select / Invert or Press CTRL+I and press DEL to delete the selected parts.
-
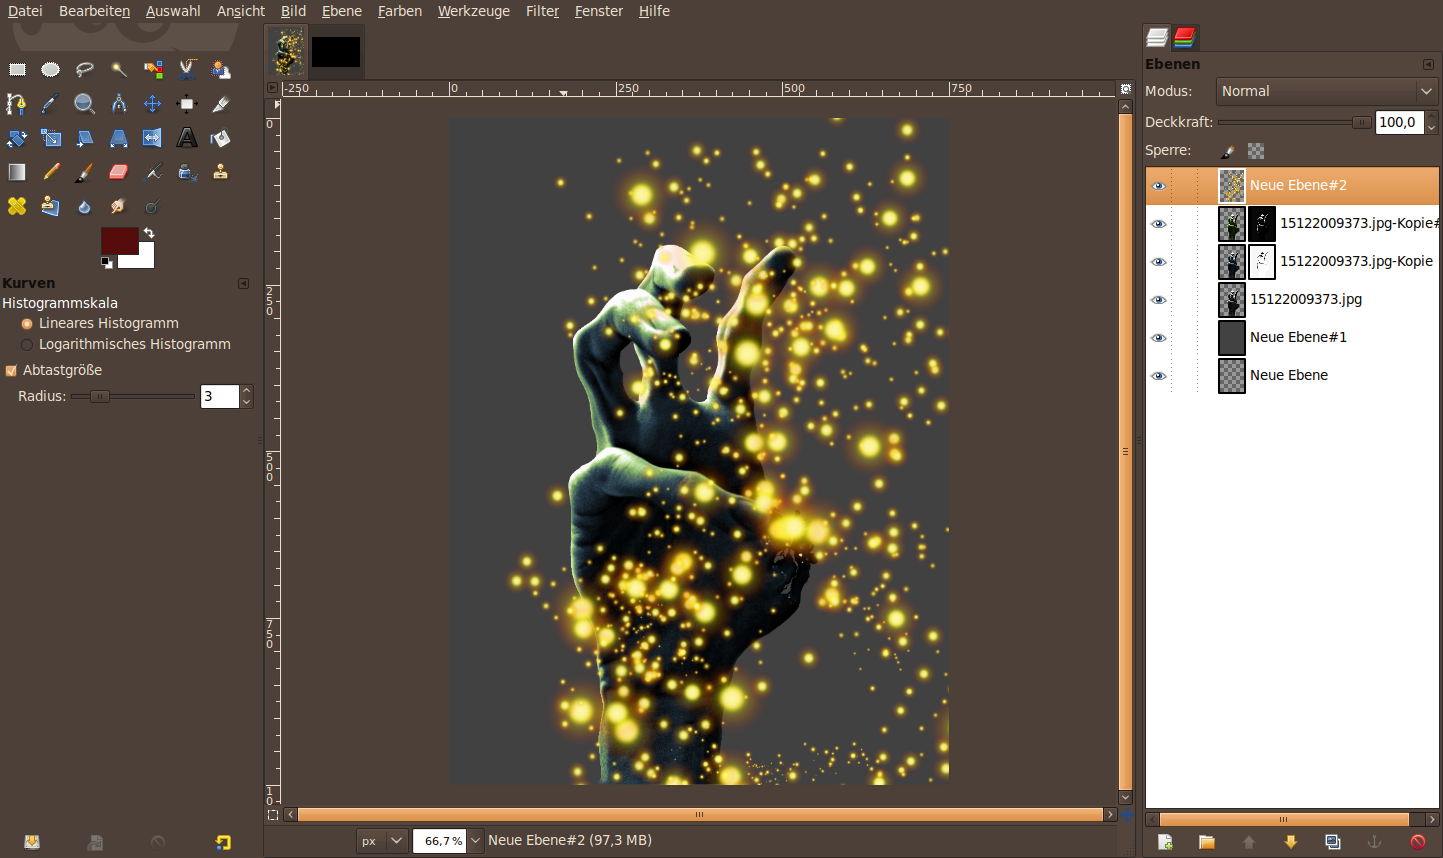
22
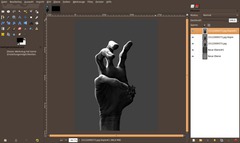
Download the background, that I prepared. Open it using File / Open as layer. Scale it to the right size and put it to the back of all layers.
If you want to learn how to make such a nice grunge background have a look at the “Architectural Dream Wallpaper” tutorial on our site.
The original idea to to tutorial came when playing Left 4 Dead and looking and when looking at the cover of a DVD. I hope you had lot of fun with the tutorial and enjoyed it.


Comments
Post your own comments, questions or hints here. The author and other users will see your posting and can reply to it.
Of course, you can also ask in the chat.
Subscription management
Please log in to manage your subscriptions.
User rating
This topic (The creepy zombie hand of death!) has been rated 5.0/5.0.
New comments are disabled because of spam.