


Tutorial: Create a cool wax seal with an engraved eagle
 is licensed under a Create Commons Attribution-Non Commercial 3.0 Unported license.")

Motivation
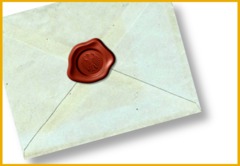
You maybe know this: In the very past important letters have been sealed using a so called wax seal. This is a hot wax drop on the opening of the envelope - then a seal ring containing the unique emblem of the empire was pressed on the wax to harden the wax. So the letter was secured from spys from now on - because any opening would have breached the original letter. This tutorial shows how to create such a wax seal in GIMP! Have fun ;)
Tutorial details
- Category: Special FX
- Time to reproduce: ≈15.0 minutes

- Tested with GIMP 2.6
-
1
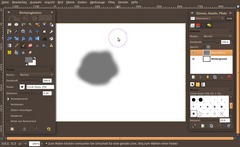
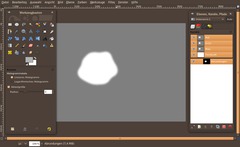
We’re starting with the base form of the wax drop. It must not ne an exact round circle.
- Open a new empty image: 640×480px.
- Set the foreground color to #777777 (it is a middle gray tone)
- Create a new, transparent layer
- paint an area like shown in the picture below using the brush tool (use a soft 19px-brush and scale it to 5) -
2
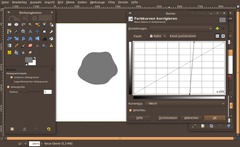
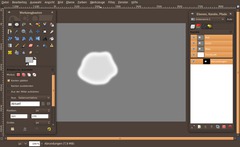
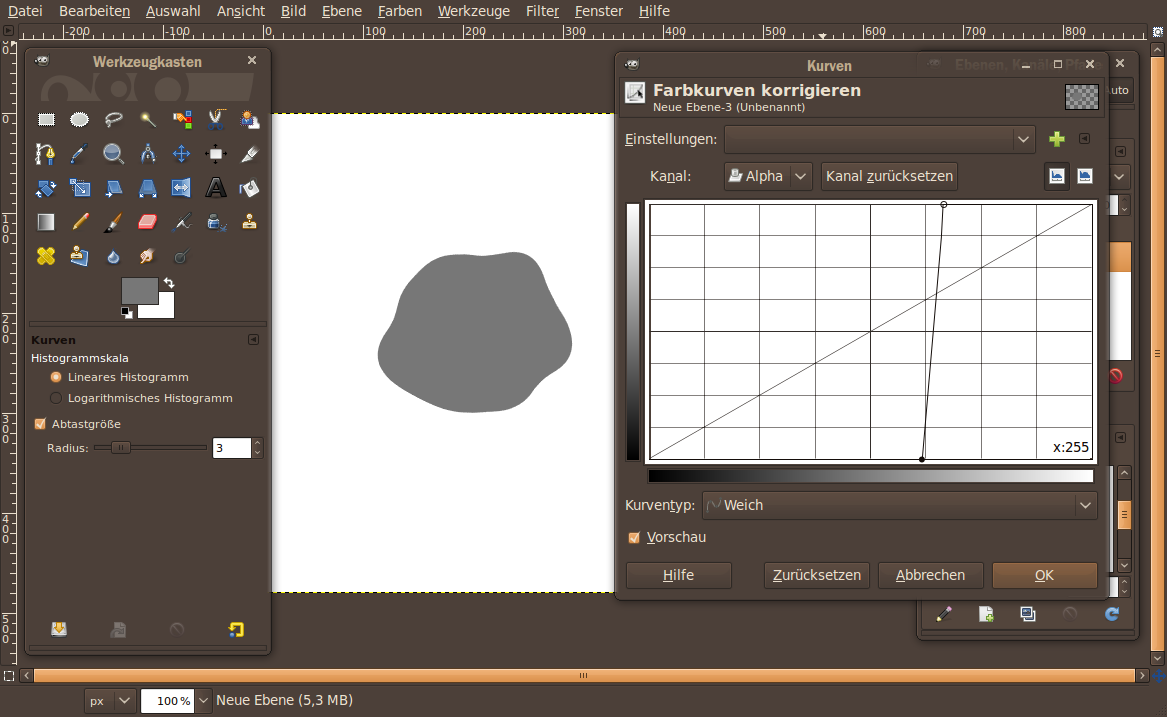
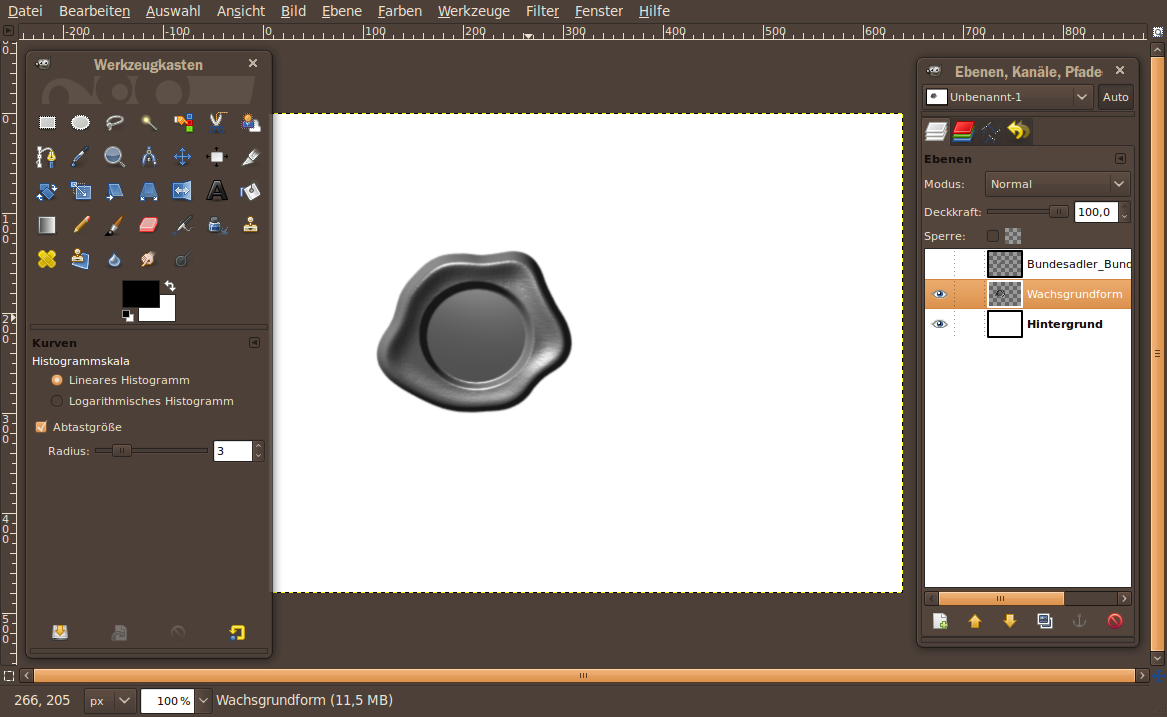
Next we want to get rid of the semi transparent parts of the “wax drop”.
- Colors / Curves
Set the channel to Alpha and move the points to the center as shown in the image below.
-
3
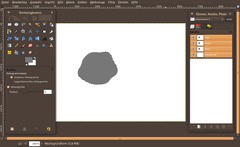
Now we’re finished with the base form of the wax. The next few steps show the realisation of the glossyness of the wax. The difficult part on this is that we need a soft rounding on the outer side of the wax, while we need a harder one inside which represents the mark/cast of the seal ring.
Have a short look at the result image to see what i mean.To realize such complex roundings we gonna use a depth channel (this shows our wax drop how “deep” the roundings should be on a specific place).
- right click the mouse button on the layers dialog of the wax layer: choose “Selection from Alpha”.
- click the eye symbol to make the wax disappear temorarily (we enable it again at a later time).- open up the Channels dialog: Windows / Dockable Dialogs / Channels
-
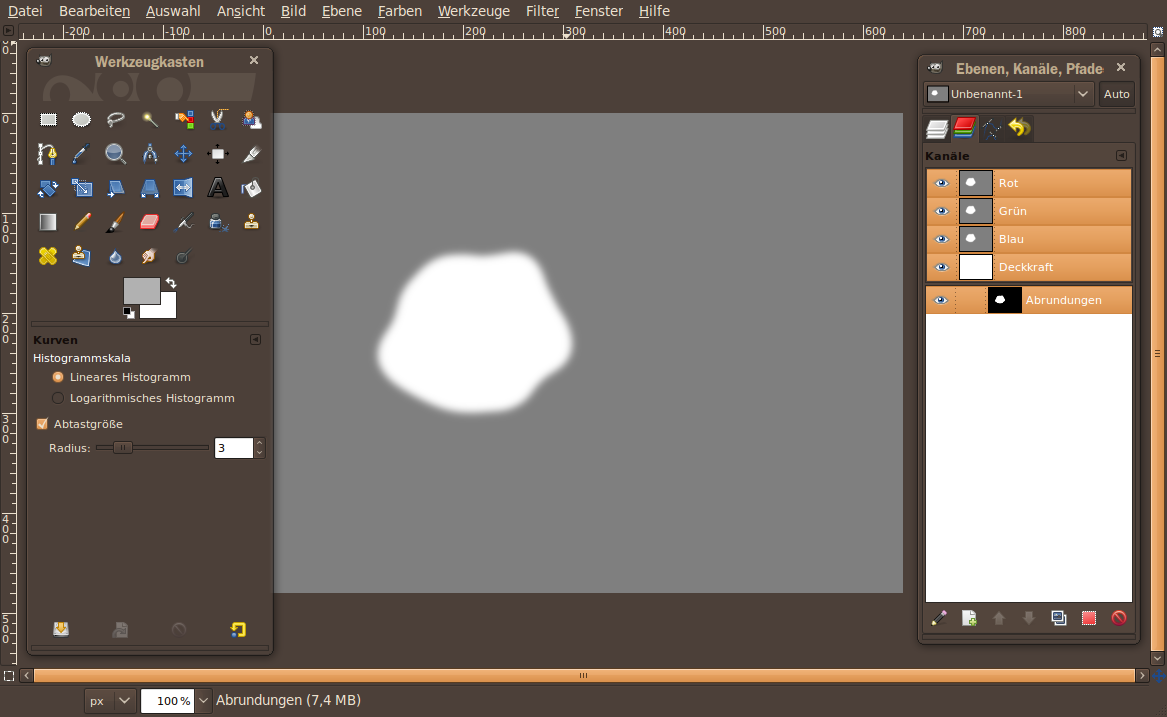
4
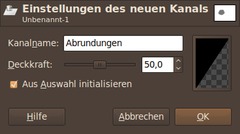
Click “Initialize from Selection”. Name the channel “Depth”.
-
5
- Selection / None
Now we’ve a BLACK/WHITE layer. The purpose of a channel in this kind of picture manipulation is to show a layer what specific roundings the object (in our case the wax drop) shall receive using the Lighning effects filter later on.
Lets start with the outer roundings/depth. Use the Gaussian Blur filter to change the hard crossing from black/white to some gray tones which represent smooth roundings.
- Filter / Blur / Gaussian Blur: 9px. Repeat the step using CTRL+SHIFT+F with 6px, 3px and finally 1px. This gives us a very smooth fading.
-
6
Change to the layers dialog for a second and choose “Selection from Alpha” again from the context menu of the wax layer.
With the selection active change back to the channels dialog. Click the channel we’re working to activate it.
- Select / Shrink: 15px
- Select / Fade: 25px
- Choose #bababa as new foreground color.
- Edit / Fill FG color (or just press CTRL+, on your keyborad)
- Select / NoneThis slight coloring will make the wax itself be a little more anomalous.
-
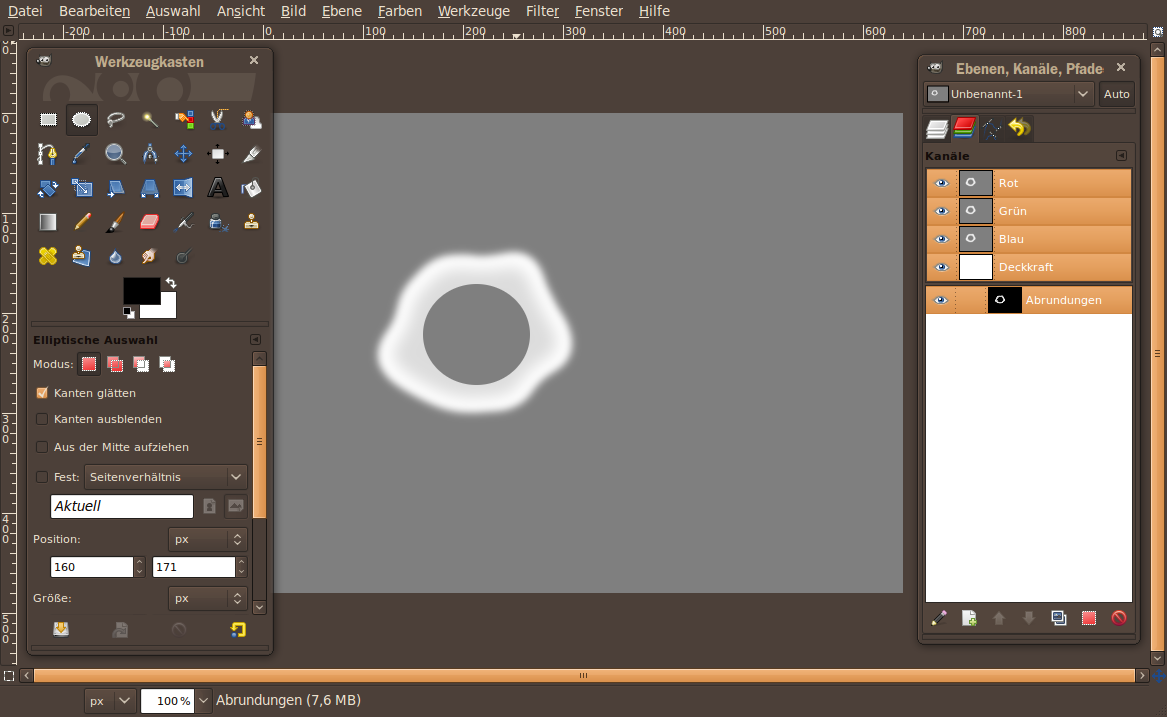
7
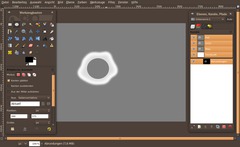
Now we get to the part of the pressed ring.
- Choose the Elliptical/Circle Selection tool
- Drag a circle inside the wax on the channel.
- Press D to reset to base colors (black/white).
- Press CTRL+, to fill the selection with black (actually it is a gray tone, because we’ve told the channel to be 50% transparent when creating it. So a full black fill becomes a 50% black which means a middle gray)
- Select / None. -
8
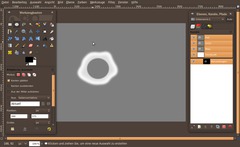
- Filter / Blur / Gaussian Blur: 4px.
-
9
- Make the channel invisible now (click the eye icon next to the channel in the channels dialog)
- change to the layers dialog. Make the wax layer visible again.- Filter / Light & Shadow / Lightning Effects
- Move the little blue dot in the preview window to the top left of the wax area.
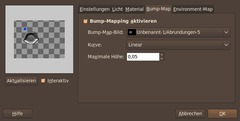
- In the Bump-Map tab use the depth channel set the maximum height to 0.05. -
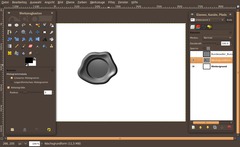
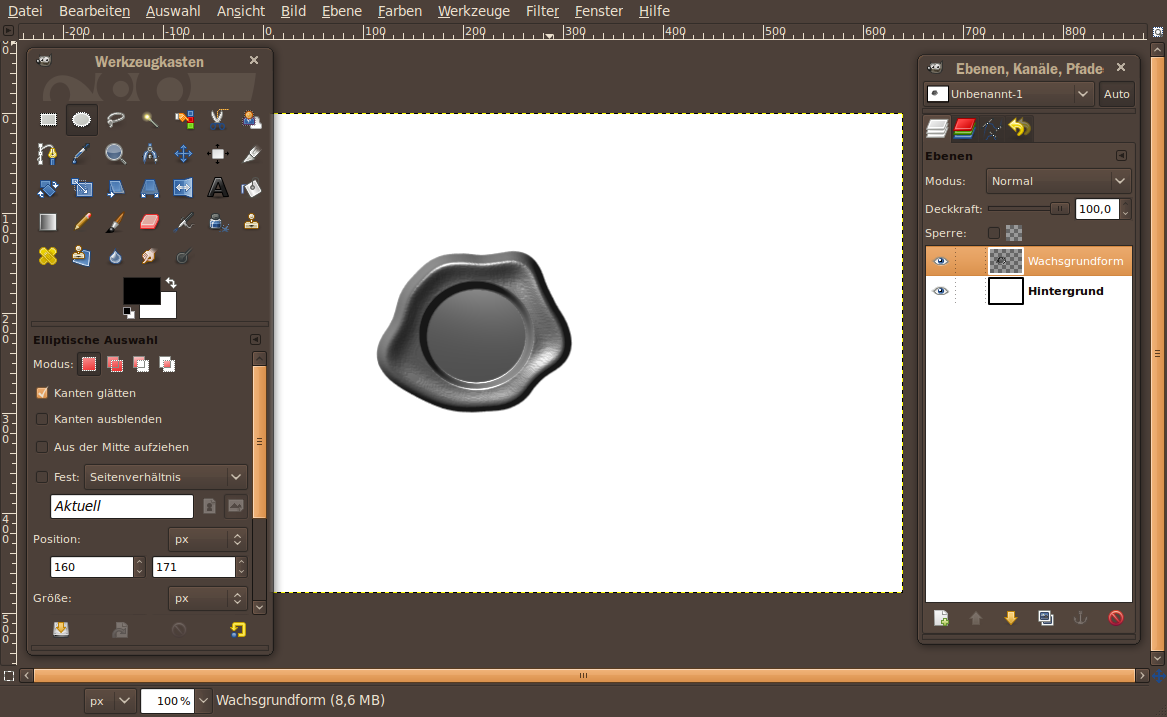
10
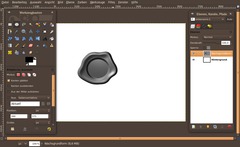
After clicking OK the wax looks pretty cool already ;)
-
11
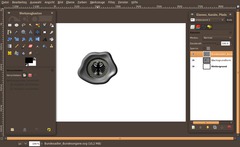
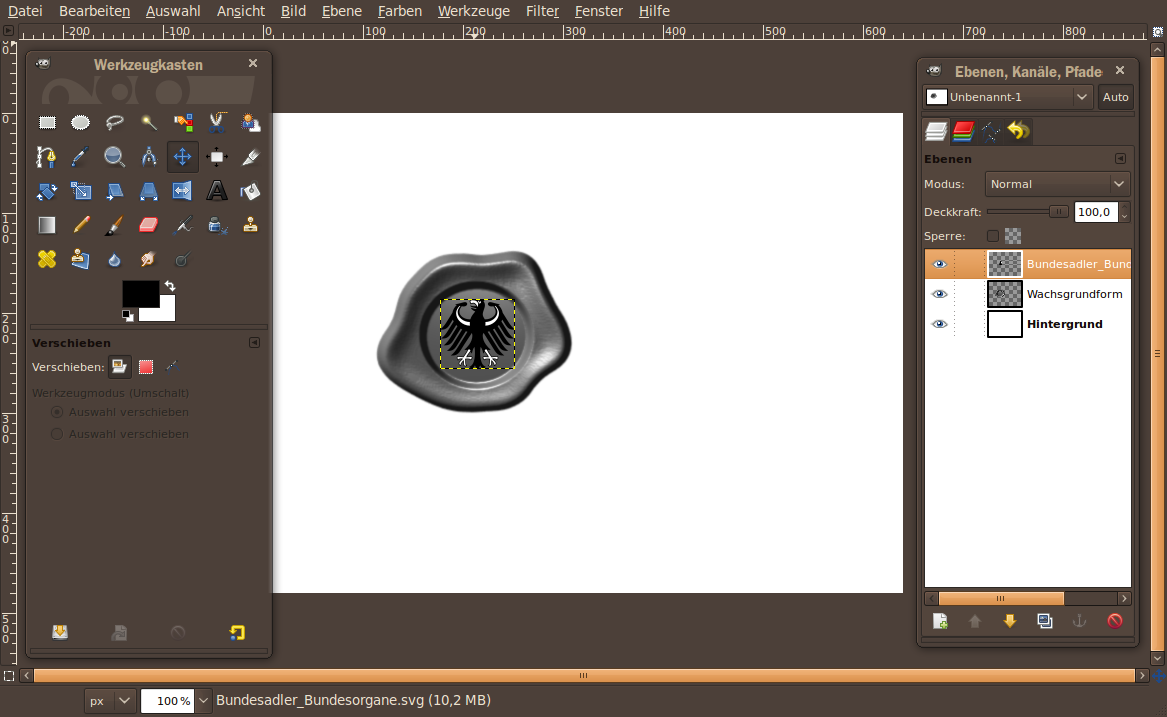
Now we’re getting a step futher to the engraved eagle.
There is Germanys federal eagle available on wikipdeia commons here as vector graphics: http://de.wikipedia.org/wiki/Datei:Bundesadler_Bundesorgane.svg
Move the eagle image into your open image. GIMP asks you what size the eagle shall be. Choose: i.e. 75×70px. Then the eagle should appear in the desired size. Move it to the right direction inside the wax circle.
-
12
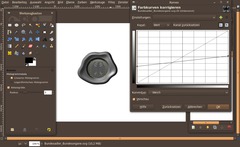
Now we’ve to convert the black and white in the eagle image to some gray tones – that is because the Bump-Map filter needs gray tones to determine the depth of the engravness of the eagle inside the wax. To change colors use the curves:
- Colors / Curves: Read the values from the image.
-
13
- Important: Layer / Layer to Image size! If you skip this the Bump map filter will fail to allocate the right position of the eagle engraving and it will not even show you the eagle as an available bump map to choose.
- Make the layer containing the eagle invisible using the eye icon.
-
14
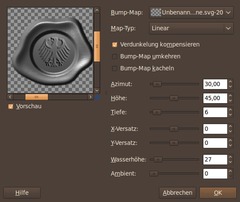
- Filter / Map / Bump map:
Choose the egale layer from the drop down menu and use the values from the image below:
-
15
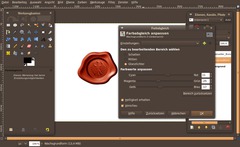
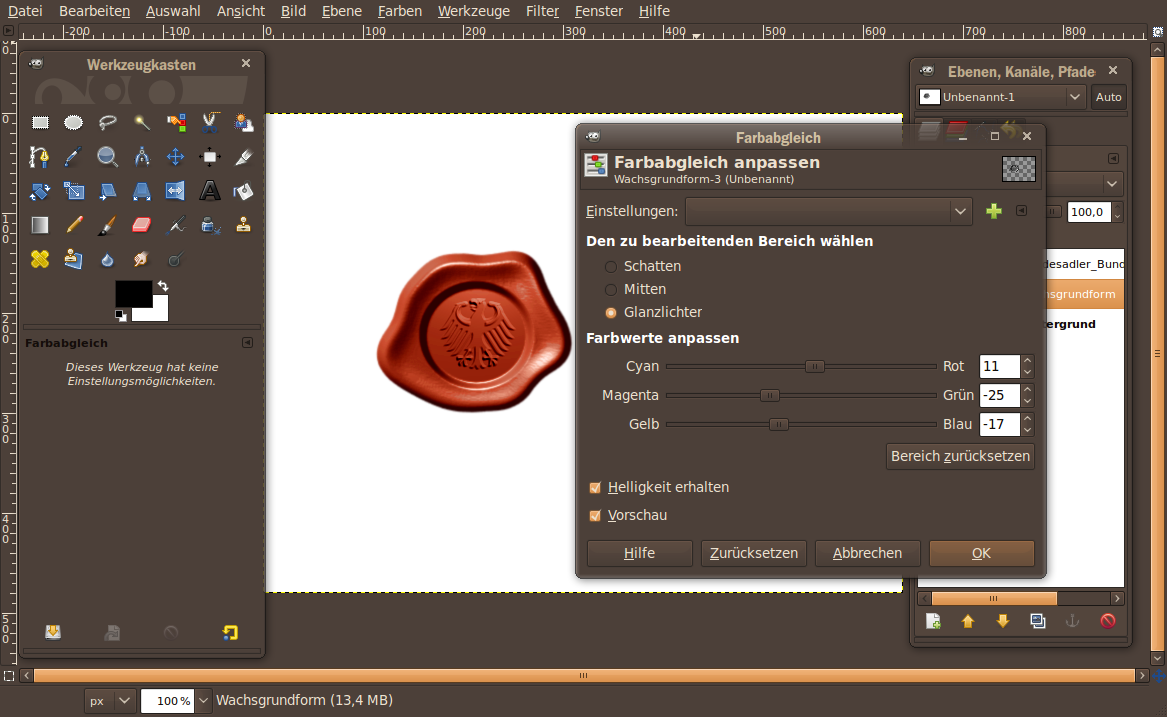
To finish the image we need to colorize the wax using a saturate red waxy color ;)
- Colors / Color Balance:
Shadows: 17 / -22 / -52
Midtones: 50 / -14 / -30
Highlights: 11 / -25 / -17Darken it afterwards using Brightness & Contrast or the Curves again!
-
16
We’re done ;) I’m curious what you will engrave into the wax, heh…


Comments
Post your own comments, questions or hints here. The author and other users will see your posting and can reply to it.
Of course, you can also ask in the chat.
Subscription management
Please log in to manage your subscriptions.
User rating
This topic (Create a cool wax seal with an engraved eagle) has been rated 4.5/5.0.
New comments are disabled because of spam.