


Tutorial: Crazy Ions
 is licensed under a Create Commons Attribution-Non Commercial 3.0 Unported license.")

Motivation
This tutorial shows again which great things you can do easily with The Gimp. Also it is my 2nd Tutorial. Have a good time with it !
Tutorial details
- Category: Simple effects
- Time to reproduce: ≈5.0 minutes

- Tested with GIMP 2.4.1
-
1
Create a new file with the size 500×500 Px (size doesn’t matter but it has to be square)
-
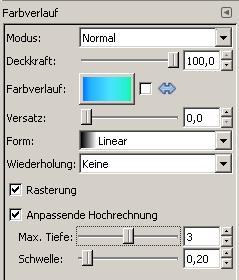
2
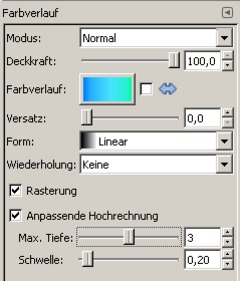
Choose any color gradient and use the same parameters as in the image below.
-
3

Create the gradient (click on a point in the image, hold and drag a line)
-
4

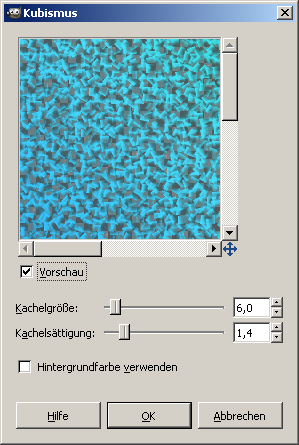
click the right mousebutton on your image, then select Filters>Artistic>Cubism and use the same parameters as in the image below
-
5
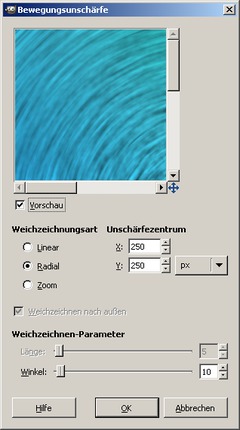
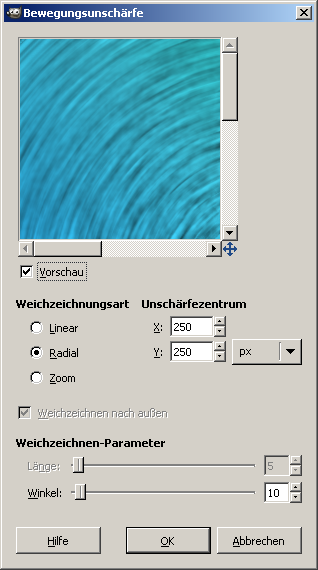
click the right mousebutton on your image, then select filters>blur>Motion blur and use the same parameters as in the image
-
6
click the right mousebutton on your image, then elect filters>blur>Gaussian Blur strength 3
-
7

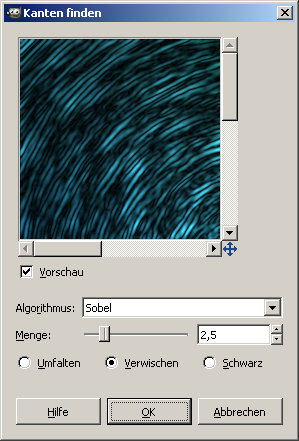
click the right mousebutton on your image, then elect filters>Edge-Detect>Edges and use the same parameters as in the image
-
8
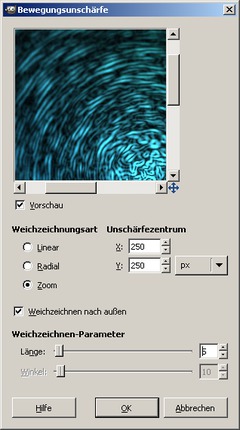
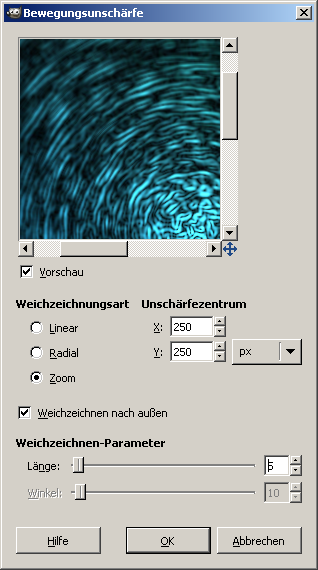
For simulating a light depth click the right mousebutton, then select filters>Blur>Motion blur> and use the same parameters as in the image
-
9

We’re done ;) I hope you like the result!


Comments
Post your own comments, questions or hints here. The author and other users will see your posting and can reply to it.
Of course, you can also ask in the chat.
Subscription management
Please log in to manage your subscriptions.
User rating
This topic (Crazy Ions) has been rated 3.0/5.0.
New comments are disabled because of spam.