


Tutorial: Compiling GIMP 2.4.5 with Ubuntu 7.10
 is licensed under a Create Commons Attribution-Non Commercial 3.0 Unported license.")

Motivation
Here you can read how to download, compile and run the newest version of the GIMP (here: GIMP 2.4.5) under a Ubuntu Linux 7.10 environment. The steps are similar for other Linux/BSD environments.
Tutorial details
- Category: Basics
- Time to reproduce: ≈60.0 minutes

- Tested with GIMP 2.4.5
-
1
It seems to be not very useful to compile GIMP 2.4 for Ubuntu 7.10 because it is already shipped. However, if you need certain bug fixes/updates, you may want to use the most recent (minor) version. Also, the process should be roughly the same for development versions (2.5.*), but there will be some changes because of the new GEGL part. Also, if you use a Linux distribution that does not ship GIMP 2.4, you might find this how-to useful.
The images are from the “compiling 2.3.18” tutorial yet, but it makes no difference.
At first, you have to download the source code. You can find the URL on our download page or at ftp.gimp.org.
The file name of the source code archive looks like this: gimp-2.4.5.tar.bz2
2.4.5 is the version number (2.4.* are stable releases, 2.5.* are for testing) and a .tar.bz2 file is an archive compressed with bzip2.
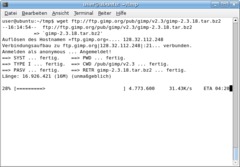
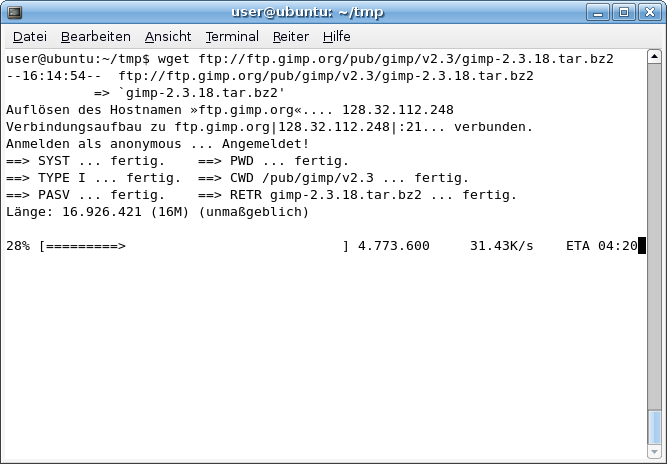
To do the download, change to the working directory (we use tmp in the current user’s home here) and call wget:
*mkdir ~/tmp
cd ~/tmp
wget ftp://ftp.gimp.org/pub/gimp/v2.4/gimp-2.4.5.tar.bz2 * -
2
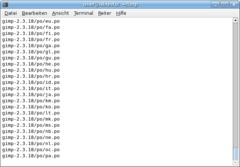
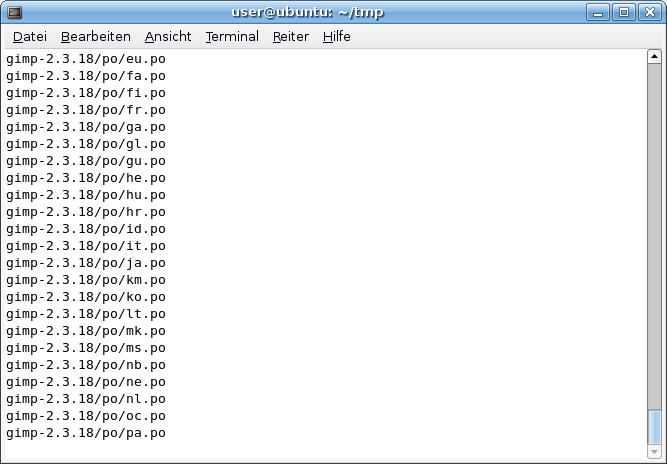
Now extract the source code:
tar -xjvf gimp-2.4.5.tar.bz2
The code files should now reside in the “gimp-2.4.5” directory.
-
3
In order to compile the GIMP, we need some libraries and tools. You can find the most important dependencies here: http://svn.gnome.org/svn/gimp/trunk/INSTALL
autoconf, automake1.9, libtool, make create the ./configure script and the Makefiles
gettext is needed for localisation of GIMP (i.e. for non-English users)
pkg-config manages installed libraries
libgtk2.0-dev provides graphical widgets (windows, menus, buttons, …) and depends on libglib2.0-dev (helper library for lists etc.), libpango1.0-dev (renders text), libatk1.0-dev (provides accessibility tools like screen magnifier, screen reader support and so on), libfreetype6-dev (makes the use of FreeType fonts possible) and many others
libart-2.0-dev provides 2D graphics manipulation
intltool, automake, flex, bison are build tools
gtk-doc-tools, libgtkhtml2-dev for the documentation
python-dev, python-gtk2-dev for Python-Fu
libdbus-glib-1-dev, libaa1-dev, libjpeg62-dev, libpng12-dev, libpoppler-glib-dev, libtiff4-dev, libmng-dev, librsvg2-dev, libwmf-dev, python-dev, python-gtk2-dev, libdbus-glib-1-dev, libgnomevfs2-dev, libxmu-dev and their dependencies for miscellaneous file formats and services
libexif-dev, libexif-gtk-dev to process EXIF data — note: the most recent GIMP versions need libexif/0.6.15 or later, but Ubuntu 7.04 comes with 0.6.13, so libexif won’t be recognised by ./configure and will not be compiled into the GIMPA lot of other packages will be installed as dependencies. The “-R” parameter in the command line means that only really required dependencies are going to be installed. Without this option, apt would install Apache and other silly things.
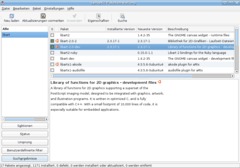
Enter this command:
sudo aptitude install -R libgtk2.0-dev libart-2.0-dev libtiff4-dev libaa1-dev libmng-dev libpoppler-glib-dev librsvg2-dev libwmf-dev libxpm-dev libgnomeui-dev libgnome-keyring-dev liblcms1-dev libdbus-glib-1-dev gtk-doc-tools libgtkhtml2-dev intltool automake1.9 flex bison libgnomevfs2-dev libxmu-dev libexif-gtk-dev python-gtk2-dev libexif-devIt’s also possible to install the packages using the graphical package manager Synaptic.
If you use other distributions or older Ubuntu releases, you may have to download and compile some packages manually in order to have current versions installed (as recent as the GIMP needs them).
-
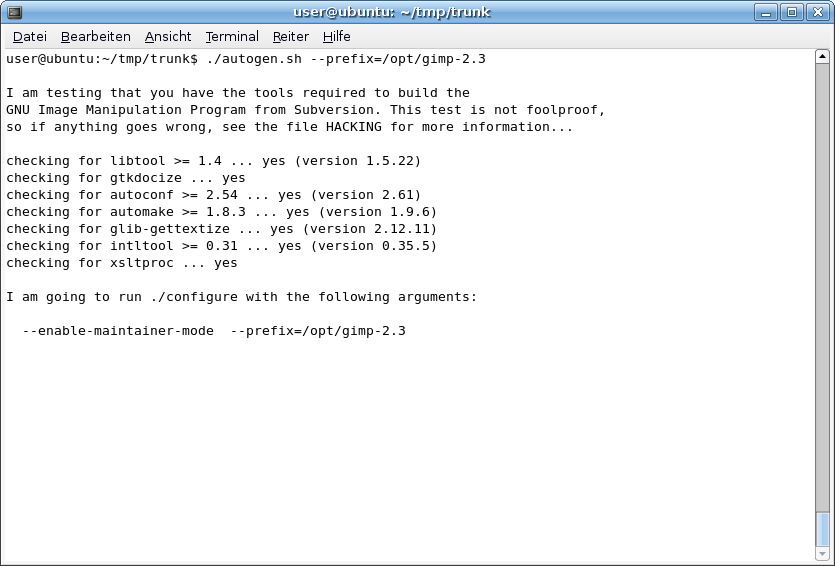
4
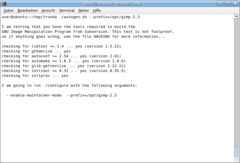
Now launch the configure script in the directory with the source code:
cd gimp-2.4.5
./configure —prefix=/opt/gimp-2.4configure adjusts GIMP to your system and generates the files that are required for compiling.
-
5
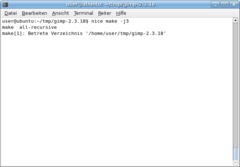
Now just type
make
wait wait wait and when it’s complete:
sudo make installIf you have much memory and/or several CPUs, you can use “nice make -j3” instead of make; this will cause make to use up to 3 instances in parallel. For multi-processor systems, a value of (number of CPUs + 1) is recommended. If there are errors with “make -j3”, try a simple “make” and there’s a big chance that it will work this time.
-
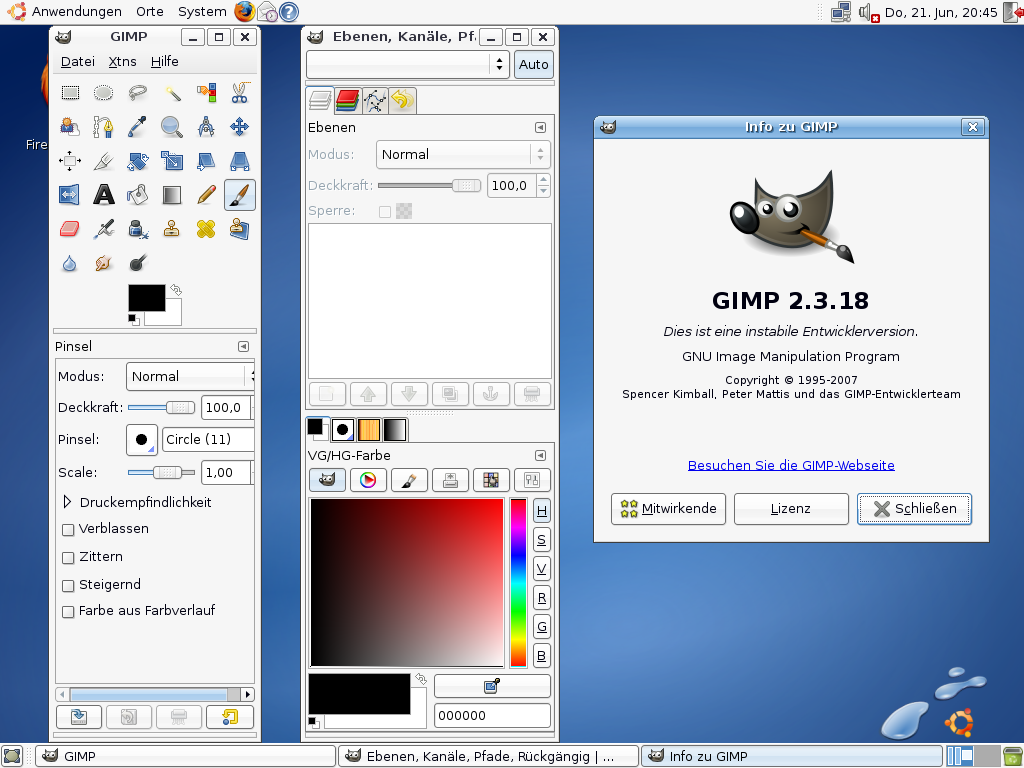
6
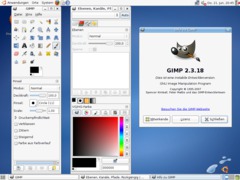
The GIMP has now beed installed to /opt/gimp-2.4 — start it with:
/opt/gimp-2.4/bin/gimpNote: the new GIMP will be installed to /opt/gimp-2.4 while the original Ubuntu GIMP remains in /usr => So it is safe to have both versions at the same system! You can start the old GIMP with “/usr/bin/gimp” and the new one with “/opt/gimp-2.4/bin/gimp”.


Comments
Post your own comments, questions or hints here. The author and other users will see your posting and can reply to it.
Of course, you can also ask in the chat.
Subscription management
Please log in to manage your subscriptions.
User rating
This topic (Compiling GIMP 2.4.5 with Ubuntu 7.10) has been rated 4.0/5.0.
New comments are disabled because of spam.