


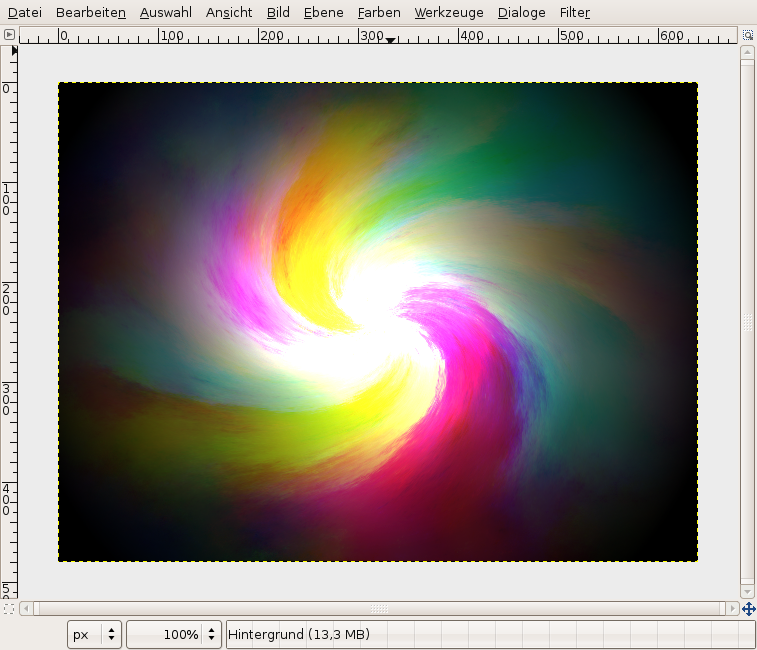
Tutorial: A colored swirl of light
 is licensed under a Create Commons Attribution-Non Commercial 3.0 Unported license.")

Motivation
Some effects are just very simple to do and look still pretty cool. This one here is such an effect, usable vor all kind of graphics things such as flyers, splash-screens, wallpapers etc. I'll show you how to create such an colored light swirl below!
Tutorial details
- Category: Simple effects
- Time to reproduce: ≈12.0 minutes

- Tested with GIMP 2.4 rc2
-
1

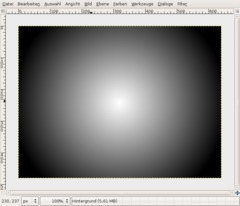
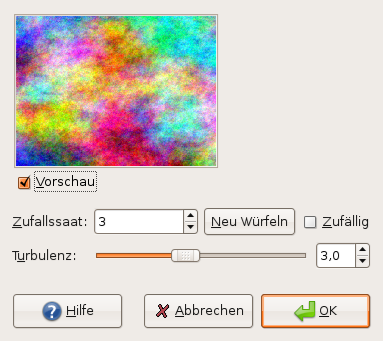
Create a new Image. 640×480. You can take any size. Apply Filter / Render / Clouds / Plasma.
-
2

Now do Filters / Distorts / Whirl and Pinch…
Whirl angle: 130
Pinch amount: 1
Radius: 1It should look like that now.
-
3
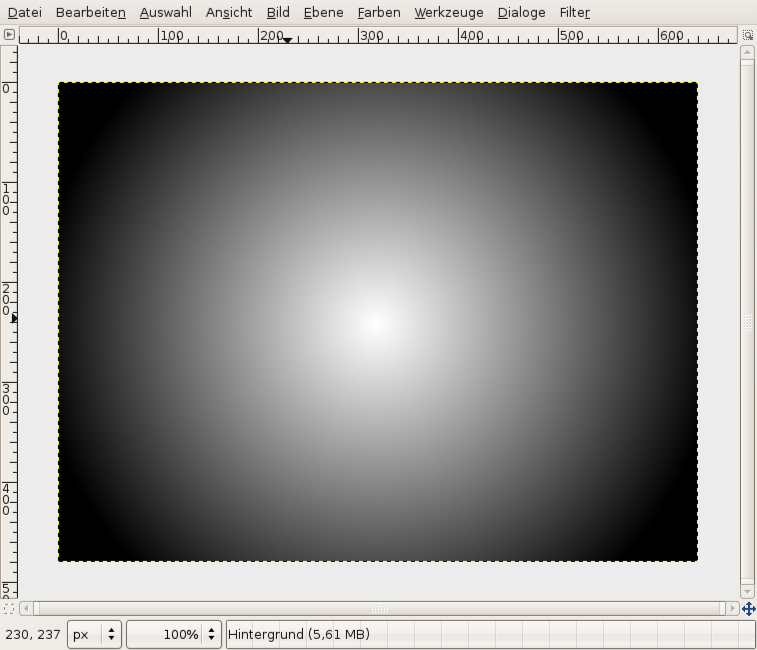
Create a new transparent layer.
Use the Blend tool, use white as foreground color and black as background color. The fastest way to do this pressing D to reset colors and then X to swap the colors.
Shape: Radial
Move the gradient from the center of the image to one of the four corners.
-
4
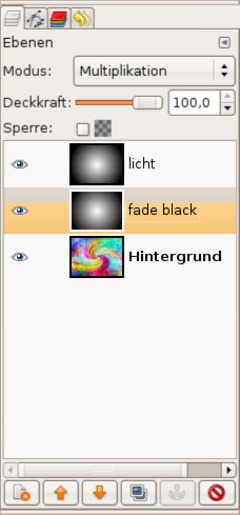
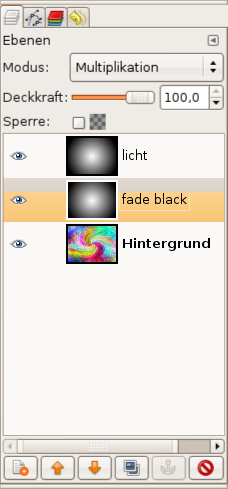
Duplicate the layer. The original one name “fade black”. For this set the layer mode to “Multiply”.
The duplicate, which should be at the top, name “light”.
-
5

Click the light layer.
- Colors / Brightness & Contrast, use values -65 / +45
Now apply Whirl and Pinch again. The values should be still saved from step 2, if not enter the same values. Only one value has to be changed: Pich from 1 to 0.8.
Apply the filter.
-
6
Set the layer mode for the layer to Dodge. Duplicate the light layer to enhance the effect.
Activate the background-layer. Filter / Blur / Selective Gaussian Blur.
Radius: 50
Max. Delta: 70 -
7
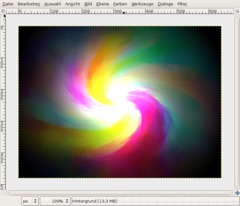
If you want a single color use Colors / Desaturate, then Colors / Colorize or Colors / Color balance like me if you want an icy version:
Shadows -30 / -30 / +30
Mids: -30 / +10 / 0
Highlights: 0 / 0 / 30Have fun.
-
8
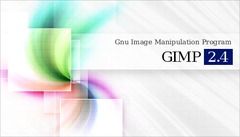
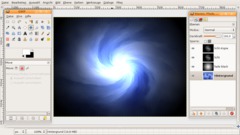
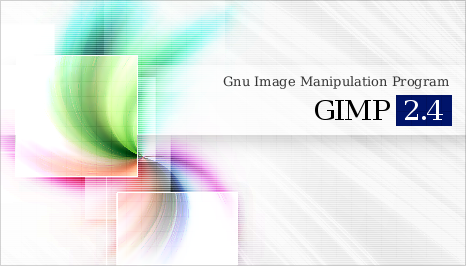
Here is just an example i played with: a splash screen for gimp 2.4 ;)


Comments
Post your own comments, questions or hints here. The author and other users will see your posting and can reply to it.
Of course, you can also ask in the chat.
Subscription management
Please log in to manage your subscriptions.
User rating
This topic (A colored swirl of light) has been rated 4.7/5.0.
New comments are disabled because of spam.