


Tutorial: Creating the Che Guevara Effect
 is licensed under a Create Commons Attribution-Non Commercial 3.0 Unported license.")

Motivation
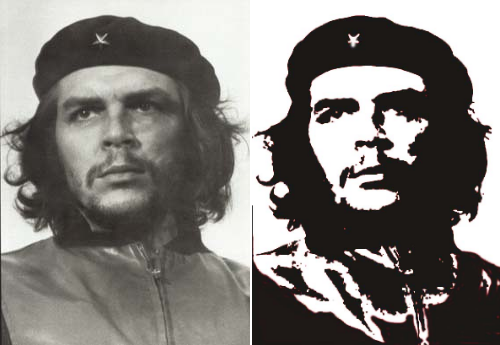
Probably the most popular picture that uses this black/white-effect is one of the famous revolutionist of Cuba: Che Guevara. To create such an effect for your own it is only necessary to take a few minutes of time.
Tutorial details
- Category: Photos / wallpapers
- Time to reproduce: ≈15.0 minutes

- Tested with GIMP 2.3.12
-
1
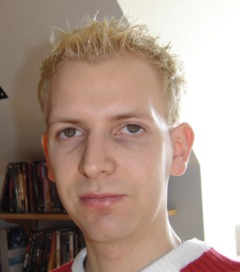
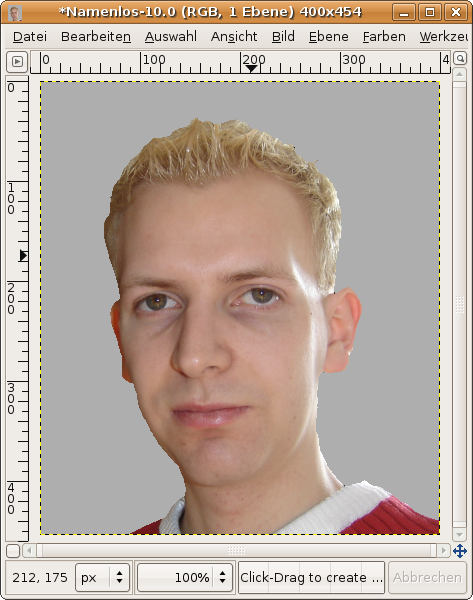
Take a picture of yourself or anyone else. Open it.
-
2

To get an optimal effect you’ve to mask your face. You don’t have to take special time being very exact. Maybe the fastest way to this us the free selection tool. Make a selection around your face, invert the selection (Select / Invert) and remove the parts.
Again, it is not important to be too exact.
Now choose #aeaeae as FG-Color and press CTRL+, (EDIT / Fill FG) to fill the selection with that color. Press CTRL SHIFT A to deselect.
-
3
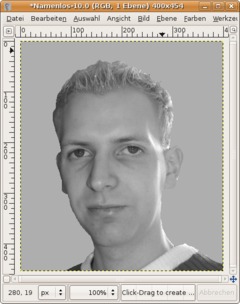
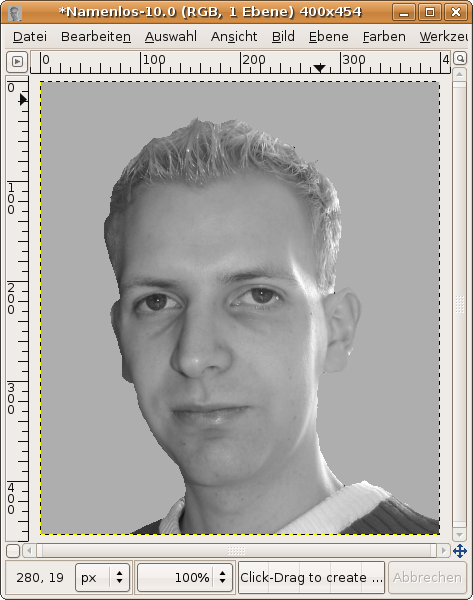
Now go to (Layer /) Colors / Desaturate. That step is not totally necessary but i helps us to higher the amount of gray tones in the picture.
-
4
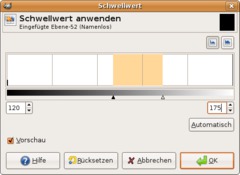
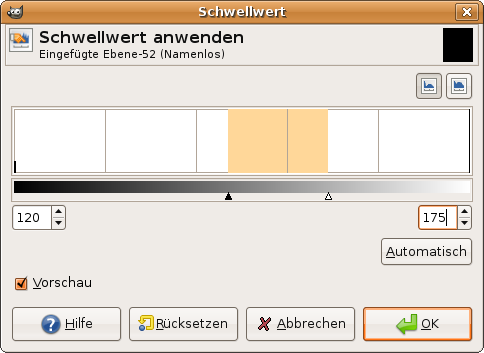
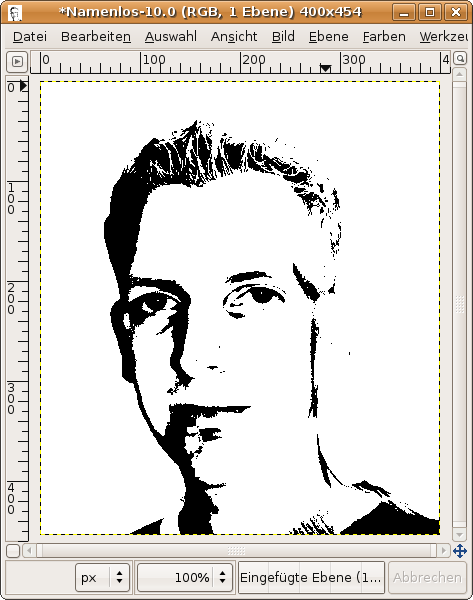
Next go to: (Layer/) Colors / Threshold and move the little triangle-controls to similar places as I did. Alternatively you could enter 120 to the left and 215 to the right.
You should have good results with it.
-
5
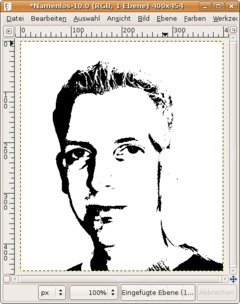
You’re done ;) Congratulations!
-
6
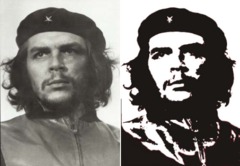
Here we see the famous original picture of Che Guevara:


Comments
Post your own comments, questions or hints here. The author and other users will see your posting and can reply to it.
Of course, you can also ask in the chat.
Subscription management
Please log in to manage your subscriptions.
User rating
This topic (Creating the Che Guevara Effect) has been rated 3.5/5.0.
New comments are disabled because of spam.