


Tutorial: Creating a bloody splatter texture
Written by devvv ·
Created on Jun 15, 2007, last updated over 14 years ago
 is licensed under a Create Commons Attribution-Non Commercial 3.0 Unported license.")

Motivation
Today we will create a cool bloody texture that should look as there were random splatter all over the place.
Tutorial details
- Category: Simple effects
- Time to reproduce: ≈10.0 minutes

- Tested with GIMP 2.3.18
-
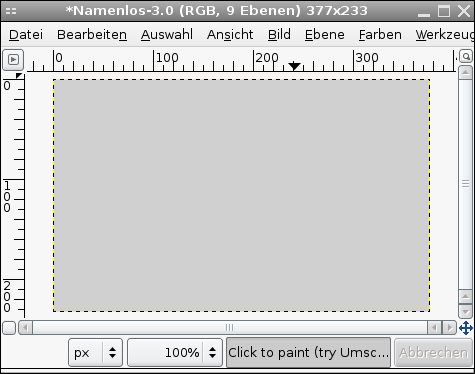
1
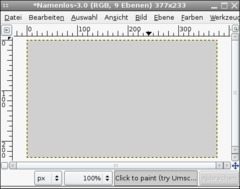
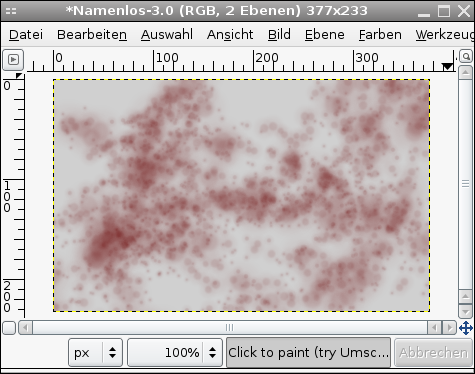
Open a new file, any size. I used 377 × 233 px. Fill the background with #d0d0d0.
-
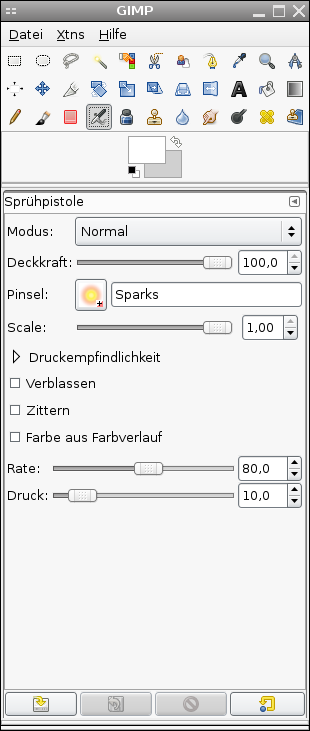
2
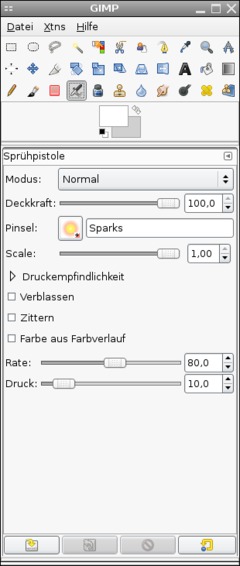
Use the Airbrush-Tool and use the brush named “Sparks”. It is the yeloow one.
-
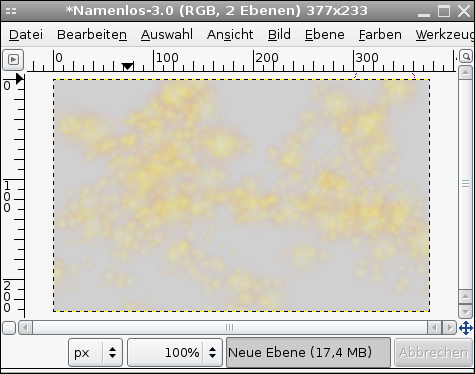
3
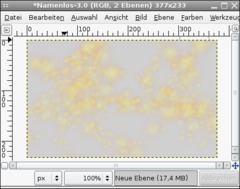
Add a new empty layer and paint around randomly. It is important that the sparks overlay each other sometimes.
-
4
Now click the “lock transparency” icon in the layers dialog. This option is found right above the transparency-changer.
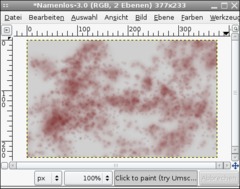
Choose a new color as foreground-color: #680000.
- Edit / Fill FG-Color.Everything should now be in a slight dark red.
-
5
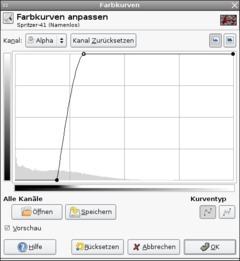
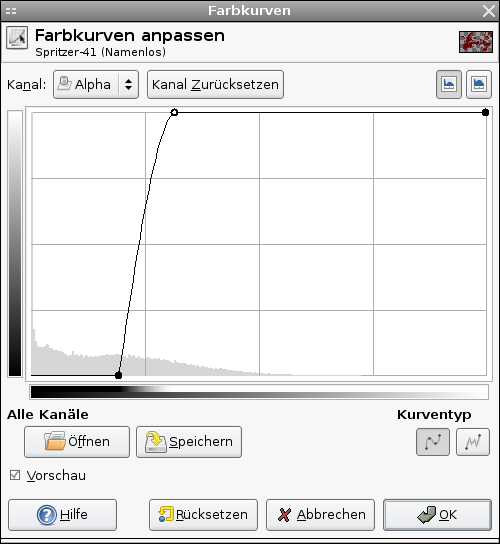
Now please deactivate the “lock transparency”-option again.
Go to Colors / Curves, choose “Alpha” as channel (top left). Apply the curve as seen on the picture.
-
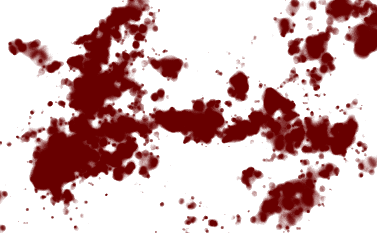
6

After that you’re done ;)
Easy, right?


Comments
Post your own comments, questions or hints here. The author and other users will see your posting and can reply to it.
Of course, you can also ask in the chat.
Subscription management
Please log in to manage your subscriptions.
New comments are disabled because of spam.