


Tutorial: Creating an abstract chaos explosion
 is licensed under a Create Commons Attribution-Non Commercial 3.0 Unported license.")

Motivation
I saw this tutorial recently for Photoshop and have ported it to GIMP. Doing this effect is quite simple and you will achieve good results even if you have no GIMP experience. We will create an "abstract explosion" with a little painting and a few filters. Have fun!
Tutorial details
- Category: Simple effects
- Time to reproduce: ≈10.0 minutes

- Tested with GIMP 2.6.3
-
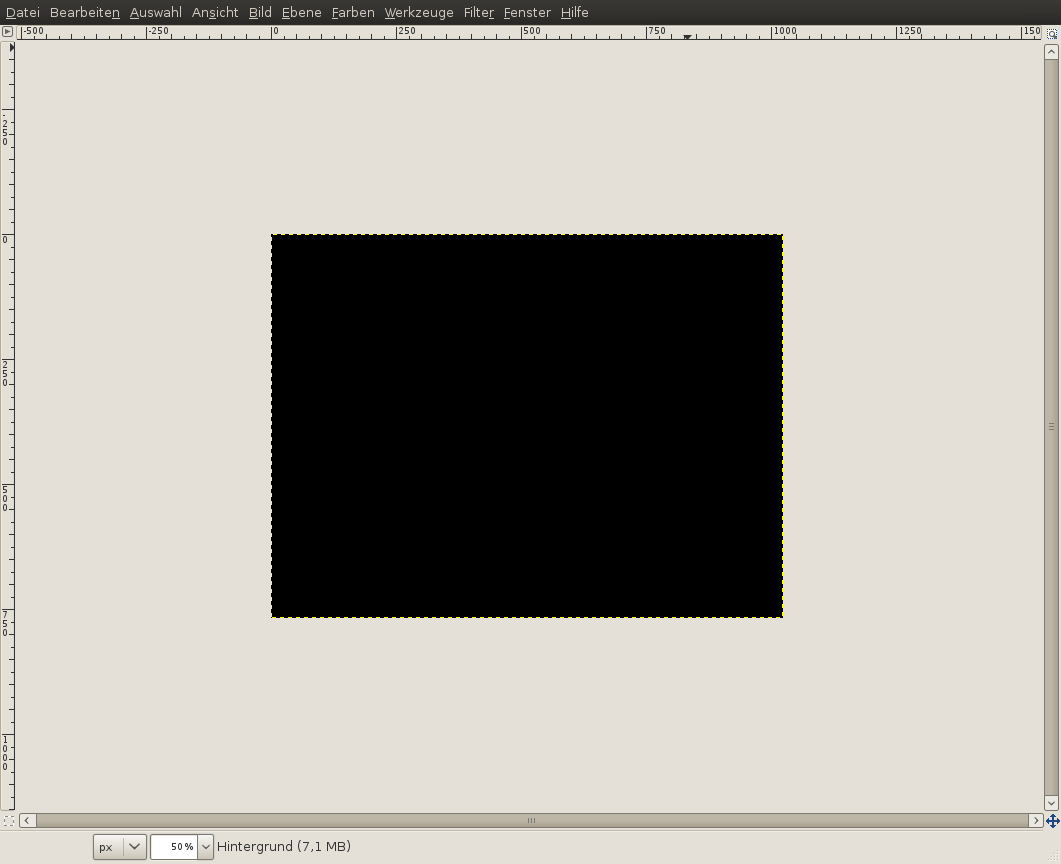
1

Create a new empty image: 1024×768px.
- Set foreground color: black
- Then: Edit / Fill with FG ColorThe whole image should now be black.
-
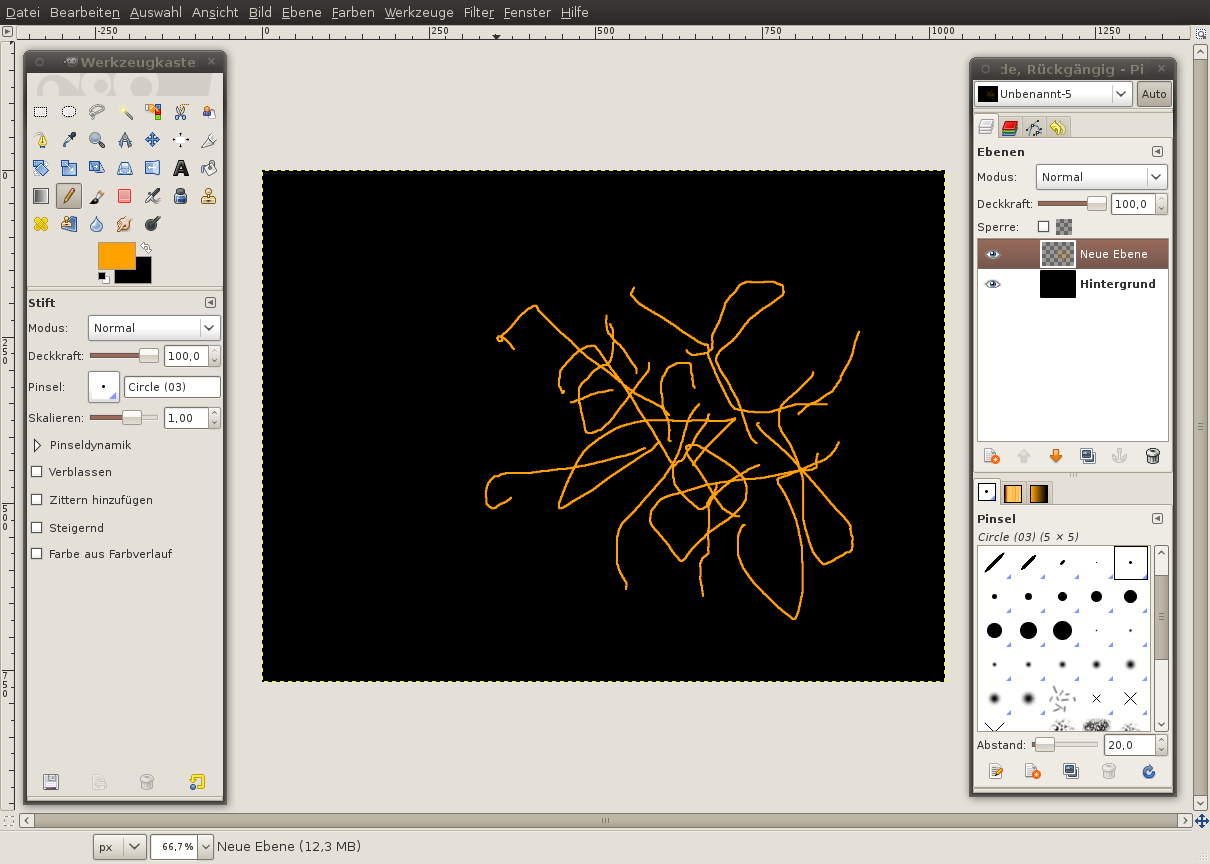
2
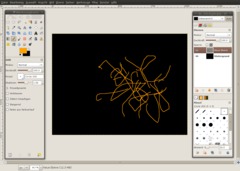
- In the layers window (show with Ctrl+L), create a new transparent layer.
- Choose the color #ffa200 as the foreground color.
- Select the pencil tool with the “Circle (3)” brush.
- Then draw some mazy lines on the new layer. -
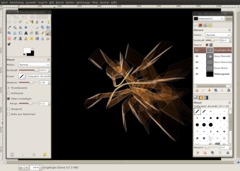
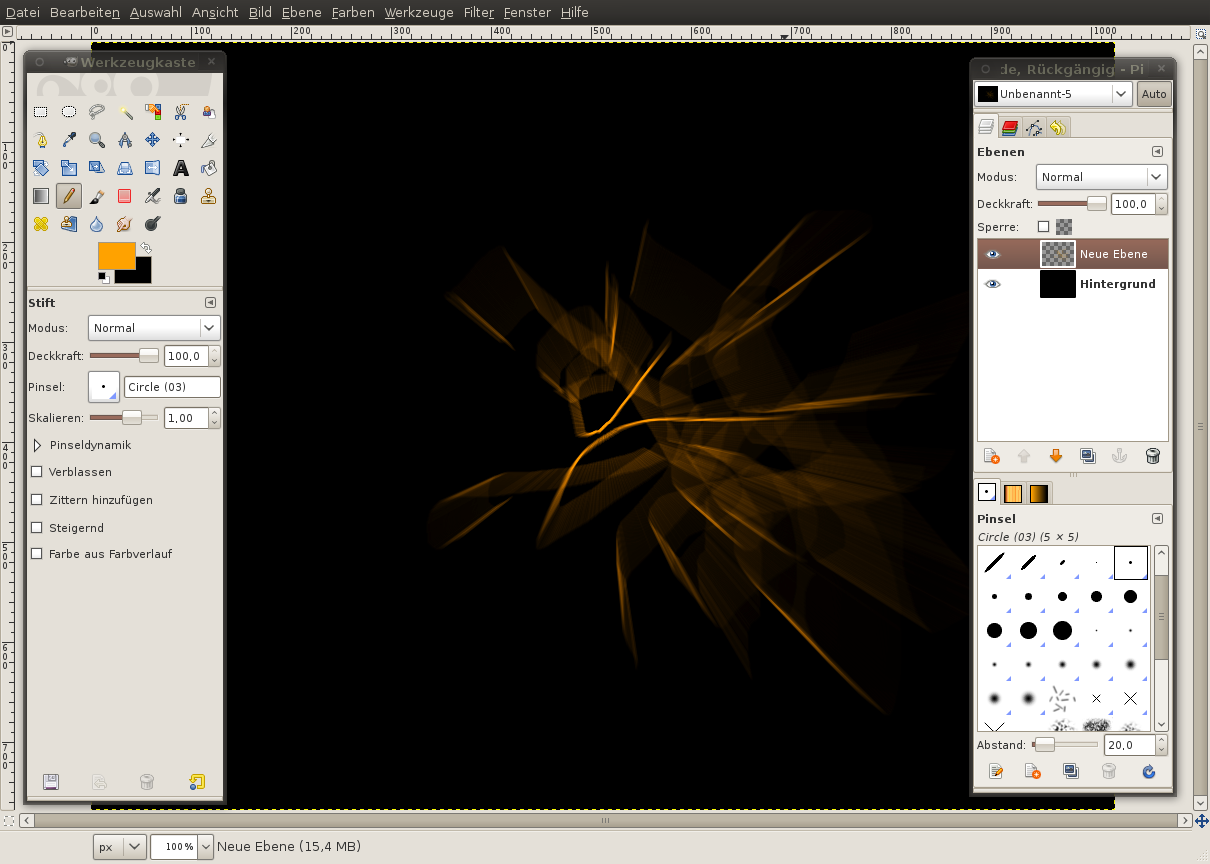
3
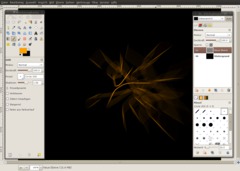
Now choose
- Filters / Blur / Motion Blur
There you select blur type “Zoom” and set the blur parameter “Length” to 90. Don’t modify the other values. Make sure that “Blur outward” is not selected.
-
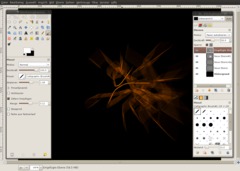
4
To intensify the colors, duplicate the layer and change the layer mode to “grain merge”:
- In the layers window, press the “duplicate” button.
- Select the top layer (the one that has been created by the duplication)
- A bit above, you can find a dropdown menu named “mode”. There you select “grain merge”.Now the whole thing should look a little more igneous.
-
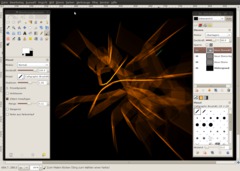
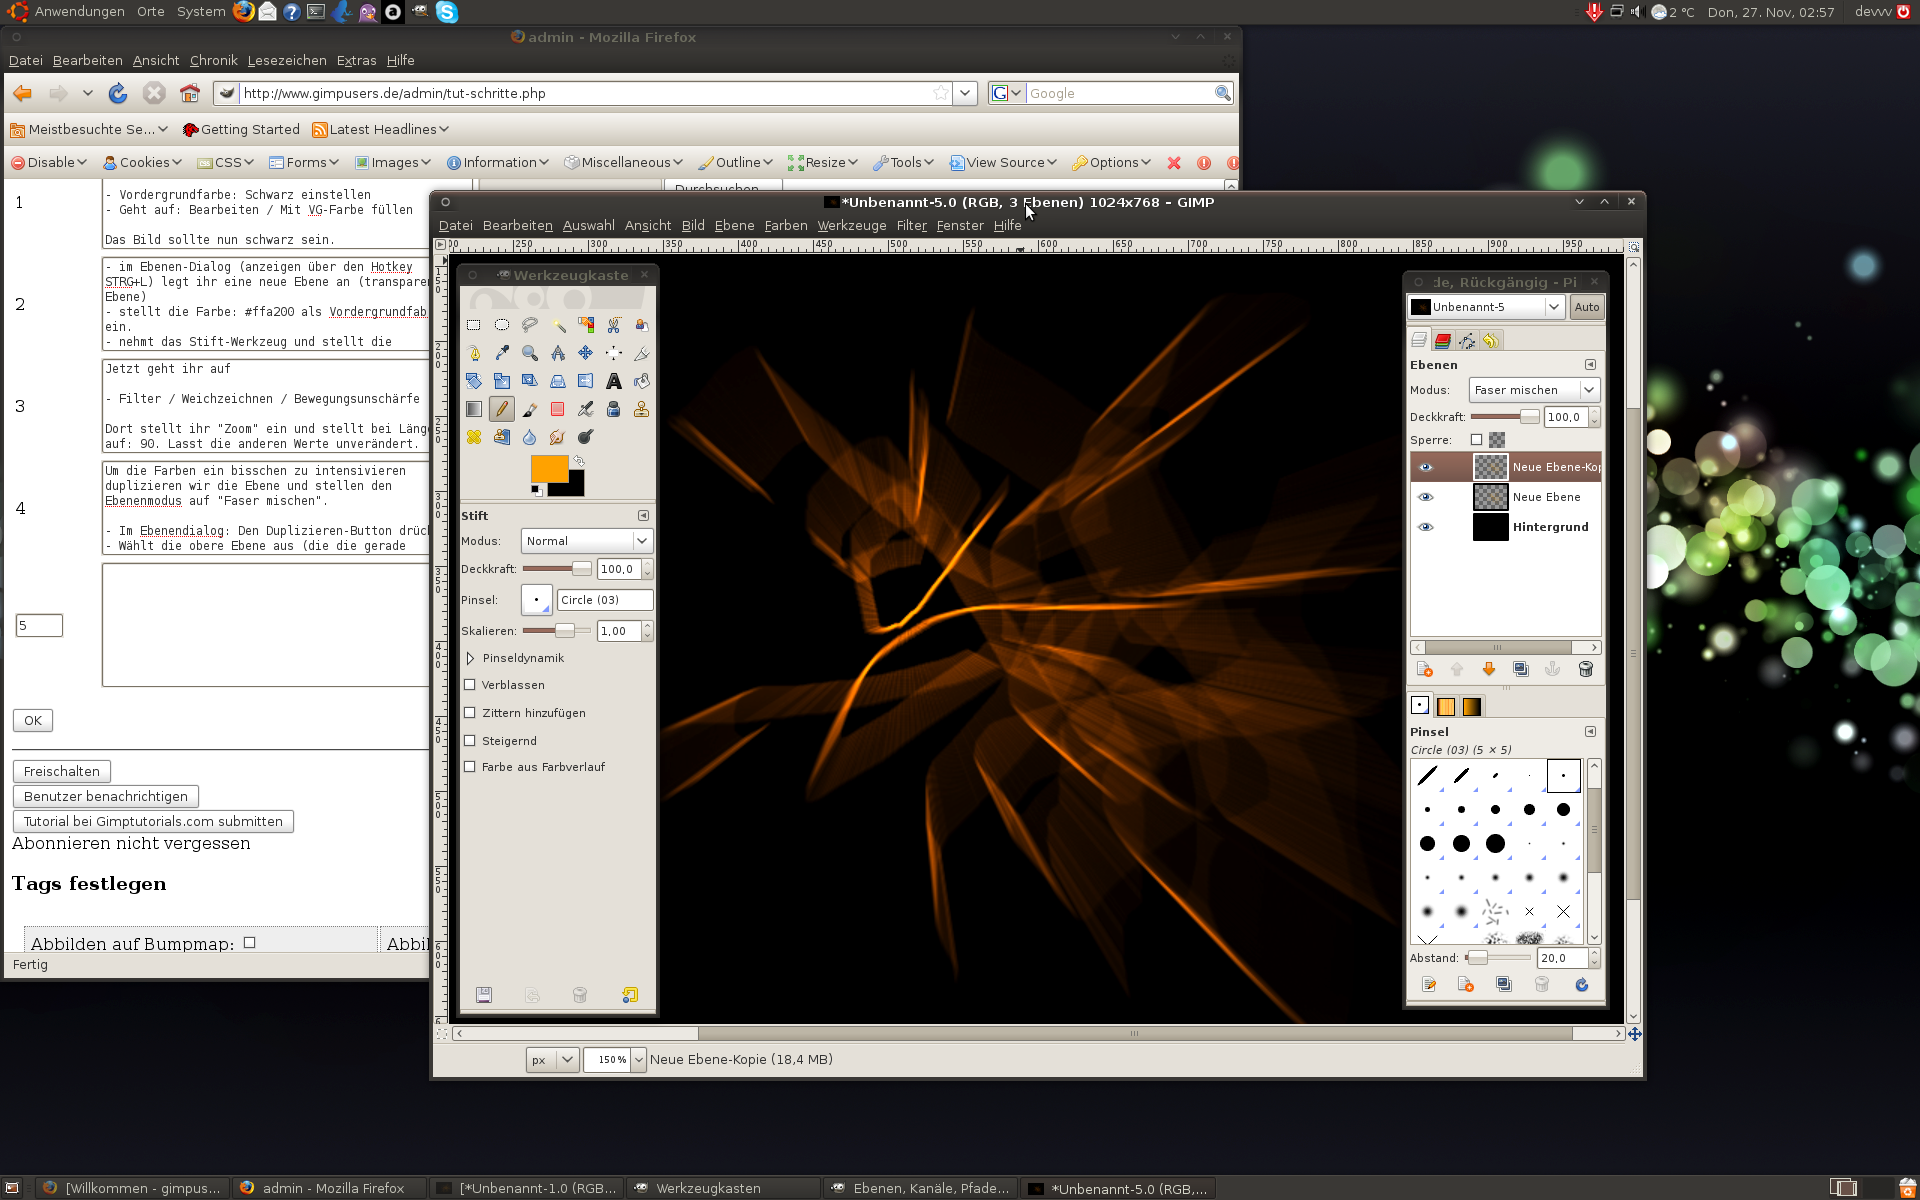
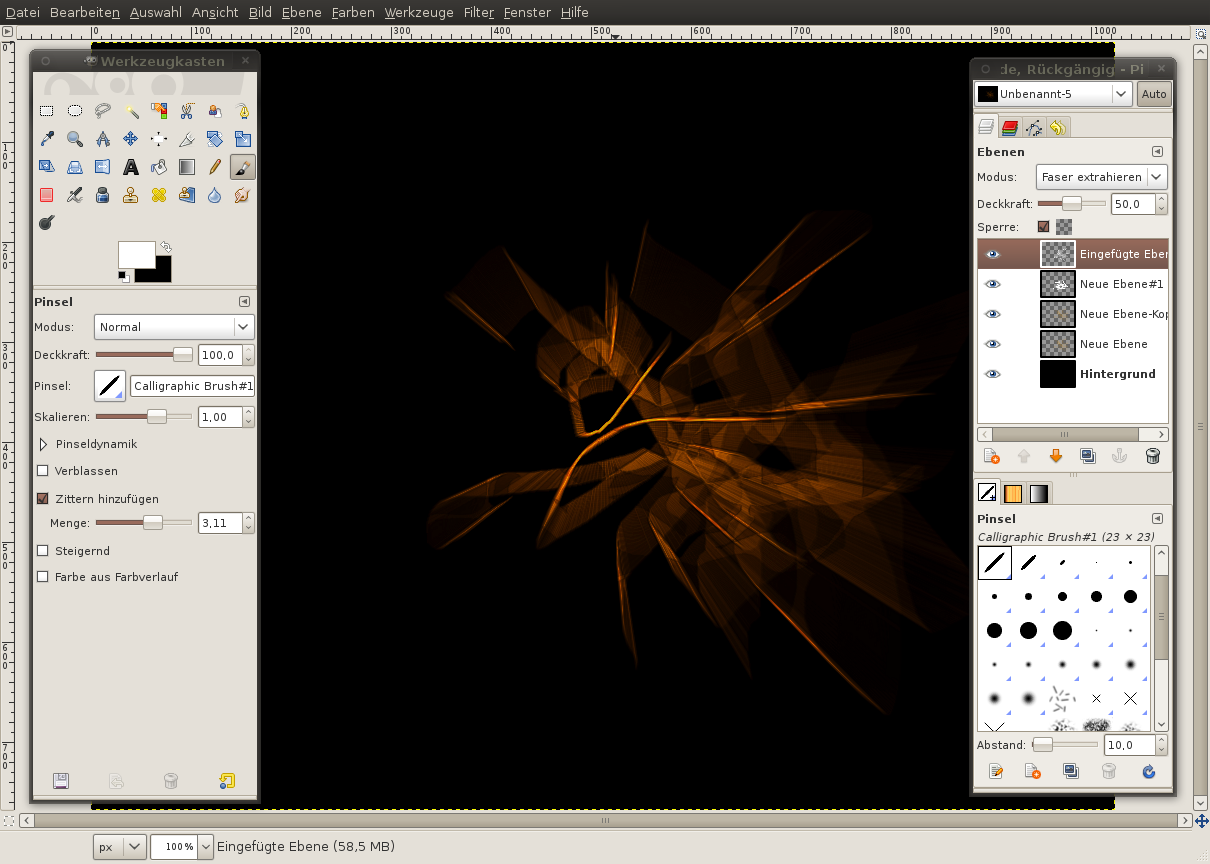
5
Now we bring some more chaos into the image and the rays:
- Create a new transparent layer.
- Select the Paintbrush tool, choose “Calligraphic Brush #1” aus (see screenshot) and draw some rampant lines onto the layer again. -
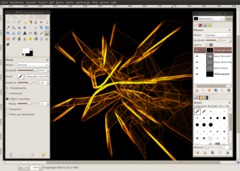
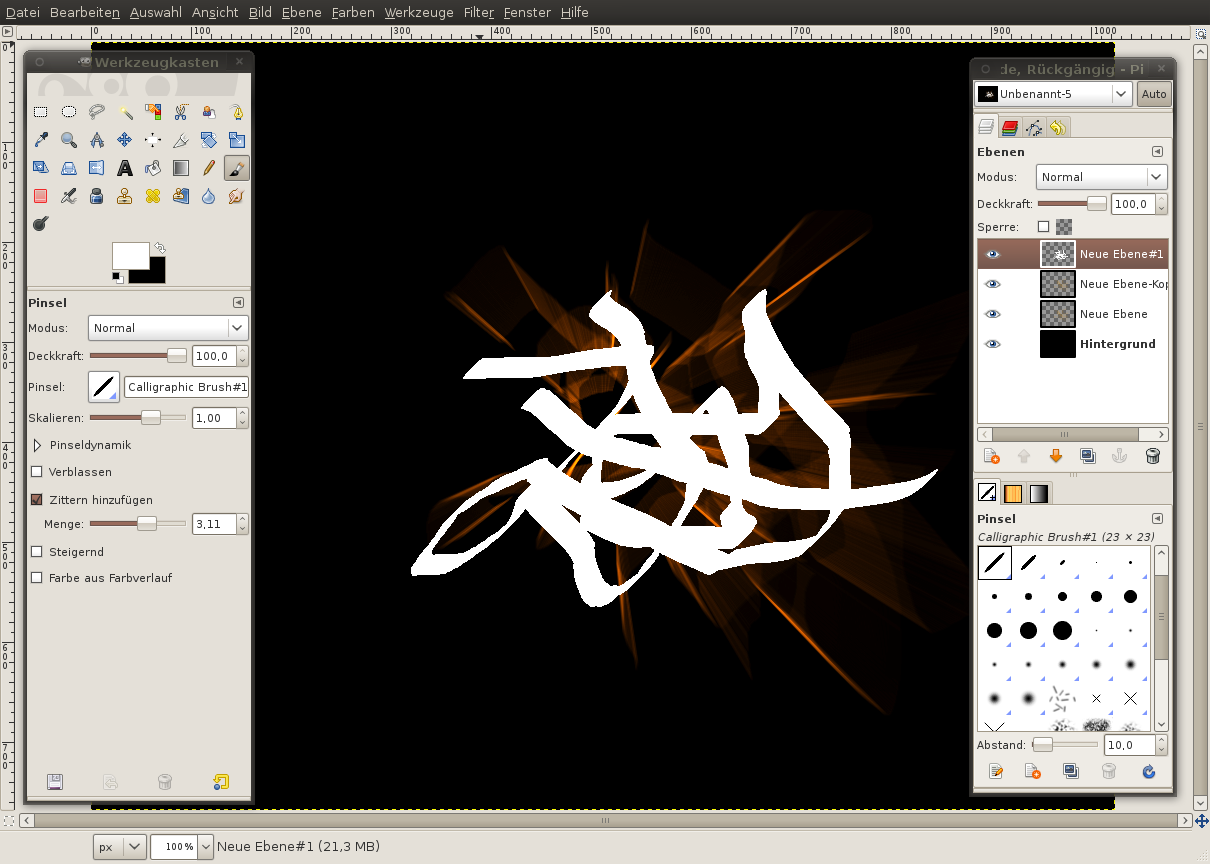
6

- Filters / Distorts / Waves:
Choose the vales like on the screenshot:
-
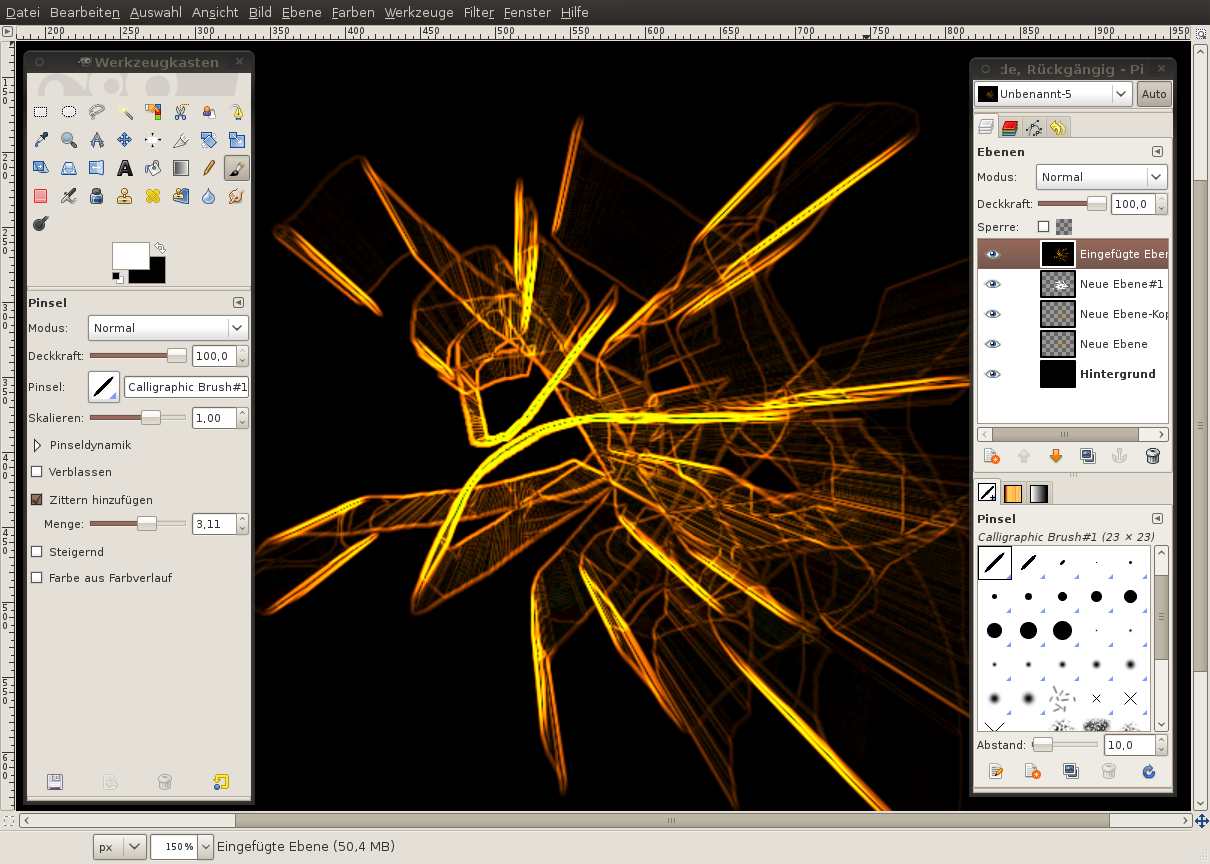
7
Set the layer mode of this layer to “Overlay”.
Hint: If you think the chaos effect looks too strong, you can use the opacity control to modify the strength of the effect. I used opacity 60%.
-
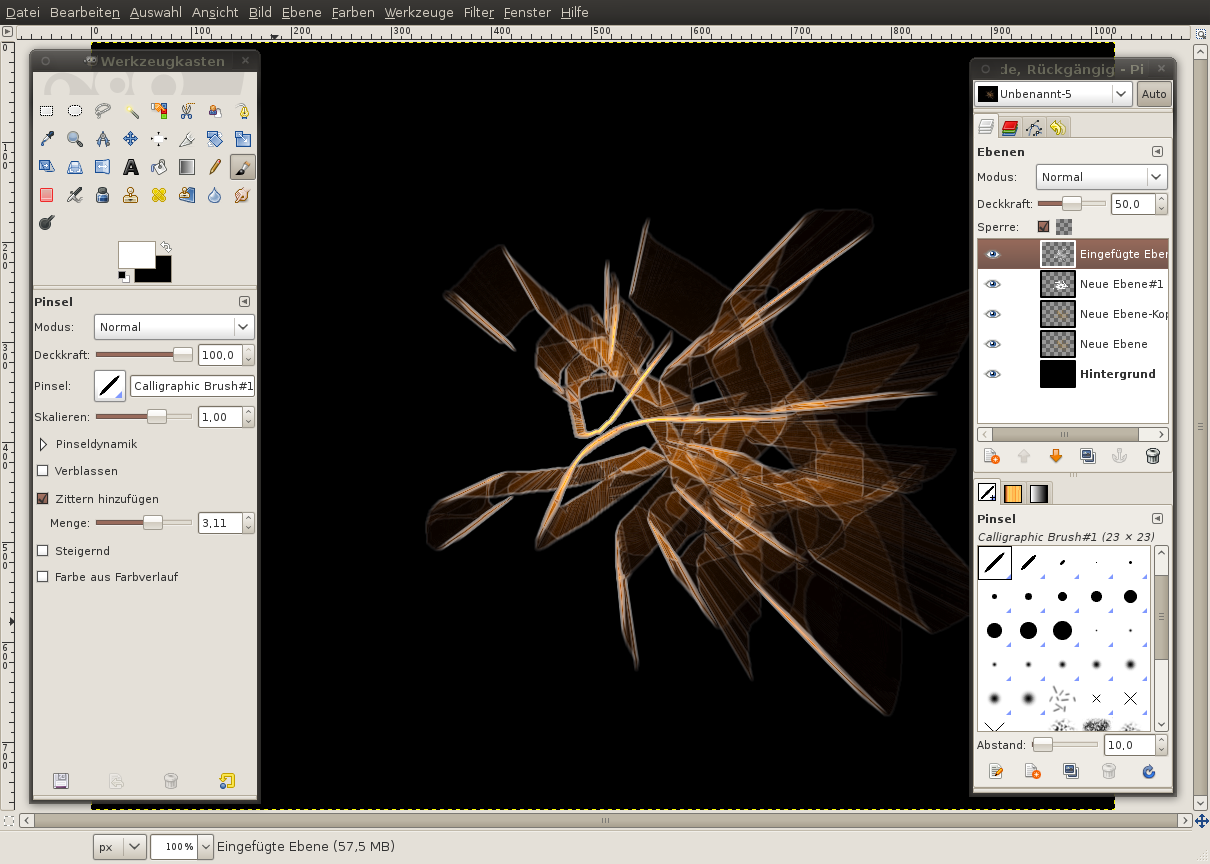
8
Now the last step that reduces the luminance and thereby brings some more abstractness and details into the image (it doesn’t look like a simple zoom/blur filter combination then, too).
- Edit / Copy visible
- Edit / Paste as / New layer
- Filters / Edge-detect / Edge: (Sobel, amount: 2)Looks cool already — if you want to leave it like that, just do so, but originally it’s intended for something else.
-
9
- Colors / Color to Alpha: from black to alpha.
Now everything black has been removed from the layer.
For the next step, the yellow lines have to become white. Click on the “lock” checkbox right below the opacity ruler so that it is selected.
- Choose white as new foreground color and choose Edit / Fill with FG color — the lines are now white.
-
10
- Set the opacity to 50% in the layer window.
- Then set the layer mode to “Grain extract” so some of the glowing orange color is removed.That’s all. I hope you like the effect and have fun when playing around with it. You can also make nice desktop wallpapers with this effect.
-
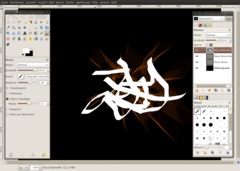
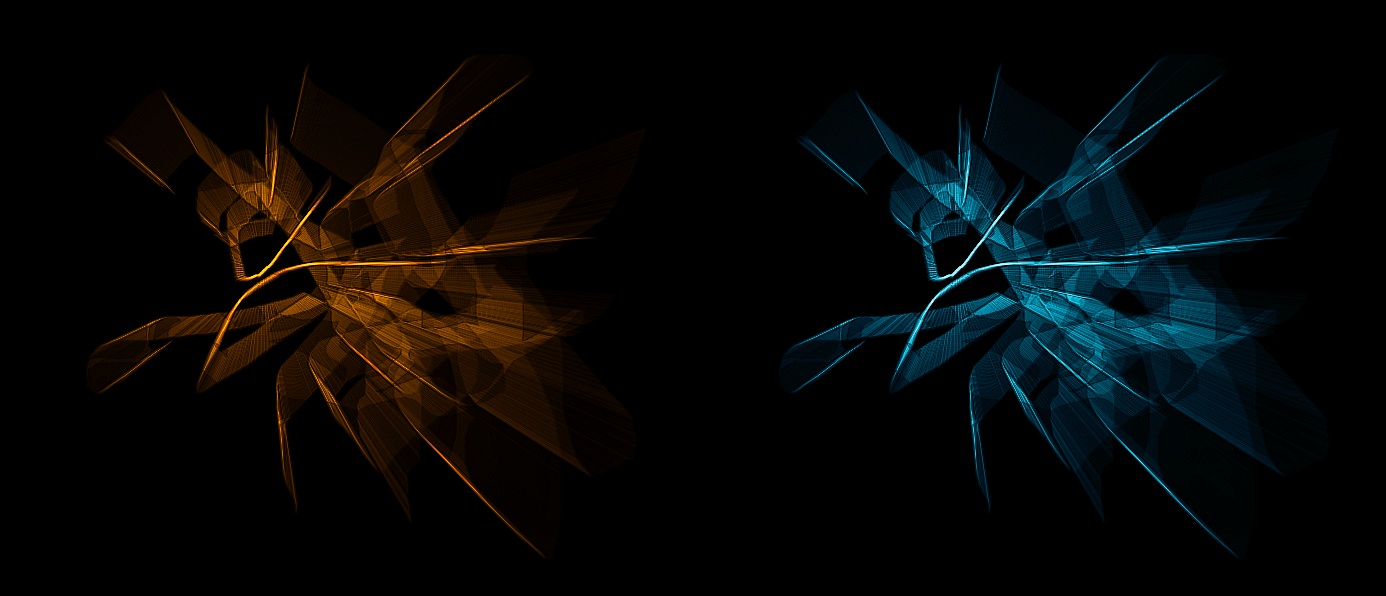
11
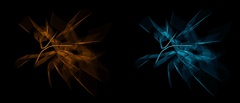
Here are 2 different color versions of the result:


Comments
Post your own comments, questions or hints here. The author and other users will see your posting and can reply to it.
Of course, you can also ask in the chat.
Subscription management
Please log in to manage your subscriptions.
New comments are disabled because of spam.